Delishing
Reverse Sear Tri-Tip

If you have ever pulled a tri-tip that looked perfect on the outside but turned into a thin pink stripe surrounded by gray, you are not alone. Tri-tip is forgiving in flavor and not always forgiving in timing. Reverse searing is the method I reach for when I want steakhouse-level results without hovering over a blazing grill for the entire cook.
The idea is simple: cook low and slow until the center is close to your target doneness, rest briefly, then finish with a fast, high-heat sear for that crackly, browned crust. That two-stage schedule gives you a more even interior, a wider window to nail doneness, and a seriously impressive slice for weeknights or company.
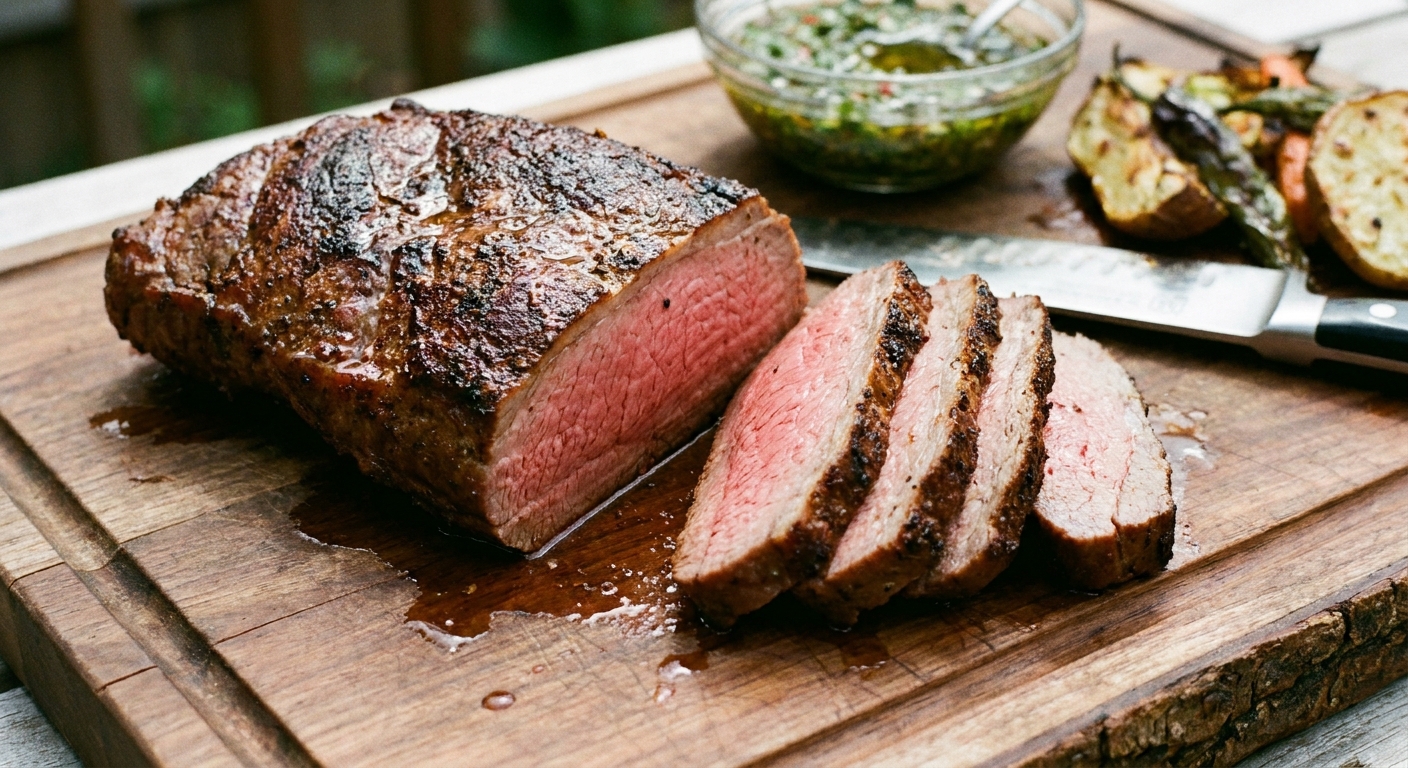
In this recipe, I will walk you through the exact pull temperatures for rare through well-done, how long to rest, and how to adapt reverse sear tri-tip to either an oven or a two-zone grill. I will also explain how this differs from a classic direct-grill tri-tip roast, a smoked tri-tip, and a sous vide tri-tip, because those methods look similar at a glance but behave very differently in real life.
Why reverse sear works
- More even doneness: Gentle heat reduces the thick overcooked band you get when the outside cooks faster than the center.
- Better timing control: You can pull the meat when it is near your target, rest, then sear right before serving.
- Crust without overcooking: The final sear is short and intense, so the inside stays where you want it.
- Flexible finishing options: Sear in a cast iron skillet, on a ripping-hot grill, or even under a broiler if you need a backup.
Ingredient notes
- Tri-tip roast: Most are 2 to 3 pounds. If yours is much thicker or thinner, rely on temperature, not the clock. For portion planning, see how much tri-tip per person.
- Kosher salt: The easiest way to improve flavor and texture. If using fine table salt, use less (it is saltier by volume).
- Black pepper: Freshly cracked holds up best to the sear.
- Garlic powder: Gives savory flavor without burning as easily as fresh garlic during the final high heat.
- Optional rosemary or smoked paprika: Rosemary leans steakhouse. Smoked paprika adds a subtle BBQ vibe without committing to a full smoker cook.
- High-heat oil for searing: Avocado, grapeseed, or canola. Butter can be added at the end of searing for flavor, but it burns fast if used alone.
Equipment
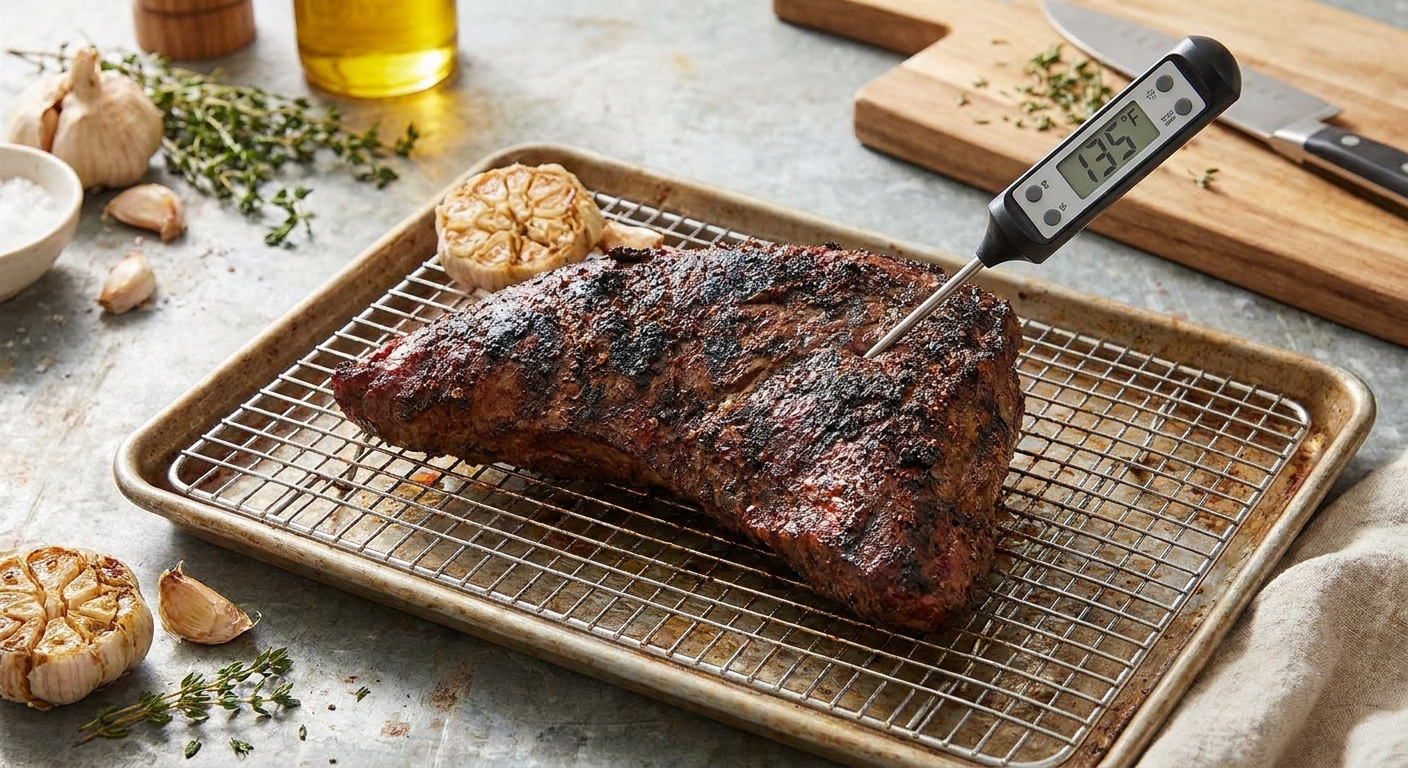
- Instant-read thermometer: Non-negotiable for tri-tip. Reverse sear is all about pull temperature.
- Wire rack + sheet pan: Elevates the roast for more even airflow in the oven.
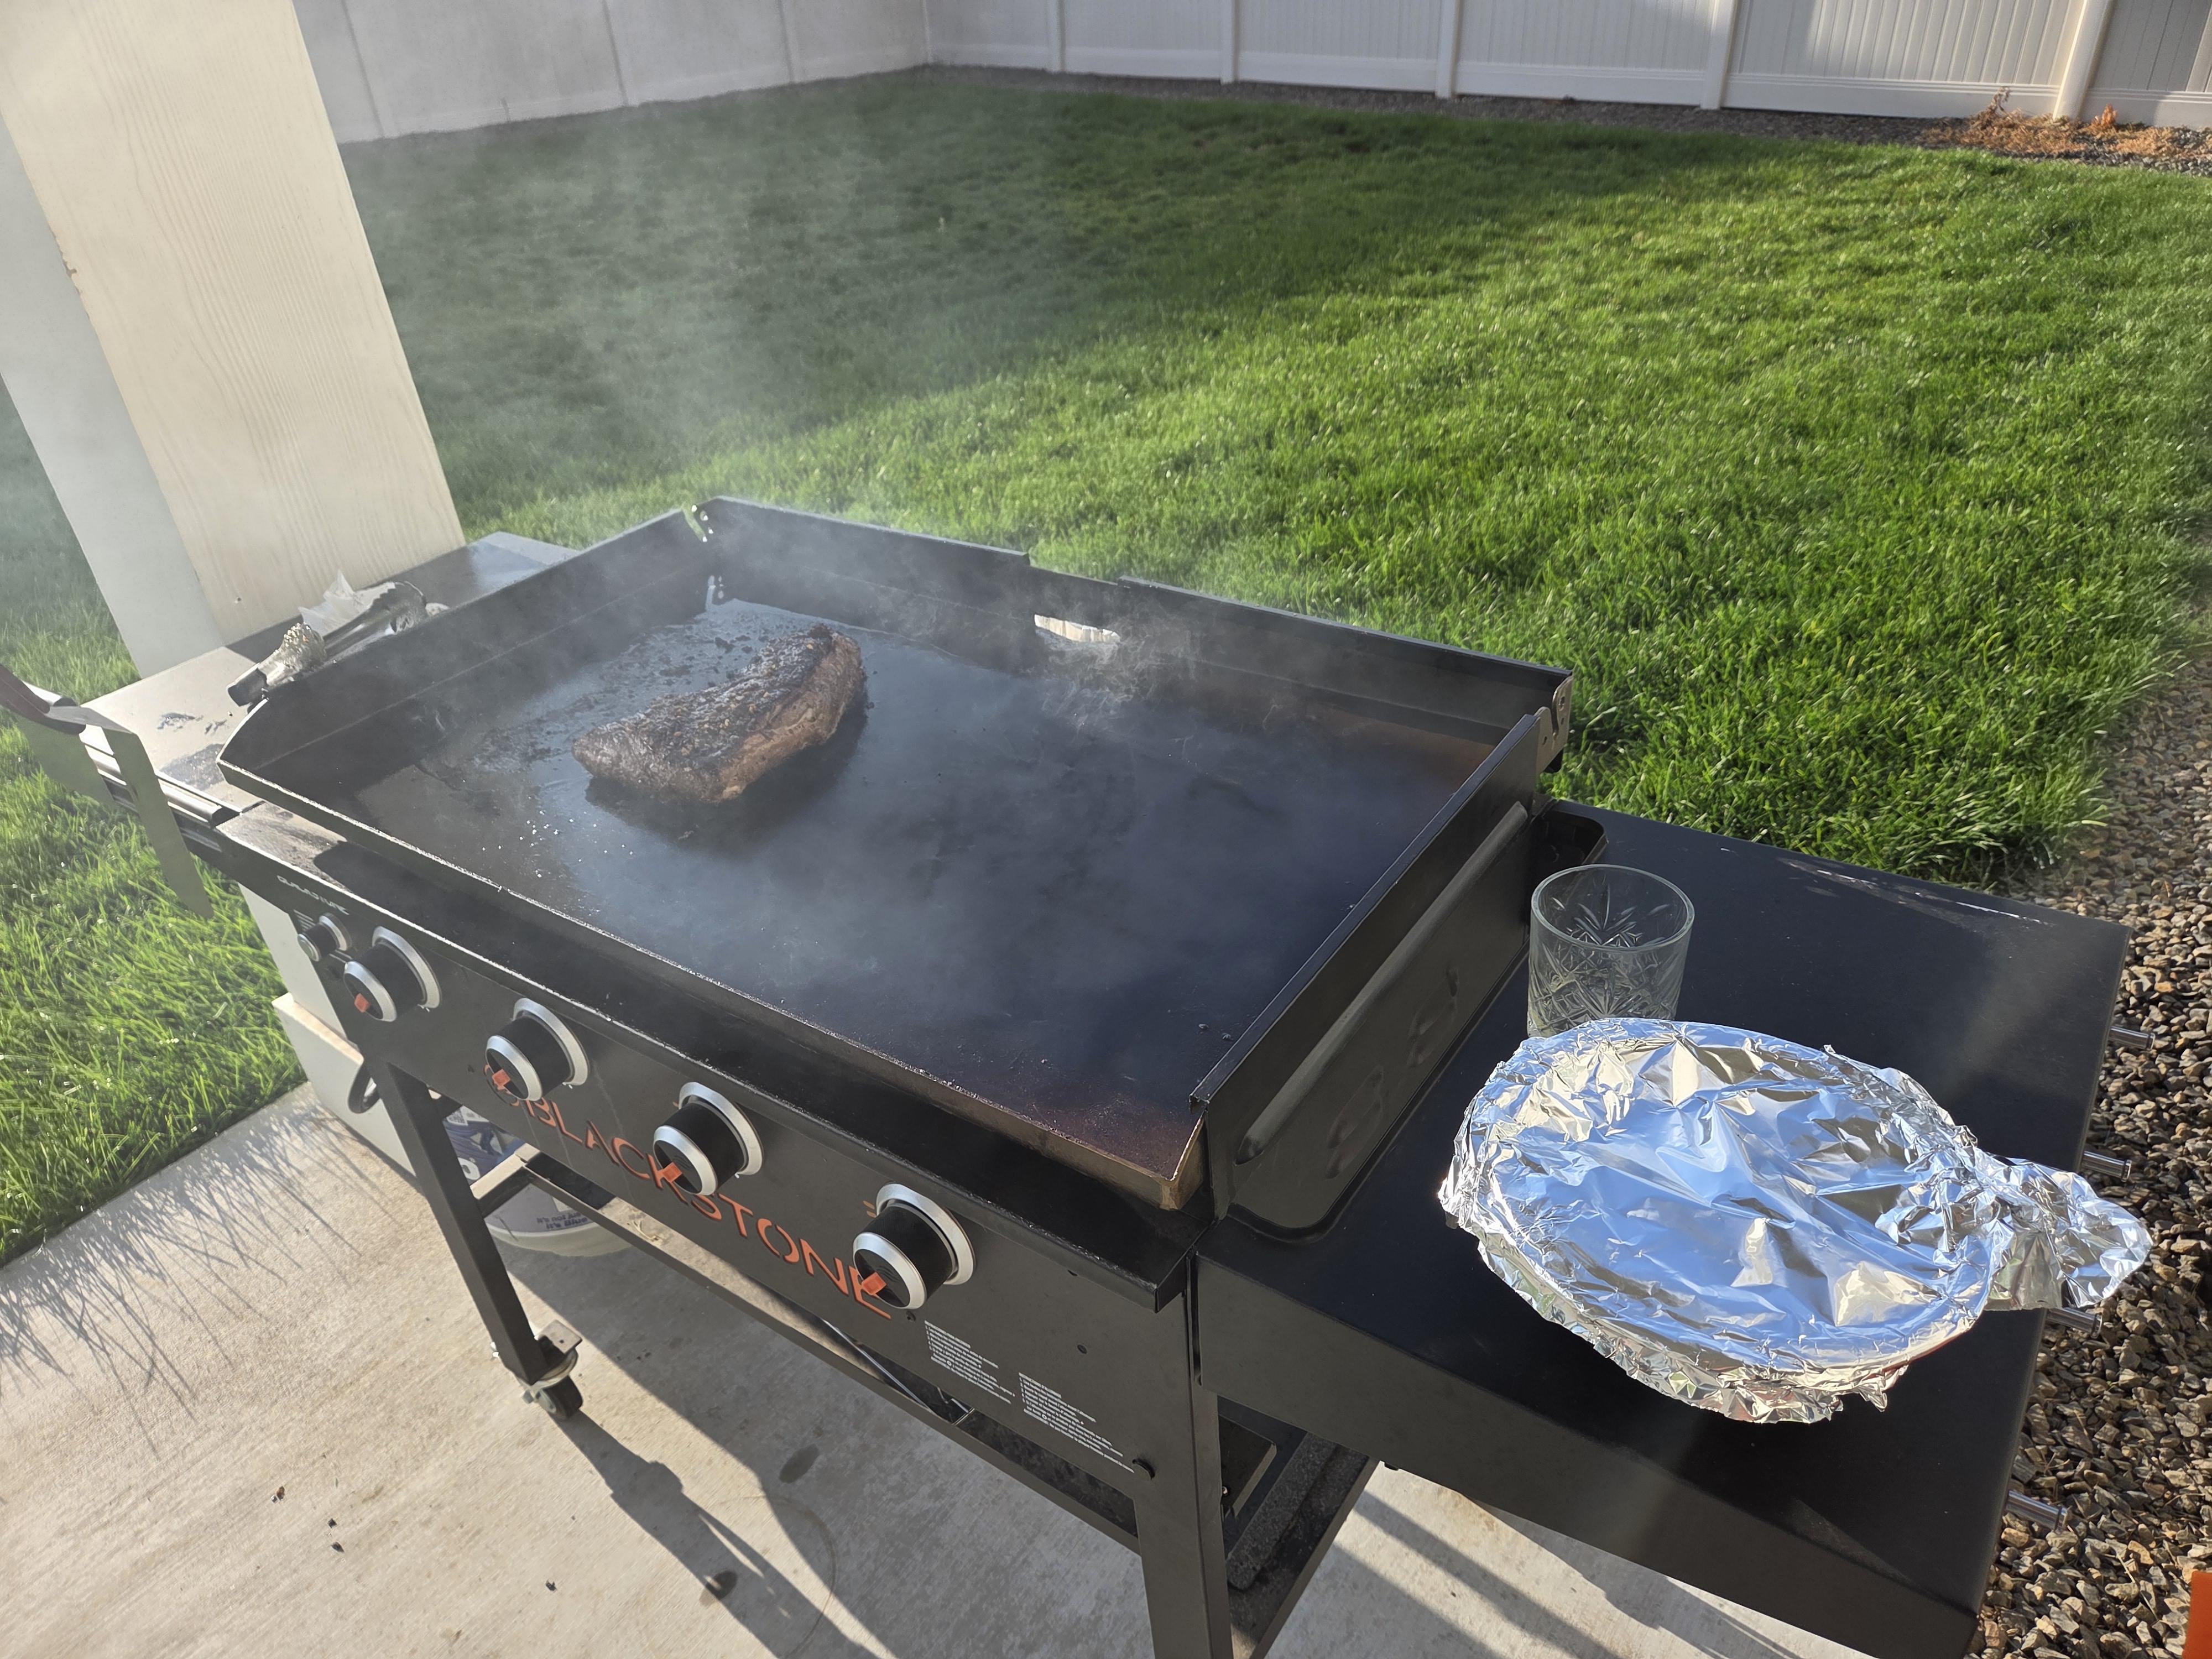
- Cast iron skillet or grill: For the finishing sear. If you prefer other tri-tip methods, see Blackstone tri-tip or air fryer tri-tip.
- Sharp slicing knife: Tri-tip has changing grain, so clean slicing matters.
Pro tips
Use these pull temperatures (before the sear)
Reverse sear includes a final high-heat step that can raise internal temperature. As a rule of thumb, I pull from the low-heat stage about 10 to 15 degrees F below my final doneness target, then sear quickly.
| Doneness | Pull temp before sear | Final temp after sear and brief rest |
|---|---|---|
| Rare | 110 to 115 degrees F | 120 to 125 degrees F |
| Medium-rare | 120 to 125 degrees F | 130 to 135 degrees F |
| Medium | 130 to 135 degrees F | 140 to 145 degrees F |
| Medium-well | 140 to 145 degrees F | 150 to 155 degrees F |
| Well-done | 150 to 155 degrees F | 160 degrees F+ |
Rest in between stages, not just at the end
That short rest after the low cook (about 10 minutes) helps the surface dry slightly for better browning and also slows down carryover so you do not overshoot.
Dry surface equals better crust
Pat the roast dry before seasoning. If you have time, season and refrigerate uncovered for 2 to 24 hours. That little bit of air-drying is like a cheat code for crust.
Sear fast and hot
Your low stage did the cooking. The sear is for color and flavor. Keep it moving: 60 to 120 seconds per side is usually enough, plus quick passes on the edges.
Slice with the grain switch in mind
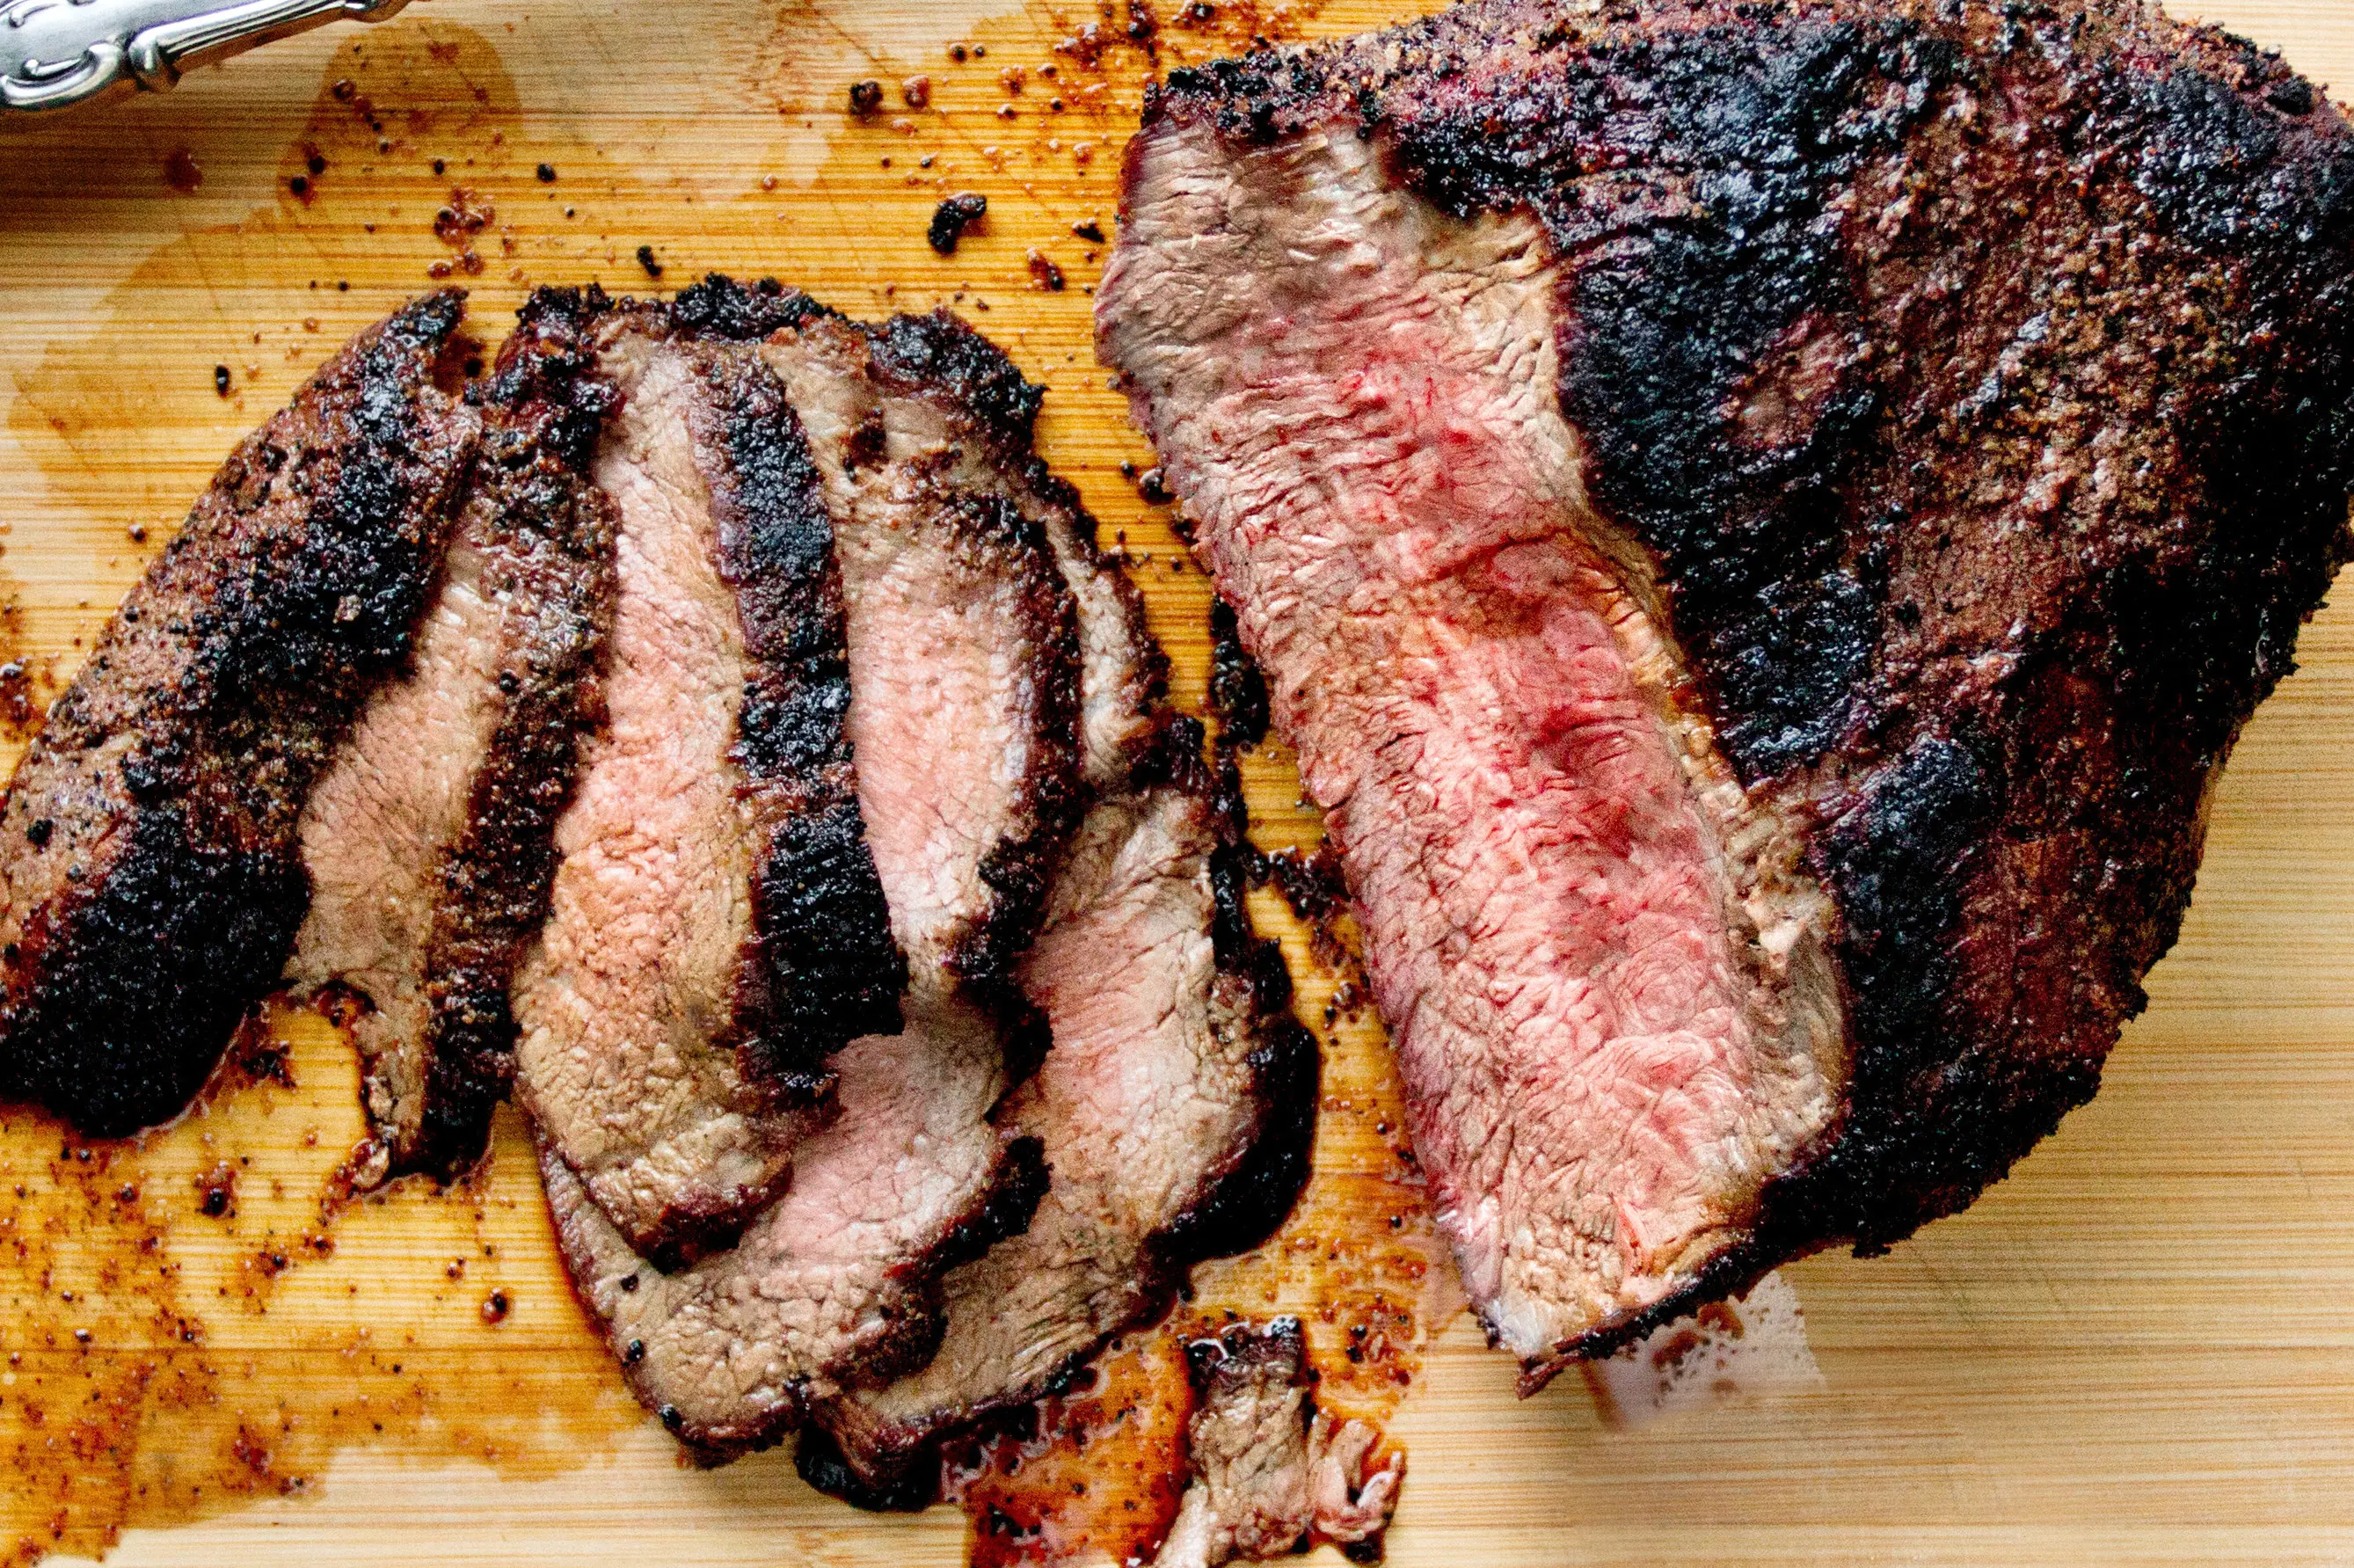
Tri-tip has two grain directions. I find the “corner” where the grain changes, cut the roast in half there, then slice each half against its grain for the most tender bite.
Substitutions
- No oven: Use a two-zone grill setup and cook the tri-tip on the cool side with the lid closed until it reaches pull temp, then sear over the hot zone.
- No cast iron skillet: Sear directly on grill grates, or use a heavy stainless skillet.
- Different seasoning profile: Swap the garlic powder and pepper for your favorite tri-tip marinade, then pat the surface dry before the low cook so it browns well.
- Lower sodium: Reduce salt and lean into herbs, citrus zest, or a salt-free spice blend. Expect a slightly less “steaky” crust.
Variations
- Santa Maria-inspired: Keep it simple with salt, pepper, garlic powder. Finish with a squeeze of lemon and chopped parsley.
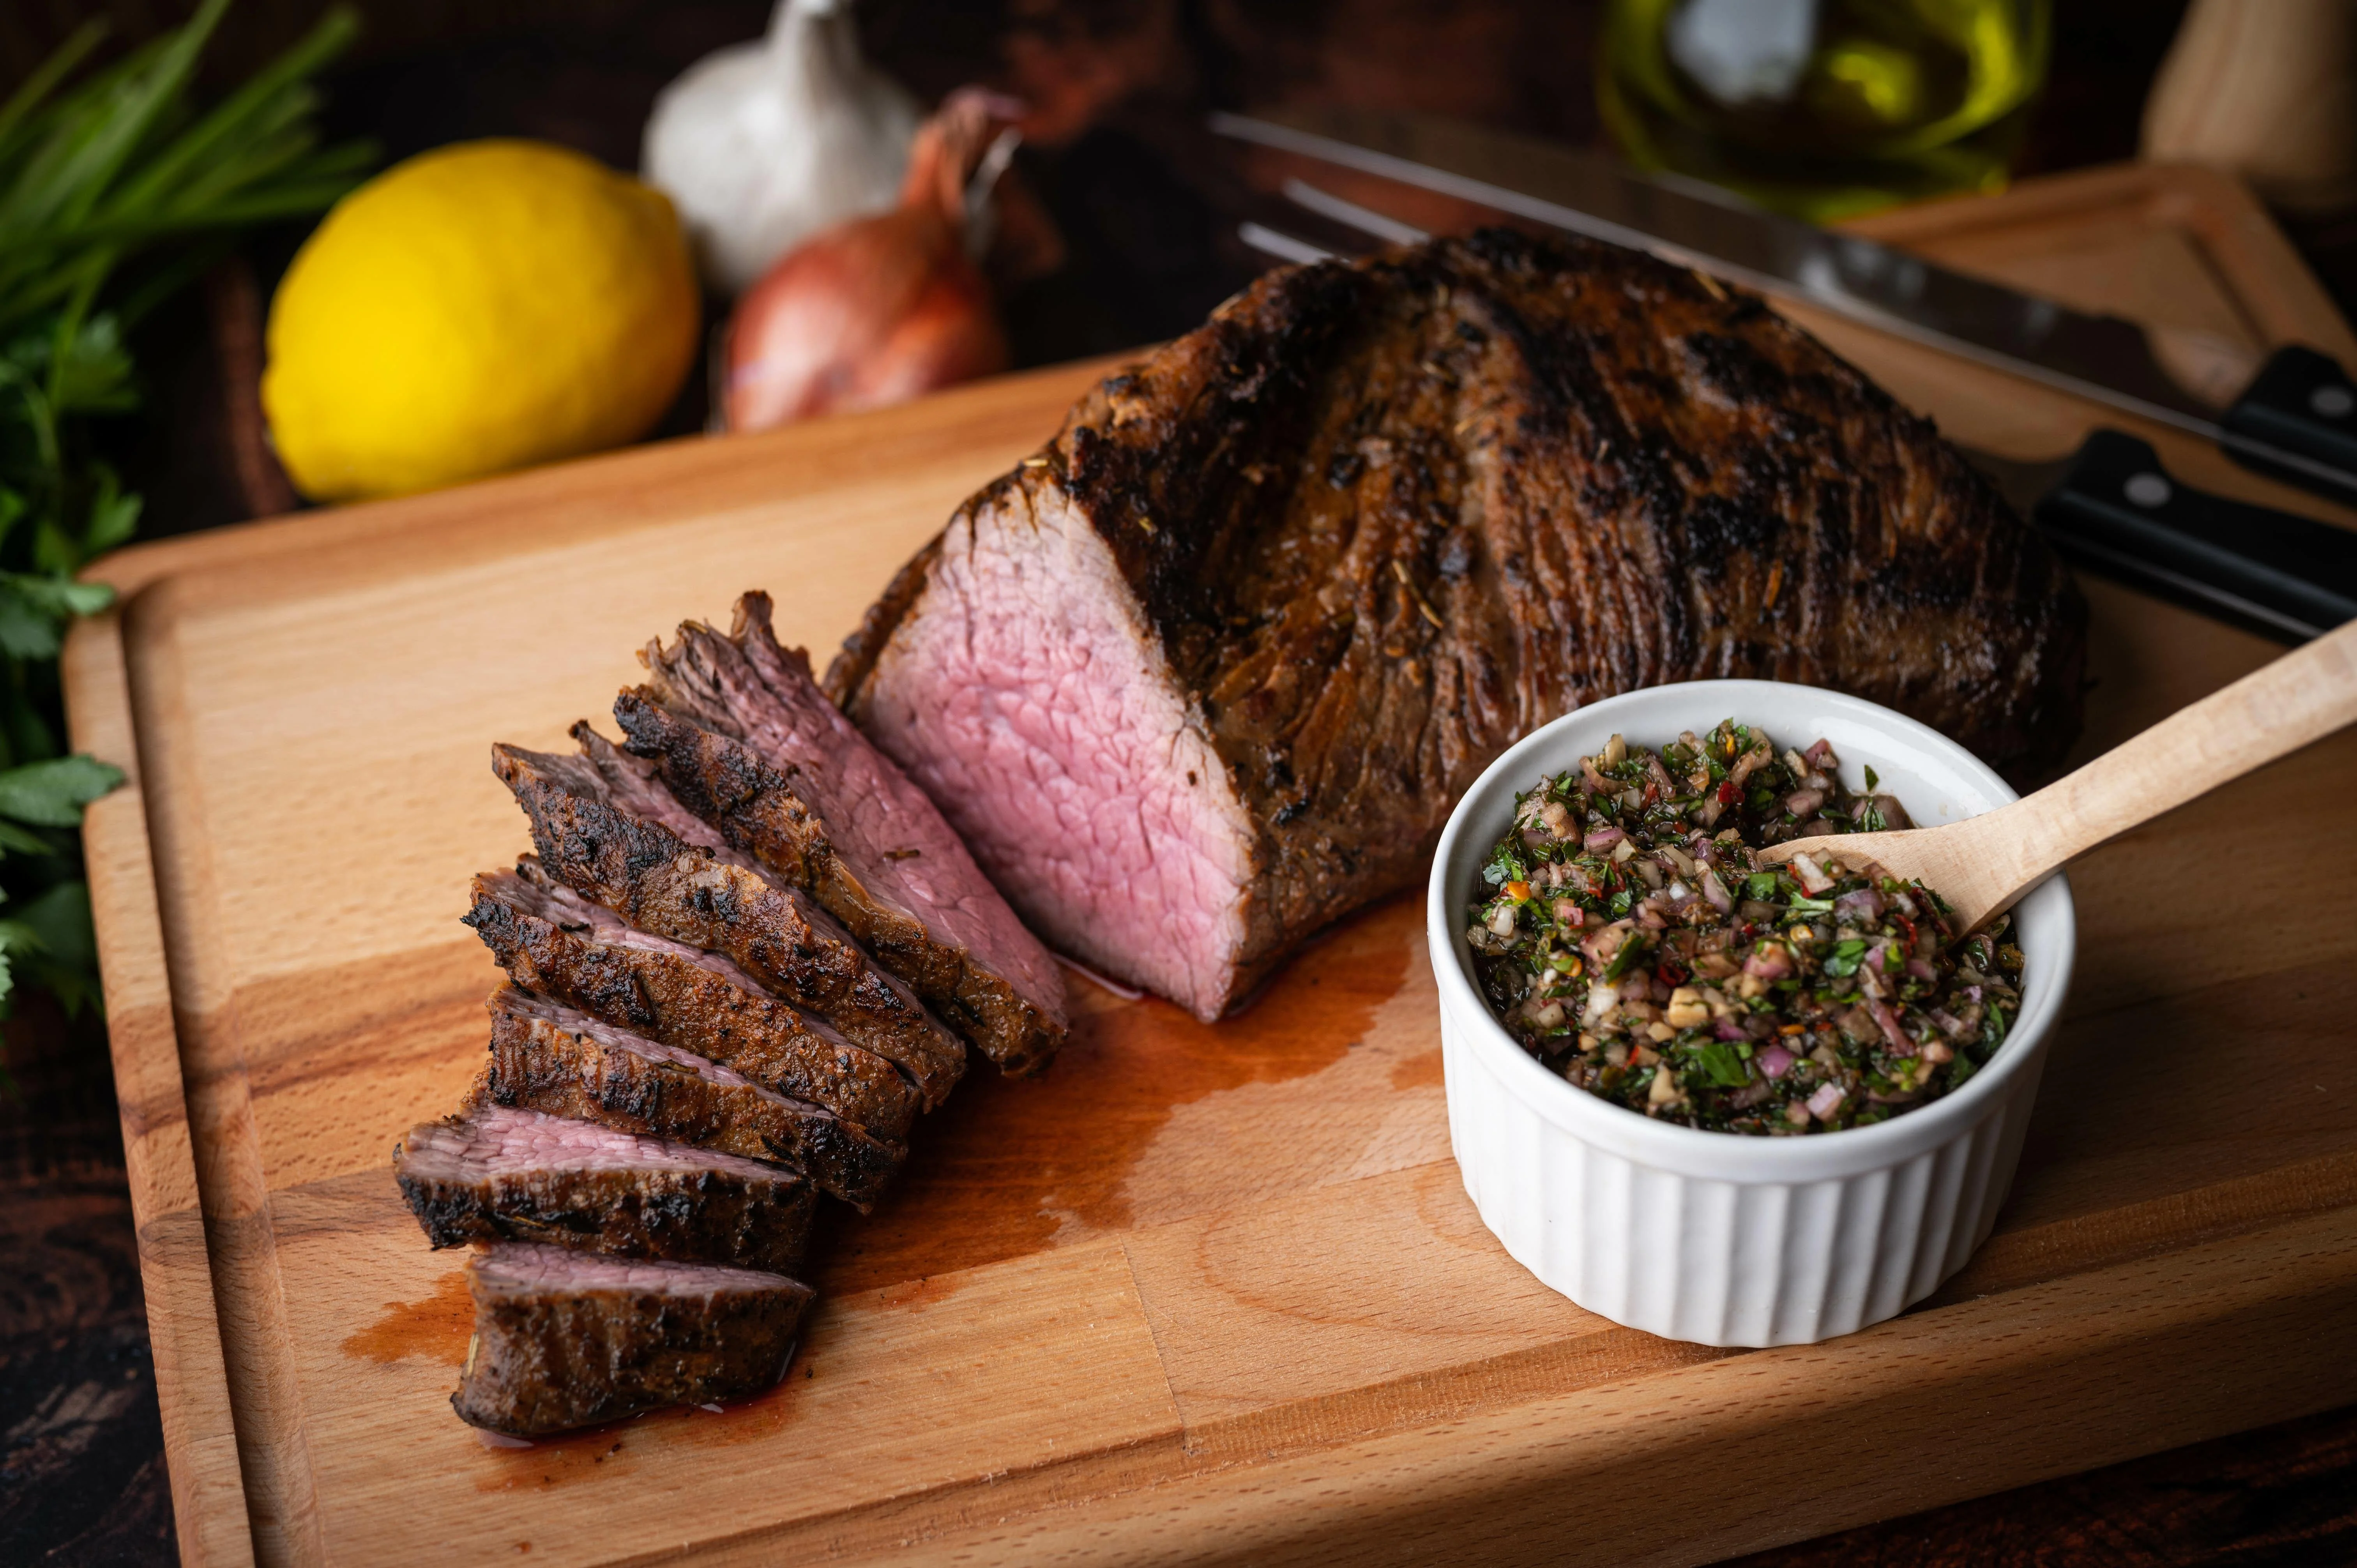
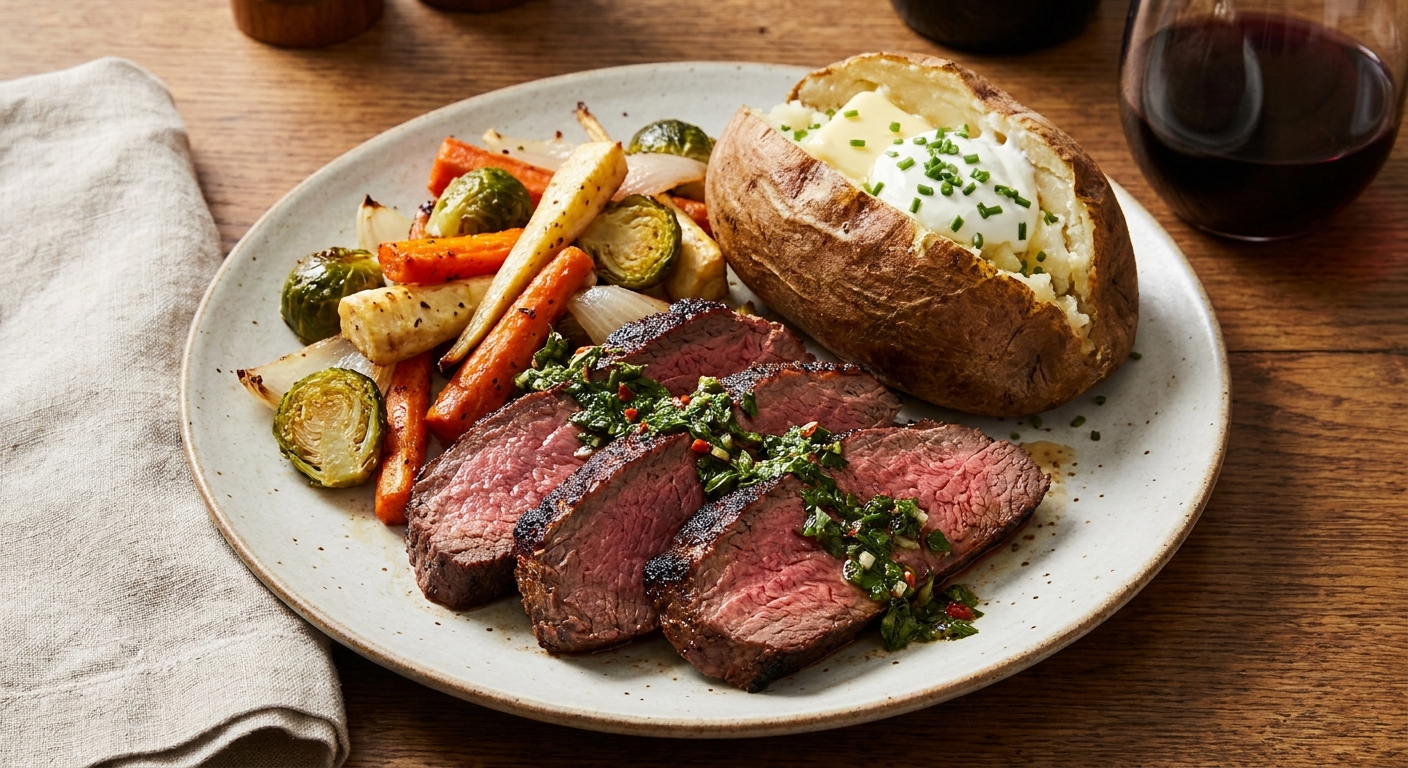
- Chimichurri finish: Serve with a bright herb sauce like the one used in grilled steak with chimichurri.
- Spicy coffee rub: Add 1 to 2 teaspoons finely ground coffee plus a pinch of cayenne for a deeper, darker crust.
- Garlic butter baste: During the last 30 seconds of skillet searing, add 1 to 2 tablespoons butter with a smashed garlic clove and spoon over the roast quickly.
Serving ideas
- Classic steakhouse plate: Pair with classic creamy potato salad or a baked potato like baked potato with sour cream.
- Easy veggie sides: Try roasted Brussels sprouts or garlic roasted vegetables.
- Taco night: Slice thin and serve with homemade salsa and pico.
- Sandwiches: Layer slices on toasted bread with a swipe of mayo, arugula, and pickled onions.
Storage and reheating
- Refrigerate: Store sliced or whole tri-tip in an airtight container for up to 4 days.
- Freeze: Freeze tightly wrapped for up to 3 months. For more detail, see how to freeze tri-tip.
- Reheat gently: Warm slices in a covered skillet with a splash of broth, or in a 275 degrees F oven until just warmed through. Avoid blasting it in the microwave, which can tighten the meat.
- Best use for leftovers: Thin slices for salads, wraps, or grain bowls. If you need timing help, see how to reheat tri-tip.
Common mistakes (and how to avoid them)
- Searing too long: If you sear like you are still cooking the meat, you will overshoot. Keep the sear short and hot.
- Skipping the thermometer: Time estimates vary wildly with thickness, starting temperature, and oven accuracy.
- Not resting between stages: The in-between rest helps you hit final doneness and improves crust.
- Cutting with the grain: Tri-tip is famous for getting blamed when it is actually sliced wrong. Find the grain, then slice against it.
- Cooking too hot in stage one: If you set the oven to 375 degrees F, you are basically back to a standard roast and you lose the reverse sear advantage.
FAQ
What temperature should I set the oven for reverse sear tri-tip?
I like 250 degrees F for a great balance of gentle cooking and reasonable time. You can go as low as 225 degrees F if you have extra time and want an even more gradual cook.
How is reverse sear different from a direct grill tri-tip roast?
A direct grill roast (the classic tri-tip roast approach) relies on higher heat earlier, which browns fast but can create a larger overcooked band before the center is ready. Reverse sear flips the order: low heat first for even doneness, then high heat at the end for crust.
How is reverse sear different from smoked tri-tip?
Smoked tri-tip is primarily about smoke flavor and a longer, lower cook, often with wood and a pronounced bark. Reverse sear can be done in an oven with no smoke at all, and the final crust is usually a quicker sear rather than a bark-building smoke. If you want the smoke-forward version, go to smoked tri-tip.
How is reverse sear different from sous vide tri-tip?
Sous vide uses a water bath set to your exact target temperature, then finishes with a sear. Reverse sear uses low dry heat (oven or indirect grill) to approach your target temperature, then sears. Sous vide is the most precise for doneness, but reverse sear is simpler gear-wise and still very consistent. See sous vide tri-tip for that method.
Do I need to bring tri-tip to room temperature first?
No. I cook it straight from the fridge all the time. Just know it may take a bit longer to reach your pull temperature. The thermometer tells the truth.
Should I sear before or after resting?
For reverse sear, rest after the low cook, then sear, then rest briefly again (5 to 10 minutes) so juices settle before slicing.
Recipe summary
This reverse sear tri-tip uses a low oven (or indirect grill) to gently cook the roast to a precise pull temperature, followed by a quick, high-heat sear for a deeply browned crust. It is the most reliable way I know to get a tender, evenly pink center without stress.
Prep time:
Cook time:
Total time:
Servings:
- 1 tri-tip roast (about 2 to 3 pounds)
- 1 1/2 to 2 teaspoons kosher salt (adjust to taste)
- 1 teaspoon black pepper, freshly ground
- 1 teaspoon garlic powder
- 1 teaspoon smoked paprika (optional)
- 1 to 2 teaspoons chopped fresh rosemary or 1/2 teaspoon dried rosemary (optional)
- 1 tablespoon high-heat oil (avocado, grapeseed, or canola) for searing, plus more as needed
- 1 to 2 tablespoons butter (optional, for finishing the sear)
- Dry and season the tri-tip. Pat the tri-tip dry with paper towels. Season all over with kosher salt, black pepper, garlic powder, and any optional spices or rosemary. If you have time, refrigerate uncovered for 2 to 24 hours for better crust. If not, proceed right away.
- Set up for low heat. Heat the oven to 250 degrees F. Place a wire rack inside a rimmed sheet pan. Set the tri-tip on the rack with the thicker side positioned toward the hotter back of the oven if you know your oven has hot spots.
- Cook low and slow to your pull temperature. Roast until the thickest part reaches your desired pull temperature: 110 to 115 degrees F (rare), 120 to 125 degrees F (medium-rare), 130 to 135 degrees F (medium), 140 to 145 degrees F (medium-well), or 150 to 155 degrees F (well-done). Use an instant-read thermometer and start checking early. Timing varies by thickness.
- Rest before searing. Remove the tri-tip from the oven and let it rest for 10 minutes. This helps prevent overshooting and lets the surface dry slightly for better browning.
- Get your sear station ripping hot. Heat a cast iron skillet over high heat until very hot. Add 1 tablespoon high-heat oil and swirl to coat. (Alternatively, preheat a grill to high and prepare a hot zone for searing.)
- Sear fast for crust. Sear the tri-tip 60 to 120 seconds per side until deeply browned, plus quick sears on the edges. If using butter, add it during the last 30 seconds and spoon it over the roast briefly.
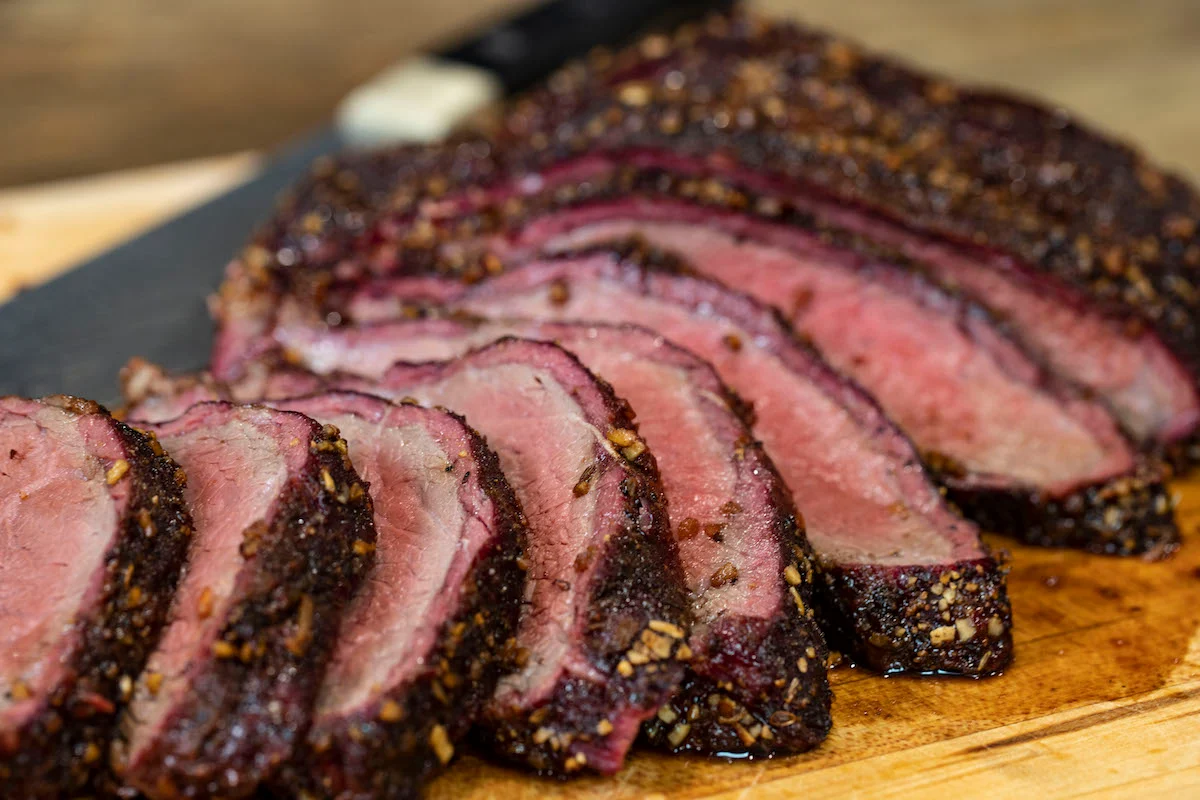
- Final rest, then slice against the grain. Rest the tri-tip 5 to 10 minutes. Find where the grain changes direction, cut the roast in half there, then thinly slice each piece against its grain. Serve immediately.
Notes
- Grill reverse sear option: Cook the seasoned tri-tip over indirect heat with the lid closed until it reaches the pull temperature, then sear over direct high heat to finish.
- About carryover cooking: The final sear can raise the internal temperature by about 10 to 15 degrees F. Pull earlier rather than later if you are aiming for rare or medium-rare.
- Slicing tip: Tri-tip is famously tender when sliced correctly and disappointingly chewy when sliced with the grain.