Delishing
Tri-Tip Roast

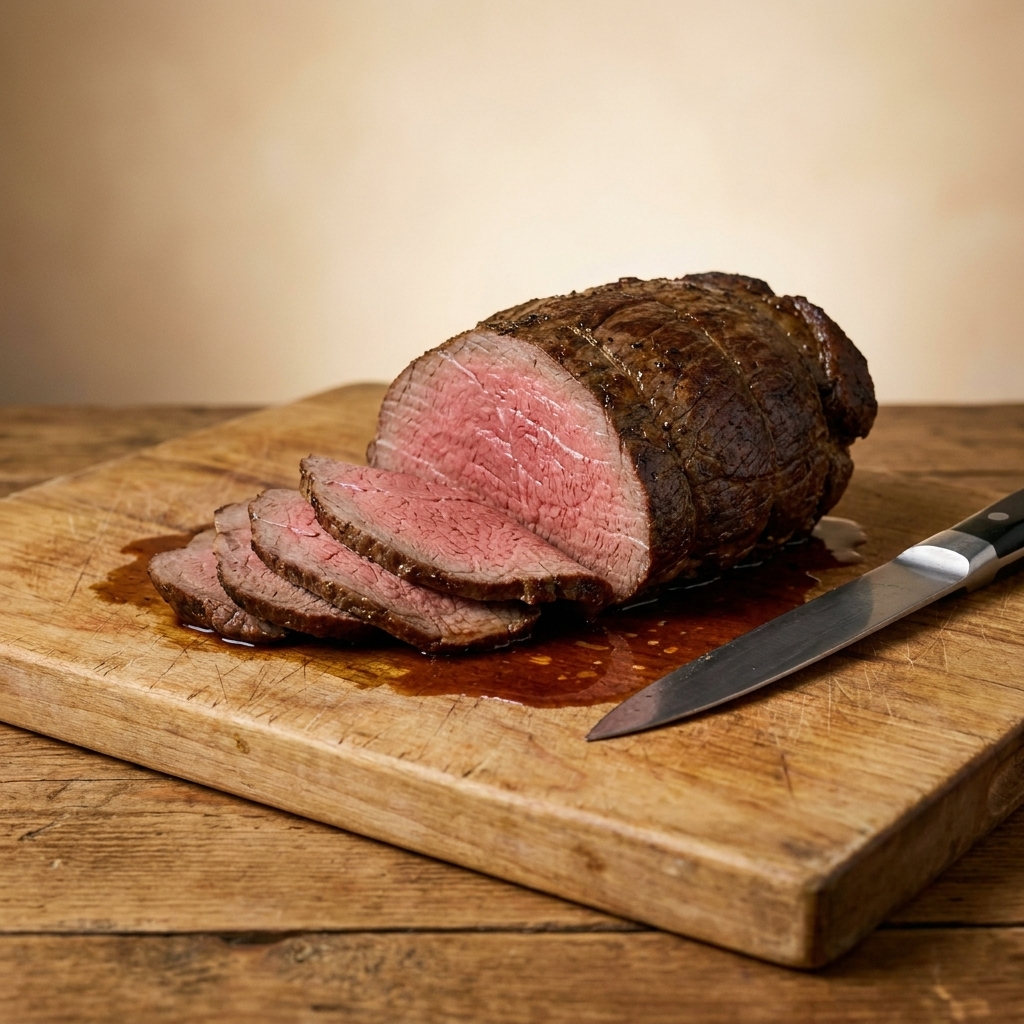
Tri-tip is one of those cuts that can feel a little mysterious the first time you bring it home. It is often small enough to cook on a weeknight, but it eats like a special-occasion roast if you treat it right. My goal with this recipe is simple: a deeply seasoned crust, a juicy medium-rare center, and slices that stay tender all the way across the plate.
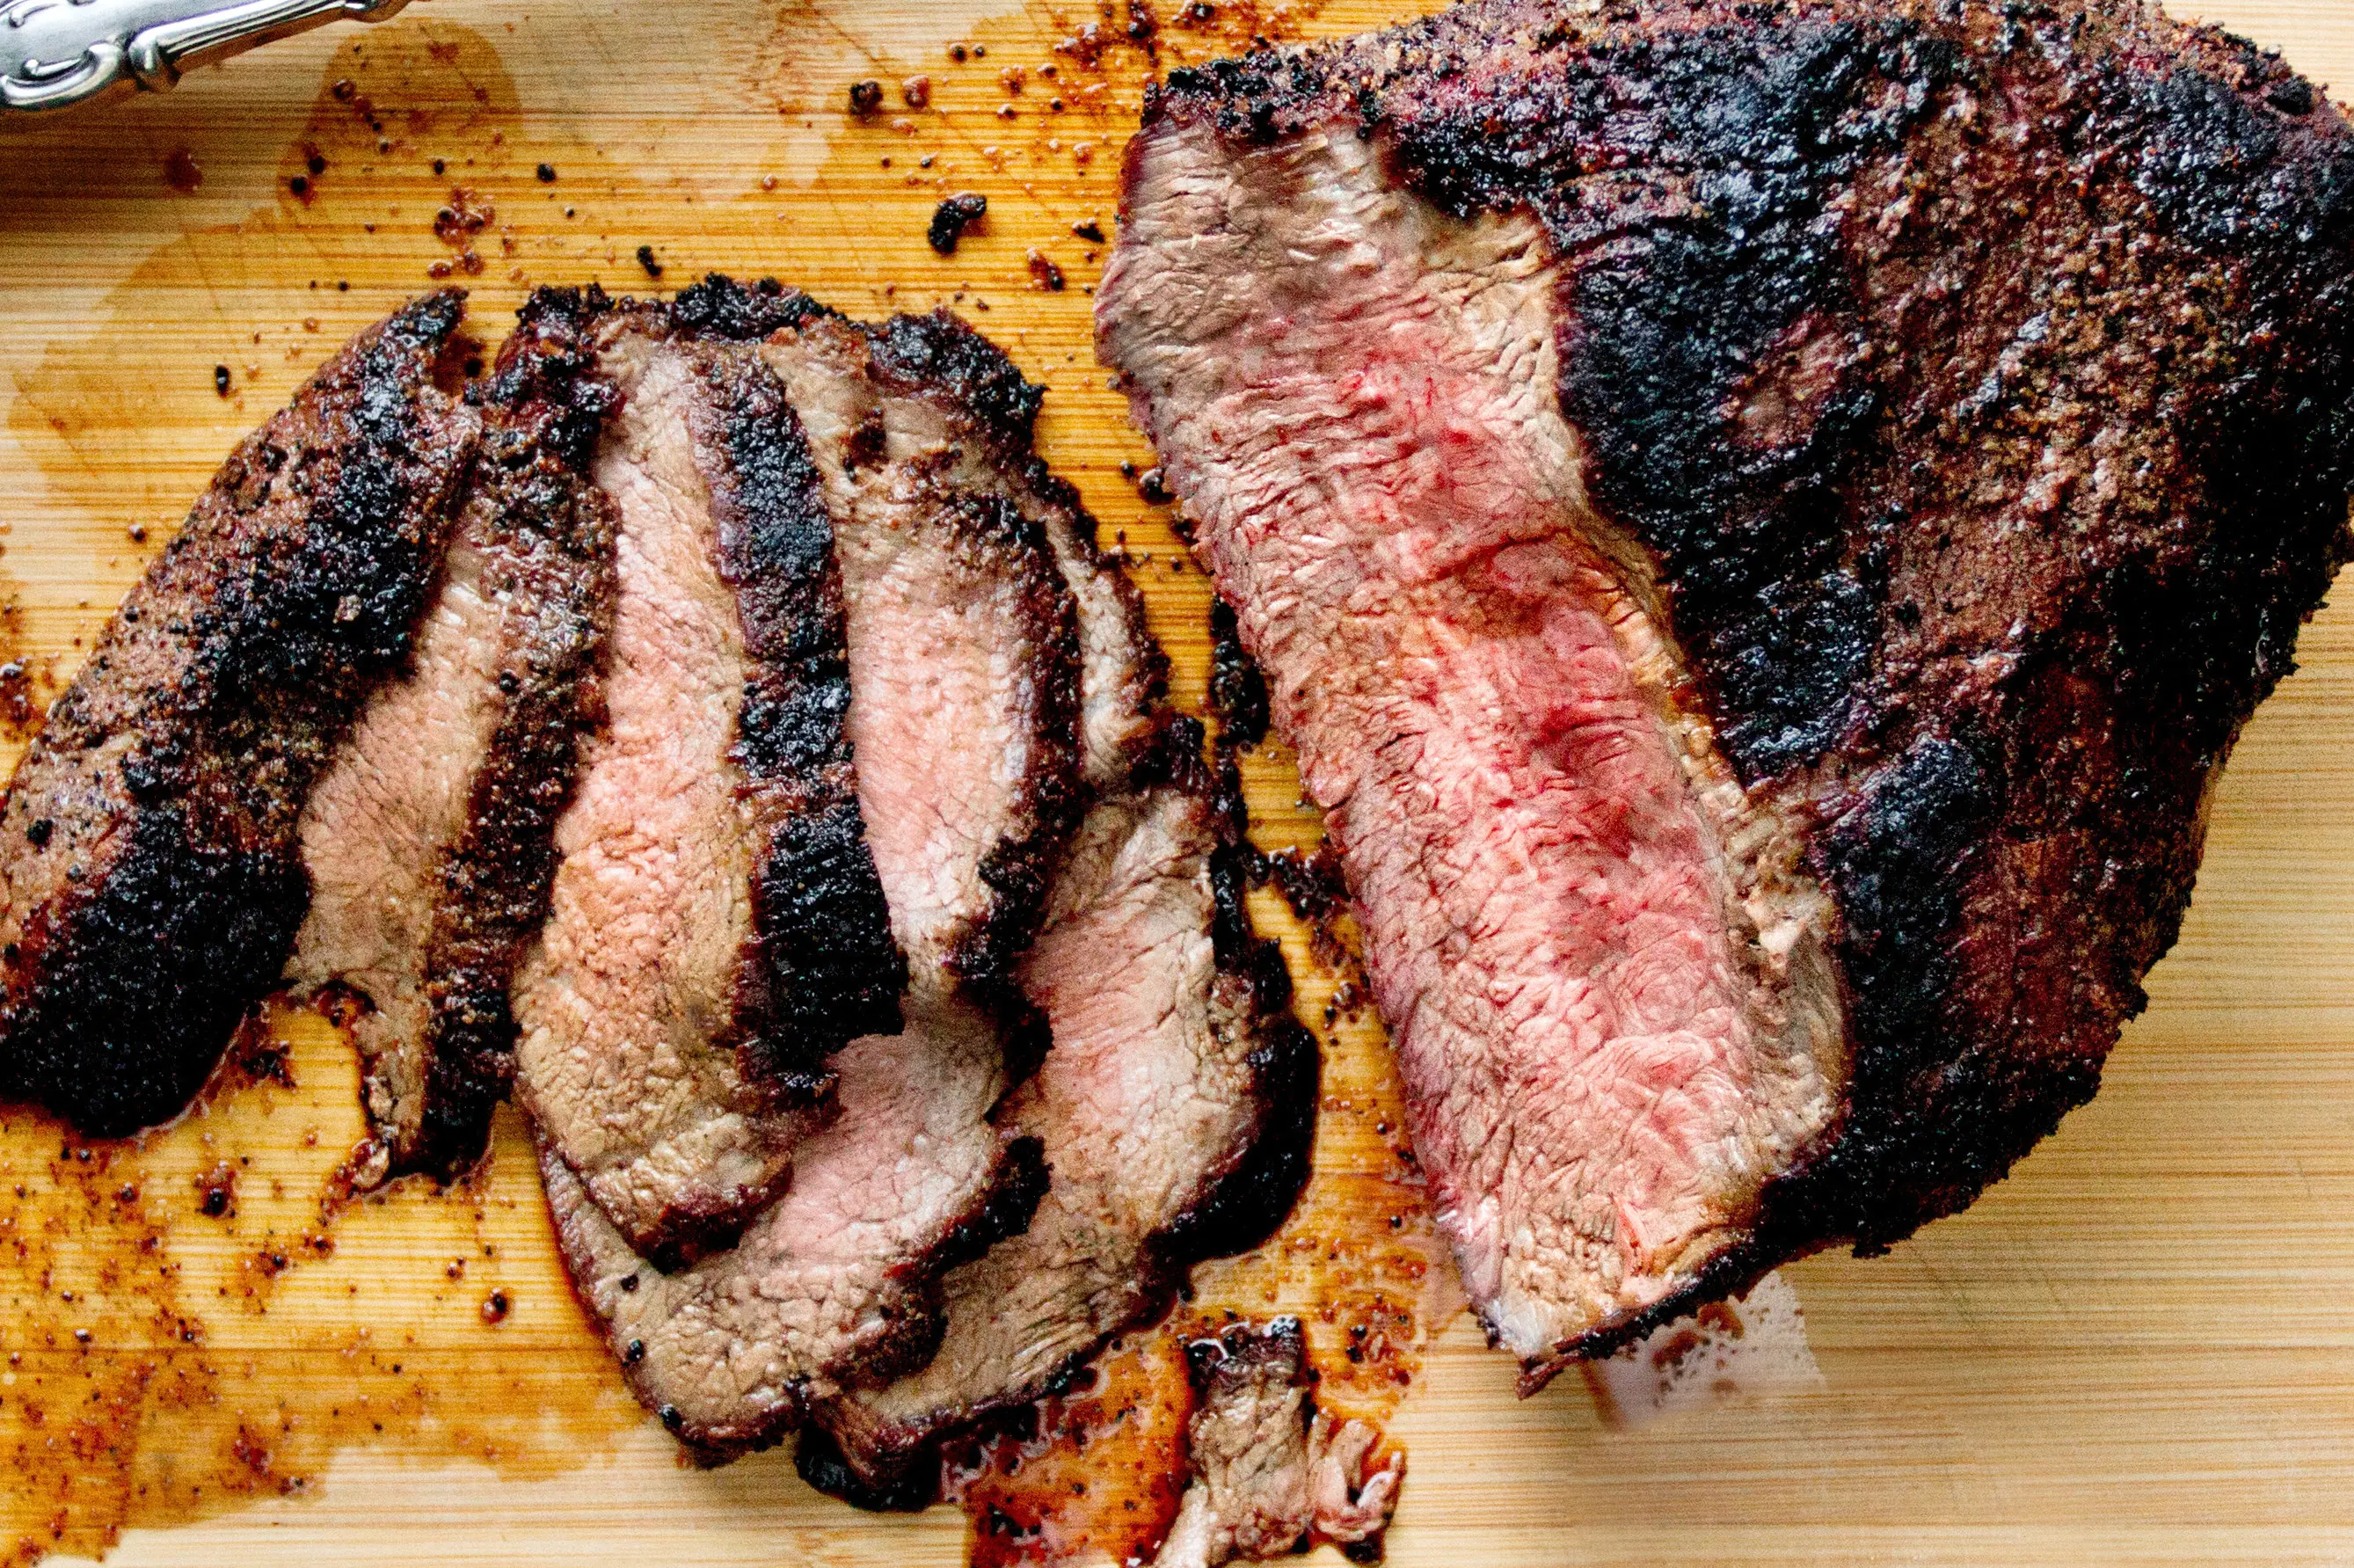
The most important thing to know is that tri-tip is not shaped like a neat, even cylinder. It is triangular and the grain changes direction, which means you cannot slice it the same way you would a round roast. Nail the grain and the slicing, keep an eye on doneness, and tenderness improves dramatically.
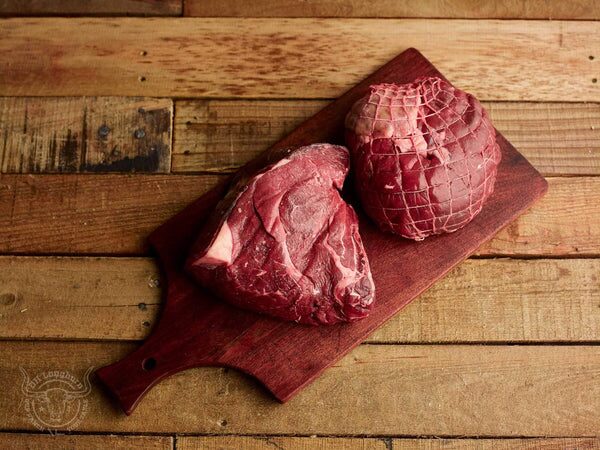
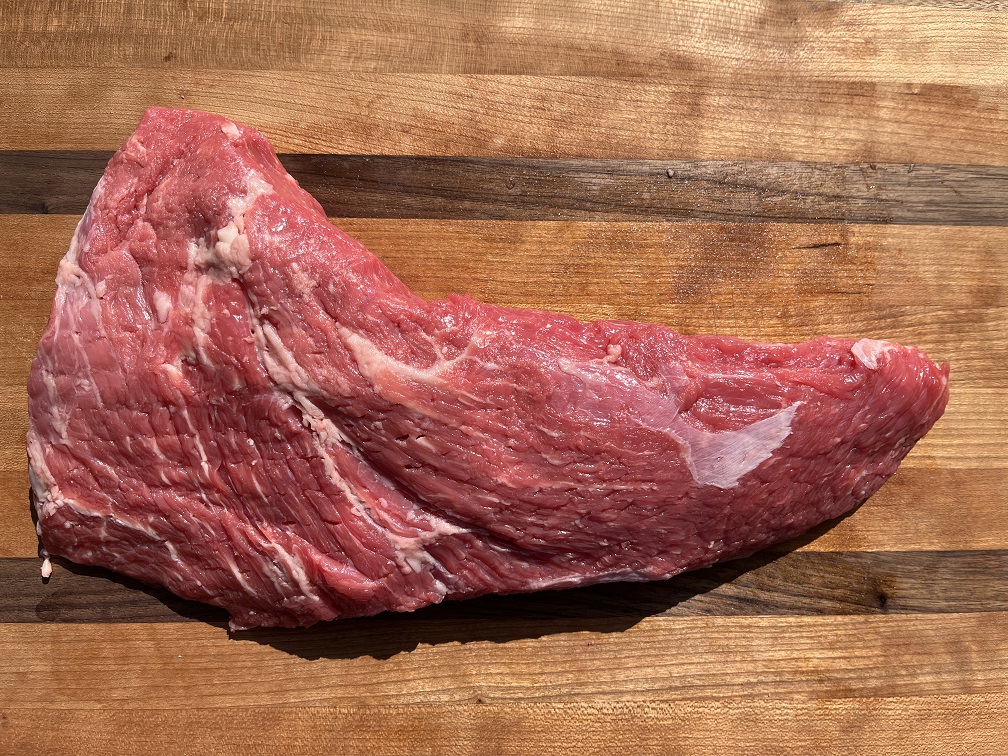
If your store labels it as Santa Maria steak or Santa Maria roast, you are in the right place. Before you cook, take a quick second to look at the raw roast and notice how the muscle fibers run. They usually shift direction near the center, and knowing that ahead of time makes carving feel easy instead of rushed.
Below you will get two reliable ways to cook it: a grill method (my favorite for smoky flavor) and an oven method (perfect when it is raining or you just want hands-off roasting). Both aim for medium-rare, and the recipe card walks you through the exact temperature targets and the rest time so carryover cooking lands you in that tender, rosy sweet spot.
Why this works
- A dry brine style seasoning step: Salting the surface and letting it sit briefly helps the roast hold onto moisture and season deeper than the crust.
- Two-zone cooking: Sear first for a flavorful crust, then finish gently so the center stays pink and juicy.
- Medium-rare targets you can trust: Pulling at 125 to 130 F and resting gets you reliably to a final 130 to 135 F.
- Across-the-grain slicing: Tri-tip has two grain directions. Cutting it correctly is the difference between tender and chewy.
Ingredient notes
- Tri-tip roast: Most are 2 to 3 pounds. Look for good marbling and a fat cap. If yours is larger, add time and cook by temperature.
- Kosher salt: Use kosher salt if possible. If using fine table salt, reduce the amount by about one-third.
- Garlic powder and onion powder: These build savory flavor without burning as easily as fresh garlic during a hard sear.
- Smoked paprika: Adds color and a subtle smoky note. Regular paprika works if that is what you have.
- Brown sugar (optional): Helps browning and balances the rub. Leave it out if you prefer no sweetness.
- Neutral oil: Avocado, canola, or grapeseed helps the rub adhere and promotes browning.
Equipment
- Instant-read thermometer (the real key to medium-rare)
- Cutting board and sharp slicing knife
- For grill method: grill set up for two-zone heat, tongs
- For oven method: oven-safe skillet (cast iron is great) or a roasting pan
- Aluminum foil (optional, for a loose tent during resting)
Pro tips
- Find the grain before you cook: On raw tri-tip, look for the lines running through the meat. Mentally note where they change direction, usually near the center. After cooking, it is harder to see when you are in a hurry.
- Let it sit with salt: Even 30 minutes at room temperature helps. If you have time, refrigerate it uncovered for up to 24 hours for an even better crust.
- Cook to temperature, not minutes: Tri-tip thickness varies a lot from the narrow tip to the thick end. Your thermometer keeps you honest.
- Rest is not optional: 10 to 15 minutes makes slices noticeably juicier.
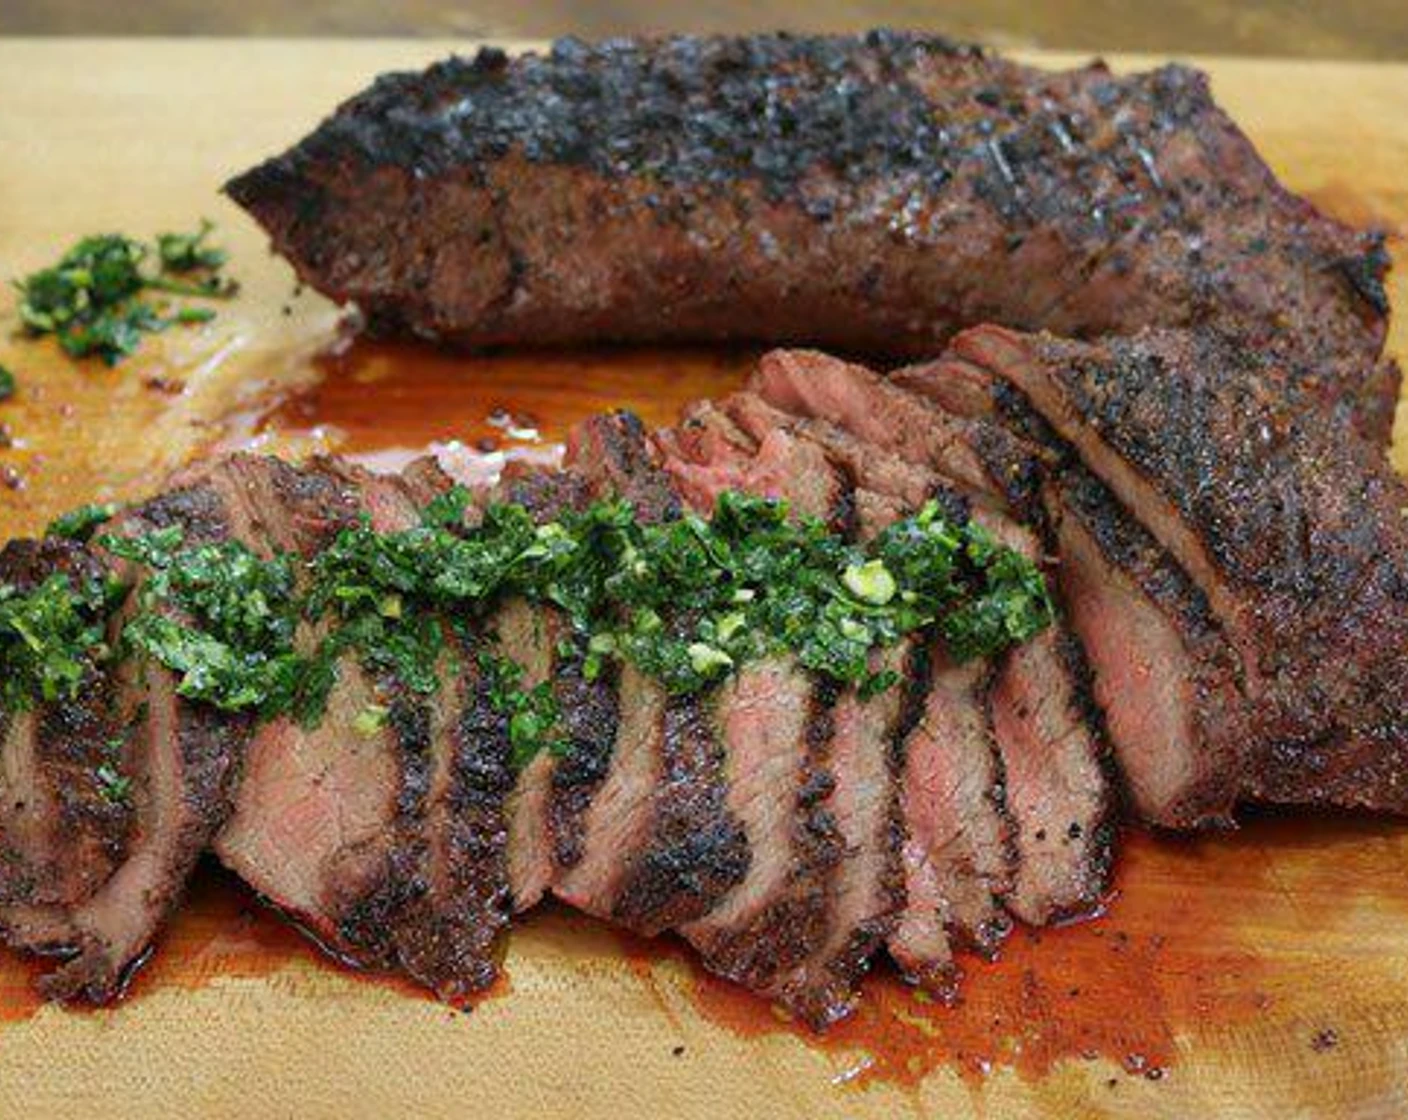
- Slice in two directions: Start by cutting the roast in half at the grain change, then slice each half across its own grain.
Substitutes
- Seasoning: Swap smoked paprika for regular paprika, or use chili powder for a slightly different profile.
- Oil: Use olive oil if that is what you have, just keep the sear from getting too hot and smoky.
- Heat source: No grill? Use the oven method. No oven-safe skillet? Sear in a pan, then transfer to a roasting pan to finish.
Variations
- Santa Maria inspired: Use salt, black pepper, garlic powder, and a pinch of dried parsley. Keep it simple and let the beef shine.
- Herb-forward: Add 1 tablespoon chopped fresh rosemary and 1 tablespoon chopped fresh thyme to the oil before rubbing on the roast.
- Spicy: Add 1 to 2 teaspoons cayenne (start small) or 1 teaspoon chipotle powder.
- Garlic butter finish: During resting, top the roast with 1 to 2 tablespoons butter mixed with minced garlic and a pinch of salt.
Serving ideas
- Slice thin for plates with roasted vegetables like garlic roasted vegetables.
- Turn leftovers into a steak salad with bold toppings like you would for Cobb salad.
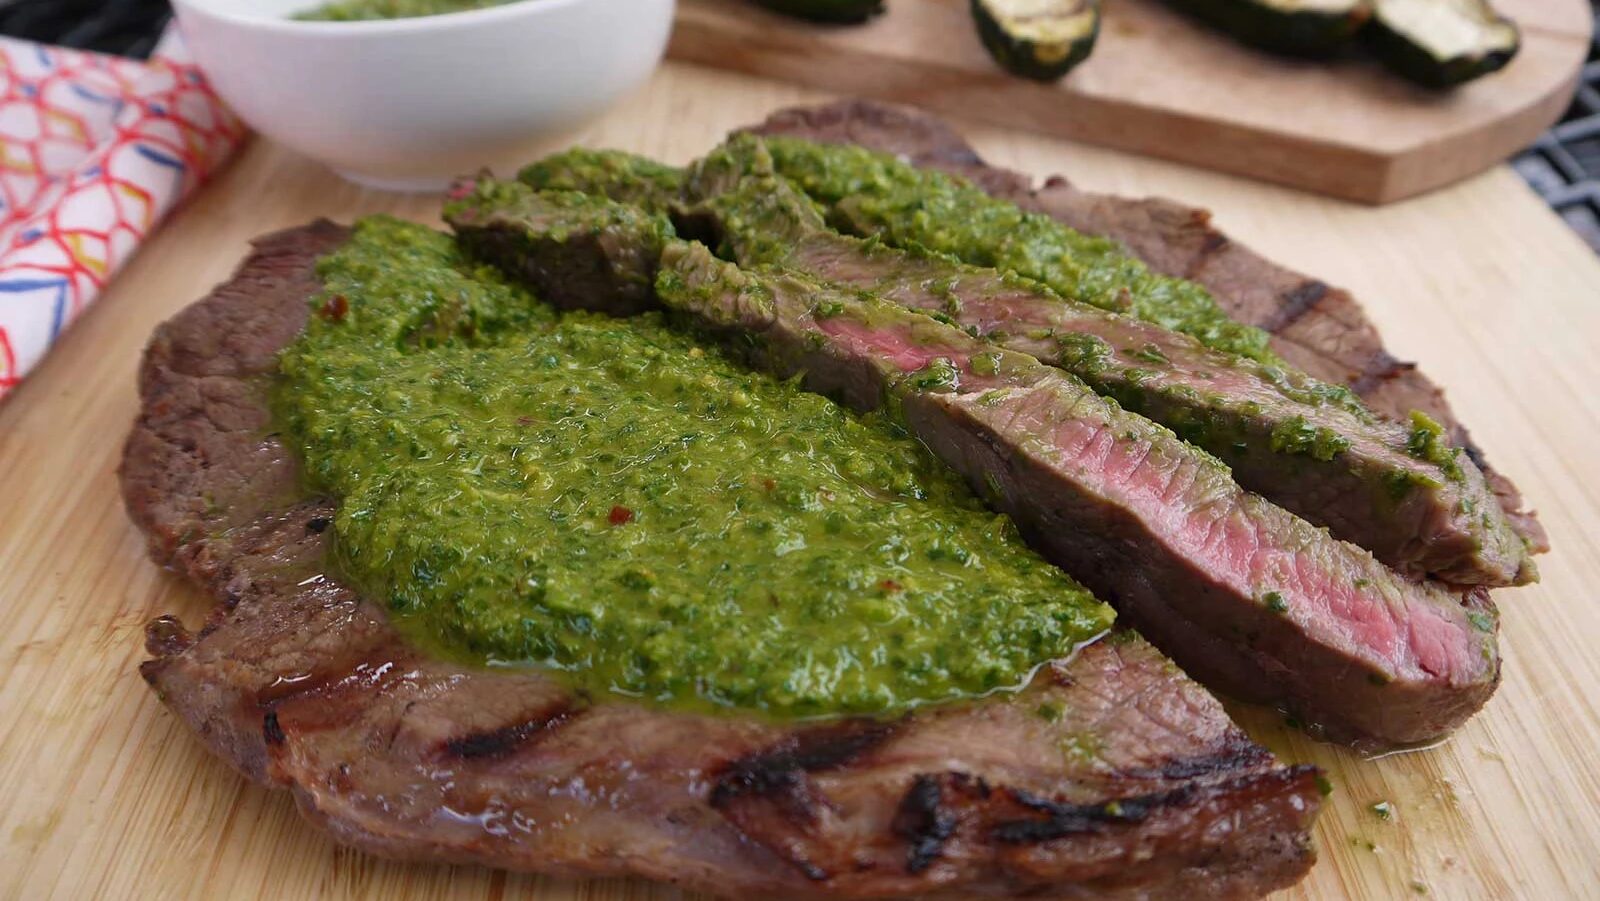
- Make quick steak tacos with a fresh topping like pico de gallo.
- Pair with an easy starch like baked potatoes or rosemary roasted sweet potatoes.
Storage
- Refrigerate: Store sliced tri-tip in an airtight container for up to 4 days.
- Freeze: Freeze tightly wrapped slices for up to 2 months. Thaw overnight in the fridge.
- Reheat gently: Warm slices in a covered skillet with a splash of broth or water over low heat, just until heated through. Overheating turns medium-rare into well-done fast.
Common mistakes with tri-tip
- Treating it like a round roast: Tri-tip is triangular, uneven in thickness, and has grain that changes direction. You need temperature checks in the thickest part and you need to slice in two stages.
- Skipping the thermometer: This cut goes from perfect to overcooked quickly, especially at the thin tip.
- Not resting: Cutting right away dumps the juices onto the board.
- Slicing with the grain: This is the biggest tenderness killer. If it seems chewy, it is almost always the slice direction.
- Cooking low the whole time: Tri-tip benefits from a hard sear for a crust, then a gentler finish for even doneness.
FAQ
What internal temperature should tri-tip be for medium-rare?
Pull it from the heat at 125 to 130 F in the thickest part, then rest 10 to 15 minutes. It should finish around 130 to 135 F.
Is tri-tip a roast or a steak?
Both descriptions are common. It is a roast-sized cut that can be cooked like a small roast, but it is tender enough to slice like steak when cooked to medium-rare.
Why is my tri-tip tough?
The usual culprits are overcooking or slicing with the grain. Because the grain changes direction in tri-tip, you often need to cut the roast into two pieces first, then slice each piece across its own grain.
Do I cook tri-tip fat side up or down?
On the grill, I like to start fat side down briefly to help render and protect the meat during the sear, then flip as needed. In the oven, fat side up can baste slightly as it renders. Either way, the thermometer matters more than the orientation.
Can I marinate tri-tip instead of using a dry rub?
Yes. A marinade can add great flavor, but for the best crust, pat the roast very dry before searing and still season with salt right before cooking.
Seasoned Tri-Tip Roast (Grill or Oven)
A bold, simple rub plus two reliable cooking options. Pull at 125 to 130 F for medium-rare, rest 10 to 15 minutes, then slice across the grain for maximum tenderness.
Prep time: 15 minutes (plus 30 minutes resting with seasoning)
Cook time: 25 to 45 minutes
Total time: 1 hour 10 minutes
Servings: 6
- 1 tri-tip roast (2 to 3 pounds), preferably with a fat cap
- 2 tablespoons neutral oil (avocado, canola, or grapeseed)
- 2 teaspoons kosher salt
- 2 teaspoons black pepper
- 2 teaspoons garlic powder
- 1 teaspoon onion powder
- 1 teaspoon smoked paprika (or regular paprika)
- 1 teaspoon dried rosemary, crushed between your fingers (optional)
- 1 teaspoon brown sugar (optional)
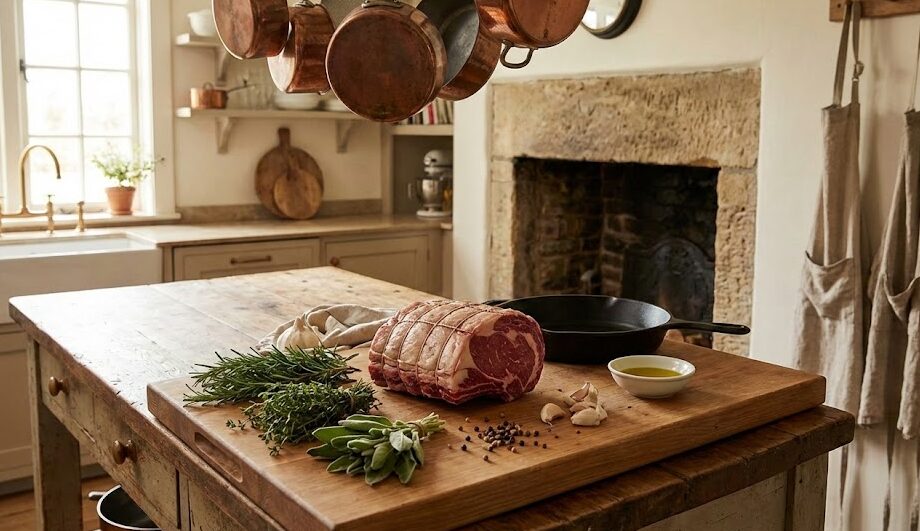
- Dry and season the roast. Pat the tri-tip very dry with paper towels. Rub all over with the oil. In a small bowl, mix salt, pepper, garlic powder, onion powder, paprika, rosemary (if using), and brown sugar (if using). Coat the roast on all sides, pressing the rub in.
- Rest before cooking. Let the seasoned tri-tip sit at room temperature for 30 minutes. If you have extra time, you can refrigerate it uncovered for up to 24 hours, then bring it out while your grill or oven preheats.
- Choose your cooking method. Use either the grill method or oven method below. For both methods, the goal is to pull the roast at 125 to 130 F in the thickest part for medium-rare.
- Grill method: set up two-zone heat. Preheat a gas grill with one side on high and one side on low. For charcoal, bank coals to one side. Aim for about 450 to 500 F on the hot side and 300 to 350 F on the cooler side.
- Grill method: sear. Place tri-tip on the hot side and sear 4 to 5 minutes per side, including the edges, until a dark crust forms. Watch for flare-ups and move briefly to the cool side if needed.
- Grill method: finish gently. Move the tri-tip to the cooler side, close the lid, and cook until the thickest part reaches 125 to 130 F, about 15 to 30 minutes depending on thickness and grill temperature.
- Oven method: preheat and sear. Preheat oven to 275 F. Heat a large oven-safe skillet over medium-high heat. When hot, sear tri-tip 3 to 4 minutes per side (and briefly on edges) until well-browned.
- Oven method: roast to temperature. Transfer the skillet to the oven and roast until the thickest part reaches 125 to 130 F, about 20 to 35 minutes depending on thickness. Start checking early.
- Rest. Transfer the tri-tip to a cutting board and rest 10 to 15 minutes. You can loosely tent with foil, but do not wrap tightly.
- Slice across the grain (critical for tenderness). Tri-tip is triangular and the grain changes direction. Find where the grain shifts (often near the center), cut the roast into two pieces there, then slice each piece thinly against the grain.
- Serve. Serve immediately, spooning any juices from the cutting board over the slices.
Notes: For the most even doneness, insert the thermometer into the thickest part from the side, not straight down from the top. The thin tip will cook faster than the thick end, so always judge doneness by the thickest section.