Delishing
Sous Vide Tri-Tip

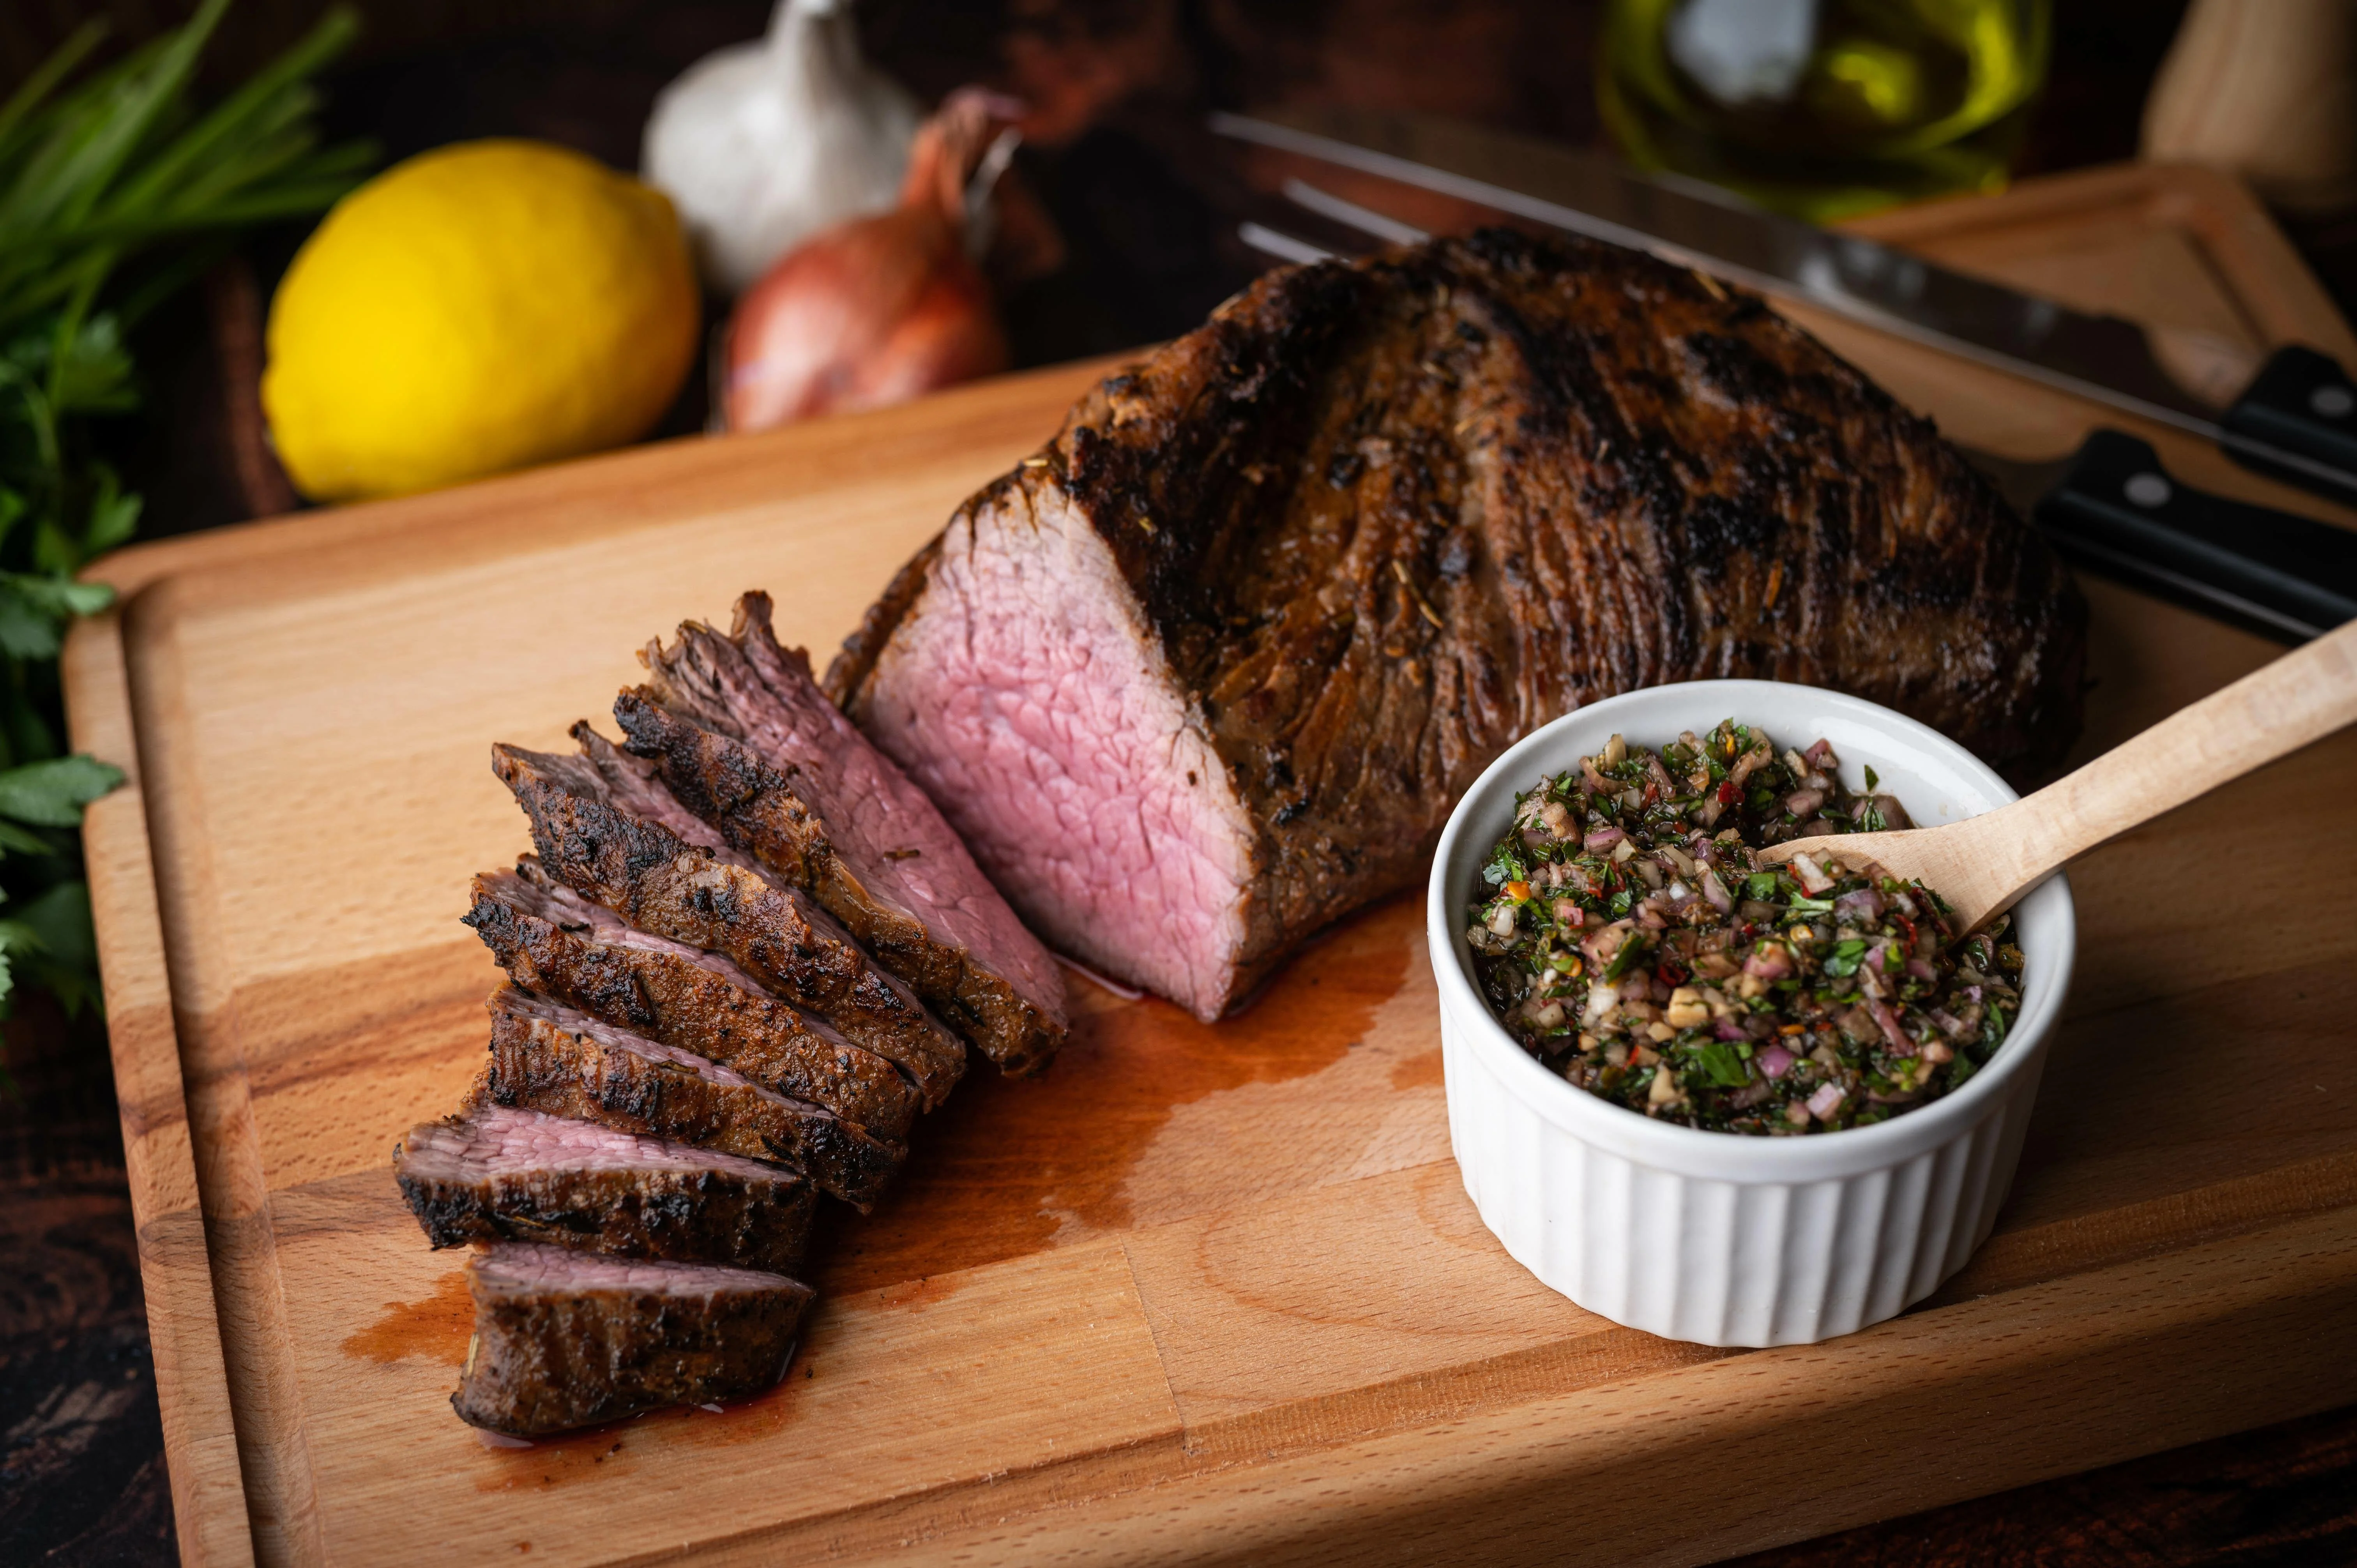
Tri-tip is one of my favorite cuts for feeding a group because it eats like steak but carves like a roast. The only catch is that it can be a little tricky with traditional high-heat roasting or grilling. Tri-tip is tapered, so the thin end wants to race ahead while the thick end is still catching up. Sous vide takes a lot of that stress off the table, especially if you want consistent doneness without babysitting the oven or grill.
This is the water-bath game plan I rely on when I want that edge-to-edge doneness and a quick, ripping-hot sear at the end. You pick your bath temperature based on your preferred doneness, then use a thickness-based time range so the center has enough time to heat through. In practice, most tri-tip roasts land somewhere around 1 1/2 to 3 inches at the thickest point, and thickness matters most for timing.
After the bath, we pat the surface dry, then give it a brief fridge chill uncovered so the final sear builds a deep crust fast without pushing the inside much past your target. It is a small step that makes a big difference.
The recipe card below nails down the variables that matter most, including exact temps by doneness, timing by thickness, and a couple of solid options for getting that final crust.
If you also like classic dry-heat versions, my oven and grill approach lives here: Tri-Tip Roast. For this page, we are staying in the water bath, then searing hard and slicing thin against the grain.
What it should look like
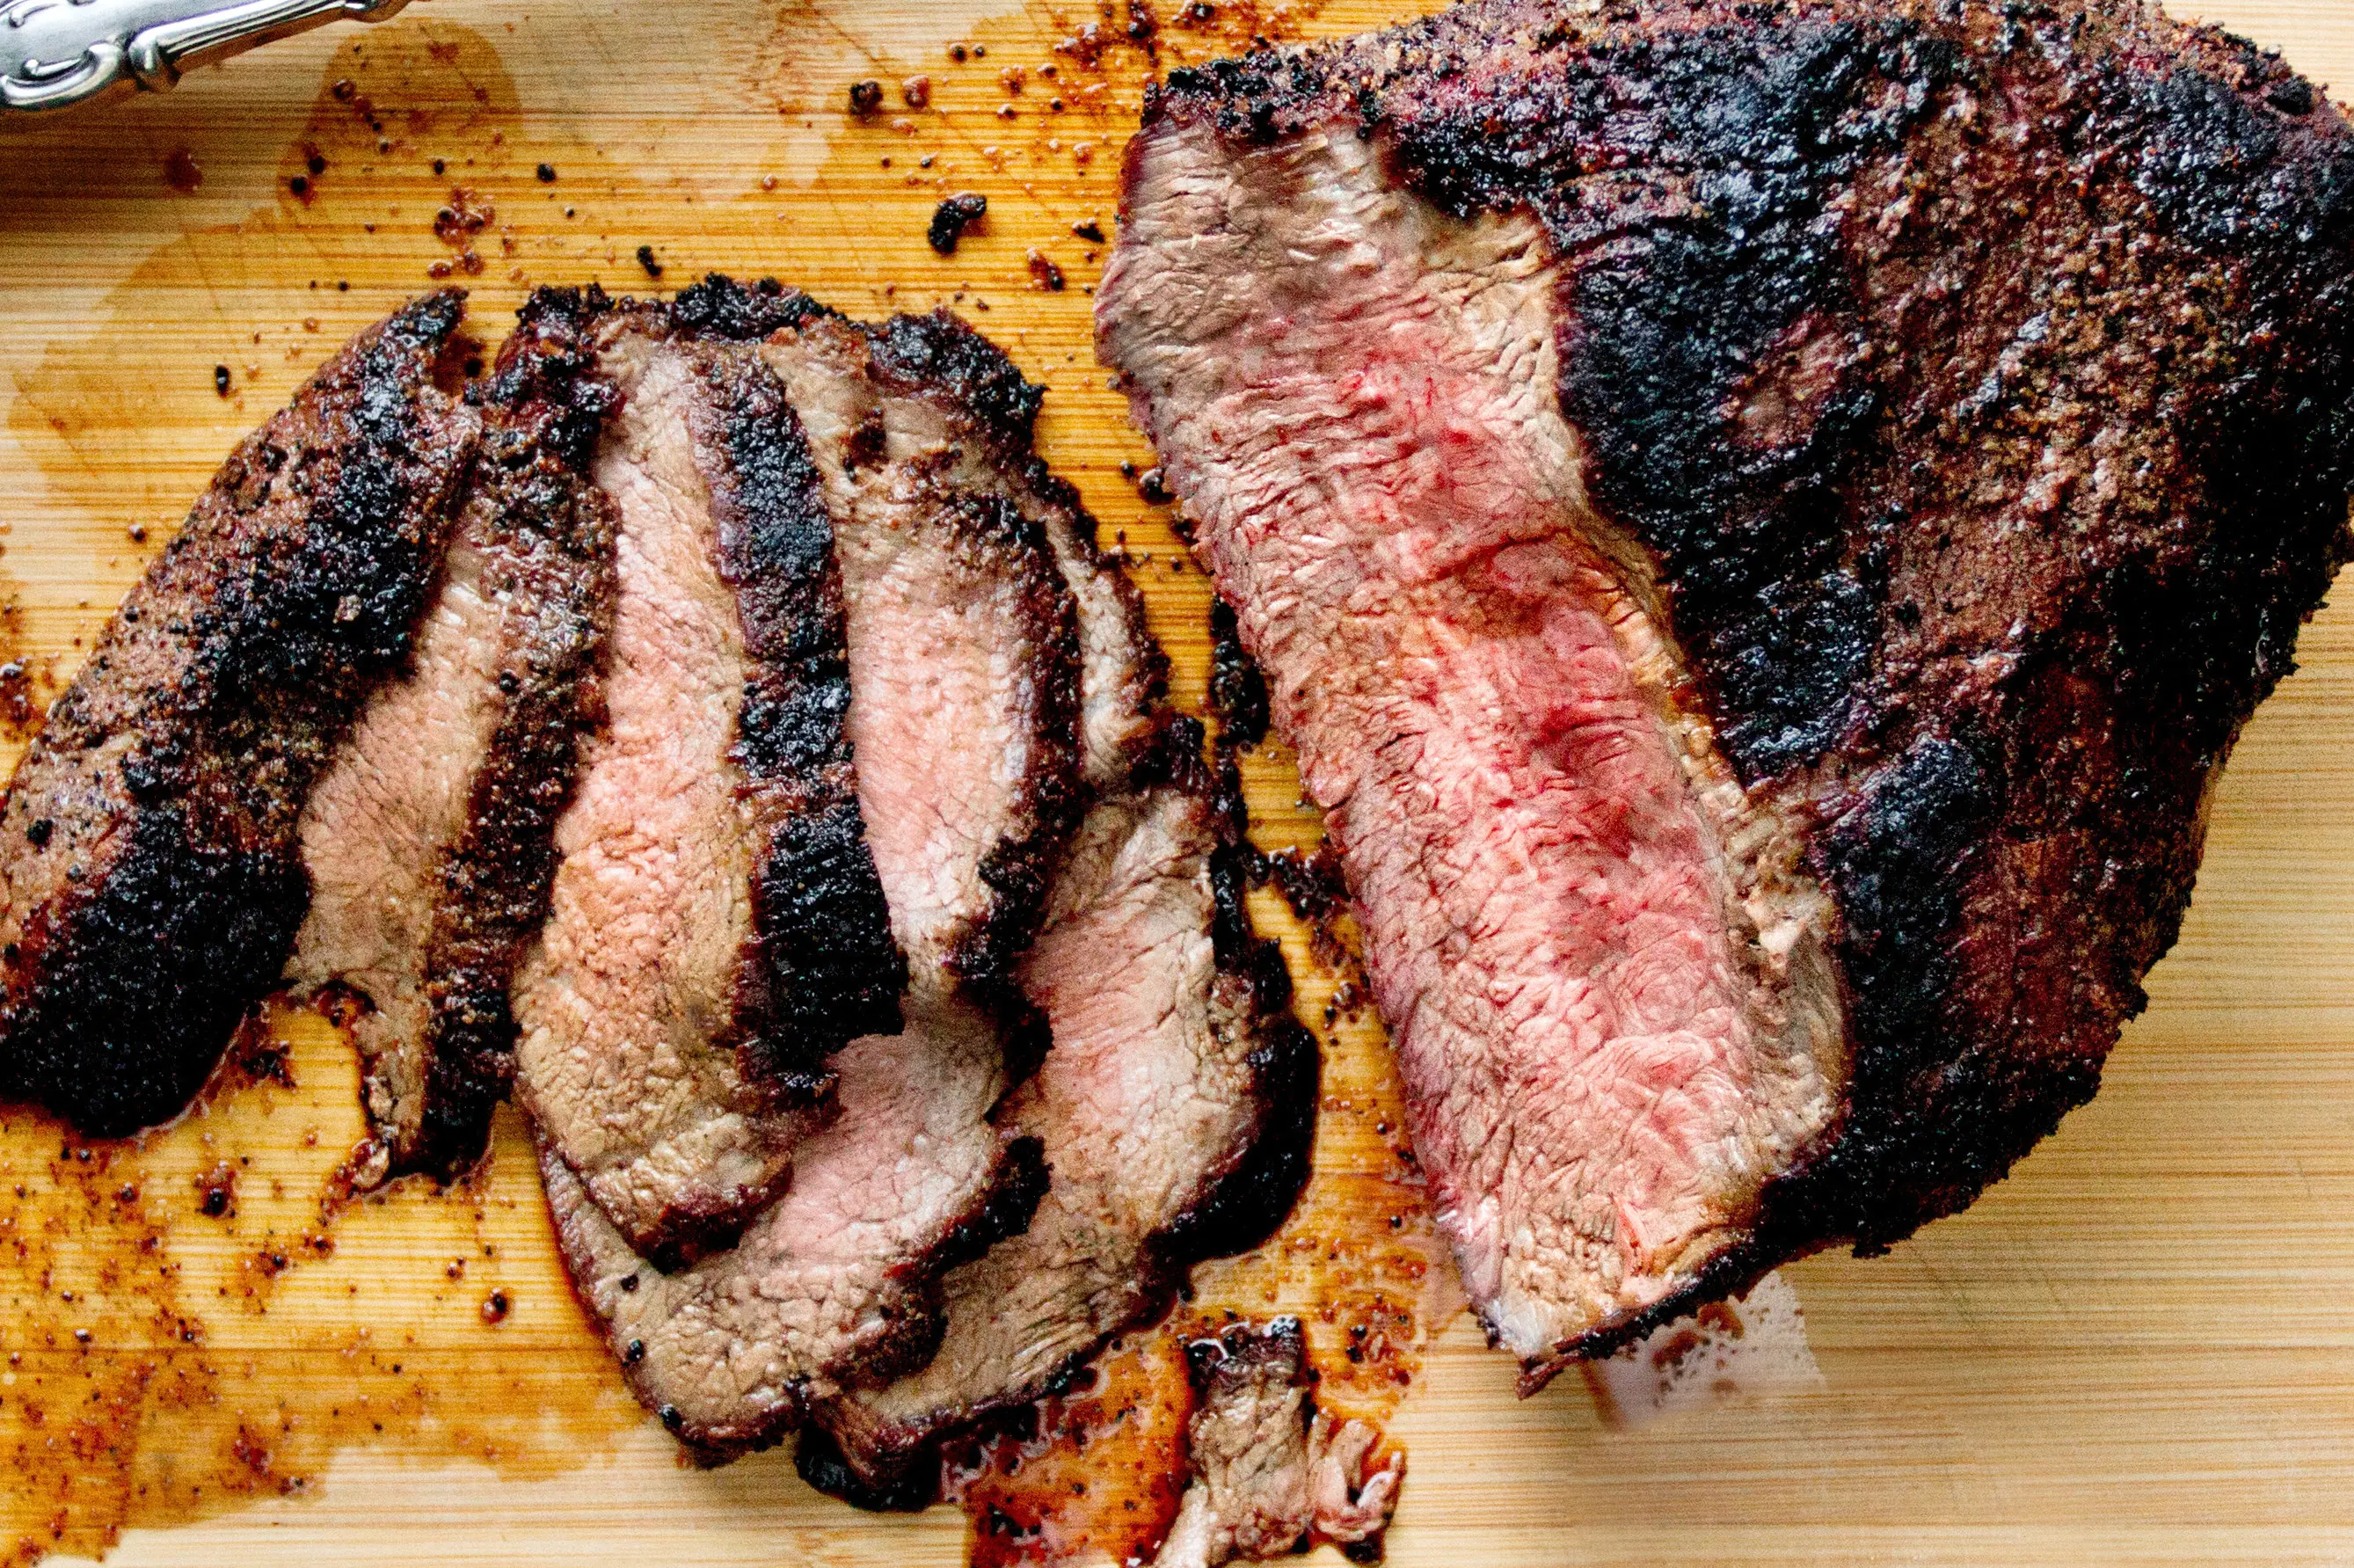
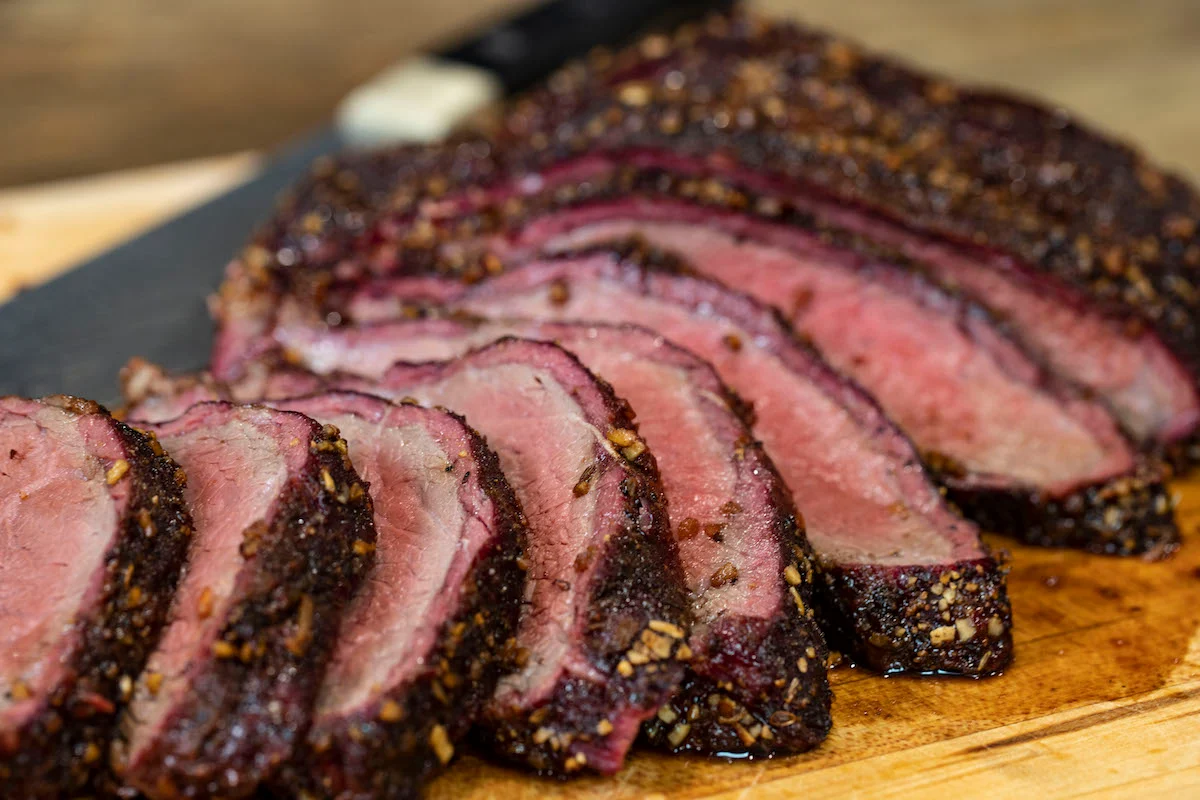
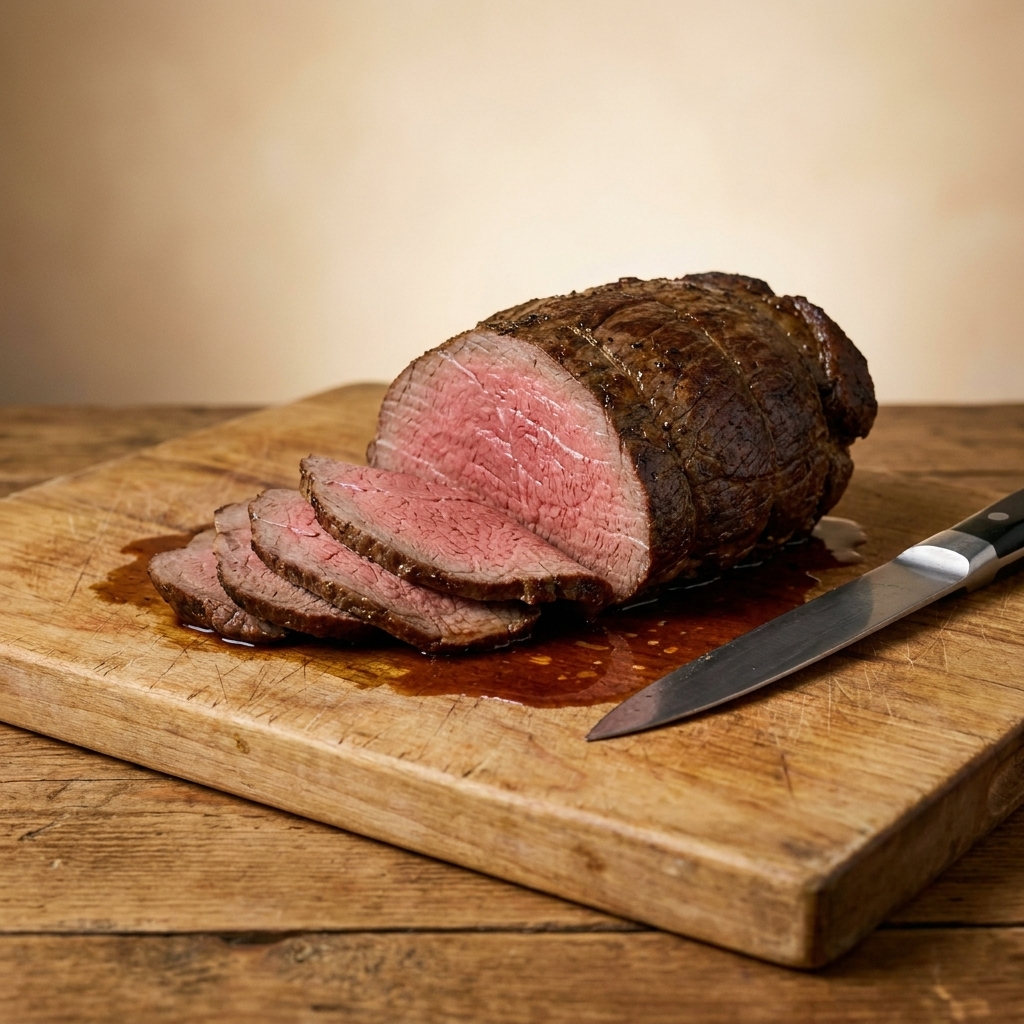
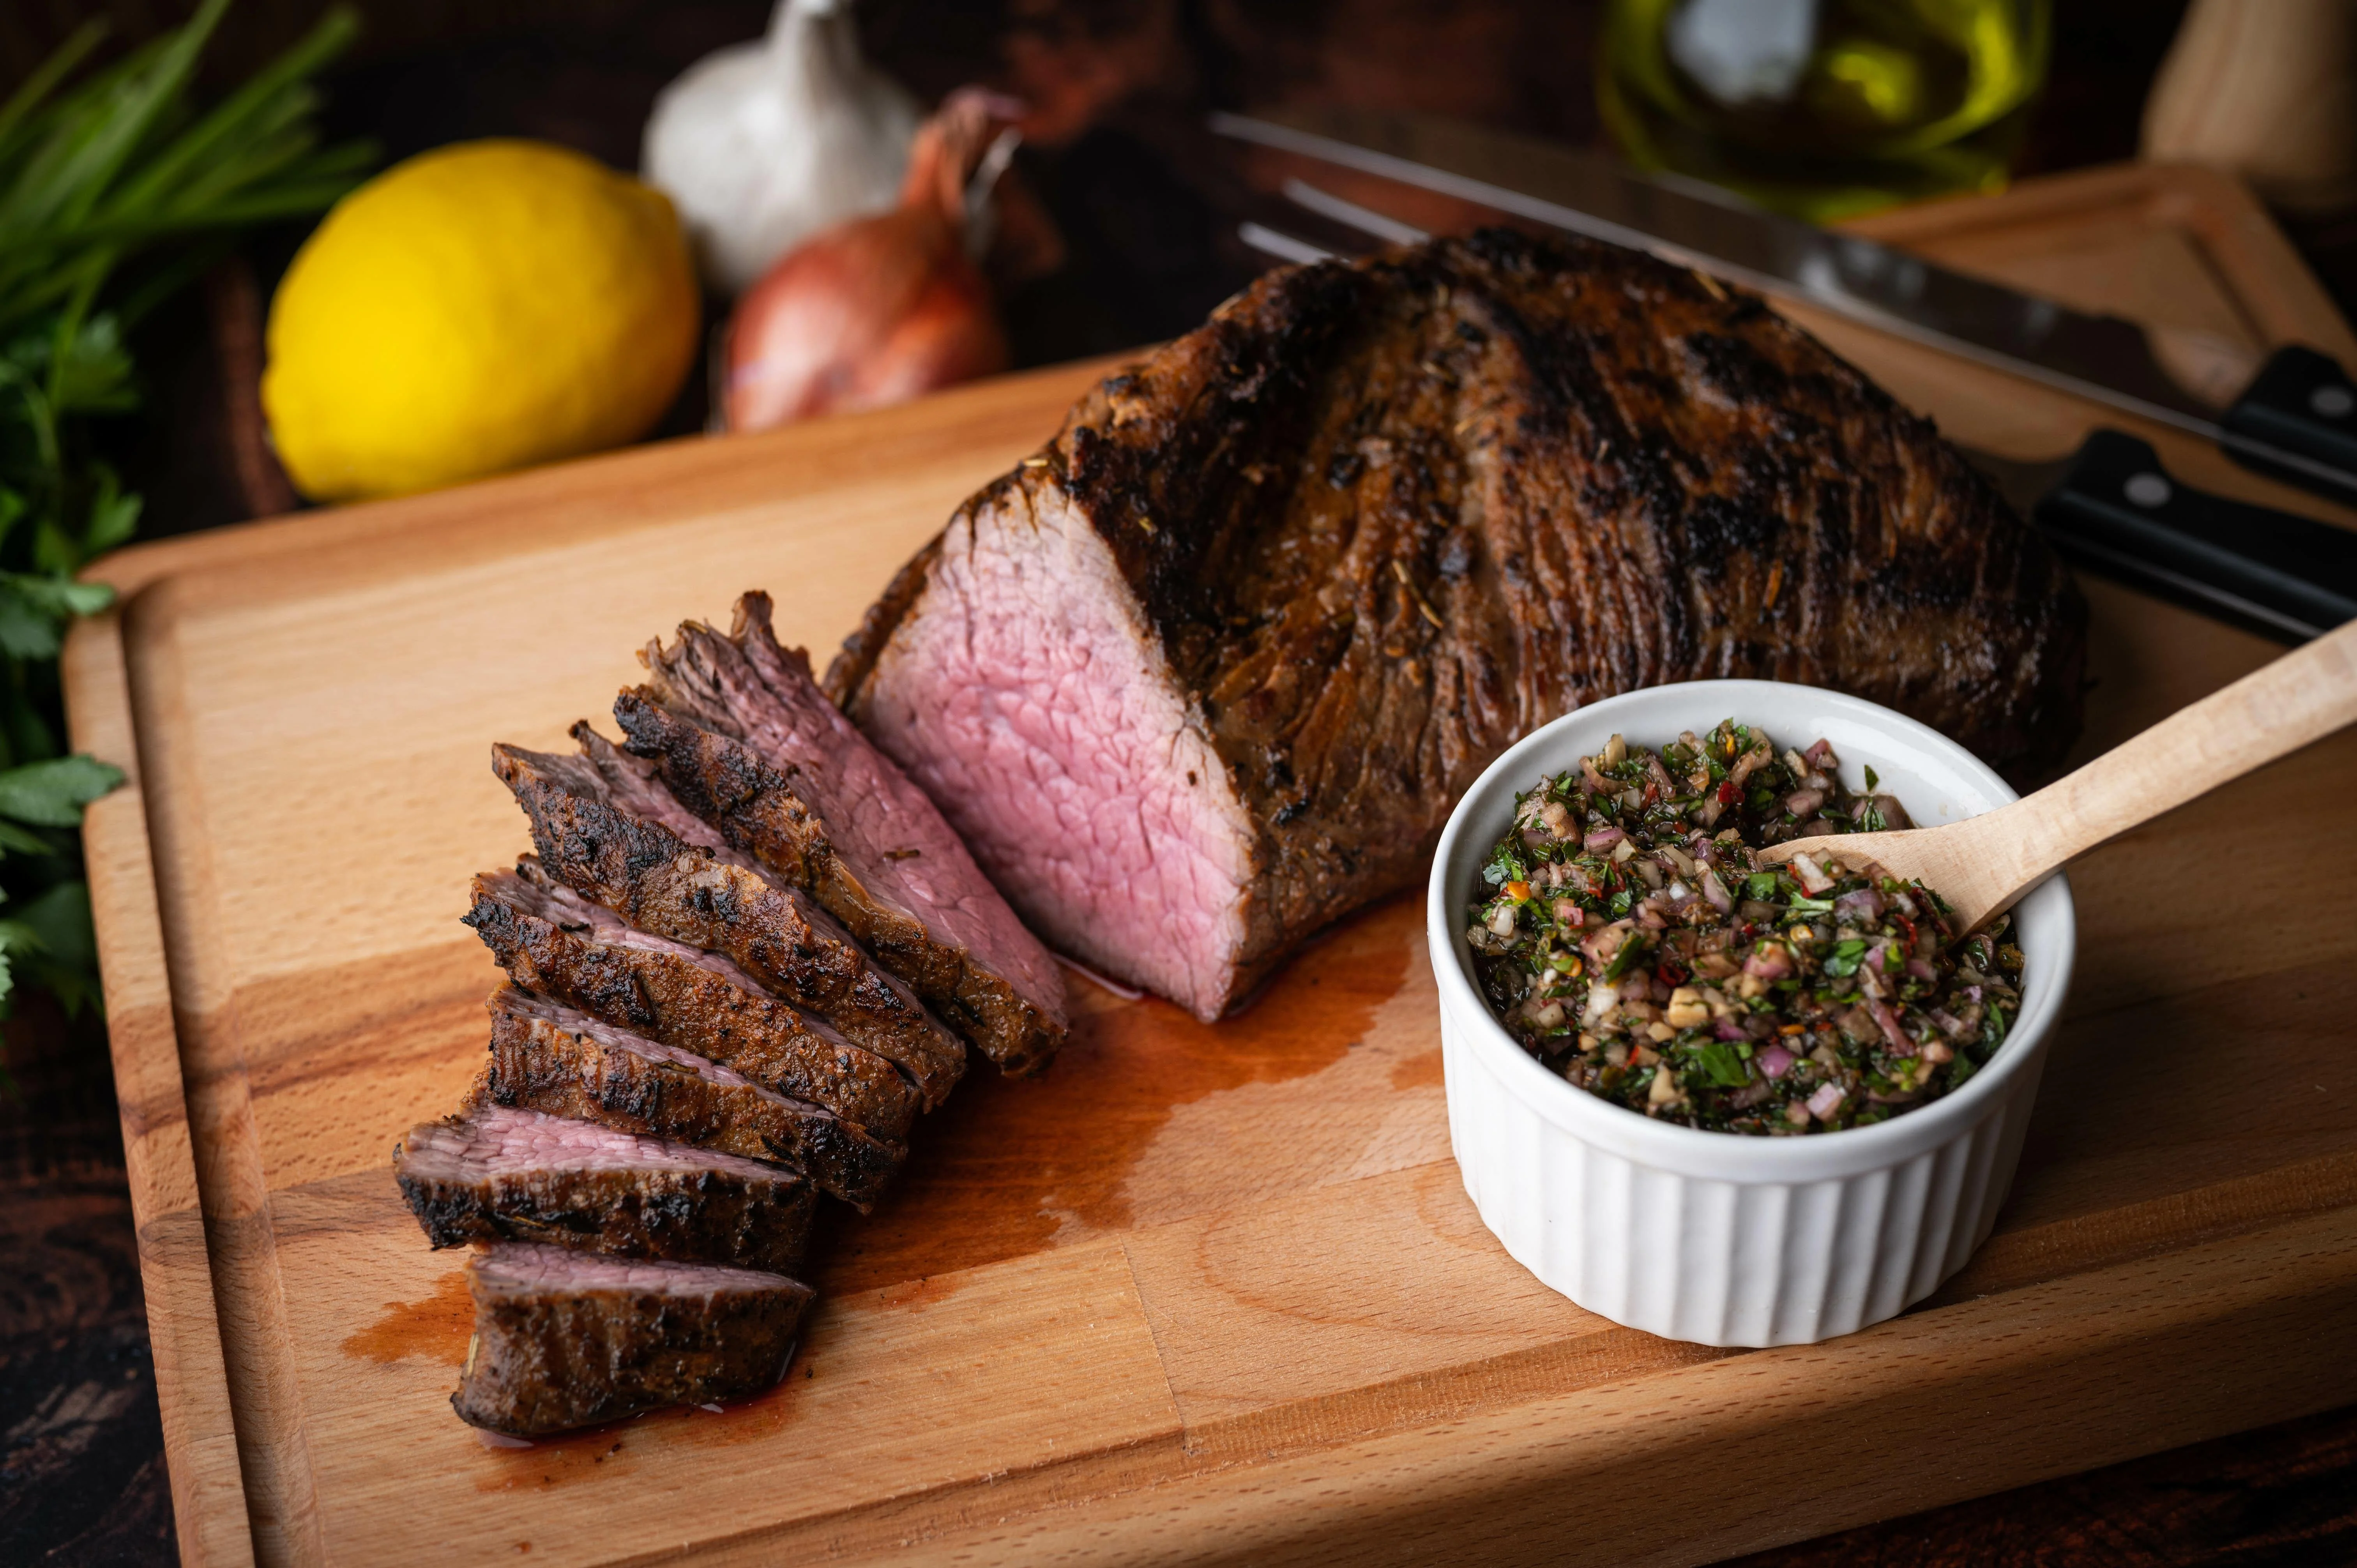
When you nail sous vide tri-tip, the cross-section is the big payoff. You should see a consistent rosy center that typically lines up very closely with the temperature you chose, with only a thin browned band from the quick sear. The bath helps you get a much smaller doneness gradient than most high-heat methods, and the sear brings the steakhouse crust.
One more visual cue that matters: tri-tip has two grain directions. When it is sliced correctly, each bite eats tender and clean instead of chewy. If your slices look long and stringy, you probably caught the grain going the wrong way.
Why it works
- Time and temperature do different jobs. Temperature sets doneness. Time is what heats the center through and influences tenderness.
- Uneven thickness is less of a problem. The water bath gently brings the roast to an even internal temperature.
- A dry surface equals a better crust. Patting dry and chilling uncovered prevents steaming so you can sear fast.
- Short sear, big flavor. The bath cooks the meat. The sear adds the browned exterior without turning the center into medium when you wanted medium-rare.
Ingredient notes
- Tri-tip roast: Use the thickest point of the roast to decide your cook time. Weight matters less than thickness for sous vide timing.
- Kosher salt: About 3/4 teaspoon per pound is a good starting point. If your tri-tip is pre-seasoned, skip extra salt and season only with pepper.
- Black pepper: Pepper can read a little softer after sous vide. I like a light dusting before bagging, then an extra pinch right before searing.
- Garlic powder (optional): I prefer garlic powder over raw garlic in the bag. Raw garlic can taste harsh at lower sous vide temperatures.
- High smoke point oil: Avocado, canola, or grapeseed oil helps you sear hot without excessive smoking.
- Butter (optional): Add at the end for basting flavor. It is not required for crust, but it is delicious.
Equipment
- Immersion circulator and a large container or stockpot
- Vacuum sealer and bag, or a heavy-duty zipper bag (water-displacement method)
- Instant-read thermometer (optional, helpful after sear)
- Cast iron skillet or carbon steel skillet for searing
- Tongs and paper towels
- Wire rack set over a sheet pan (for drying and chilling)
- Sharp slicing knife
Pro tips
- Measure thickness, not weight. A 2 lb and 3 lb tri-tip can have the same thickness. Thickness drives how long it takes to heat through.
- Start cold is fine. Cooking straight from the fridge is normal for sous vide. Just use the thickness-based timing so the center has time to come up to temperature.
- Keep the bag submerged. Use weights or clip the bag to the container so the meat stays underwater.
- Dry, then chill. Pat dry, then refrigerate or freeze uncovered for 10 to 15 minutes before searing for the best crust.
- Slice correctly. Find the grain change, cut the roast in two there, then slice each piece against its grain.
Substitutes
- Seasoning: Swap salt and pepper for your favorite steak rub, but go easy on sugar since it can scorch during searing.
- Oil: Any neutral high-heat oil works. Avoid extra-virgin olive oil for the sear.
- Searing method: A very hot grill works too, but the recipe is written for a skillet sear for maximum control.
Variations
- Santa Maria-ish: Season with salt, pepper, garlic powder, and a pinch of paprika. Finish with a squeeze of lemon after slicing.
- Herby: Add a pinch of dried thyme or rosemary before bagging.
- Spicy: Add chili powder or smoked paprika, then serve with a creamy sauce.
Serving ideas
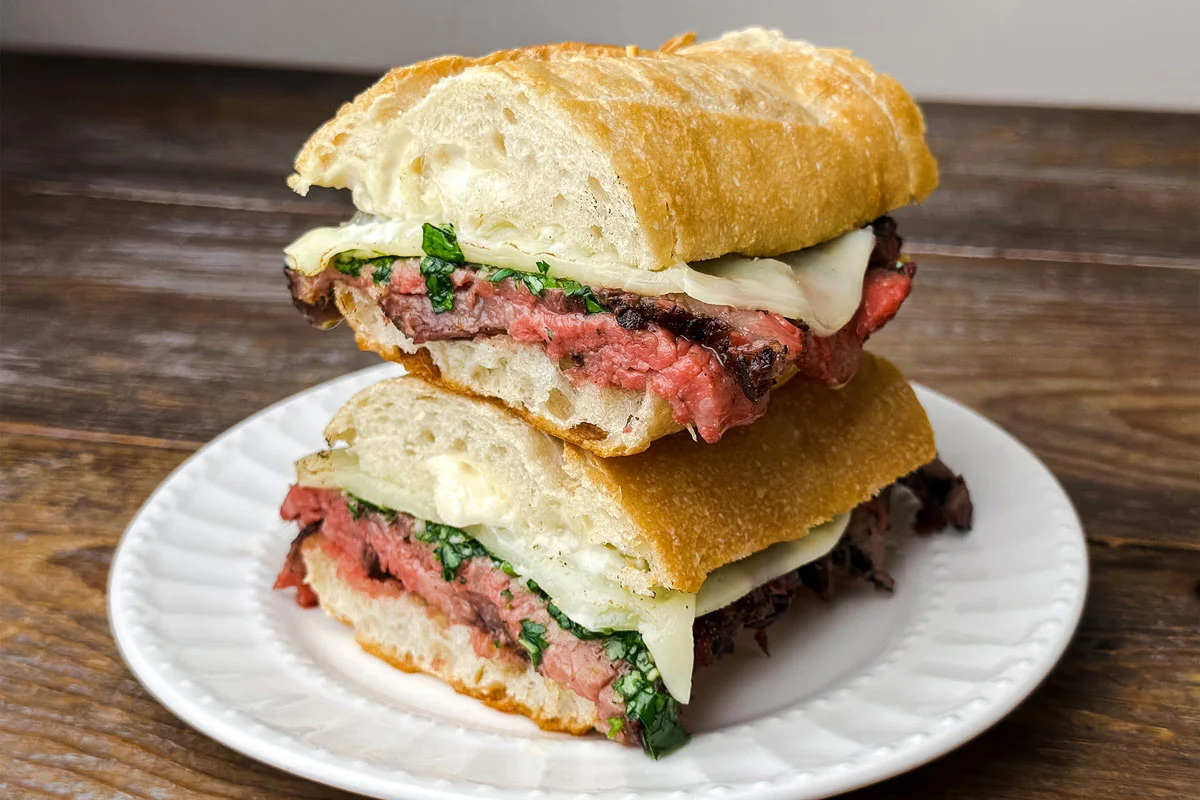
- Slice thin for steak sandwiches with a simple spread or easy cheese sauce.
- Serve alongside garlic roasted vegetables for a low-effort, big-reward dinner.
- Turn leftovers into bowls with grains and veggies like my quinoa and roasted vegetable bowl.
Storage
- Refrigerate: Store sliced tri-tip in an airtight container up to 4 days.
- Freeze: Freeze in a sealed bag up to 2 months for best texture.
- Reheat gently: Warm slices in a covered skillet over low heat with a splash of broth, or rewarm sealed slices in a 130 to 135 F water bath until heated through. If you want the crust back, do a very quick sear.
Common mistakes
- Not timing by thickness: If the center is not where you want it, the most common issue is not giving the thickest part enough time to heat through.
- Searing a wet roast: Moisture causes steaming, which blocks browning and leads to a pale crust. Pat dry thoroughly and chill uncovered briefly if you can.
- Searing too long: The inside is already cooked. Keep the sear short and hot so you do not blow past your target temperature.
- Slicing with the grain: Always slice against the grain, and remember tri-tip changes grain direction.
- Overcooking far past the time range: Sous vide is forgiving, but an extra-long bath can soften the texture too much.
FAQ
How long can I leave tri-tip in the sous vide bath?
Once the center reaches temperature, extra time continues to tenderize. For tri-tip, I like staying within the ranges listed. Going far beyond them can make the texture overly soft.
Do I need to rest it after sous vide?
You do not need a long rest like you would with a roast cooked with high heat. I do like a short 5 minute rest after searing so the surface heat settles before slicing.
Should I chill it before searing?
Not always, but a quick 10 to 15 minutes in the fridge or freezer after drying is my favorite trick for a hard sear with minimal overcooking.
Can I season the meat and refrigerate overnight before sous vide?
Yes. Dry-brining with salt overnight improves flavor. Keep it covered, then bag and cook the next day.
What if I am not serving it right away?
Chill the sealed bag in an ice bath, then refrigerate. Rewarm in the sous vide bath close to your original cook temperature, then sear right before serving.
- 1 tri-tip roast (2 to 3 lb, about 1 1/2 to 3 inches thick at the thickest point)
- 1 1/2 to 2 1/4 tsp kosher salt (about 3/4 tsp per lb, reduce if pre-seasoned)
- 1 tsp freshly ground black pepper, plus more to taste
- 1 tsp garlic powder (optional)
- 1 to 2 tbsp high smoke point oil (avocado, canola, or grapeseed), for searing
- 1 tbsp unsalted butter (optional, for basting)
- Flaky salt, for finishing (optional)
- Pick your temperature: Preheat a sous vide water bath to your target doneness.
- Rare: 125 F
- Medium-rare: 131 F (my go-to)
- Medium: 137 F
- Medium-well: 145 F
- Season: If the tri-tip is fridge-cold, that is fine. Pat it dry with paper towels, then season all over with kosher salt, pepper, and garlic powder (if using). For deeper seasoning, dry-brine overnight (covered in the fridge), then bag and cook the next day.
- Bag it: Place the tri-tip in a vacuum bag and seal, or use a heavy-duty zipper bag and the water-displacement method to remove air, then seal well. Make sure the meat can lay flat in the bath.
- Cook by thickness (use the thickest part): Fully submerge the bag and cook using the range that matches your tri-tip’s thickness.
- 1 1/2 inches: 2 1/2 to 3 1/2 hours
- 2 inches: 3 to 4 1/2 hours
- 2 1/2 inches: 4 to 6 hours
- 3 inches: 5 to 7 hours
- Food safety note: In this temperature range, do not cook for less than 2 1/2 hours. Keep the bag fully submerged for the entire cook.
- If you are holding it for later (optional): Move the sealed bag from the bath to an ice bath (half ice, half water) for 30 to 45 minutes, then refrigerate. To serve, rewarm in a water bath close to your original cook temperature until heated through, then sear.
- Remove and dry: Take the tri-tip out of the bag. Pat it very dry on all sides with paper towels. If you want, reserve the bag juices for a quick pan sauce, but do not use them to wet the surface before searing.
- Quick chill for a better sear: Set the tri-tip on a wire rack over a sheet pan and refrigerate (or freeze) uncovered for 10 to 15 minutes. This helps dry the surface further and cools the exterior slightly so you can sear hard without overcooking.
- Sear very hot: Heat a cast iron or carbon steel skillet over high heat until very hot, about 2 to 4 minutes. Add the oil and swirl. Sear the tri-tip 45 to 75 seconds per side, including edges, until a deep brown crust forms. If using butter, add it during the last 30 seconds and baste quickly.
- Rest briefly, then slice: Rest 5 minutes. Tri-tip has two grain directions. Find where the grain changes, cut the roast into two pieces there, then slice each piece thinly against the grain.
- Serve: Serve right away. Finish with flaky salt and an extra pinch of fresh pepper if you like.