Delishing
Blackstone Tri-Tip

Tri-tip on a Blackstone is one of those dinners that feels like you pulled off something fancy, but it is really just smart heat control. No grill grates, no smoker babysitting, no oven juggling. You build a hot zone for searing and a medium zone for finishing, plus a cool parking spot if things start browning too fast. Sear hard for that steakhouse crust, then trap heat under a dome to gently finish the center so it stays juicy.
I started cooking tri-tip on a flat top when I realized my weeknights did not have room for “fussy.” I wanted sliced steak for sandwiches, salads, and taco nights, but I also wanted the even, rosy doneness people love about reverse sear without turning it into a whole production. This method is sear first, then finish, but the dome is the trick. It turns part of your griddle into a little covered-oven effect, so the roast cooks through more evenly instead of burning on the outside. And yes, you can add a tiny splash of water on the griddle under the dome for gentle steam, but it is optional and you want to keep it minimal so you do not soften the crust.
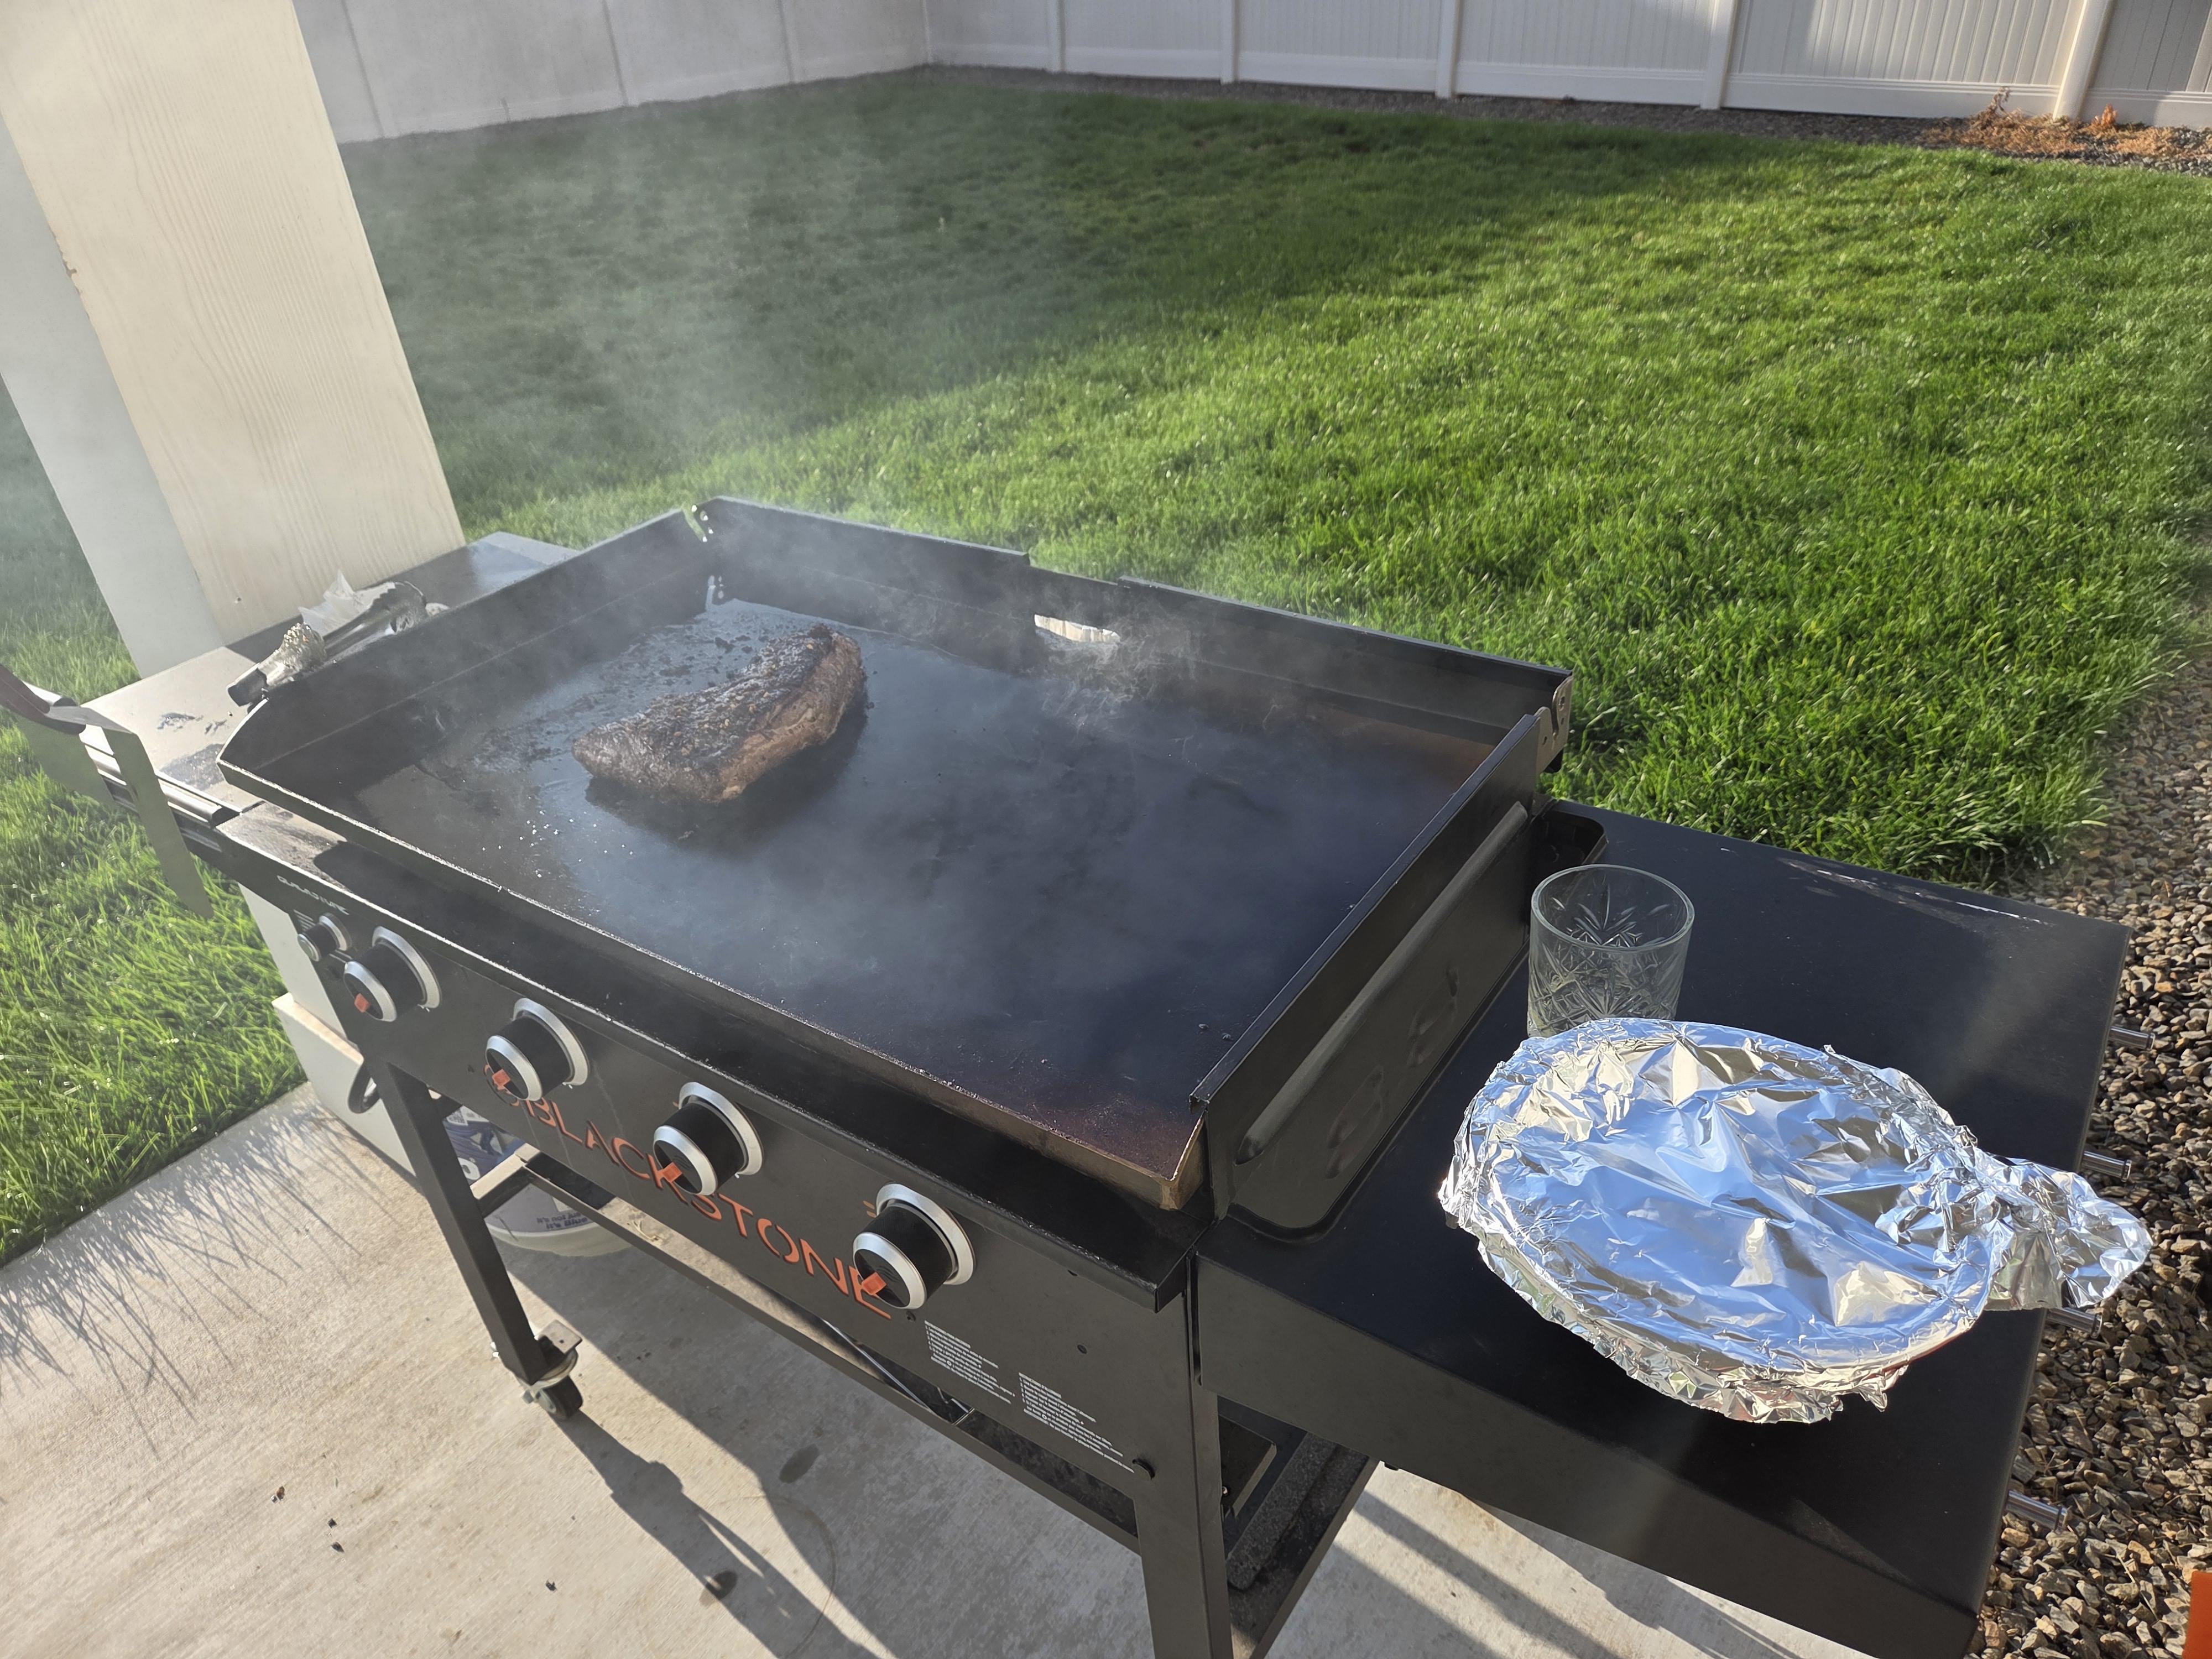
This recipe works for one small tri-tip roast or for thick tri-tip steaks. Either way, an instant-read thermometer is the easiest way to nail doneness on a flat top, and a proper rest before slicing makes a noticeable difference. One more thing that saves dinner: tri-tip has two grain directions, so you may need to rotate the roast (or cut it into two pieces) as you slice to stay against the grain.
Heat zones on a Blackstone
On a flat top, your success comes down to zones. I use:
- Hot zone: for searing, built on one side with burners on medium-high to high.
- Medium zone: for finishing under the dome, with burners on low to medium.
- Cool zone: an unlit or very low corner where you can park the meat briefly if it is browning too fast.
If your griddle runs hot, that cool zone saves you from over-browning before the center is done.
What to expect
- Flavor: classic garlic and smoky spice with a peppery crust.
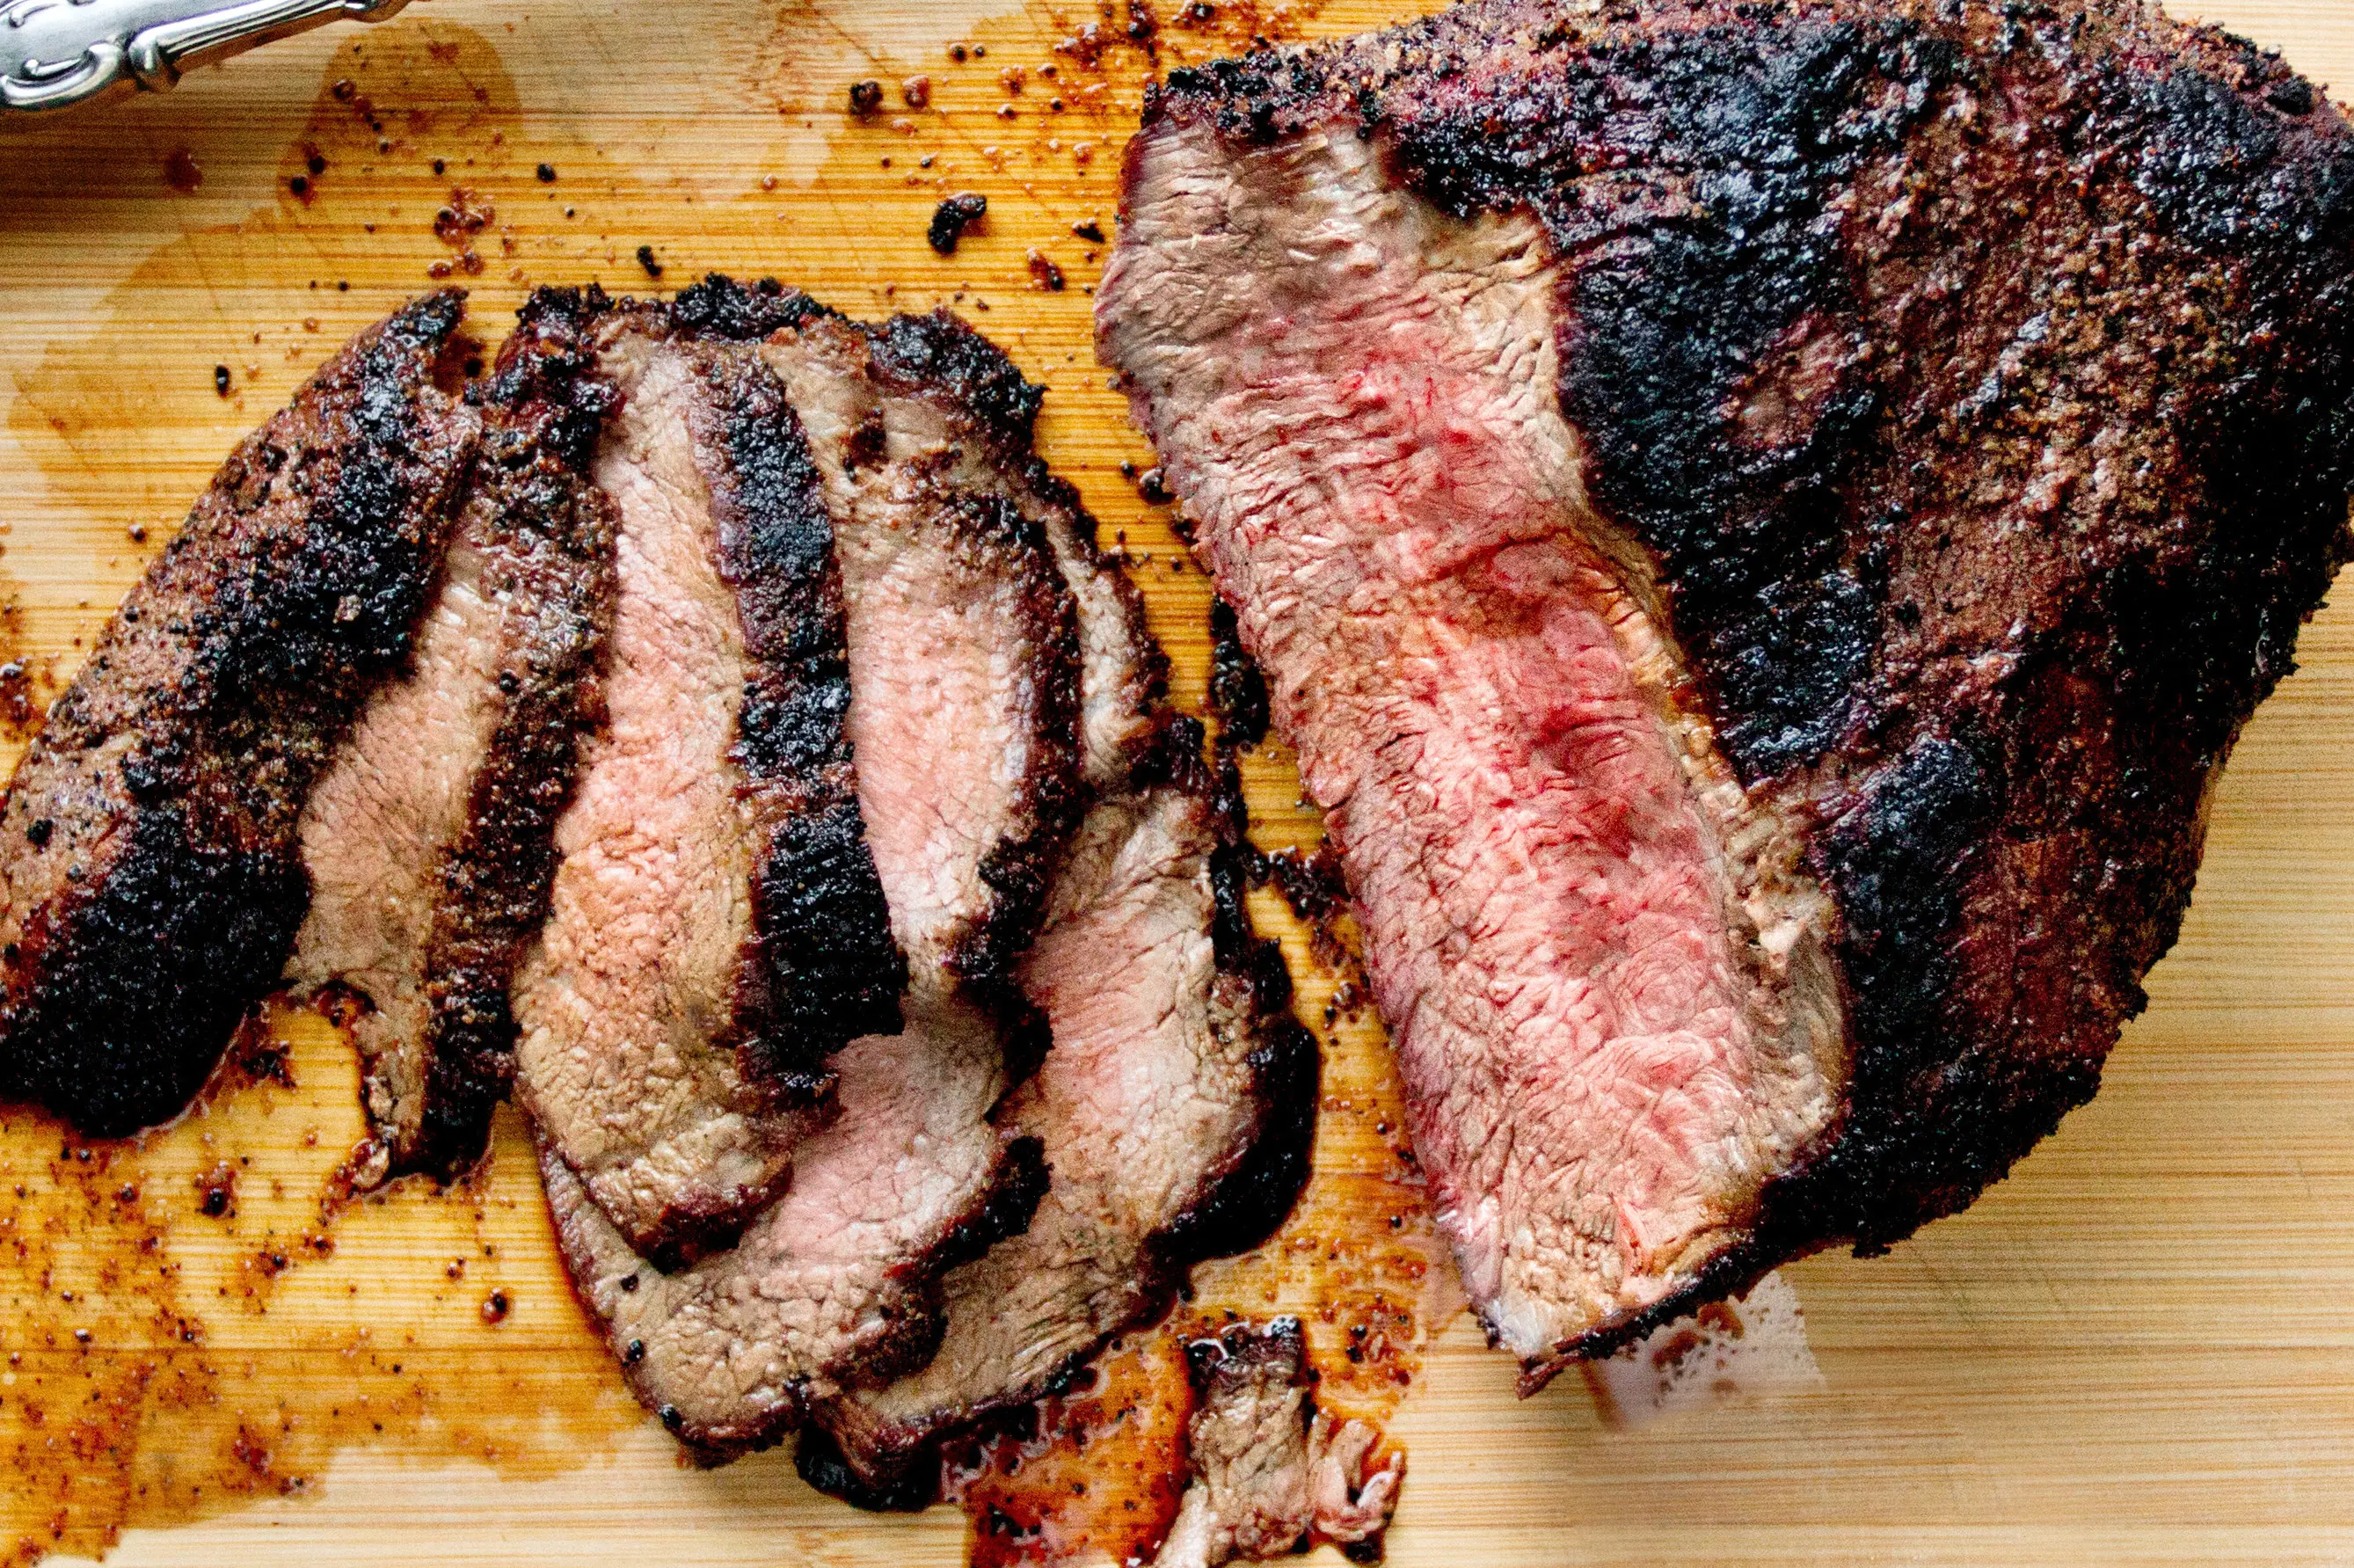
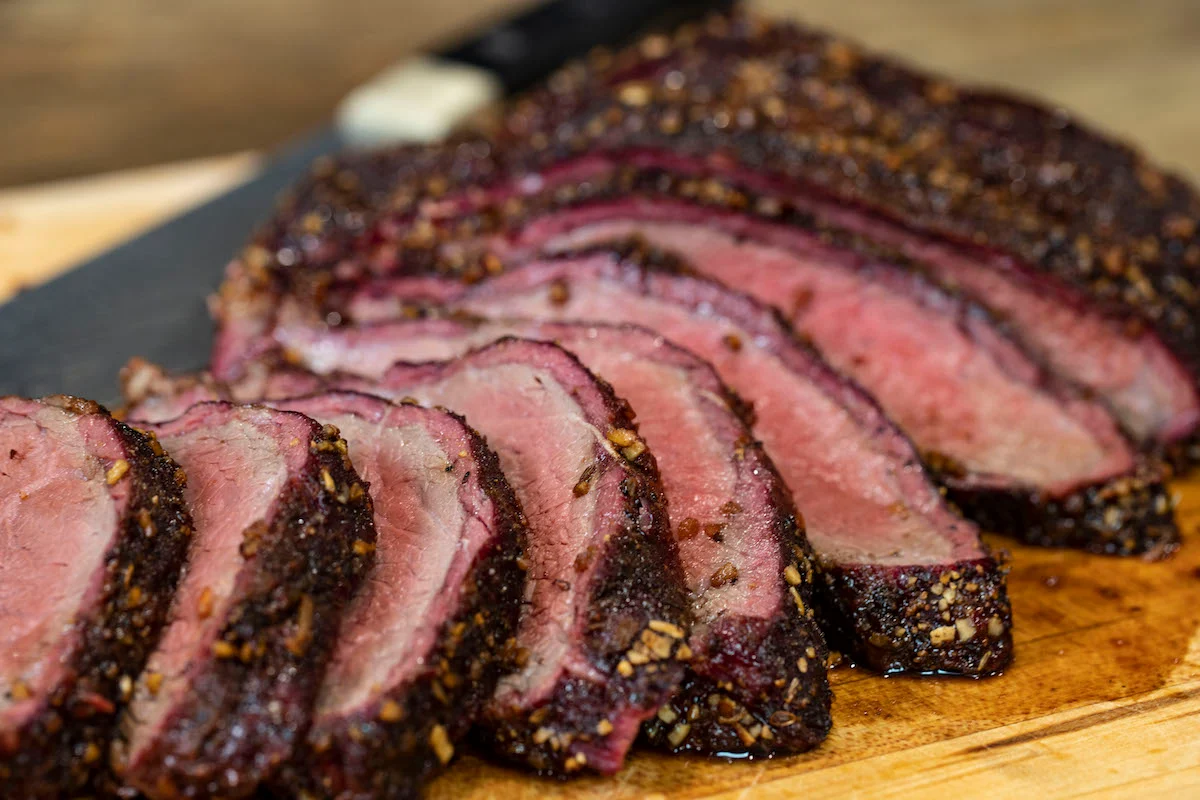
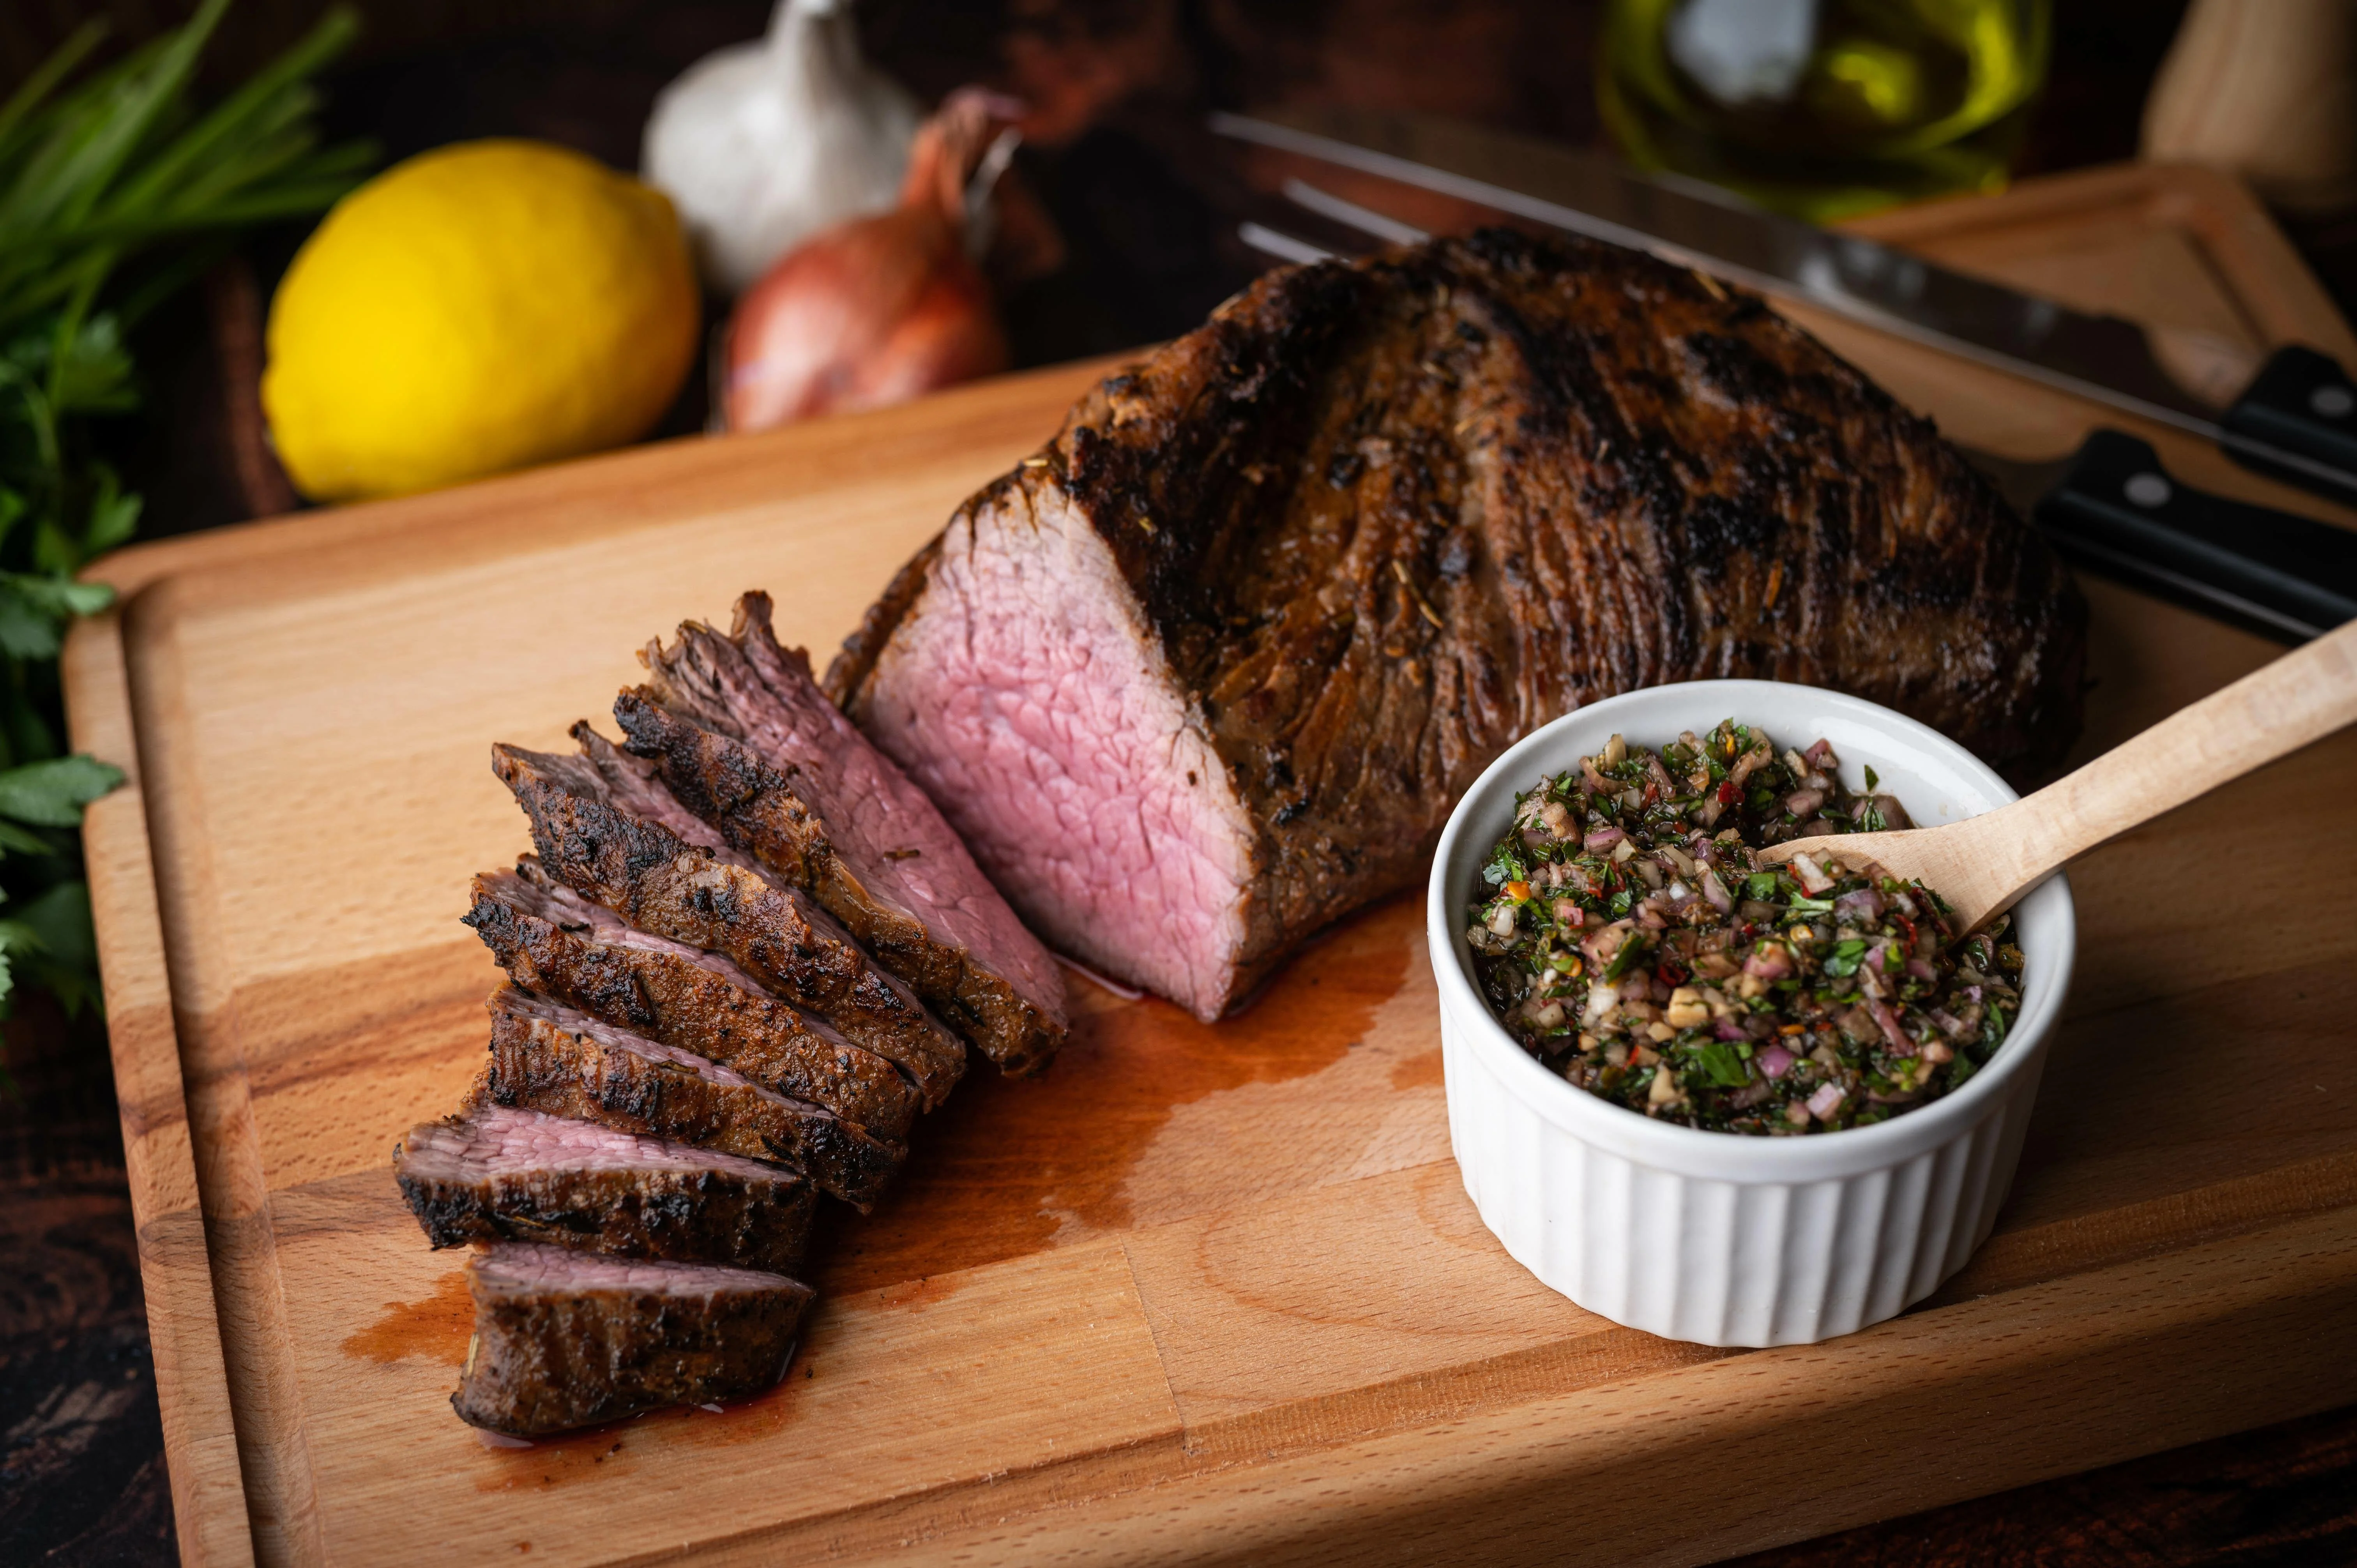
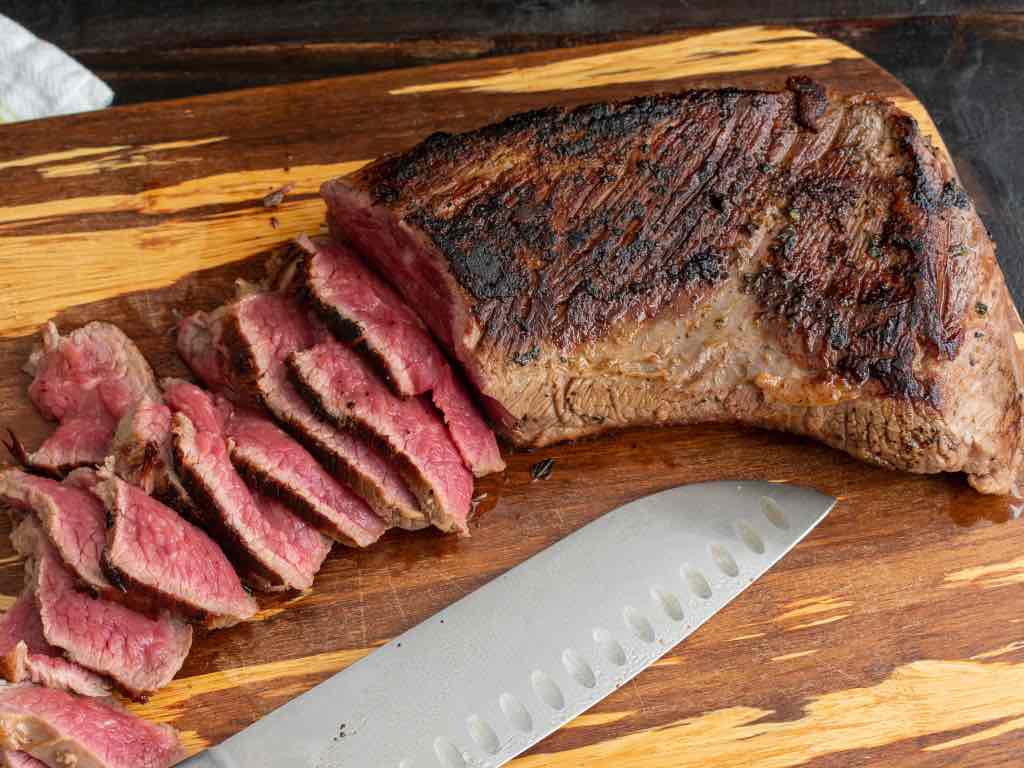
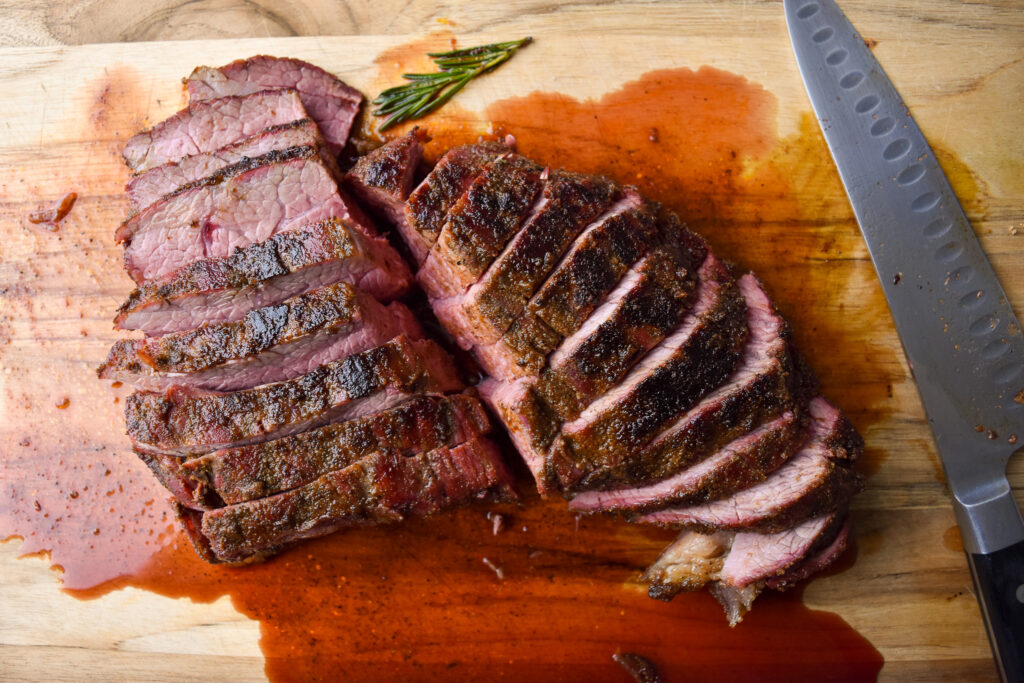
- Texture: a deeply browned outside with a warm pink center when you pull it at medium-rare.
- Time: less hands-on once the dome goes on, but you still want to keep an eye on internal temp near the end.
If you love tri-tip in other cooking methods, you can also check out our Tri-Tip Roast for a more traditional approach, plus Smoked Tri-Tip and Sous Vide Tri-Tip for weekend projects.
Why it works
- Two-zone cooking keeps it juicy. A fast sear builds crust, then gentler heat finishes the center without squeezing out moisture.
- The dome creates oven-like heat. On a flat top, you need trapped heat above the meat to cook more evenly through.
- Resting is built in. Tri-tip is lean enough that a proper rest makes a noticeable difference in tenderness and slicing.
- Designed for slicing, not shredding. The doneness targets are steak-style so you can serve clean slices.
Ingredient notes
Tri-tip
Look for a 2 to 2.5 pound tri-tip roast for easiest handling on the griddle. If your store cuts tri-tip into steaks, choose pieces that are 1.5 to 2 inches thick so they do not overcook during the sear.
Oil
Use a high-heat oil like avocado, canola, or grapeseed. On a flat top you want a thin, even film, not puddles.
Dry rub
This is a simple rub built around kosher salt, black pepper, garlic, smoked paprika, and a touch of brown sugar for color. If you are salt-sensitive, reduce the salt and finish with flaky salt at the table.
Butter (optional)
A small pat under the dome adds richness, but the recipe works without it.
Equipment
- Flat-top griddle (Blackstone or similar)
- Large metal dome (a melting dome works great)
- Instant-read thermometer for doneness
- Tongs and a sturdy spatula
- Bench scraper (optional, for quick cleanup)
- Cutting board and a sharp slicing knife
Pro tips
- Pat the meat dry. Moisture is the enemy of a good sear. I blot with paper towels right before seasoning.
- Let the rub sit while you preheat. Even 15 to 20 minutes helps it cling and season more evenly.
- Oil the griddle, not the meat. A thin film on the steel helps with contact and browning.
- Use the dome like a little oven. Keep it over the meat, and avoid lifting it constantly. Every peek dumps heat.
- Pull early. Carryover cooking is real. Pull 5 to 10 degrees below your final target, then rest.
- Slice correctly. Tri-tip has two grain directions. Slice the roast in half where the grain changes, then slice each piece against the grain.
Substitutes
- No smoked paprika: use sweet paprika plus a pinch of ground cumin.
- No brown sugar: use coconut sugar or skip it for a more savory crust.
- No garlic powder: use onion powder, or finish with garlic butter after slicing.
- Different cut: this same method works well for thick-cut sirloin or strip steaks. Keep the dome finish and cook to temperature.
Variations
Santa Maria-ish
Keep it classic with salt, pepper, garlic powder, and a little dried parsley. Serve with beans, salad, and bread.
Chili-lime
Add chili powder and lime zest to the rub. Finish with a squeeze of lime after slicing.
Pepper-crust
Double the coarse black pepper and skip the sugar for a bold steakhouse vibe.
Steakhouse butter finish
Under the dome, add a tablespoon of butter plus a smashed garlic clove and a sprig of rosemary next to the meat, then spoon the butter over the top right before resting.
Serving ideas
- Simple steak plate: sliced tri-tip with Roasted Broccoli and Classic Creamy Potato Salad.
- Sandwich night: pile slices on toasted rolls with caramelized onions. If you want an easy onion method, our Skillet Caramelized Onions are a great make-ahead.
- Tacos: chop and serve with salsa and cabbage slaw. Pair with Homemade Salsa.
- Salad topper: serve warm slices over greens with avocado and a tangy vinaigrette.
Storage
Refrigerator
Store sliced tri-tip in an airtight container for up to 4 days.
Freezer
Freeze cooled slices in a freezer bag with as much air removed as possible for up to 2 months.
Reheating
For the juiciest leftovers, warm slices gently in a skillet with a splash of broth or water, covered, just until heated through. Avoid blasting in the microwave, which tends to tighten the meat.
Common mistakes
- Cooking on one heat level the whole time. If you stay on high heat, the outside gets too dark before the center is ready. Build zones.
- Skipping the thermometer. Tri-tip changes quickly near the end. Temperature is more reliable than time.
- Not resting. If you slice immediately, juices run and the meat eats drier.
- Slicing with the grain. This makes even a perfectly cooked tri-tip feel chewy. Find the grain and slice across it.
- Using thin “steaks.” If they are under 1 inch thick, you will struggle to get a good crust without overcooking.
FAQ
Do I have to use a dome?
For a whole tri-tip roast on a flat top, yes, I strongly recommend it. Without a dome, you are basically pan-searing a roast, and the center will lag behind while the outside over-browns.
What temp should I cook tri-tip to?
My favorite is medium-rare. Pull at 125 to 130 F and rest, which typically lands you around 130 to 135 F. If you prefer medium, pull at 135 to 140 F.
How long does tri-tip take on a Blackstone?
Time depends on thickness and griddle heat. Expect a quick sear per side, then a longer dome finish until your thermometer hits the target temperature.
Can I cook it as thick steaks instead of a whole roast?
Absolutely. Thick tri-tip steaks cook faster and can be easier to manage. Use the same sear-then-dome approach, just start checking temperature earlier.
Why is my tri-tip tough?
Two common causes are overcooking past your preferred doneness or slicing with the grain. Tri-tip also benefits from a full rest before slicing.
Blackstone Tri-Tip (Sear + Dome Finish)
A foolproof flat-top method for juicy tri-tip with a deep crust: sear over the hot zone, then finish under a dome on the cooler side and slice like steak.
- 1 tri-tip roast (about 2 to 2.5 pounds) OR 2 thick tri-tip steaks (about 1.5 to 2 inches thick)
- 2 tablespoons high-heat oil (avocado, canola, or grapeseed), plus more as needed
- 2 teaspoons kosher salt
- 1 1/2 teaspoons black pepper
- 2 teaspoons garlic powder
- 1 1/2 teaspoons smoked paprika
- 1 teaspoon onion powder
- 1 teaspoon brown sugar (optional)
- 1 tablespoon butter (optional, for finishing)
- Preheat the Blackstone and build zones. Preheat for 10 to 15 minutes. Create a hot zone on one side (burners medium-high to high) and a medium zone on the other (burners low to medium). Keep a small corner as a cool zone if possible.
- Season the tri-tip. Pat the meat very dry. In a small bowl, mix kosher salt, black pepper, garlic powder, smoked paprika, onion powder, and brown sugar (if using). Season all sides of the roast or steaks evenly, pressing the rub in.
- Oil the griddle. Add 1 tablespoon oil to the hot zone and spread into a thin film.
- Sear. Place the tri-tip on the hot zone and sear until deeply browned, about 3 to 5 minutes per side for a whole roast. Sear the edges too, 30 to 60 seconds each. For thick steaks, sear about 2 to 4 minutes per side, plus edges.
- Move to the medium zone and dome-finish. Lightly oil the medium zone. Move the tri-tip to the medium zone and cover with a large metal dome. Cook, covered, until an instant-read thermometer inserted into the thickest part reads 125 to 130 F for medium-rare, or 135 to 140 F for medium. Plan on about 10 to 20 minutes for a whole roast, less for steaks. If your dome has a handle vent hole, you can add 1 to 2 teaspoons water to the griddle near the meat to create gentle steam, but keep it minimal.
- Optional butter finish. During the last 2 minutes under the dome, add 1 tablespoon butter next to the meat and let it melt. Spoon a little over the top.
- Rest. Transfer tri-tip to a cutting board and rest 10 to 15 minutes.
- Slice against the grain. Find the direction of the grain. If it changes direction, cut the roast in half at that seam, then slice each piece thinly against the grain. Serve immediately.
Notes:
- Doneness targets: Pull 5 to 10 degrees below your final preference because the meat will continue cooking as it rests.
- Griddle heat varies: Wind, outside temperature, and griddle thickness all affect timing. The thermometer is your best friend here.
- For extra crust: Do not move the meat during the sear. Let it sit and brown before flipping.
Nutrition: