Delishing
Skillet Caramelized Onions

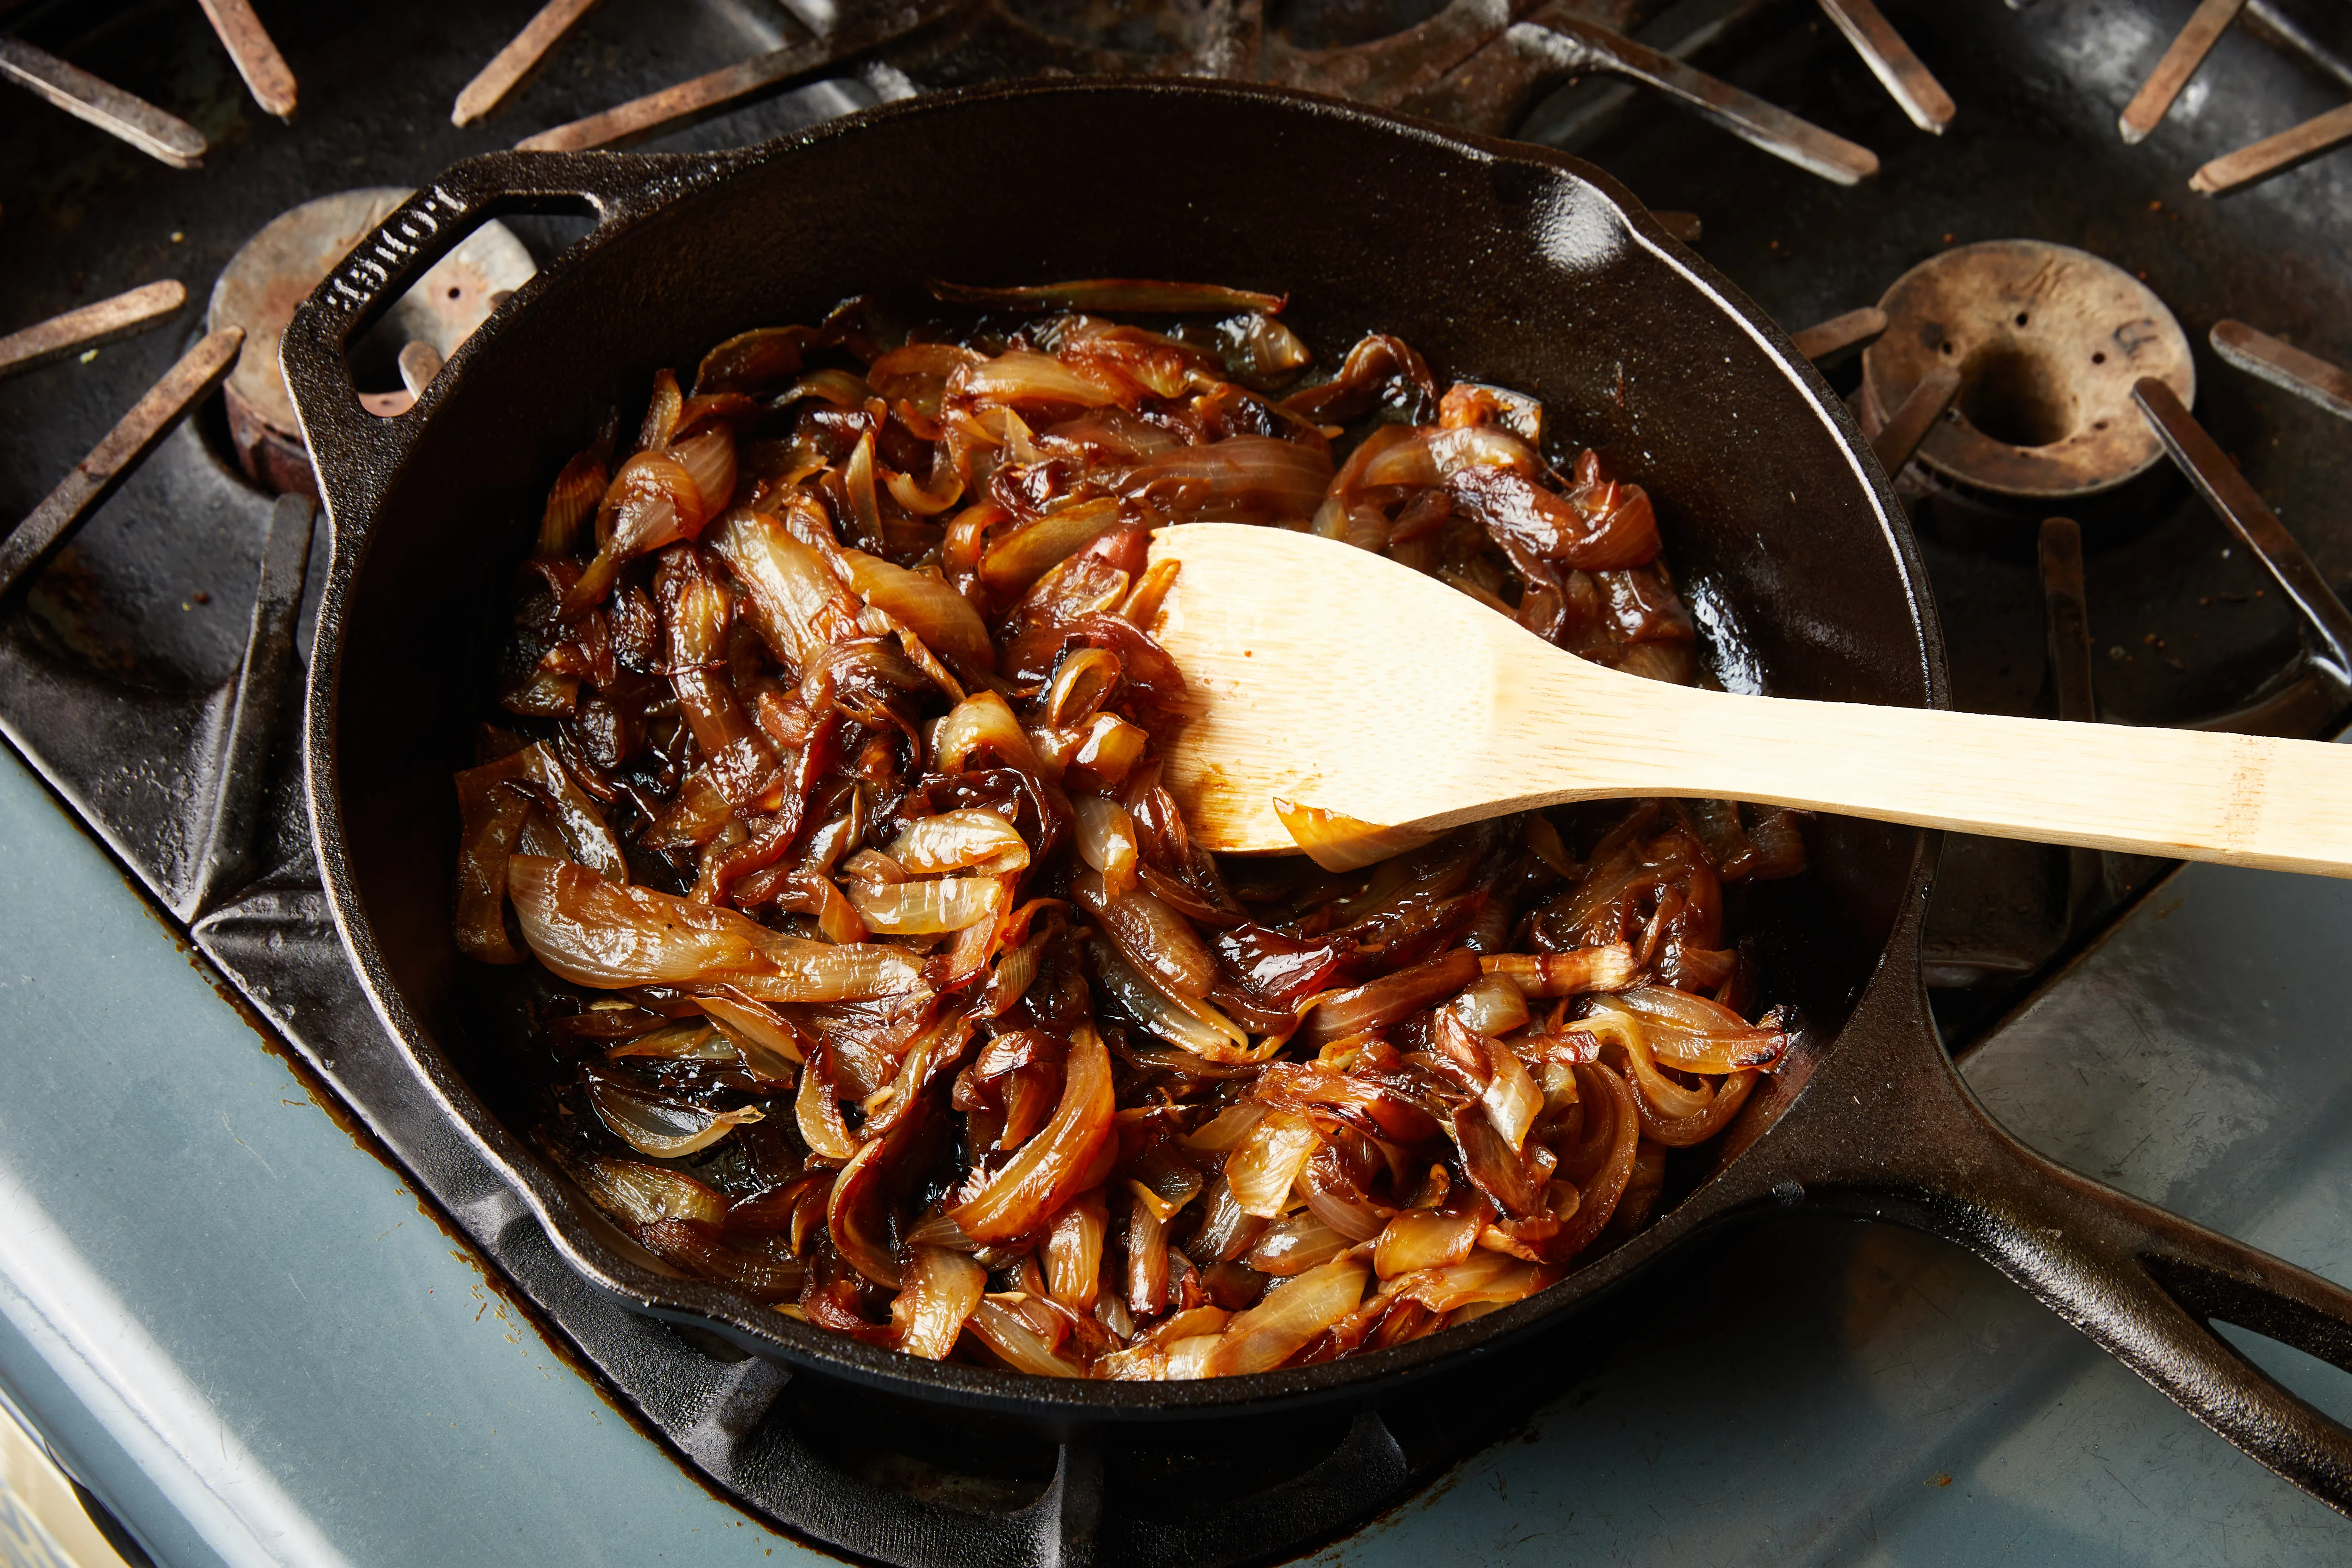
Caramelized onions, the slow way
When I first started cooking after long workdays, I assumed caramelized onions were a quick sauté. They are not. Real caramelized onions are a low-and-slow transformation: sharp, watery onion slices gradually collapse into a glossy, deep-brown tangle that tastes sweet, savory, and almost meaty.
This is the approach I rely on when I want that restaurant-level depth for burgers, soups, grain bowls, and anything that needs a flavor boost without extra fuss. It takes time, but it is mostly hands-off once you learn the rhythm: stir, scrape, wait, repeat.
What you’ll learn
- Which onions work best and why
- What fat to use
- The heat level that browns without scorching
- Exactly when to salt (and why I do it that way)
- How to deglaze so you lift flavor without steaming the onions
- Doneness cues, storage, troubleshooting, and easy ways to use them
Best onions
If you want the most reliable, classic batch, reach for yellow onions. They have enough natural sugar to caramelize beautifully, but they still taste balanced and savory. They are also sturdy, which matters because this is a long cook.
Sweet onions (like Vidalia) absolutely work, and they often feel like they caramelize a little faster. The tradeoff is that they can tip into a more candy-sweet flavor depending on the onion, how thinly you slice, and how far you take the color. If you love that, go for it. If you want the more steakhouse-style, deep savory sweetness, yellow onions are my pick.
Red onions caramelize too, with a slightly winey flavor and a darker, more purple-brown finish. They are great when you want a little extra personality, especially for sandwiches.
Fat choice
I like using butter plus olive oil. Butter brings that rich, round flavor you taste in restaurant onions, and the oil gives you a bit of breathing room so the butter solids are less likely to scorch while you wait for the magic to happen.
You can do all butter or all oil. If you go all butter, stay a little more attentive near the end, because that is when the sugars and milk solids can go from brown to bitter fast. If you go all oil, the onions will still be great, just a touch less luxurious.
One small thing that matters more than people expect is the pan. A wide skillet gives the onions room to spread out, which means more browning and less steaming. If you are using a smaller pan, consider cooking in two batches for better color and a smoother, less fussy cook.
Heat level
The goal is steady browning, not aggressive frying. I start over medium heat just long enough to get the onions sizzling and soften them, then I drop to medium-low for the long stretch.
Here is my simplest cue: you want a gentle sizzle. If the pan sounds loud and crackly, the heat is too high. If it is totally silent and the onions look wet, you are too low or you are crowded and steaming.
Different stoves run differently, so let the onions tell you what they need. If you smell anything even close to sharp or burnt, turn the heat down and stir.
When to salt
A lot of good cooks salt at the beginning to help the onions sweat. That can work. I salt after the onions have started to soften and turn translucent because it fits the rhythm of this approach.
When I salt immediately, I find the onions release a lot of water fast, and if the pan is even slightly crowded or the heat is a touch low, that extra liquid can push you into steaming at the exact moment you want to start concentrating flavor. Waiting until the onions are already soft keeps the early stage more like sautéing in fat, then reducing on your terms.
Deglazing
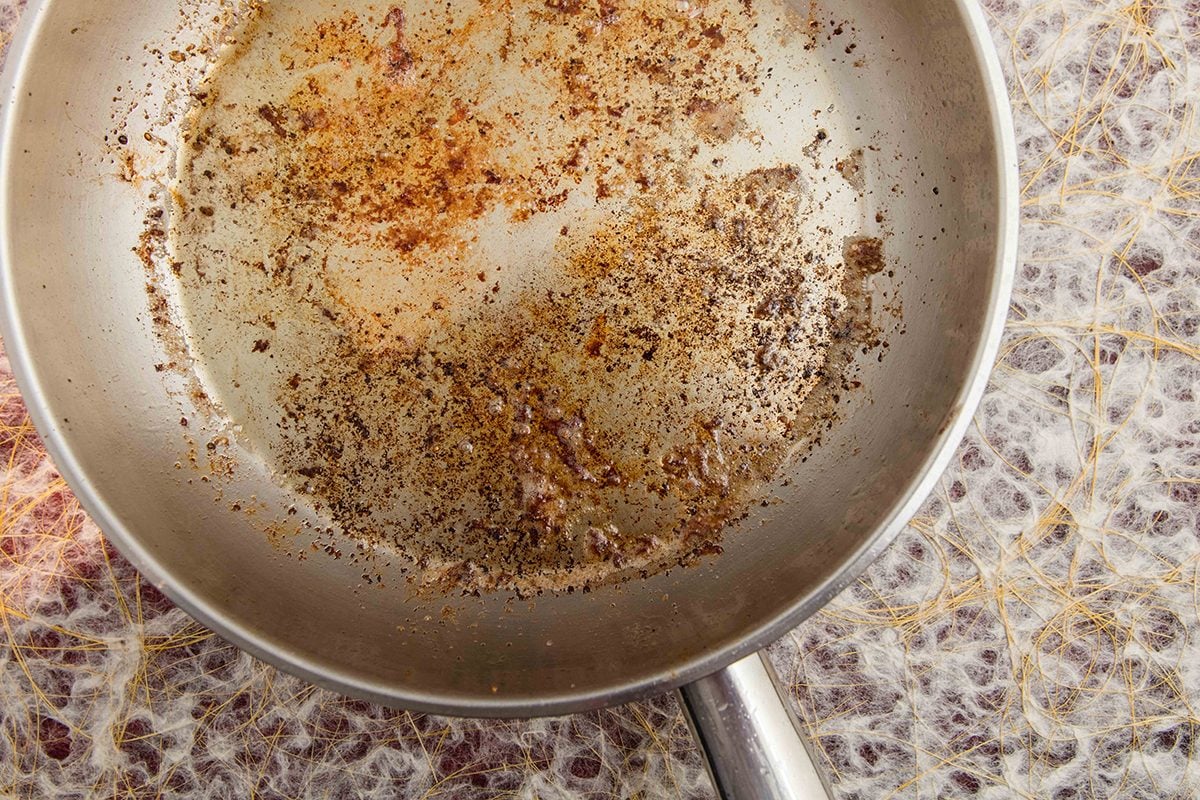
That browned layer on the pan is fond, and it is flavor. It is also the thing that can turn bitter if it goes too far. Deglazing is how you keep the fond in the food, not stuck to the pan.
The trick is small amounts. Add just a spoonful at a time, scrape, and then let the liquid cook off so the onions return to a sizzle. When you dump in a big splash, you cool the pan, boil the onions, and slow browning.
Water works perfectly. Broth adds savoriness. Wine or beer adds depth. Balsamic can be delicious, but I treat it like a finishing move, not the main deglaze.
Doneness cues
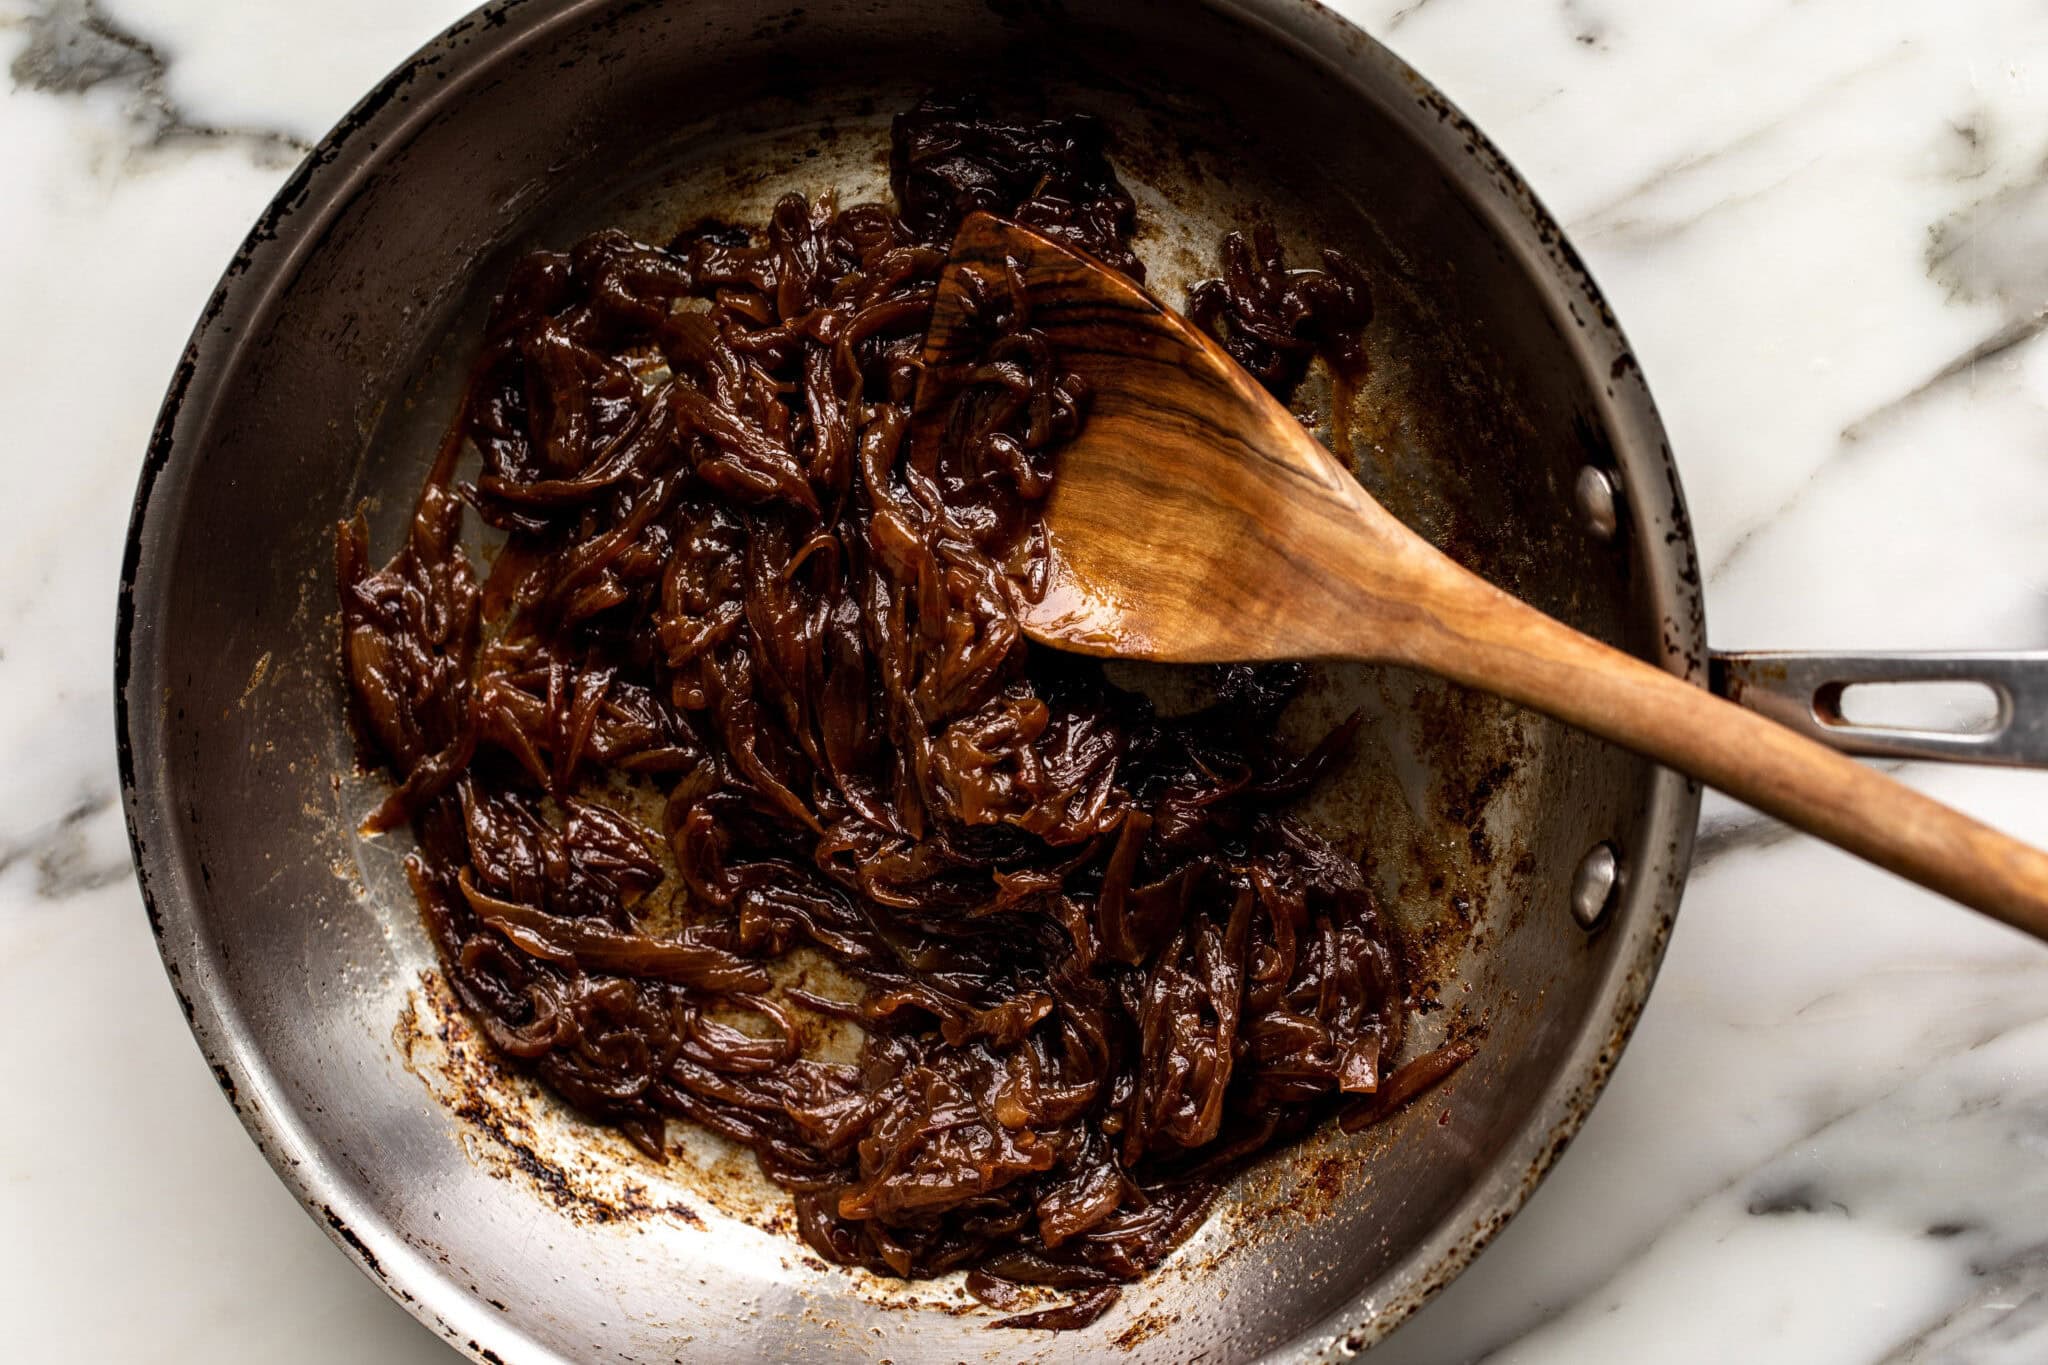
I do not go by the clock alone. True caramelized onions should be deep golden-brown to mahogany, glossy, and very soft. The smell changes too: it goes from sharp onion to something sweeter and rounder, almost like slow-cooked gravy.
My favorite test is the spoon test. Drag a spoon through the pan. If the onions behave like a jammy mound that parts cleanly and slowly slumps back, you are there. If they still look like separate strands that spring back and feel a bit firm, keep going.
Troubleshooting
- They are burning in spots: Your heat is a little high or your pan has a hot spot. Turn the heat down, stir more often, and deglaze with a small splash of water to reset the pan.
- They are steaming and staying pale: The pan is crowded or the heat is too low. Spread them out, use a wider skillet, or cook in two batches. Keep that gentle sizzle going.
- The fond is getting very dark fast: Deglaze sooner, and do it in small spoonfuls. You want brown, not black.
- They look dry before they are brown: Add a touch more fat, or deglaze with a spoonful of water and keep going at medium-low. Dry is fixable. Burnt is not.
How to use them
Once you have a batch in the fridge, weeknight cooking gets easier. A spoonful can make plain food taste like it had a plan.
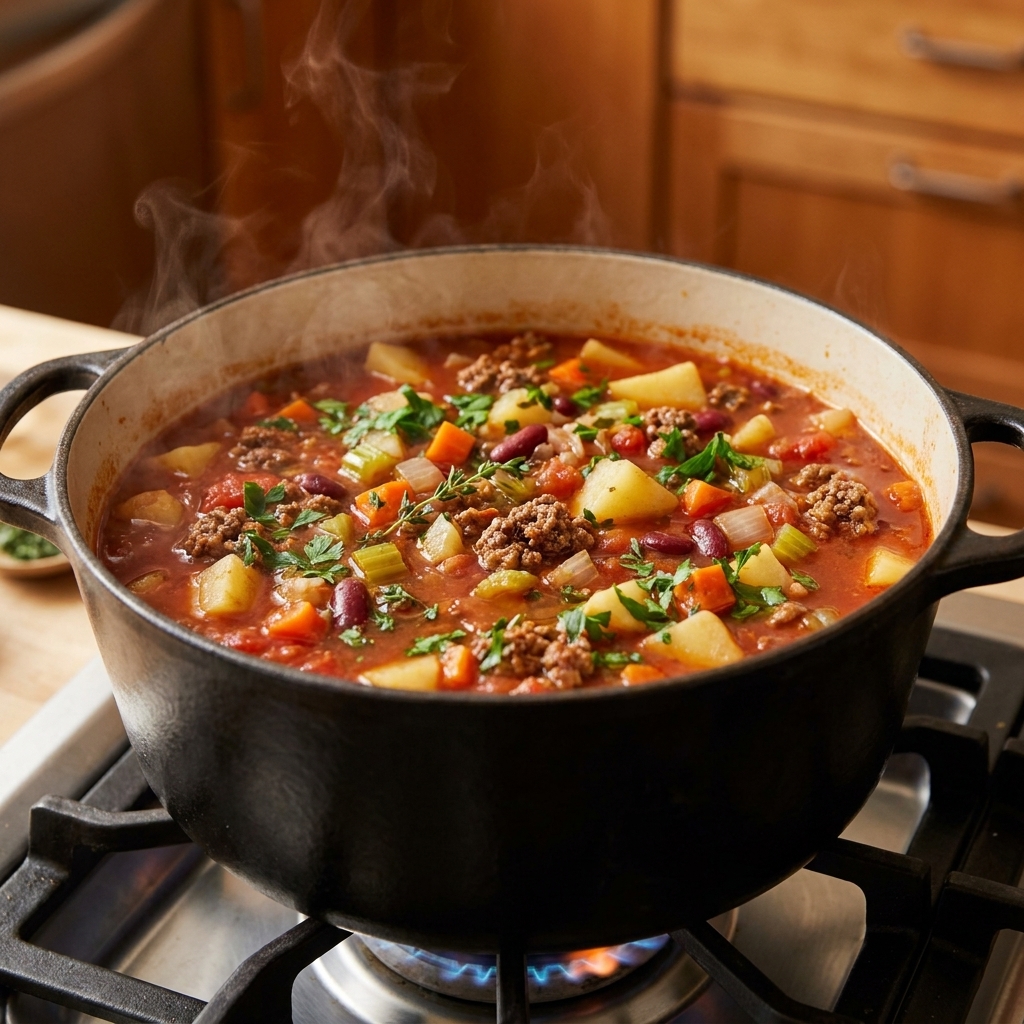
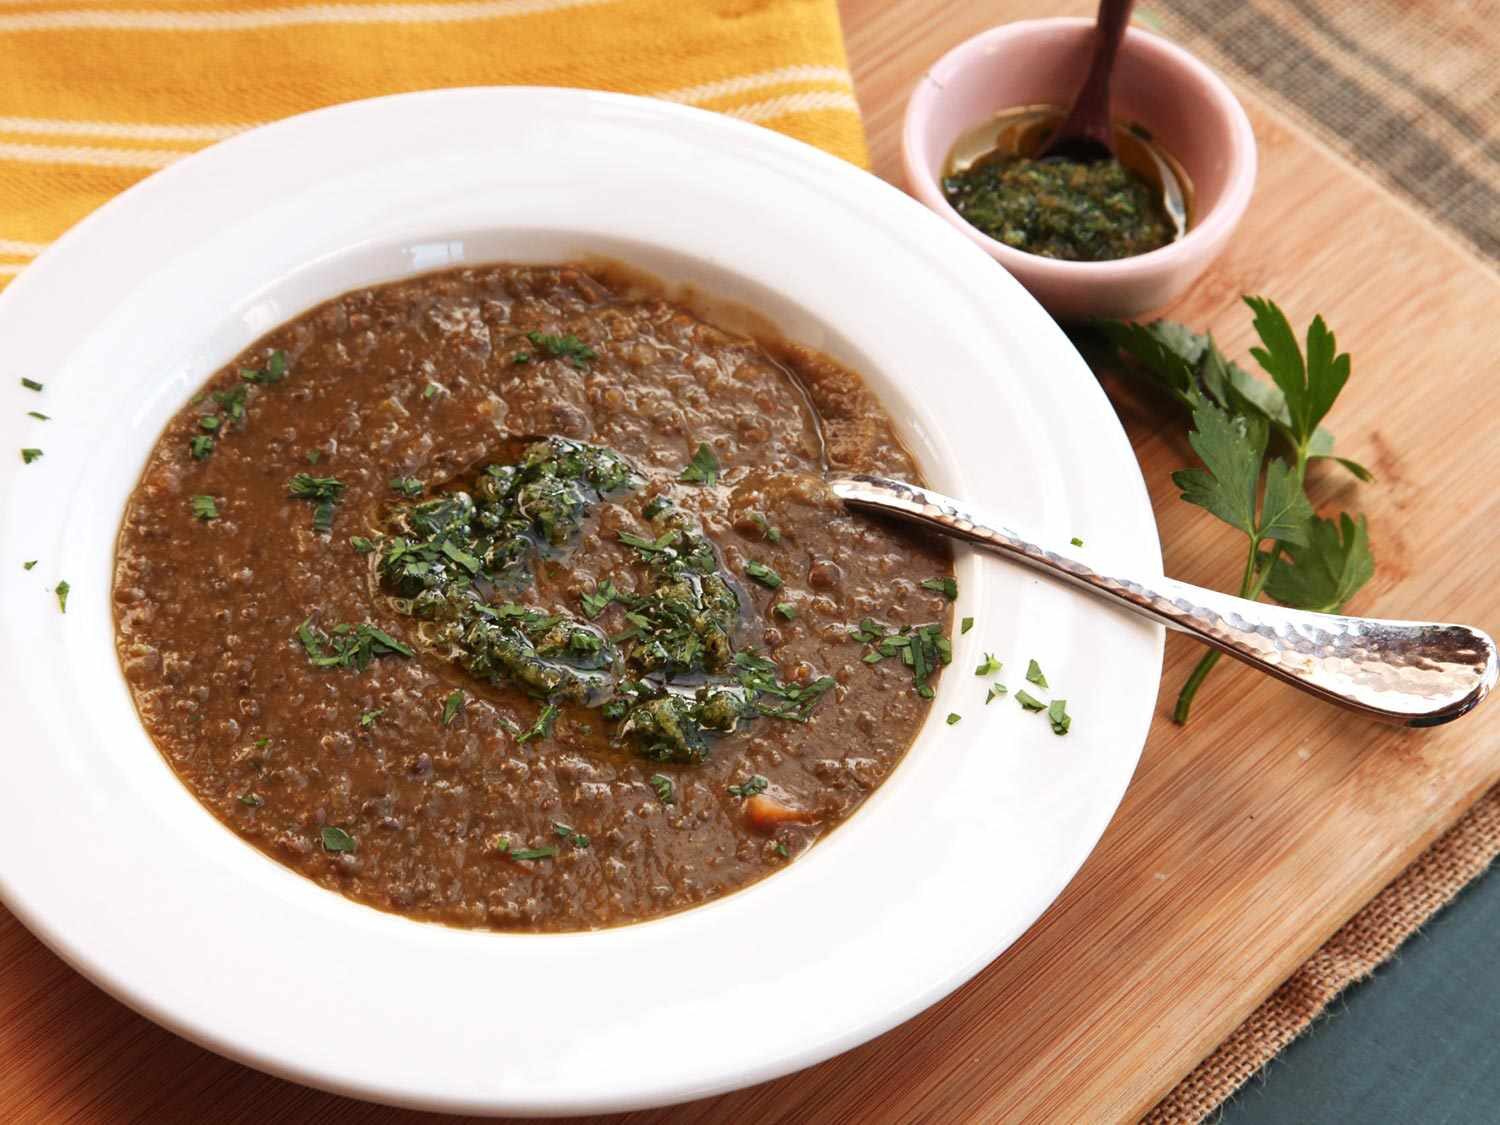
- Soups and stews: Stir into lentil soup or beef stew for deeper, slow-cooked flavor.
- Sandwiches: Pile onto a ham grilled cheese, burgers, or a melt.
- Pasta: Toss through tomato basil pasta to make it taste richer and more complex.
- Eggs: Fold into an omelet, or top avocado toast with poached egg.
Storage
Cool caramelized onions completely before storing so they stay glossy instead of weepy.
- Fridge: Airtight container for up to 5 days for best quality.
- Freezer: Freeze in small portions for up to 3 months for best quality. I like flattening them in a freezer bag so you can break off what you need.
- Reheat: Warm in a skillet over medium-low with a splash of water, stirring until glossy again. The microwave works, but the skillet brings back the best texture.
Why it works
- Thin, even slices cook evenly. This prevents some pieces from turning bitter while others stay pale and crunchy.
- Medium-low heat builds flavor gradually. You want steady browning, not aggressive frying that leads to scorched edges.
- Salt is added after the onions soften. Early salt can be fine, but waiting helps this approach avoid steaming early on, especially in a crowded pan.
- Small, targeted deglazing lifts the fond. A little at a time dissolves the browned bits without flooding the pan.
Ingredient notes
Best onion type
Yellow onions are my everyday pick. They caramelize reliably and taste balanced, not overly sweet. Sweet onions (like Vidalia) can taste extra sweet depending on the onion and how far you take the cook. Red onions work too, with a slightly winey flavor and deeper color.
Fat choice
Butter plus olive oil is my favorite combination: butter for flavor, oil for a little insurance against scorching. You can use all butter, all oil, or even bacon fat if you want a smoky edge.
Salt timing
I add salt after the onions have softened and turned translucent. Many people salt earlier to help onions sweat. For this approach, waiting helps the first stage stay more like sautéing, not steaming, especially if your pan is crowded or your heat runs low.
Deglazing liquid
Use water, broth, wine, beer, or balsamic. The key is amount and technique. You are dissolving fond, not making onion soup in the skillet.
Equipment
- Wide, heavy skillet (cast iron or stainless steel): more surface area equals better browning
- Wooden spoon or heat-safe spatula: for scraping fond without gouging the pan
- Sharp knife: consistent slices matter
Pro tips
- Slice with the grain for longer strands. Cut from root to stem for oniony ribbons that hold their shape better.
- Use a wider pan than you think you need. Crowding traps steam and slows browning.
- Stir more often as they darken. Early on, you can stir every few minutes. Later, stay close and stir frequently to prevent hot-spot burning.
- Deglaze in small amounts, not big splashes. Add a spoonful at a time, scrape, then let the pan go back to a gentle sizzle before adding more.
- Trust the color, not the clock. Different pans and burners run different. Your goal is deep golden to mahogany, glossy onions that smell sweet, not sharp.
Substitutes
- Butter: Swap for olive oil, avocado oil, or vegan butter.
- Olive oil: Swap for neutral oil (canola, grapeseed) if you prefer.
- Deglazing liquid: Water works perfectly. Broth adds savoriness. Wine adds complexity. A small splash of balsamic adds sweetness and tang.
Variations
- Jammy balsamic onions: Near the end, deglaze with a small splash of balsamic vinegar, then cook briefly to concentrate.
- Herby onions: Stir in a sprig of thyme while cooking, remove before storing.
- Extra-rich onions: Finish with a little butter off the heat for shine.
- Onion and shallot blend: Replace part of the onion with shallots for a sweeter, more delicate flavor.
Serving ideas
- Soup: The obvious one is French onion style, but they also deepen lentil soup or beef stew.
- Burgers and sandwiches: Pile onto a ham grilled cheese or stir into a melt.
- Pasta: Toss with tomato basil pasta for instant slow-cooked flavor.
- Eggs: Fold into an omelet or top avocado toast with poached egg.
- Pizza or flatbread: Use as a base layer under cheese and roasted vegetables.
Storage
Refrigerator
Cool completely, then store in an airtight container for up to 5 days for best quality.
Freezer
Freeze in small portions so you can grab what you need. I like flattening them in a freezer bag so you can break off pieces. They keep well for up to 3 months for best quality.
Reheating
Warm in a skillet over medium-low with a splash of water, stirring until glossy again. Microwave works too, but the skillet brings back the best texture.
Common mistakes
Cooking too hot
What happens: Burnt edges, bitter flavor, and pale centers. Fix: Drop to medium-low and stir more often. If you have dark spots, deglaze with a small splash of water and scrape, then keep going.
Overcrowding the pan
What happens: The onions steam and take forever to brown. Fix: Use a wider skillet or cook in two batches.
Salting too early for your setup
What happens: A flood of onion liquid that can encourage steaming if the pan is crowded or the heat is low. Fix: Either keep the heat high enough to evaporate quickly, or salt once the onions are softened and translucent, which is what I do here.
Dumping in deglazing liquid
What happens: You cool the pan and boil the onions, washing out browning. Fix: Deglaze in small spoonfuls, letting the pan return to a sizzle between additions.
Stopping at golden
What happens: You get tasty sautéed onions, but not the deep sweetness of caramelized onions. Fix: Keep going until they are a rich amber-brown and jammy, usually 40 to 55 minutes total.
FAQ
How long do caramelized onions really take?
Plan for 40 to 55 minutes on the stove for truly deep caramelization. You can get brown-ish sooner, but the best flavor takes time.
What heat should I use?
Start at medium just long enough to get the onions sizzling, then settle into medium-low for the rest. If your onions ever sound like they are frying aggressively, turn it down.
When should I add sugar or baking soda?
I do not use either for classic caramelized onions. Sugar can make them cloying, and baking soda can turn them mushy with an odd flavor. If you want deeper sweetness, use time and proper browning.
Why are my onions burning in spots?
Usually it is a hot spot or the heat is too high. Stir more often as the onions darken, and deglaze with a tablespoon of water to dissolve the fond before it scorches.
Can I make them ahead?
Yes, and I recommend it. A container of caramelized onions in the fridge is one of the easiest ways to make quick dinners taste like you cooked all day.
Recipe summary
Deep, jammy skillet caramelized onions cooked low and slow, with a deglaze approach that lifts flavor without steaming.
Prep time: 10 minutes
Cook time: 45 minutes
Total time: 55 minutes
Yield: About 1 cup caramelized onions
- 2 large yellow onions, thinly sliced (about 1 1/2 pounds total)
- 2 tablespoons unsalted butter
- 1 tablespoon olive oil
- 1/2 teaspoon kosher salt, plus more to taste
- 2 to 6 tablespoons water, broth, dry white wine, or beer, for deglazing as needed
- Black pepper, to taste (optional)
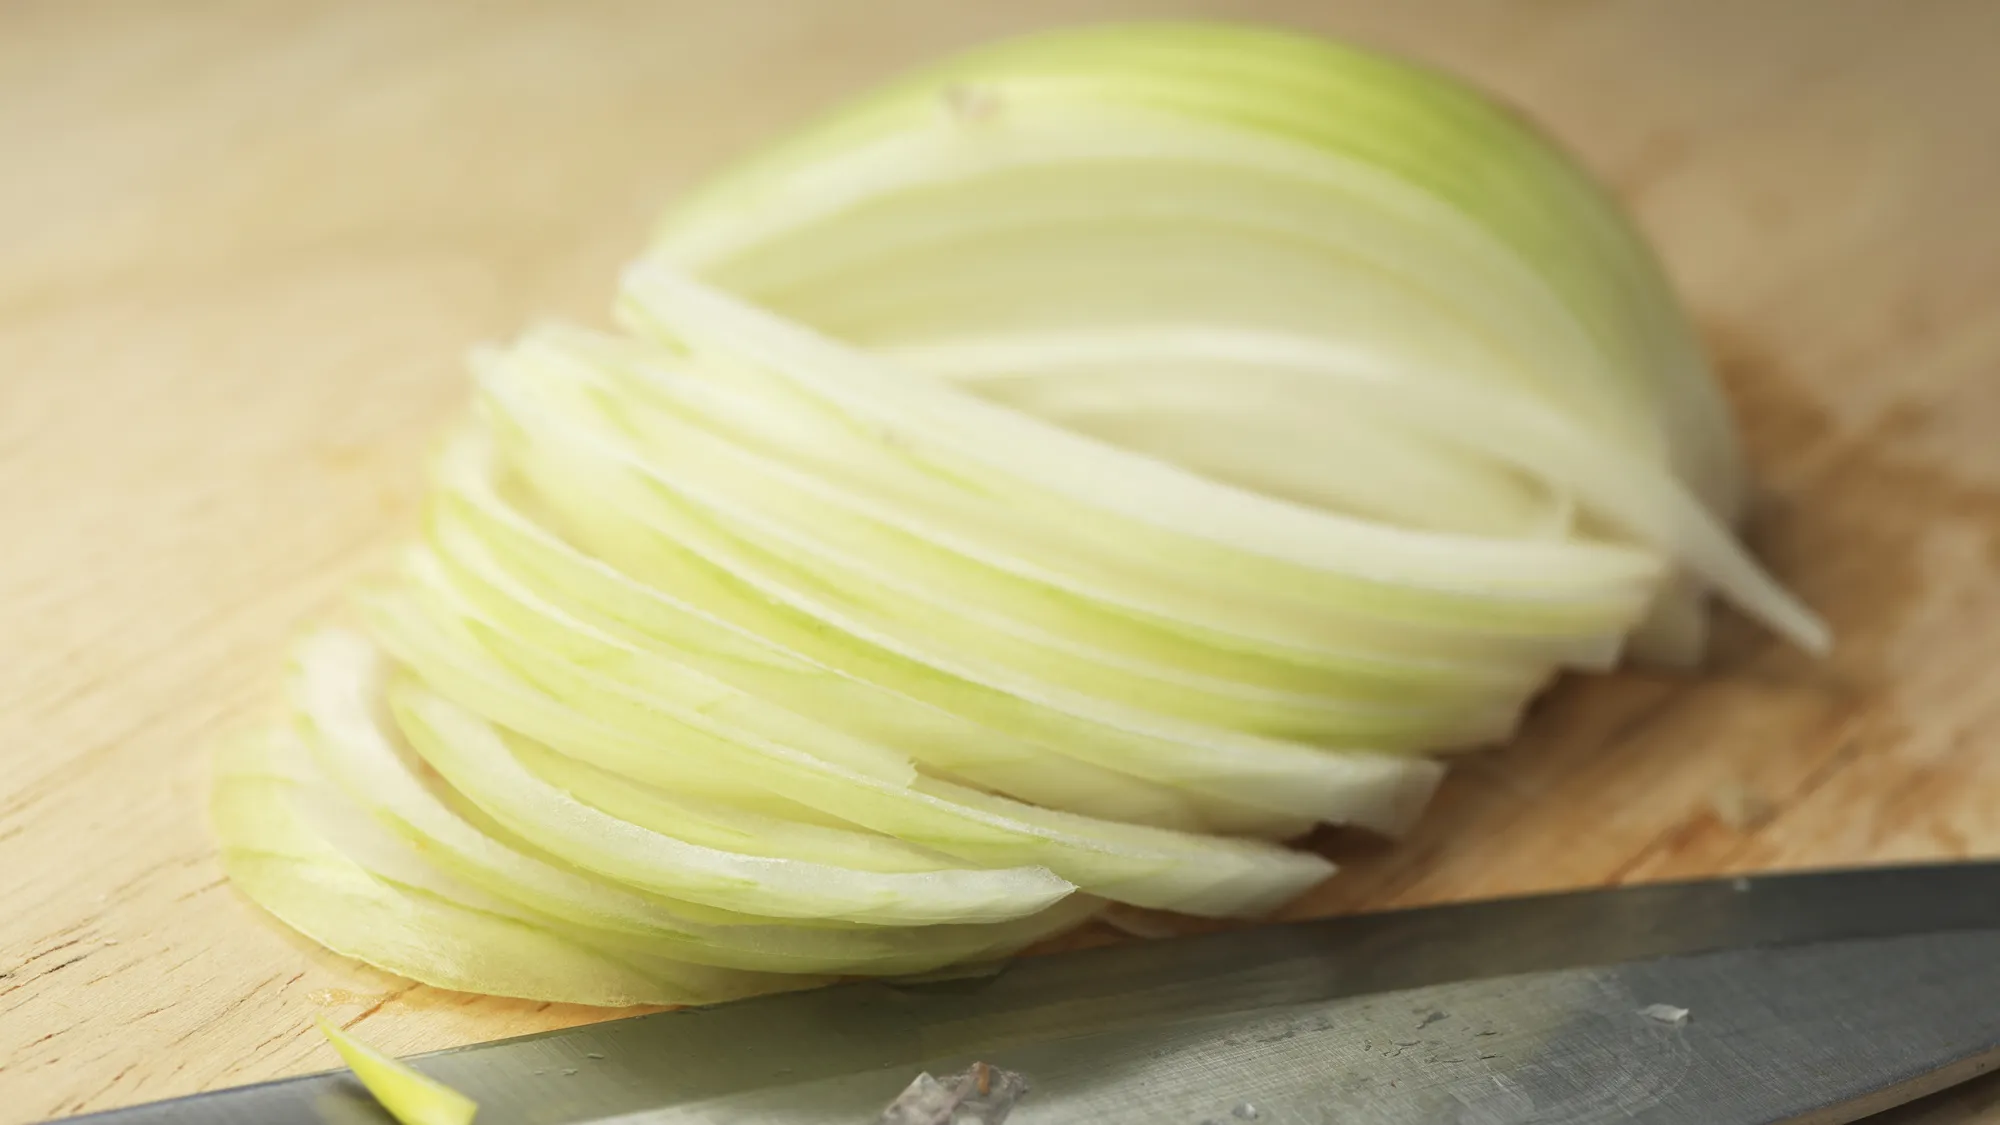
- Slice the onions evenly. Halve each onion through the root, peel, then thinly slice into half-moons. Try to keep slices as consistent as possible.
- Heat the fat. Set a wide, heavy skillet over medium heat. Add the butter and olive oil and heat until the butter is melted and just starting to foam.
- Add onions and start the sizzle. Add the onions and toss to coat in the fat. Spread them into an even layer. Cook 8 to 10 minutes, stirring every 1 to 2 minutes, until the onions are softened and turning translucent.
- Salt at the translucent stage. Sprinkle in the salt and stir well. Reduce heat to medium-low. Cook 25 to 35 minutes more, stirring every 3 to 5 minutes at first, then more frequently as they darken. If you see browned bits building on the pan, that is good. If the bits look close to black, deglaze sooner.
- Deglaze without steaming. When the onions start sticking or the fond looks very dark, add 1 tablespoon of your deglazing liquid. Stir and scrape the bottom of the pan until the fond dissolves, then spread onions back out and let the liquid cook off. Repeat as needed, 1 tablespoon at a time, always waiting for the pan to return to a gentle sizzle before adding more.
- Cook to true doneness. Continue cooking until the onions are a deep golden-brown to mahogany color, very soft, and glossy, 40 to 55 minutes total cook time. They should smell sweet and rich, not sharp. Taste and add a pinch more salt and optional black pepper.
- Cool or use right away. Use immediately, or cool completely and store.
Doneness cue: If you can drag a spoon through the onions and they behave like a soft, jammy pile rather than separate slices, you are there.
Pan note: Stainless steel and cast iron build great fond for deep flavor. Nonstick works, but browns more slowly and develops less fond.
Make more: This recipe doubles easily, but use an extra-wide skillet or cook in two pans to avoid steaming.