Tri-tip doesn’t have to be intimidating. Get a deeply seasoned crust, a juicy medium-rare center, and step-by-step grill or oven directions—plus how to slice...
Delishing
How to Cut Tri-Tip into Steaks

Maya Brooks
Maya Brooks is a dedicated home cook and the lead recipe developer at Delishing, where she shares practical, foolproof meals for everyday life. With over a decade of hands-on kitchen experience, she specializes in creating approachable dishes that fit a variety of dietary needs and modern cooking methods. Maya is passionate about helping busy people get delicious, stress-free food on the table without needing formal culinary training.
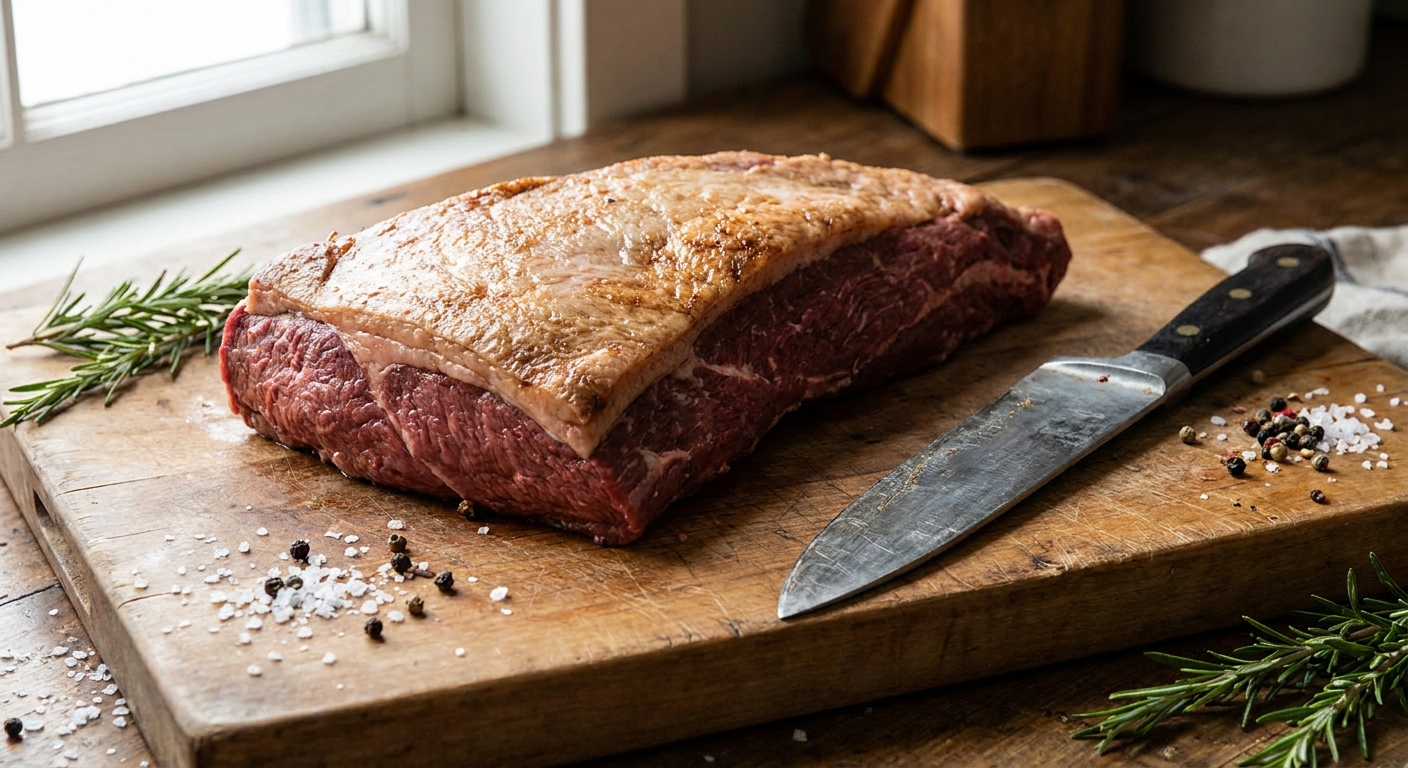
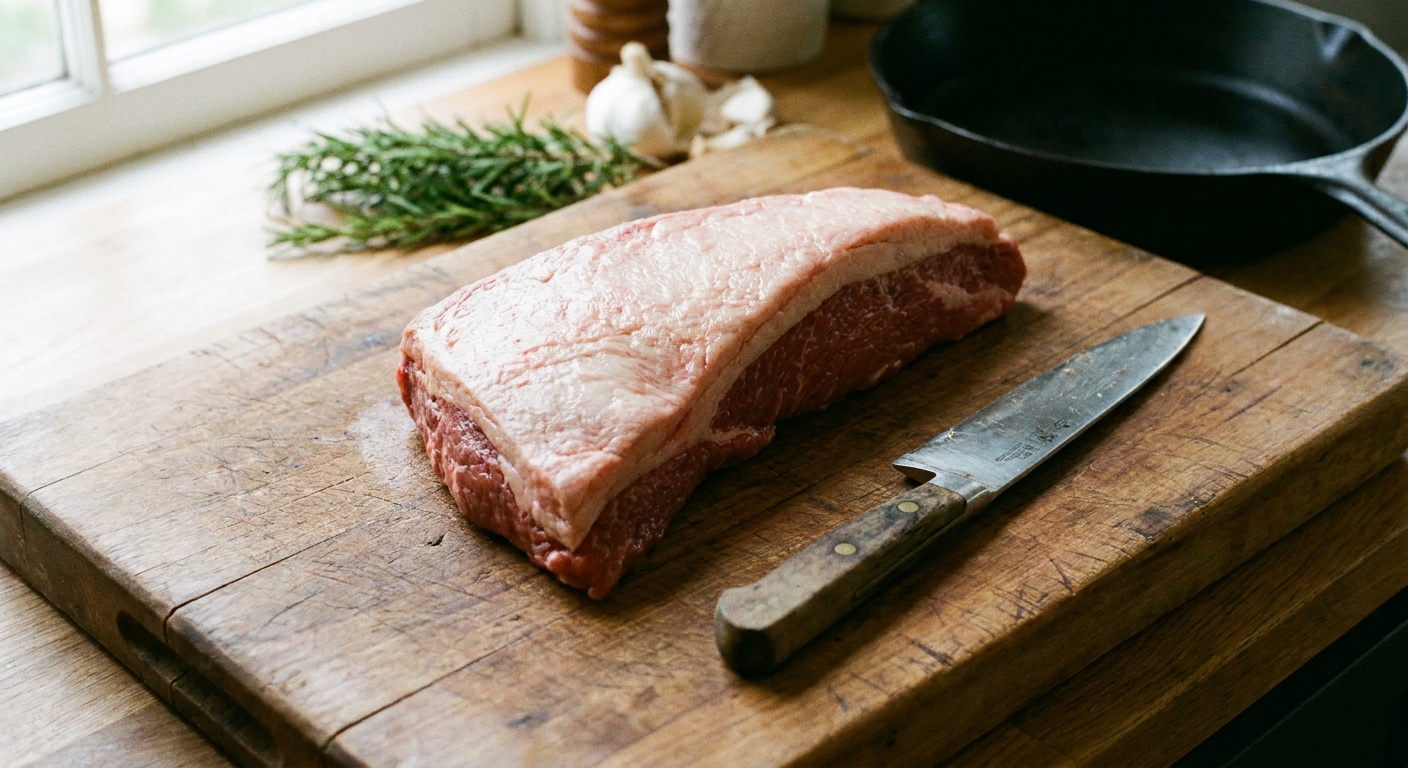
Tri-tip is one of my favorite “big flavor, low drama” cuts, but it can feel a little mysterious when you pull that raw triangle out of the package. If you’ve ever wondered why people argue about the grain on tri-tip, it’s because the grain changes direction across the roast. The good news: that is exactly why tri-tip makes such great steaks, as long as you split it the right way.
Below, I will walk you through how I cut a raw tri-tip roast into thick steaks (so each piece gets sliced and eaten across the grain), plus a simple skillet cook with a butter baste and clear internal-temperature targets.
Before you start
A tri-tip is a triangular roast, and the grain does not run in one neat direction from end to end. That shifting grain is what trips people up, and it is also why tri-tip benefits from being split into smaller sections before you slice it into steaks.
Quick orientation tip: set the roast on your board and find the wide “head” end and the narrow “tip” end. The grain is usually easier to read on the wide end first, then you will notice it angle as it heads toward the tip.
If you want the whole-roast method, head over to our tri-tip roast page. If you have not trimmed yours yet, start with how to trim a tri-tip and come back here.
Tools that help
- Large cutting board with a damp towel underneath so it does not slide
- Sharp chef’s knife (tri-tip is dense, a dull knife is frustrating)
- Paper towels for patting the meat dry
- Instant-read thermometer (this is non-negotiable for steak-level doneness)
How to cut tri-tip into steaks
I cut tri-tip into “lobes” first, then slice each lobe into thick steaks. This is the most reliable way I have found to work with the changing grain.
1) Find the grain on both ends
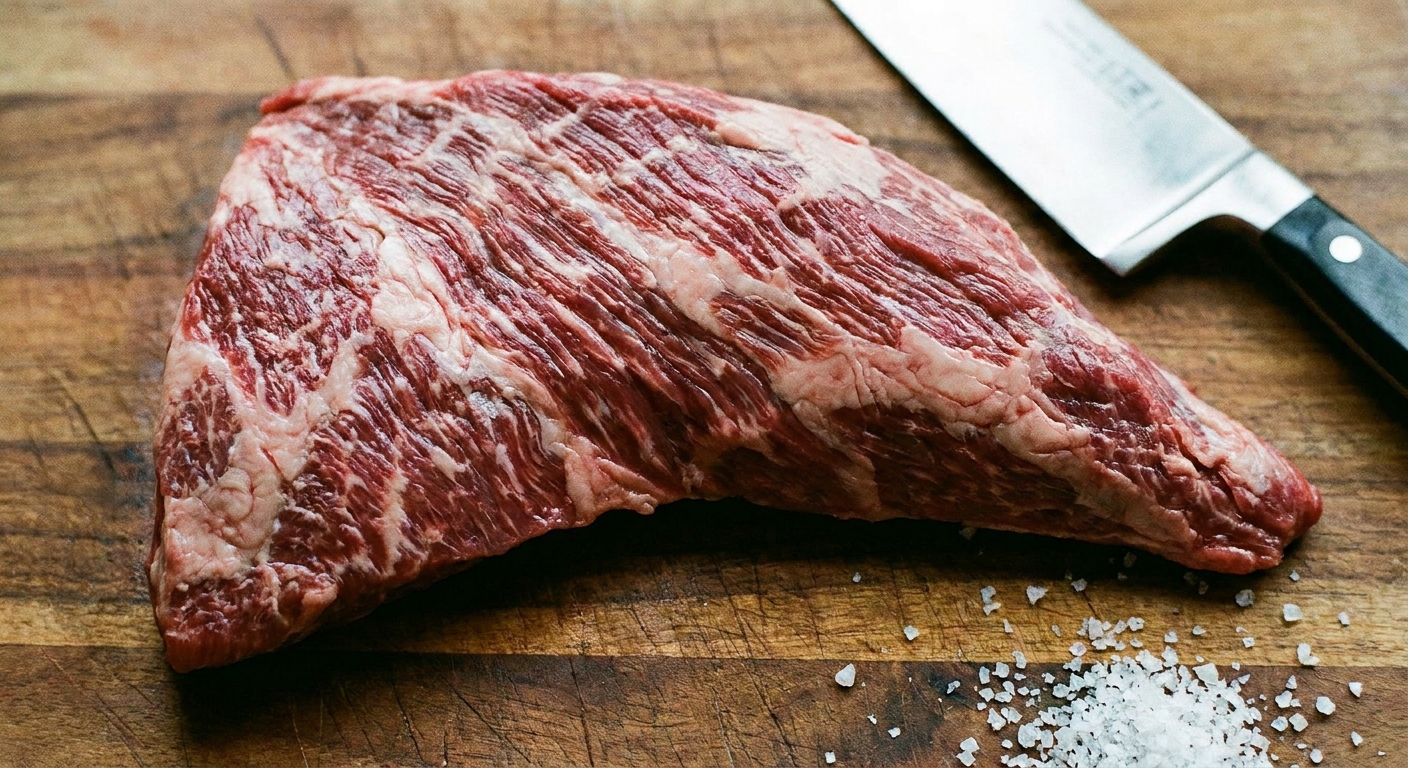
Lay the tri-tip on the cutting board and look closely at the surface. You will usually see the grain running in one direction on the wider head end, and then shifting as you move toward the tip.
Tip from my notebook: I like to lightly drag the tip of my knife over the surface to “trace” the lines. Even a small scratch can help you keep your bearings.
2) Split the roast where the grain changes
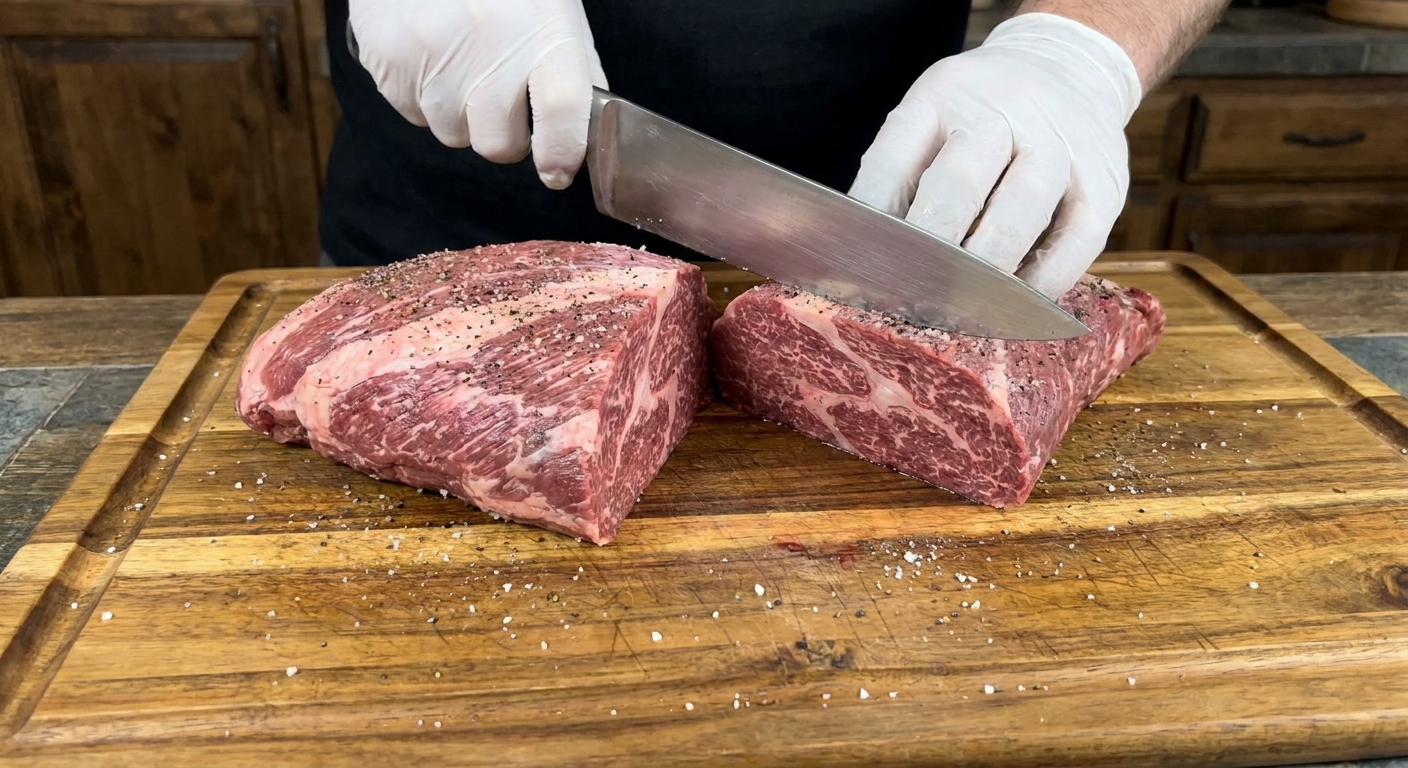
Look for the spot near the middle where the grain noticeably changes direction. That is where I divide the tri-tip into two smaller pieces, basically a thicker main portion and a smaller angled portion.
Use smooth slicing strokes straight down, letting the knife do the work. If your knife stalls, it is usually because the edge is dull and you are having to push instead of slice.
3) Rotate each piece to set up an across-the-grain cut
Now treat each piece like its own mini roast. Rotate it so the grain runs left to right in front of you. That sets you up to slice steaks across the grain.
This is also why two tri-tip steaks can look like the grain is “different” once they are cooked. They came from different areas of the original triangle where the fibers angle differently. Nothing is wrong with your meat. Tri-tip is just built that way.
4) Slice into thick steaks
Cut each section into steaks that are 1 to 1 1/2 inches thick. Thicker steaks are more forgiving and easier to cook to a perfect medium-rare without drying out.
- If you cut them thinner than 1 inch, they tend to overcook fast while you chase a good sear.
- If you go thicker than 1 1/2 inches, plan on a quick oven finish after searing (I give an easy method below).
How many steaks will you get?
From a typical 2 to 3 pound tri-tip, I usually get 4 to 6 steaks depending on thickness and how much I trim. For serving size planning, see how much tri-tip per person.
Skillet tri-tip steaks
This is my weeknight-friendly method when I want steak vibes without firing up anything complicated. You get a strong crust, a juicy center, and that restaurant-style finish from a quick butter baste.
Quick overview
- Heat: medium-high
- Pan: heavy skillet (cast iron is great)
- Doneness target: pull a few degrees early, rest, and let carryover finish the job (carryover depends on thickness)
1) Dry, then season
Pat the steaks dry. Season generously with kosher salt and black pepper. If you have 30 to 60 minutes, salt them and let them sit uncovered in the fridge. Drier surface equals better sear.
2) Take the chill off (optional, but helpful)
If the steaks are ice-cold from the fridge, let them sit on the counter just long enough to take the chill off, about 20 to 30 minutes. You are not trying to “warm” the meat, just helping it cook more evenly.
3) Sear
Heat a skillet until it is properly hot. Add a thin layer of high-heat oil. Place steaks in the pan and do not move them for 3 to 5 minutes, until deeply browned.
Flip and sear the second side for another 3 to 5 minutes.
4) Butter baste to finish
Reduce heat to medium. Add 2 tablespoons butter plus optional smashed garlic cloves and a sprig of rosemary or thyme. Tilt the pan and spoon the foaming butter over the steaks for 1 to 2 minutes.
5) Check internal temperature
Start checking early. Tri-tip steaks vary in thickness, and carryover cooking varies, too. If you are unsure, pull on the lower end of the range and let the rest do the final tightening.
| Doneness | Pull from heat at | Final after rest |
|---|---|---|
| Rare | 115 to 120°F | 120 to 125°F |
| Medium-rare | 125 to 130°F | 130 to 135°F |
| Medium | 135 to 140°F | 140 to 145°F |
| Medium-well | 145 to 150°F | 150 to 155°F |
My go-to: medium-rare. Tri-tip has great beefy flavor, and it really shines when it is still juicy.
One practical note: whole cuts of beef are often enjoyed at a range of doneness levels. If you prefer a higher final temperature for your comfort, aim for medium or above.
Easy oven finish (for thick steaks)
If your steaks are thicker than 1 1/2 inches, I like to sear first, then finish in the oven so the crust does not turn into a burn.
- After searing both sides, move the skillet to a 400°F oven.
- Roast until the thickest part hits your pull temperature, usually 4 to 10 minutes depending on thickness.
- Then butter baste briefly on the stove (or add butter before the last minute in the pan), and rest.
Rest, then slice correctly
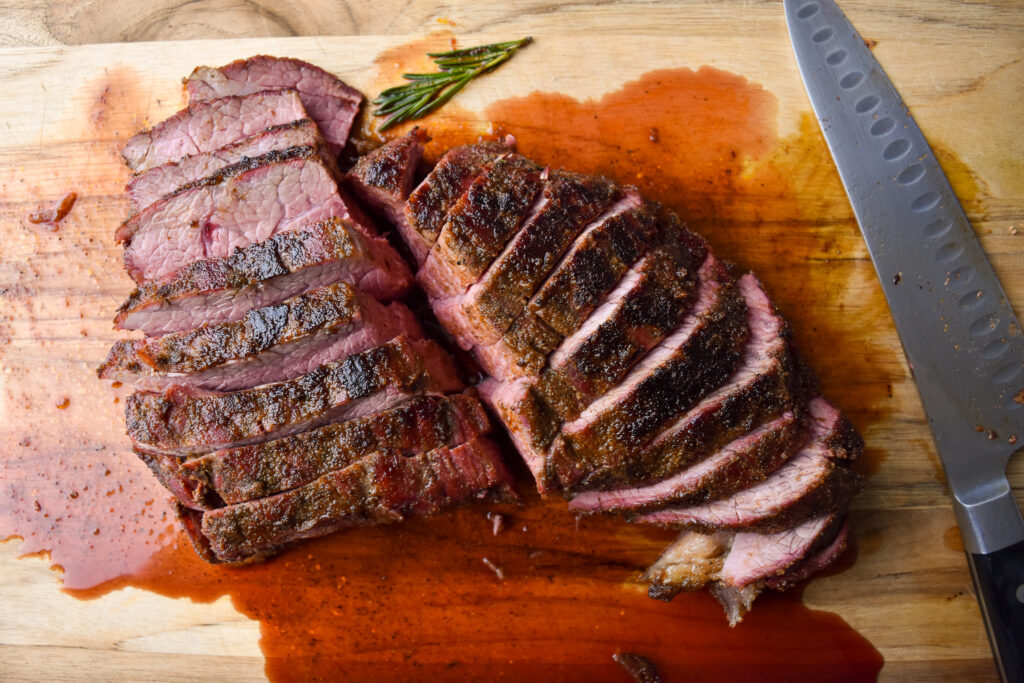
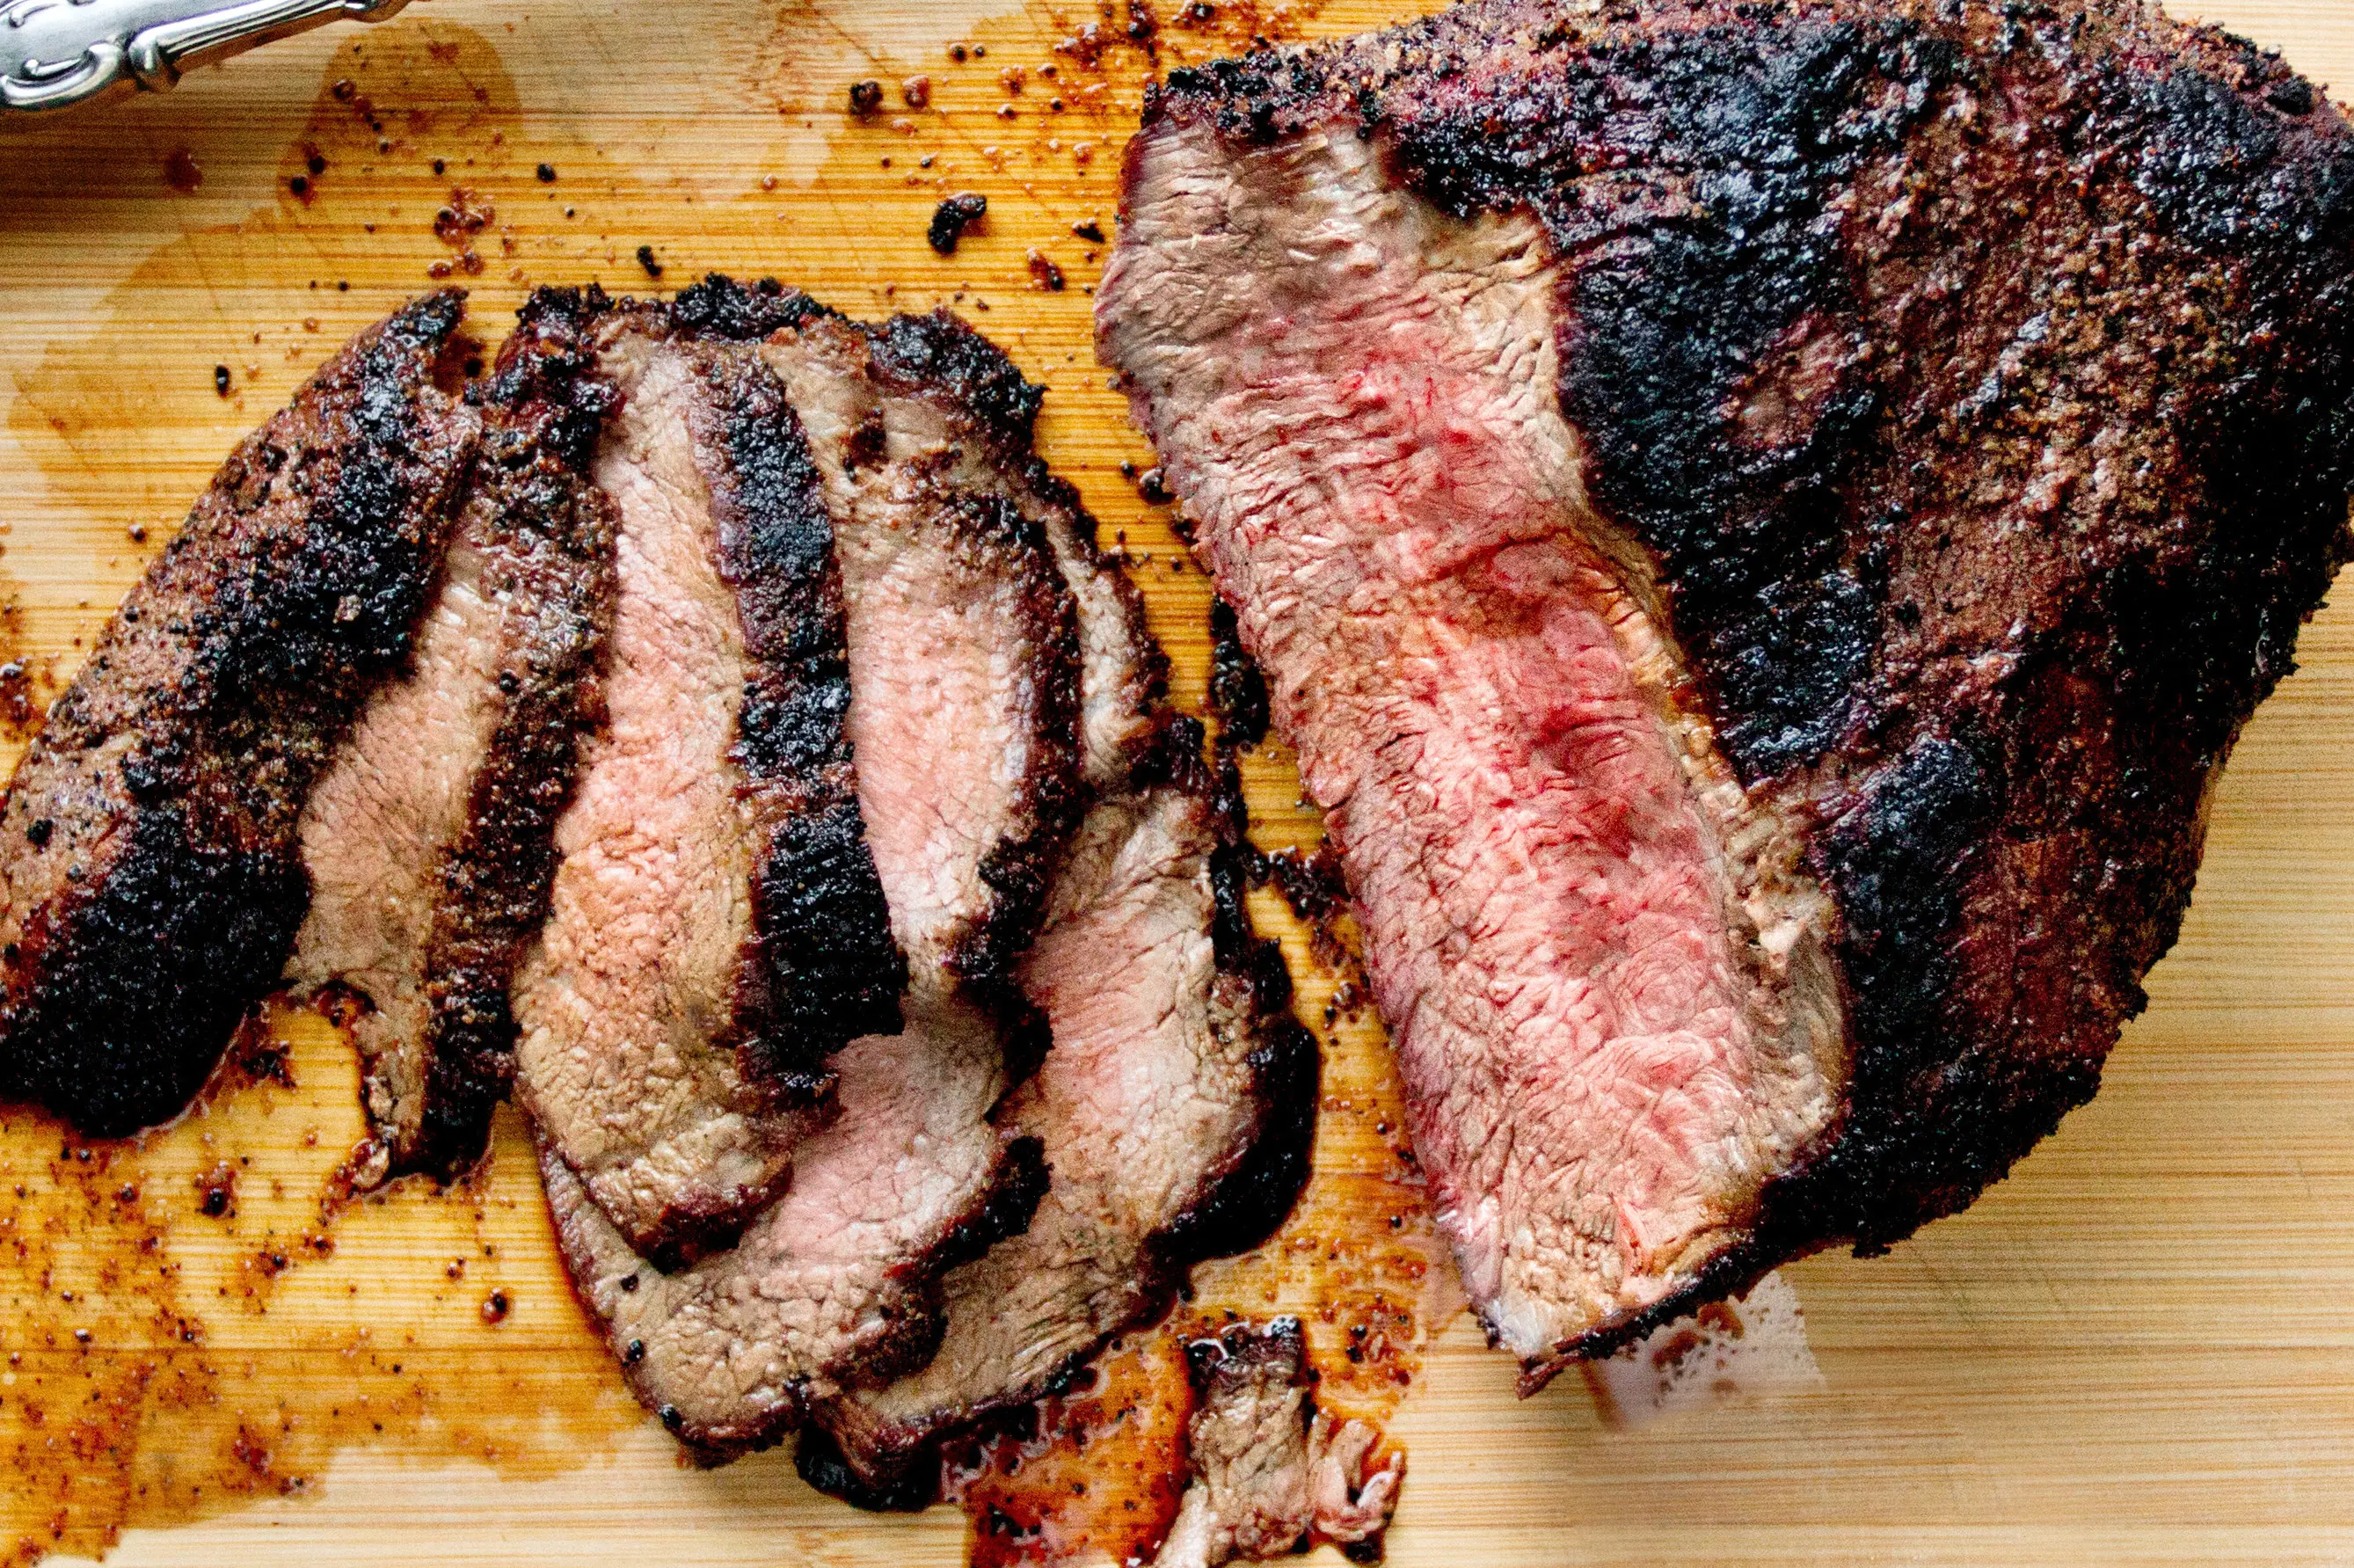
Rest the steaks 5 to 10 minutes. Then slice thinly against the grain. Because grain direction can vary by steak, I always check each one before slicing.
If you need help with leftovers, we have guides for how to reheat tri-tip and how to freeze tri-tip.
Why the grain can look “wrong”
This is the part that saves a lot of frustration. Tri-tip is not a uniform, straight-grained steak like a strip. The grain direction shifts across the roast.
So one steak might want to be sliced left to right on your cutting board, while another wants to be sliced top to bottom. That is normal. The win is that each individual steak has a more consistent grain than the whole roast, so it is easier to slice correctly and get tender bites.
Troubleshooting
My steaks were chewy
- You might have sliced with the grain. Rotate and look for the lines, then cut across them.
- They might be overcooked. Tri-tip tightens up fast past medium.
- If the steaks were very cold going into a ripping-hot pan, the outside can overbrown before the center catches up. Next time, let them take the chill off first.
I cannot see the grain on the raw meat
- Pat dry first. Moisture hides detail.
- Look at the sides, not just the top surface.
- Once you split the roast in two, the cut faces often make the grain more obvious.
My pan smoked like crazy
- Use a higher smoke point oil and keep the heat at medium-high, not max.
- Dry the steaks more thoroughly.
- Butter goes in at the end after you reduce the heat.
FAQ
Can I cut tri-tip into steaks with the fat cap on?
Yes. I often leave a thin fat cap for flavor, then render it in the skillet. If the fat layer is thick, trim it down first so you are not chewing through it. Our tri-tip trimming guide shows what to remove.
What thickness is best?
1 to 1 1/2 inches. It gives you time to build a crust and still land medium-rare.
Do tri-tip steaks need a marinade?
They do not need one, but they take well to marinades if you want extra flavor. If that is your plan, start with our tri-tip marinade and then come back here for the cutting and skillet method.
Can I serve them without slicing after cooking?
You can, but I still recommend slicing against the grain before serving. Even when cooked as steaks, tri-tip fibers are long, and thin slices make every bite more tender.