Delishing
Pan Seared Scallops

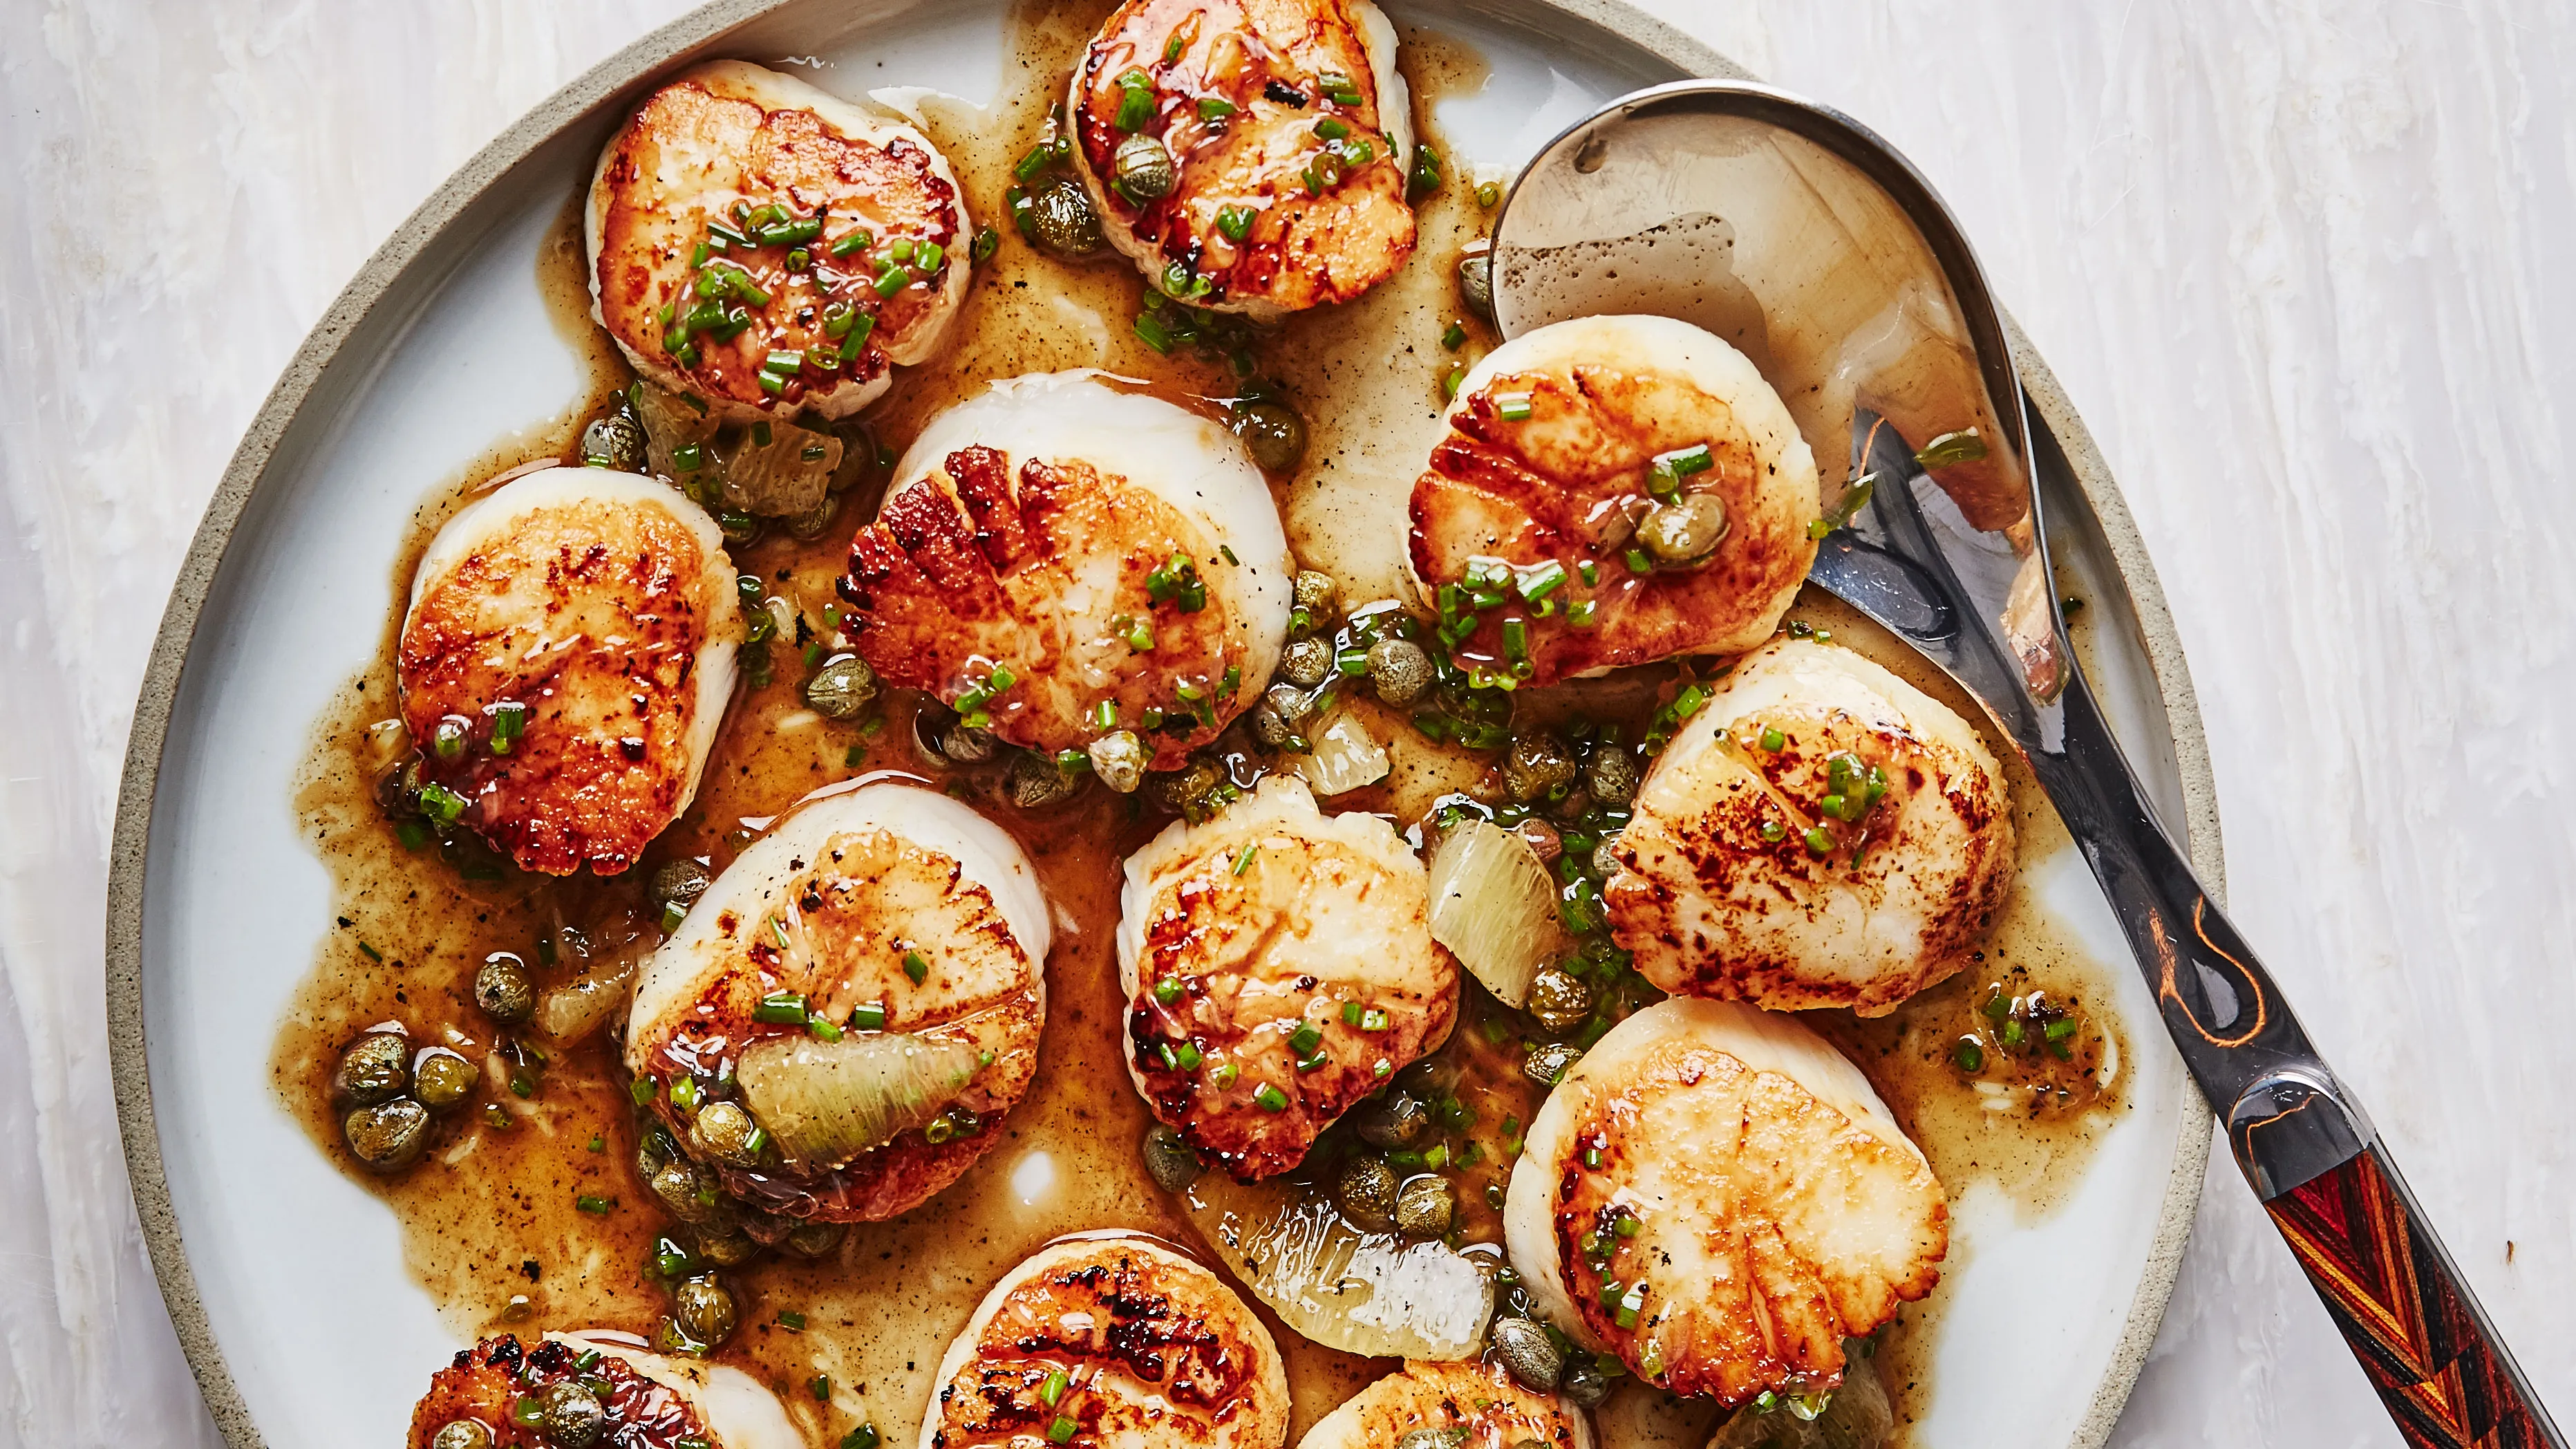
Pan seared scallops are one of those “fancy” dinners that are secretly weeknight-fast. The whole trick is less about chef skills and more about setting yourself up for success: buy the right scallops, get them truly dry, and use a skillet that is hot enough to build a crust before the center overcooks.
I started making scallops during one of those 5:00 PM spirals when I needed a dinner that felt like a win without adding another big cooking project to my night. After a few early batches that steamed instead of seared, I got a repeatable system: dry-packed scallops, a truly hot pan, no crowding, and a quick butter-lemon pan sauce you can spoon over everything.
Below, I walk you through the prep that matters most, including removing the side muscle, choosing the right pan and fat, and timing your sear so the center stays tender. Then we roll right into the recipe card with the exact steps: dry, season, sear, flip, and finish with that buttery lemon hit.
What to know before you start
Dry-packed vs wet-packed scallops
If you want that deep golden crust, look for dry-packed sea scallops. They are not treated with a soaking solution, so they brown instead of releasing lots of water in the pan.
Wet-packed scallops are soaked in a solution to help them hold moisture. Some are treated with phosphates, which can make them look extra white and cause them to weep liquid. You can still cook them, but plan to dry them aggressively and expect less browning.
That little side muscle is real
Many sea scallops have a small rectangular flap on the side. It is edible, but a bit tough. If you peel it off, you get a more tender bite and more even browning.
Pick the right pan
If you have a choice, grab a stainless-steel skillet for scallops. It holds heat well and gives you those browned bits that make the butter-lemon sauce taste like you planned this dinner all day. It is also nonreactive and easy to deglaze with lemon.
A well-seasoned cast iron skillet also works and can build great browning, too. I just try to keep acidic deglazing gentle and quick, especially if your seasoning is not bulletproof.
What I avoid is a thin pan that drops temperature the second the scallops hit the surface. That is when you get steaming instead of searing.
Choose the right fat
For scallops, I like a two-fat approach. Start with a neutral high-heat oil to get the sear going, then add butter later for flavor.
Butter alone can burn fast at searing temperatures. Oil buys you breathing room, and then butter comes in at the end to turn the browned bits into sauce.
Timing changes with size
Scallops go from tender to rubbery in what feels like one minute, so I rely on cues more than the clock. Also, size matters. Big “U10” scallops can take a bit longer than smaller ones, and thinner scallops cook faster than tall, thick ones.
- First side: leave them alone until a deep golden crust forms and they release easily when nudged.
- Second side: shorter than the first. You are finishing the center, not building a second thick crust.
- Doneness cue: the sides turn opaque, and the center can stay slightly translucent if that is how you like them. If you prefer them cooked through, give them another 30 to 60 seconds or use the thermometer note in the recipe card as your guide.
The best move I ever made with scallops was pulling them a touch early and letting residual heat finish the job on the plate.
Why this works
- Dry scallops plus high heat equals a true sear, not a steamed exterior.
- Not crowding the pan keeps the temperature from crashing so the scallops brown fast.
- Short cook time protects the delicate center so it stays tender.
- A quick butter-lemon pan sauce uses the browned bits in the skillet for instant restaurant flavor.
Ingredient notes
Sea scallops
Use large sea scallops (not bay scallops). Bigger scallops are easier to sear without overcooking because the center has a little more buffer time. If the scallops are still slightly damp when you unwrap them, budget extra time for drying.
Salt and pepper
Season simply. I like fine sea salt for even coverage and freshly ground black pepper, but keep pepper light if you are searing very hot since pepper can scorch.
High-heat oil
Start with a neutral oil that can handle high heat (avocado oil, grapeseed oil, canola oil). Butter alone tends to burn before scallops finish searing.
Butter
Add butter after the scallops flip or at the end so it browns gently and becomes the base of the sauce.
Lemon
Lemon juice wakes everything up. Add it off heat or at very low heat so it stays bright and does not turn bitter.
Garlic (optional)
A single small clove, lightly smashed, perfumes the butter without taking over.
Equipment
- 12-inch stainless-steel skillet or well-seasoned cast iron (stainless is nonreactive and deglazes easily for a lemony pan sauce).
- Paper towels for drying (this is not optional if you want browning).
- Fish spatula or thin metal spatula for clean flipping.
- Instant-read thermometer (optional, but helpful if you are nervous about doneness).
If you want more skillet guidance, I keep a running list of what I reach for most often in our equipment guides.
Pro tips
- Dry the scallops like you mean it. Pat thoroughly, then let them sit uncovered on a paper towel-lined plate in the fridge for 10 to 30 minutes if you have time. Drier surface equals better crust.
- Remove the side muscle. Pinch the little flap and pull it away. It will peel off easily on most scallops.
- Preheat the skillet until it is truly hot. You want the oil shimmering. A scallop should sizzle the moment it hits the pan.
- Do not touch them. Once scallops are in the pan, leave them alone until a crust forms. If you try to move them too early, they can stick.
- Work in batches if needed. Crowding causes steaming. Give each scallop breathing room.
- Timing cue that works: when the crust is deep golden and the scallop releases easily, it is ready to flip.
- Cook to your comfort level: scallops can be served with a slightly translucent center for tenderness, or cooked a bit longer for a firmer, more opaque center.
Substitutes
- Oil: Use any neutral high-heat oil you like. Olive oil works in a pinch, but choose a refined version if you have it.
- Butter-lemon sauce: Swap lemon for a small splash of white wine or chicken broth, then finish with a squeeze of lemon at the end if you want.
- Garlic: Skip it or use a pinch of garlic powder added to the sauce off heat.
- Herbs: Parsley, chives, or tarragon are great. Add at the end so they stay fresh-tasting.
Variations
- Brown butter caper scallops: Let the butter turn lightly nutty, then add 1 to 2 tablespoons drained capers before the lemon.
- Spicy scallops: Add a pinch of red pepper flakes to the butter right after flipping the scallops.
- Citrus swap: Use lime or orange zest plus a small squeeze of juice for a different vibe.
- Scallops and bacon: Cook chopped bacon first, pour off most fat, then sear scallops in a mix of bacon drippings and oil. Finish with lemon to balance the richness.
Serving ideas
Scallops love simple sides because they cook so quickly. Here are a few of my go-tos:
- Serve over fluffy rice with extra sauce spooned on top.
- Pair with roasted vegetables like roasted broccoli or roasted cauliflower with garlic.
- Do a seafood dinner-for-two with a starter soup such as creamy stovetop mushroom soup.
- Turn them into a quick surf-and-turf situation with a steak night recipe like pan seared filet mignon.
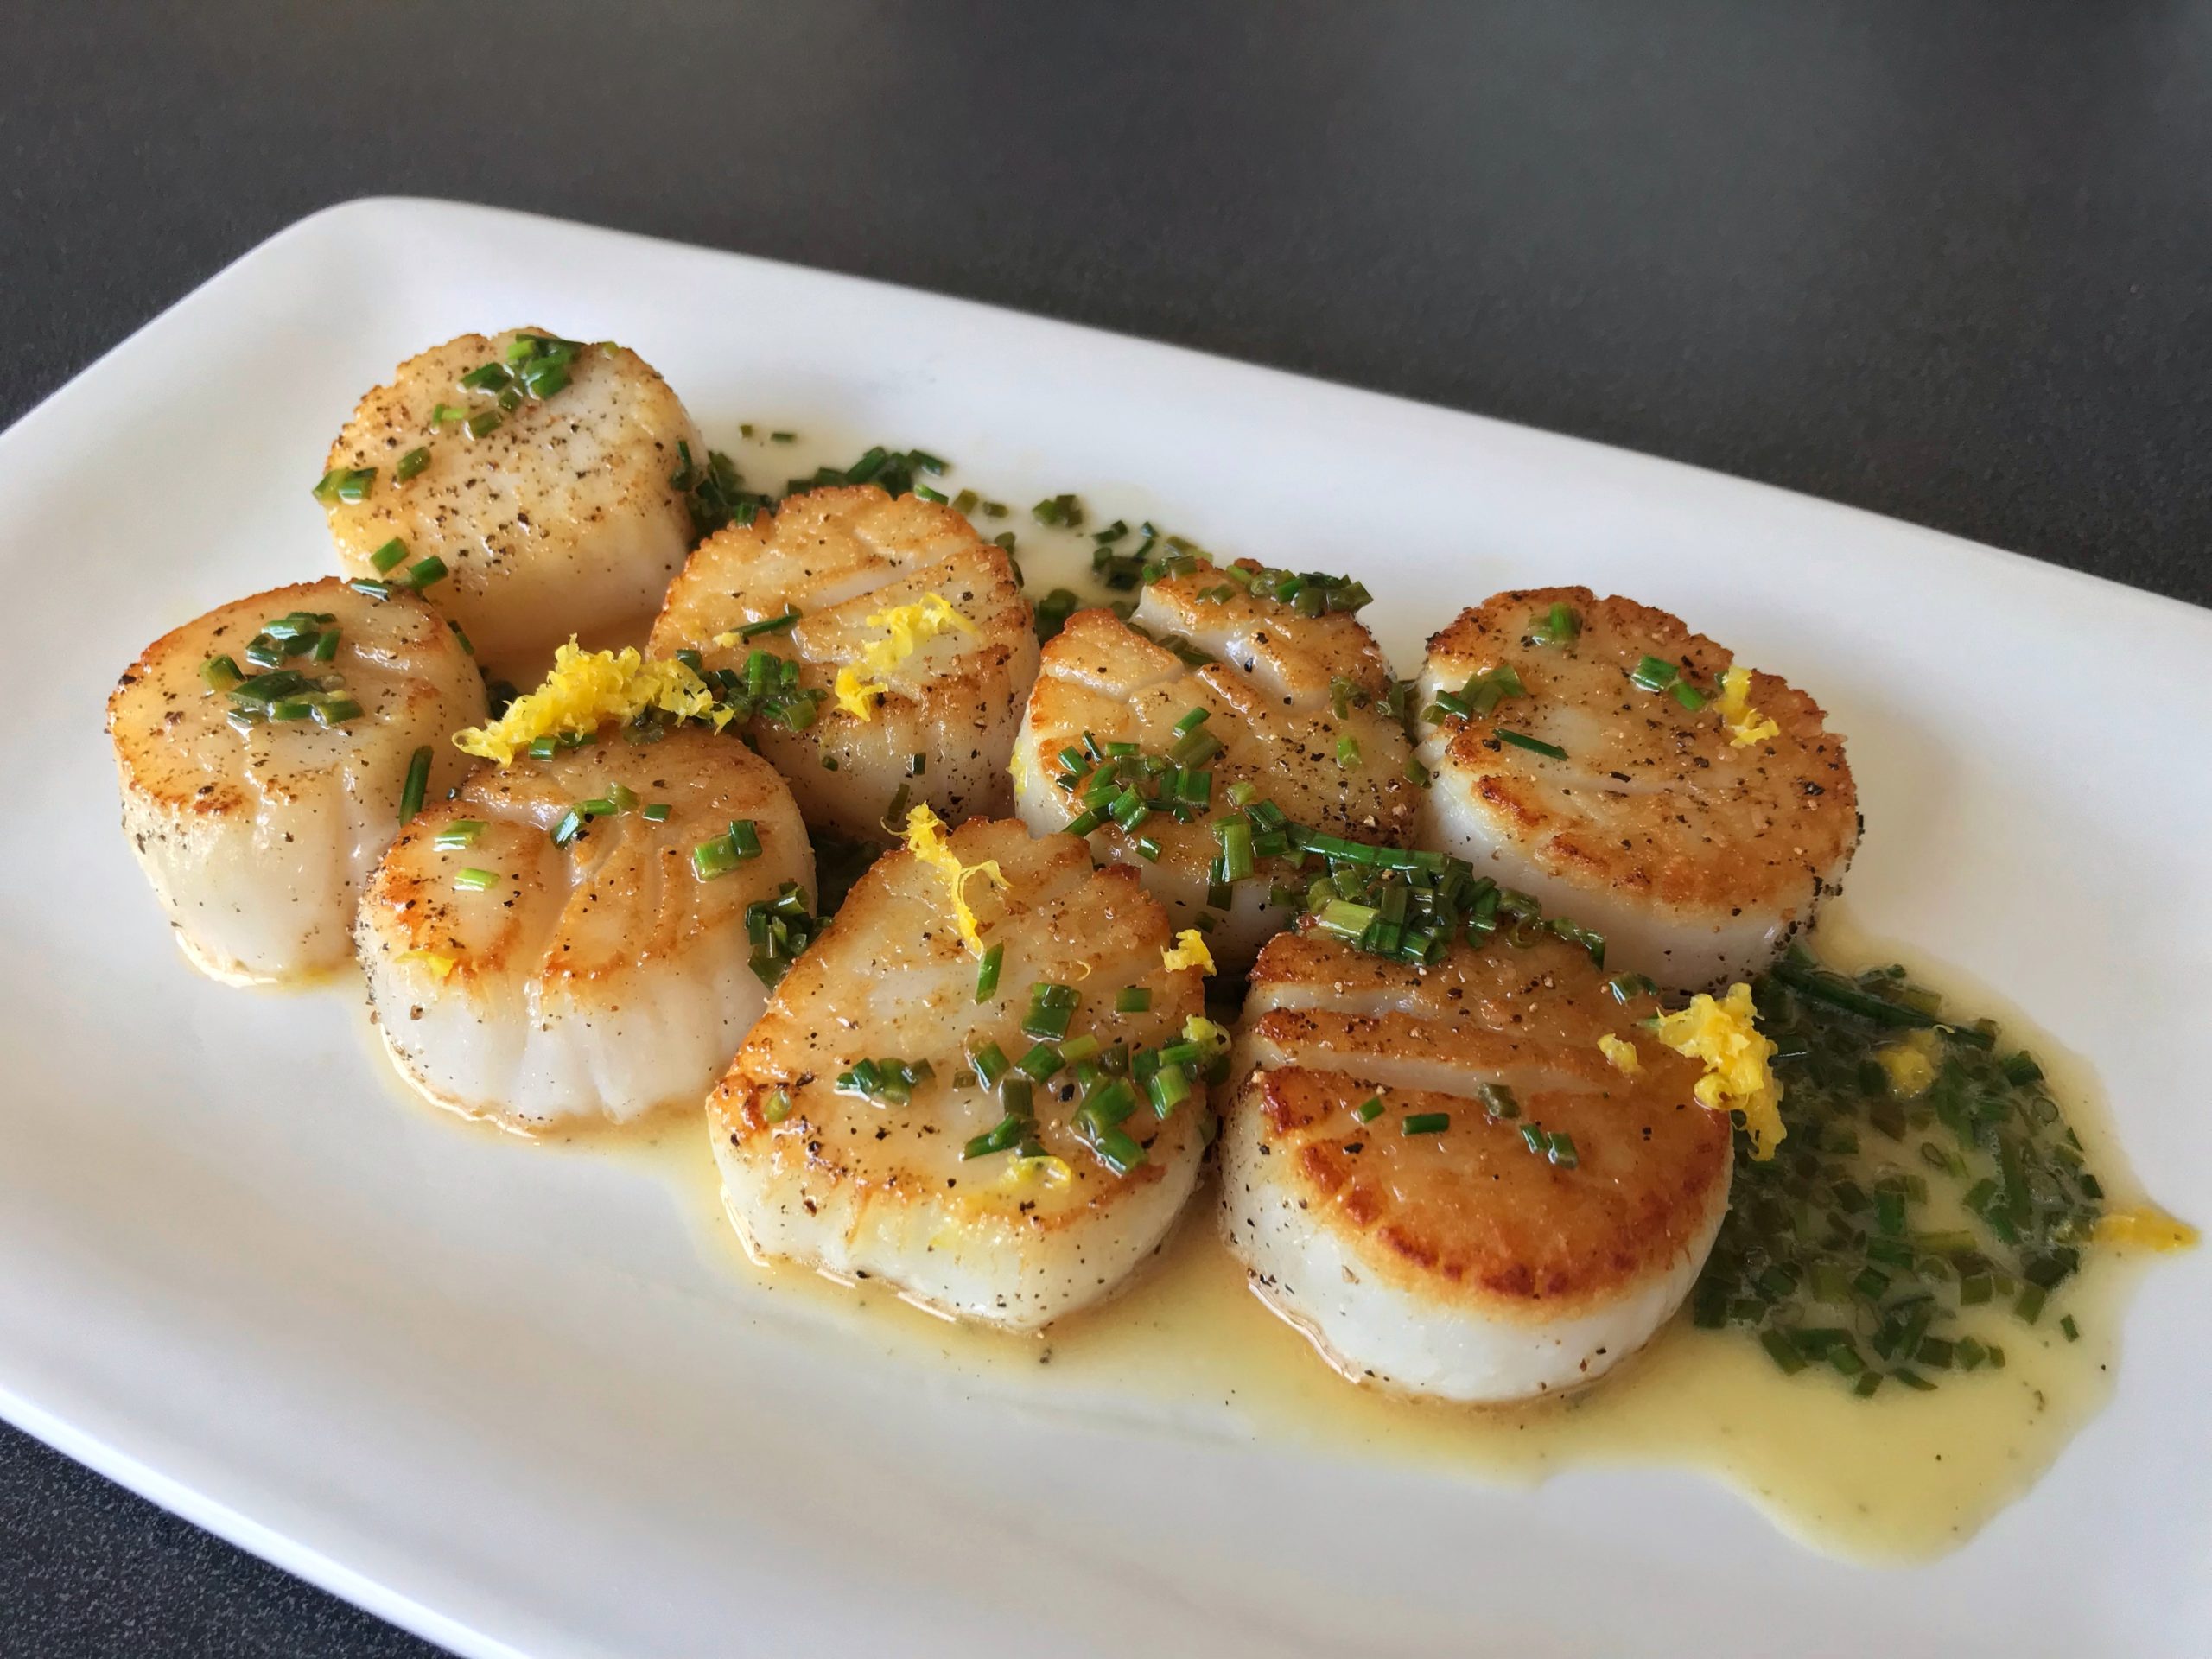
Storage
Scallops are at their absolute best right after cooking. If you have leftovers, store them in an airtight container in the refrigerator and eat within 1 day.
Reheating: Gently warm in a skillet over low heat with a small knob of butter, just until heated through. Avoid microwaving if you can since it tends to overcook them quickly.
Common mistakes (and how to fix them)
“My scallops won’t brown.”
The scallops are likely wet or the pan is not hot enough. Pat dry more thoroughly, preheat longer, and sear in batches so the skillet stays hot.
“They’re sticking to the pan.”
This usually means they are not ready to flip yet. A good crust naturally releases. Give them another 30 to 60 seconds, then try again with a thin spatula.
“They turned rubbery.”
That is classic overcooking. Next time, pull them earlier. Scallops continue cooking from residual heat, especially after you add butter.
“The pan sauce tastes greasy.”
Add a squeeze of lemon and a pinch of salt to balance it. Keeping the butter amount reasonable also helps.
FAQ
Do I rinse scallops before cooking?
I do not. Rinsing adds moisture, which fights browning. If there is any grit, wipe gently with a damp paper towel, then dry thoroughly.
How do I know scallops are done without a thermometer?
Look at the sides. They should be mostly opaque. When you press gently, the scallops should feel springy, not hard. If you prefer them cooked through, keep going until the centers feel a touch firmer.
Can I use frozen scallops?
Yes, as long as they are fully thawed and dried very well. Thaw overnight in the fridge, then pat dry and rest on paper towels so the surface moisture has time to wick away.
Are bay scallops okay for this method?
You can sear them quickly, but they are much smaller and cook in a flash. Reduce the time significantly and expect less dramatic crust.
Pan Seared Scallops (Butter-Lemon Sauce)
Dry-packed sea scallops seared in a hot skillet for a deep golden crust, finished with a fast butter-lemon pan sauce.
Prep Time: 15 minutes
Cook Time: 6 minutes
Total Time: 21 minutes
Servings: 2
- 1 pound large sea scallops, preferably dry-packed (about 10 to 12 scallops)
- 3/4 teaspoon fine sea salt, plus more to taste
- 1/4 teaspoon freshly ground black pepper
- 1 1/2 tablespoons avocado oil (or other neutral high-heat oil)
- 2 tablespoons unsalted butter
- 1 small garlic clove, lightly smashed (optional)
- 1 1/2 tablespoons fresh lemon juice
- 1 teaspoon lemon zest (optional)
- 1 tablespoon chopped fresh parsley or chives (optional)
- Prep and dry the scallops: If there is a side muscle on any scallop, peel it off and discard. Pat scallops very dry on all sides with paper towels. Season both sides with the salt and pepper. For the best crust, place scallops on a paper towel-lined plate and refrigerate uncovered for 10 minutes while you preheat the skillet.
- Preheat the pan: Set a 12-inch stainless-steel skillet over medium-high heat for 2 to 3 minutes. Add the oil and swirl to coat. When the oil shimmers and moves quickly in the pan, you are ready.
- Sear the first side: Place scallops in the pan in a single layer with space between each one. Do not crowd the pan. Sear without moving for 2 to 3 minutes, until the bottoms are deep golden and release easily when you nudge one with a spatula.
- Flip and finish cooking: Flip scallops and cook 1 1/2 to 2 minutes more. Add the butter and optional garlic to the pan during this time and spoon the melted butter over the scallops as they finish. The sides should turn opaque, with a slightly translucent center.
- Make the butter-lemon sauce: Transfer scallops to a plate. Remove the skillet from heat. Discard the garlic (if using). Stir in the lemon juice and optional zest, scraping up any browned bits. Taste and add a pinch of salt if needed.
- Serve: Spoon the warm sauce over the scallops and top with optional chopped herbs. Serve immediately.
Notes
- Batch cooking: If your scallops are smaller or your pan is crowded, sear in two batches. Wipe out any burned bits between batches, then repeat with a little more oil.
- Doneness and food safety: If using an instant-read thermometer, aim for about 115 to 125 F in the center for tender scallops with a slightly translucent middle. Carryover heat will bring them up a bit after plating. Cook longer if you prefer them more done.
- Wet-packed scallops: Dry them extra well and expect more liquid in the pan. Work in smaller batches to reduce steaming.