Delishing
Creamy Stovetop Mushroom Soup

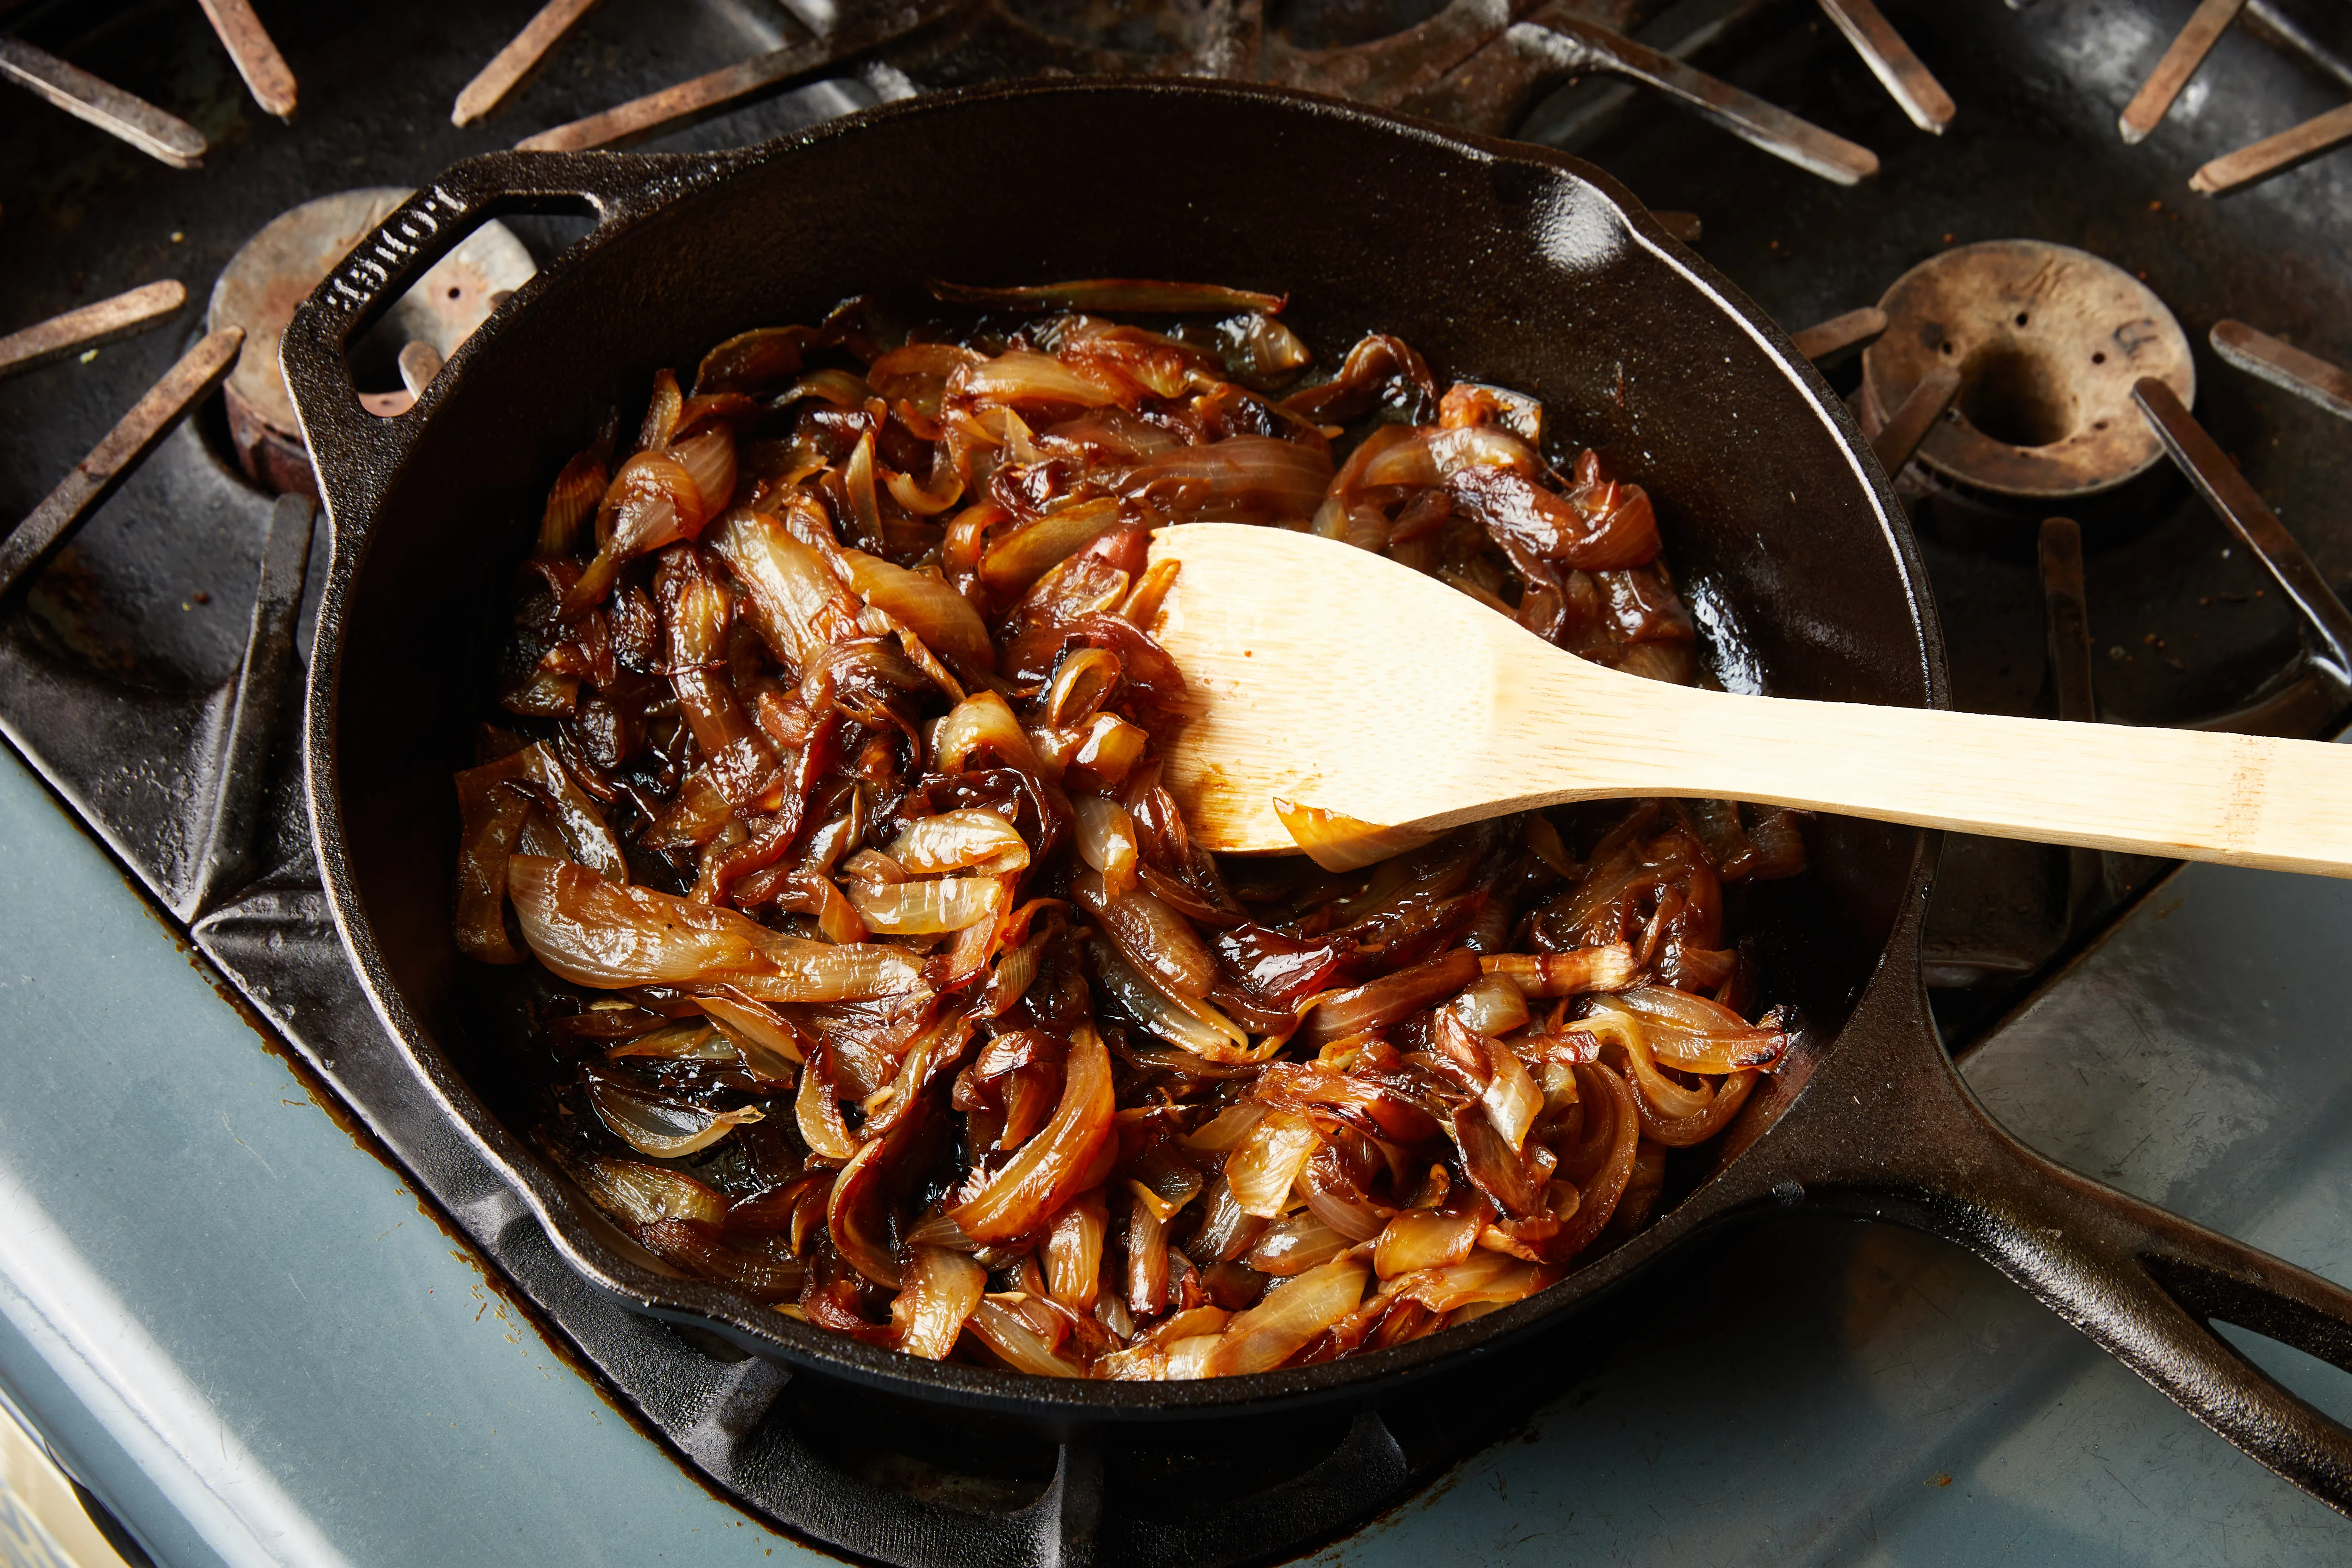
Whenever I need a dinner that feels like I tried harder than I did, I make mushroom soup. It’s cozy, fast, and surprisingly forgiving, as long as you do two things: brown the mushrooms properly (don’t crowd the pot, and let them sit long enough to actually get color) and hold most of your salt until after the mushrooms have browned and the soup has reduced.
This is the version I wish I had when I first started “testing” recipes after work with a tired brain and exactly zero patience for fussy steps. You pick your mushrooms based on what is on sale, you get real golden color (not just steamed mushrooms), you use a simple thickener for that creamy body, and you finish with seasoning once everything has concentrated.
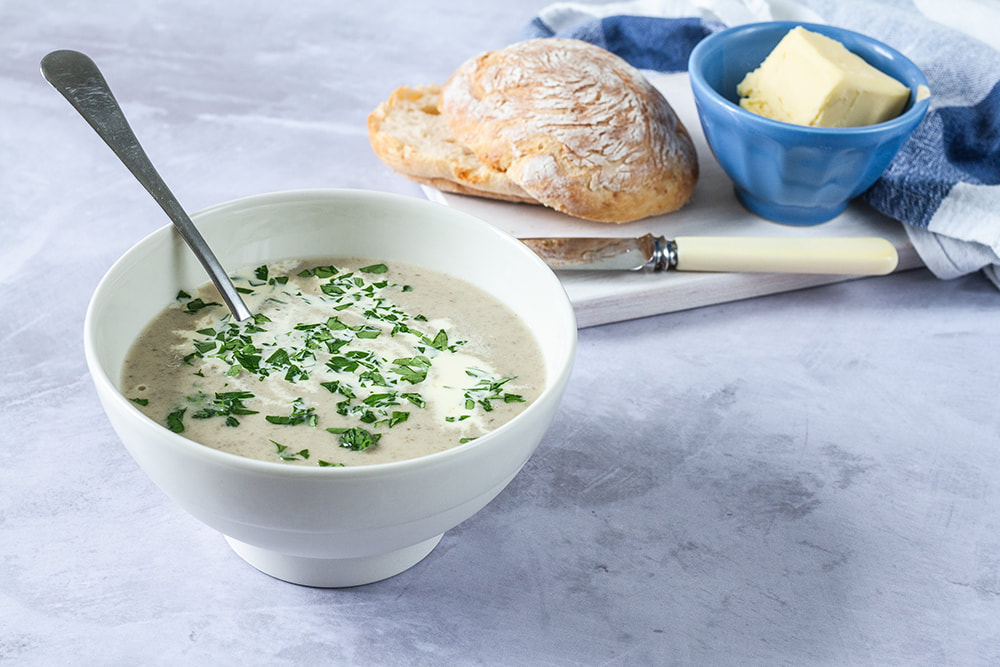
You can keep it chunky, blend it silky, or do what I do most often: blend just part of it so it feels rich without losing that mushroom bite. I also included a dairy-free option that still tastes full and satisfying (full-fat coconut milk works great, just expect a subtle coconut note).
What to Expect
- Deep mushroom flavor from browning in batches so they caramelize instead of steam.
- Creamy texture from a quick roux (or a cornstarch slurry option) that thickens smoothly when whisked well.
- Seasoning at the end so you do not pull water from the mushrooms too early. If you want to salt earlier, do it lightly and only after you’ve gotten good browning.
- Flexible finishing: cream, half-and-half, or coconut milk and cashew cream for dairy-free.
What to Serve With It
If you are planning a full cozy meal, this soup is great with a simple side or sandwich. I especially love it with grilled cheese, or alongside classic creamy potato salad if you are doing a potluck-style spread.
Why It Works
- Browning first builds flavor. Mushrooms are mostly water. If the pan is crowded, they release liquid and steam. Browning them in batches gives you nutty, savory depth.
- A simple thickener gives “cream of mushroom” texture without heaviness. A small flour-and-butter roux (or cornstarch slurry) thickens the broth so the soup feels luxurious.
- Seasoning later prevents watery soup. Salting heavily early encourages mushrooms to dump water quickly, which slows browning and dilutes flavor. Seasoning at the end gives you better color and a more concentrated base.
- Partial blending is the sweet spot. You get a creamy body from blended mushrooms and aromatics, plus the satisfying chew of sliced mushrooms.
Ingredient Notes
Mushrooms
You can use almost any mix here. My everyday combo is cremini (baby bella) for affordability plus a handful of shiitake for depth. White button mushrooms work too, they are just milder. If you use shiitakes, remove and discard the tough stems.
Fat for browning
Butter gives the best flavor, but a blend of butter and olive oil helps prevent scorching. For dairy-free, use olive oil or a neutral oil plus a dairy-free butter alternative if you like.
Aromatics
Onion (or shallot) plus garlic are the backbone. Thyme is the classic herb here, fresh or dried both work.
Stock
Chicken stock makes this taste extra savory. Vegetable stock works perfectly for vegetarian soup. If your stock is salty, that is another reason to wait until the end to add extra salt.
Thickener
A small roux (flour cooked in butter or oil) is the most foolproof for a creamy, restaurant-style texture. If you need gluten-free, use a cornstarch slurry instead.
Creaminess
Half-and-half or heavy cream gives a classic finish. For dairy-free, unsweetened full-fat coconut milk works, but it will add a subtle coconut note. A more neutral option is cashew cream.
Equipment
- Wide Dutch oven or heavy pot for maximum surface area and better browning
- Wooden spoon for scraping up browned bits
- Measuring spoons and cups
- Immersion blender (or countertop blender) if you want a creamy finish
- Knife and cutting board
Pro Tips
- Dry mushrooms brown better. If they look damp, wipe them with a paper towel or use a quick rinse then dry thoroughly. Water is the enemy of browning.
- Use high heat and patience. Let mushrooms sit against the hot pan until they release, then stir. Constant stirring keeps them pale.
- Brown in batches. If mushrooms cover the bottom in a thick layer, split into two rounds. It is the difference between golden and gray.
- Deglaze on purpose. Those browned bits are flavor. A splash of stock (or a little dry white wine if you cook with it) helps lift them into the soup.
- Blend only part for the best texture. Scoop out 2 to 3 cups, blend, then stir back in. You get creamy soup without losing all the mushroom pieces.
Substitutes
- Gluten-free: Skip the flour roux. Thicken with a cornstarch slurry (instructions in the recipe notes) or use a 1:1 gluten-free flour blend if it is one you trust for sauces.
- Dairy-free: Use olive oil instead of butter and finish with unsweetened coconut milk or cashew cream.
- No wine: Do not use it. Deglaze with stock or water, then simmer a few extra minutes to concentrate flavor.
- No thyme: Use rosemary sparingly, or try parsley plus a tiny pinch of dried oregano.
Variations
- Extra umami: Add 1 to 2 teaspoons soy sauce or tamari at the end, then taste before adding more salt.
- Roasted garlic mushroom soup: Stir in roasted garlic paste at the end for a sweeter, mellow garlic flavor.
- Herby finish: Add chopped fresh parsley or chives right before serving.
- “Steakhouse” vibe: Finish with a small splash of Worcestershire sauce and plenty of black pepper (use a vegan Worcestershire if needed).
Serving Ideas
- Serve with a grilled cheese style sandwich night. Mushroom soup is a fun swap when you want something different from tomato.
- Top each bowl with sautéed mushroom slices, a swirl of cream, and cracked black pepper.
- Add croutons, toasted sourdough, or buttery crackers for crunch.
- Pair with a simple salad like caprese salad when you want something fresh next to something cozy.
Storage
Refrigerator
Cool completely, then store in an airtight container for up to 4 days. The soup will thicken as it sits. Reheat gently and add a splash of stock or water to loosen.
Freezer
You can freeze it for up to 3 months. If you plan to freeze, I recommend freezing before adding dairy for the smoothest texture. Thaw overnight in the fridge, reheat, then stir in cream at the end.
Reheating
Warm over medium-low heat, stirring often. Avoid a hard boil after adding cream or coconut milk.
Common Mistakes (and How to Fix Them)
- Pale, watery soup: The mushrooms were crowded or salted too early. Next time, brown in batches and salt near the end, or salt only lightly after you have some color. To fix now, simmer uncovered to reduce and concentrate.
- Gluey texture: Too much flour or the soup was boiled hard after thickening. Fix by whisking in more stock and heating gently.
- Not enough mushroom flavor: Use a mix of mushrooms and do not skip the browned bits. A tiny splash of soy sauce or a pinch of mushroom powder can help, too.
- Split dairy: The soup boiled after adding cream. Fix by lowering heat and whisking. If it is badly split, blend the soup to re-emulsify.
FAQ
What mushrooms are best for mushroom soup?
Cremini are my go-to because they brown nicely and have more flavor than white button mushrooms. If you can, add some shiitake for extra depth. Oyster mushrooms are also great, especially for a more delicate, silky bite.
Can I make it completely smooth?
Yes. Blend the whole pot with an immersion blender until silky. If you do this, keep the heat gentle afterward so the soup does not scorch on the bottom.
How do I thicken mushroom soup without flour?
Use a cornstarch slurry: whisk cornstarch into cold water, then drizzle into simmering soup and stir until thickened. Arrowroot works similarly, but add it at the end and avoid boiling hard.
Why do you salt at the end?
Because salt pulls moisture from mushrooms quickly. Waiting until after browning (or salting only lightly during browning) helps you get better color first, then you season the finished soup to taste once the liquid has reduced and concentrated.
Can I use milk instead of cream?
You can, but it is more likely to curdle if boiled. Keep the soup at a gentle simmer and consider adding a little extra thickener for body.
Summary: A creamy stovetop mushroom soup with deeply browned mushrooms, a simple thickener for velvety texture, and salt-at-the-end seasoning for maximum flavor. Includes dairy-free and gluten-free options.
Prep time: 15 minutes
Cook time: 30 minutes
Total time: 45 minutes
Servings: 4 to 6
- 2 pounds mushrooms (cremini, button, shiitake, or a mix), sliced
- 3 tablespoons unsalted butter (or olive oil for dairy-free), divided
- 1 tablespoon olive oil (optional but helpful for browning)
- 1 medium yellow onion, finely chopped
- 3 cloves garlic, minced
- 1 teaspoon fresh thyme leaves (or 1/2 teaspoon dried thyme)
- 3 tablespoons all-purpose flour
- 4 cups chicken stock or vegetable stock, plus more as needed
- 1 bay leaf
- 1/2 to 1 cup heavy cream or half-and-half (see dairy-free option in notes)
- 1/2 teaspoon freshly ground black pepper, plus more to taste
- Kosher salt, to taste (added at the end)
- 1 to 2 teaspoons lemon juice (optional, to brighten at the end)
- Chopped parsley or chives, for serving (optional)
- Brown the mushrooms. Heat a large Dutch oven or heavy pot over medium-high heat. Add 1 tablespoon butter plus the olive oil. When melted and shimmering, add about half the mushrooms in an even layer. Cook, stirring only occasionally, until the mushrooms release their liquid and then turn golden brown, 8 to 10 minutes. Transfer to a bowl. Repeat with the remaining 1 tablespoon butter and remaining mushrooms, then transfer those to the bowl too.
- Cook the aromatics. Reduce heat to medium. Add the remaining 1 tablespoon butter. Add the onion and cook until softened and lightly golden, 5 to 7 minutes, scraping up any browned bits. Add the garlic and thyme and cook until fragrant, 30 seconds.
- Make the thickener. Sprinkle the flour over the onions and stir continuously for 1 minute to cook off the raw flour taste.
- Build the soup. Slowly pour in the stock while stirring or whisking to prevent lumps. Add the bay leaf and black pepper. Return the browned mushrooms (and any collected juices) to the pot.
- Simmer. Bring to a gentle simmer, then reduce heat to medium-low and simmer uncovered for 10 to 12 minutes, stirring occasionally, until slightly thickened and the flavors meld.
- Blend (optional but recommended). For a creamy but still chunky soup, scoop out 2 to 3 cups of soup, blend until smooth, then stir it back into the pot. Alternatively, use an immersion blender to partially blend directly in the pot.
- Add cream, then season. Reduce heat to low. Stir in 1/2 cup cream (add more if you want it richer). Heat gently for 2 to 3 minutes. Turn off the heat, then taste and add salt as needed. If using, stir in lemon juice a little at a time until the flavor pops.
- Serve. Ladle into bowls and top with parsley or chives and extra black pepper if you like.
Notes
- Dairy-free option: Use olive oil instead of butter. Replace the cream with 3/4 cup unsweetened full-fat coconut milk (expect a subtle coconut note), or stir in 1/2 cup cashew cream at the end. Keep heat low and do not boil.
- Gluten-free thickening (instead of flour): Skip the flour step. After the soup simmers in step 5, mix 2 tablespoons cornstarch with 3 tablespoons cold water until smooth. While the soup is gently simmering, drizzle in the slurry and stir until thickened, 1 to 2 minutes. Then proceed with blending and finishing.
- Make it ahead: The flavor gets even better the next day. Reheat gently and add a splash of stock to loosen if needed.
- Salt timing reminder: If your stock is already salty, you may need very little additional salt. Always taste after the cream is in.