Delishing
Pan-Seared Flounder with Lemon Butter

Flounder is one of my favorite weeknight wins because it cooks fast, tastes clean and buttery, and goes from package to plate with almost no drama. The only catch is that it is thin and delicate, which means it can go from tender to dry in what feels like a single distracted text message.
This is the method I use when I want flounder that is lightly crisp at the edges, still juicy in the center, and finished with a simple lemon-butter pan sauce you can spoon over everything. You will get exact thickness guidance, a quick flour dredge that helps with browning, and clear doneness cues so you are not guessing.
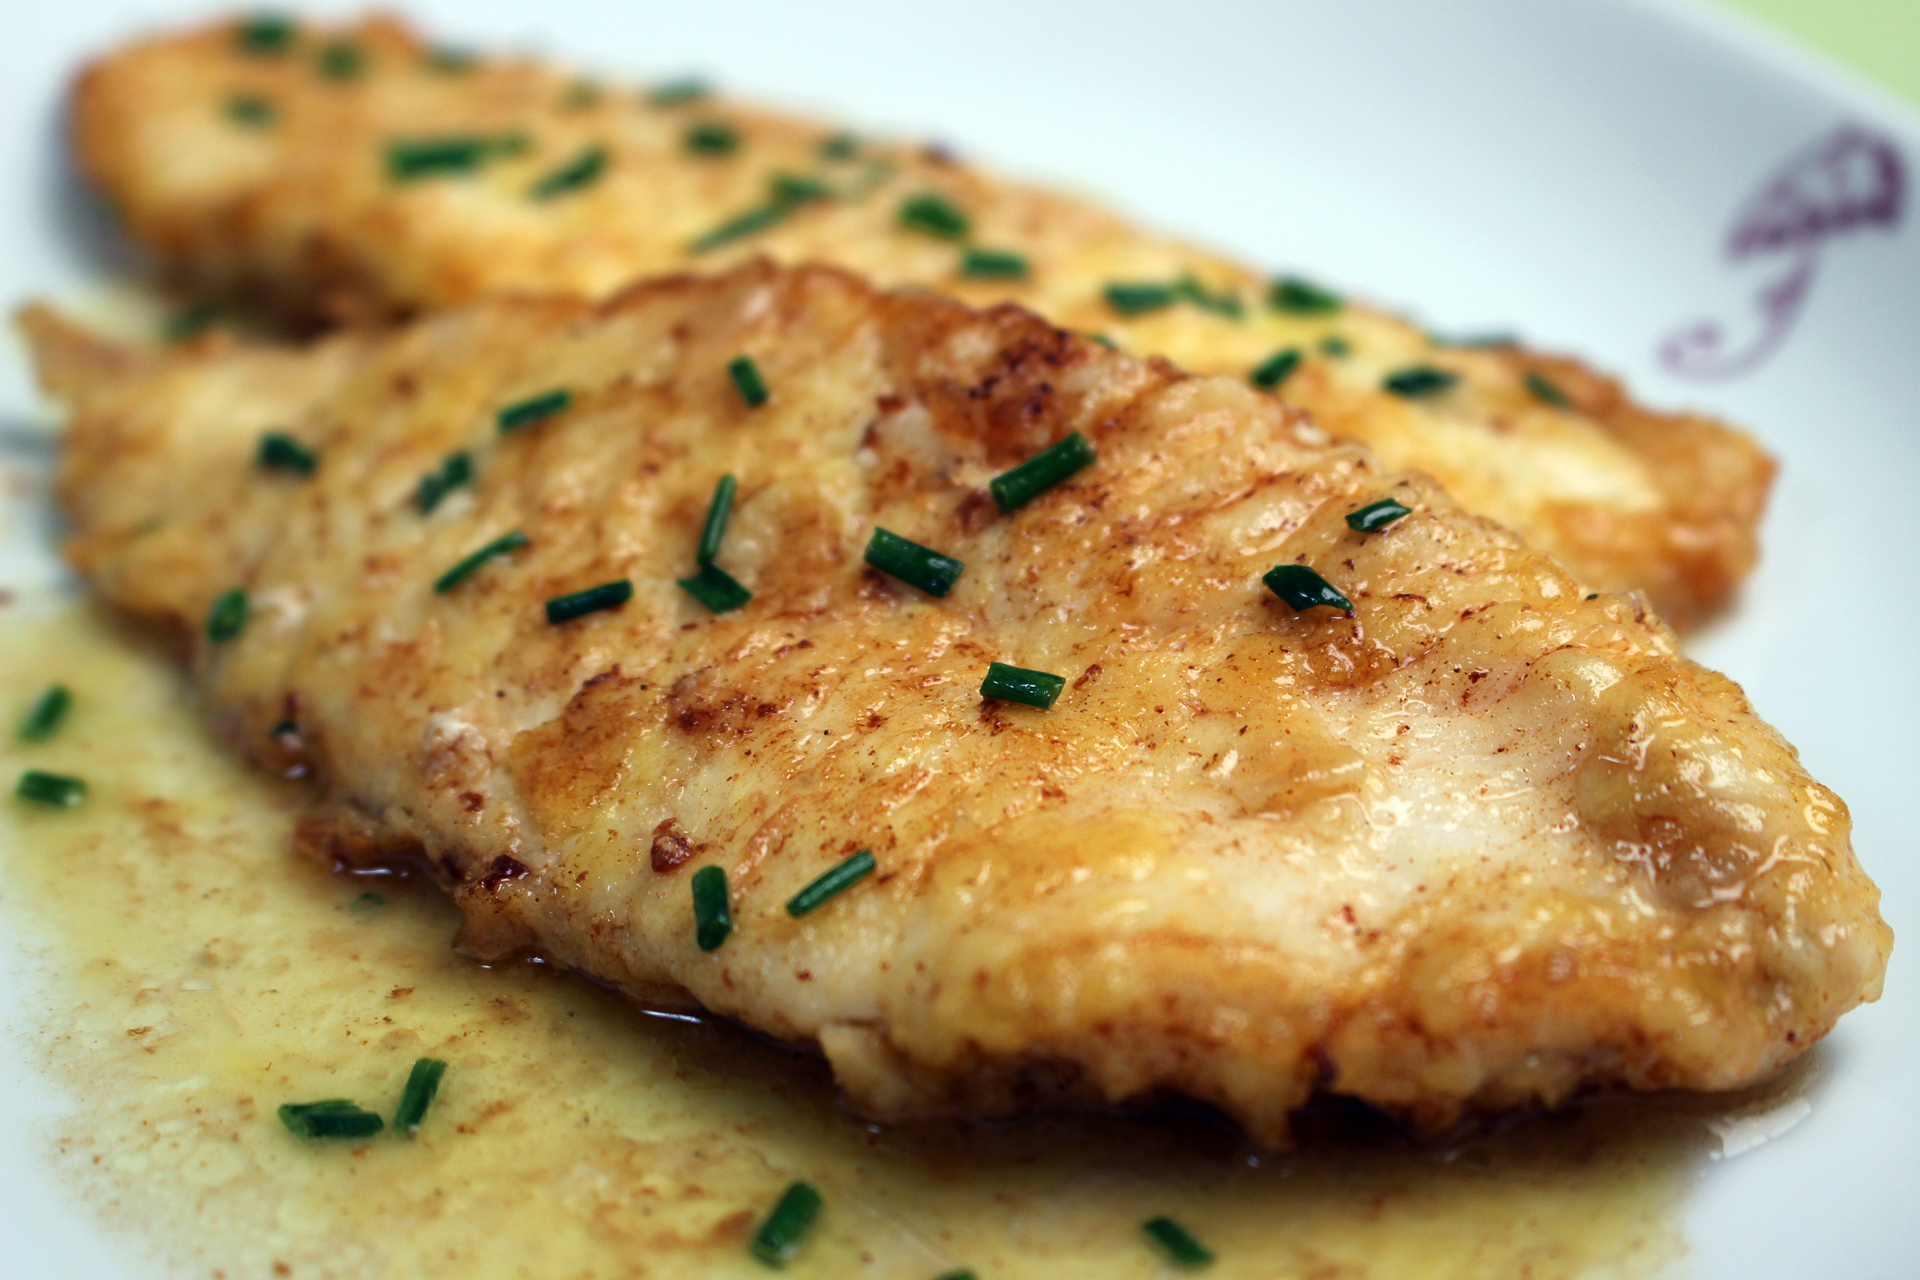
If your fillets are thicker or you are cooking a larger piece, I also included an easy oven option that keeps the fish from breaking while it finishes gently.
Why this recipe works
- Light dredge, not heavy breading: A whisper-thin coating of flour helps the fish brown quickly and protects the delicate flesh from drying out.
- Short cook time with clear cues: Flounder is done when it turns opaque and flakes easily, not when you have cooked it “as long as other fish.”
- Butter baste at the end: Adding butter after the fish is mostly cooked keeps it from scorching and gives you a glossy, restaurant-style finish.
- Oven option for thick fillets: If the fish is over about 3/4 inch thick, the pan-to-oven finish prevents over-browning outside before the center is done.
Ingredient notes
- Flounder fillets: Fresh or thawed frozen both work. Aim for fillets about 1/4 to 1/2 inch thick for pure stovetop cooking. If yours are closer to 3/4 inch or thicker, use the oven option.
- All-purpose flour: This is a light dredge, not a breading. You should barely see it on the fish.
- Butter and olive oil: The oil raises the smoke point; the butter brings flavor. If you only use butter, it can brown too fast while the fish is still cooking.
- Lemon: Use both zest and juice if you can. Zest adds lemon flavor without watering down the sauce.
- Parsley (optional): Not required, but it makes the whole dish taste fresher and look finished.
Equipment
- Large nonstick skillet or well-seasoned cast iron (12-inch is ideal). Nonstick is the least stressful for thin fillets.
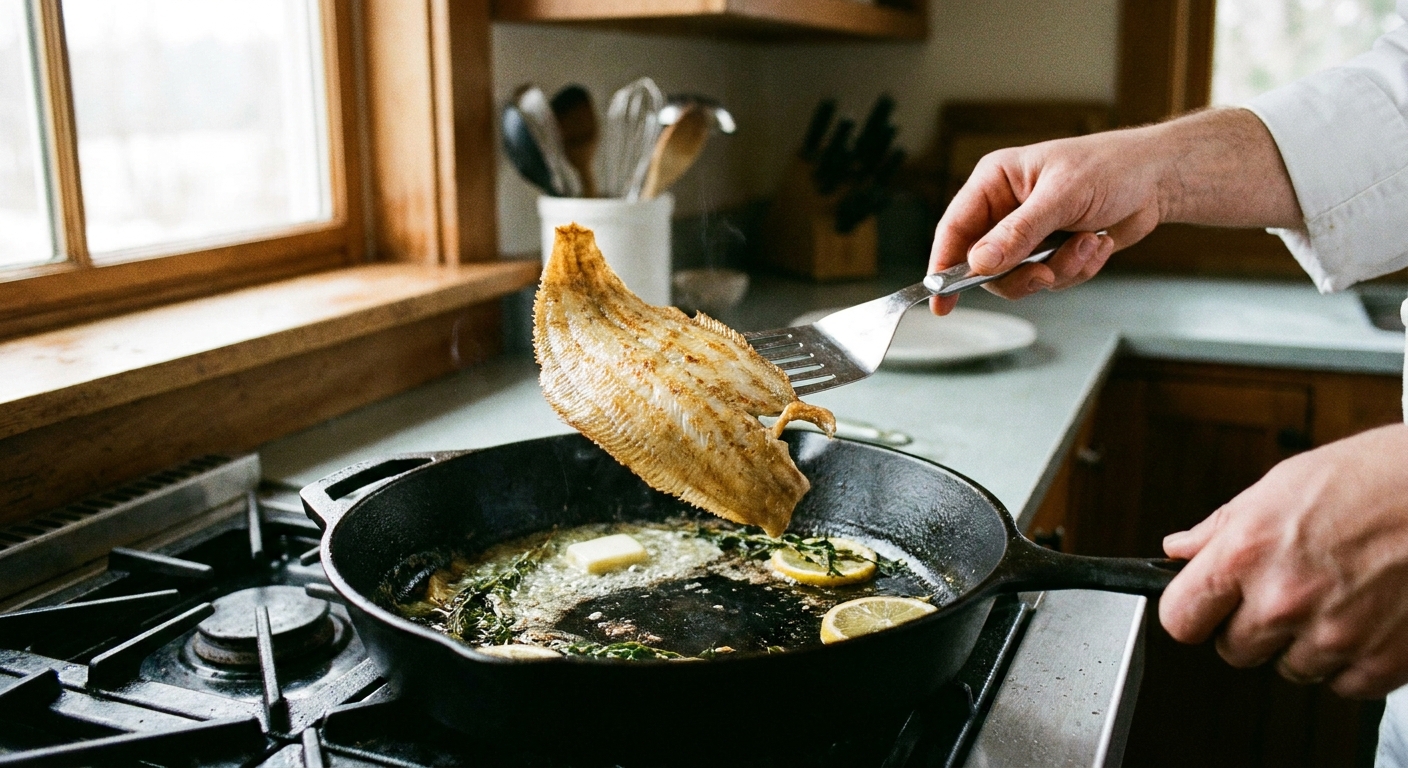
- Fish spatula or thin, flexible spatula for flipping without tearing.
- Instant-read thermometer (optional but helpful). I treat this as a confidence booster, not a requirement.
- Sheet pan (only if using the oven option).
If you are choosing cookware, my general buying philosophy is: use the pan you can control. For a deeper dive, see our guide to nonstick pans ranked worst to best.
Pro tips
- Dry the fish well: Pat the fillets dry with paper towels before seasoning and dredging. Moisture is the enemy of browning.
- Keep the dredge light: After flouring, gently tap off excess. A thick coating can turn gummy on delicate fish.
- Do not fight the flip: If the fillet feels stuck after the first side, give it 30 to 60 seconds more. It usually releases when the crust forms.
- Butter goes in late: Add the butter after the fish has browned so you get flavor without burning the milk solids.
- Doneness cue I trust: Look at the thickest part. When it turns opaque and flakes with gentle pressure, it is done. If it is still glossy and translucent in the center, give it another minute.
Substitutes
- Flour: You can swap in a 1:1 gluten-free all-purpose flour blend for a similar light crust. (Avoid almond flour here, it browns fast and can taste toasty.) For more gluten-free dinner ideas, browse our gluten-free recipes.
- Butter: Use ghee if you want a higher smoke point, or a vegan butter if needed. The sauce will be slightly different but still tasty.
- Lemon: In a pinch, a small splash of white wine vinegar can brighten the sauce, but lemon really is the cleanest match for flounder.
Variations
- Garlic-lemon butter: Add 1 small minced garlic clove to the pan right after the butter melts, then cook 20 to 30 seconds before adding lemon juice.
- Capers: Stir in 1 to 2 teaspoons drained capers with the lemon juice for a piccata-inspired finish.
- Herb finish: Swap parsley for dill or chives if that is what you have.
- Crispier crust: Add 1 tablespoon cornstarch to the flour dredge.
Serving ideas
- Pair with simple vegetables like roasted broccoli or garlic roasted vegetables.
- Spoon the lemon butter over a baked potato or quick rice.
- Turn it into a cozy bowl with garlic parmesan orzo and a squeeze of extra lemon.
Storage
- Refrigerate: Store leftovers in an airtight container for up to 2 days.
- Reheat gently: Warm in a skillet over low heat with a tiny splash of water or broth, just until heated through. Flounder dries out quickly in a microwave, so if you use one, do it at 50% power in short bursts.
- Freezing: I do not love freezing cooked flounder. The texture turns softer and can weep moisture when thawed.
Common mistakes (and how to avoid them)
- Overcooking thin fillets: If your fillets are around 1/4 inch thick, they can be done in as little as 3 minutes per side. Watch the color and texture more than the clock.
- Starting with a cold pan: You want a properly heated skillet so the fish browns quickly without sticking.
- Too much flour: A heavy dredge can taste pasty and hides the fish. Think “dusting,” not “coating.”
- Flipping too early: Let the first side brown until the fish releases easily. Forcing it is how fillets tear.
- Adding lemon too soon: Lemon juice added at the start can make the fish steam instead of sear. Finish with lemon for the brightest flavor.
FAQ
How do I know when flounder is done?
Flounder is done when the flesh is opaque and flakes easily at the thickest point. If you slide a fork into the center, it should separate into moist flakes with gentle pressure. If it still looks glossy or translucent, give it another 30 to 60 seconds.
What internal temperature should flounder be?
If you use a thermometer, aim for 145°F in the thickest part. For very thin fillets, it can be tricky to get an accurate read without poking through, so visual cues are often more reliable.
Do I have to use flour?
No, but I recommend it. The light dredge helps the fish brown quickly and makes it easier to flip. If you skip it, be extra sure the fish is dry and the pan is hot, and expect a paler finish.
Can I cook flounder from frozen?
I do not recommend pan-searing from frozen. The outside tends to overcook while the inside finishes. Thaw first, then pat very dry.
Why did my flounder fall apart?
Usually it is one of three things: the fillet was moved too much, it was flipped before it released, or it was slightly overcooked. A fish spatula and a confident, quick flip help a lot.
Recipe: Pan-Seared Flounder with Lemon Butter
Delicate flounder fillets lightly dredged, quickly pan-seared, and finished with a bright lemon-butter pan sauce. Includes an oven option for thicker fillets.
- 1 1/2 lb flounder fillets (about 4 fillets), ideally 1/4 to 1/2 inch thick
- 3/4 tsp kosher salt, plus more to taste
- 1/4 tsp black pepper
- 1/2 tsp garlic powder (optional)
- 1/3 cup all-purpose flour (or 1:1 gluten-free all-purpose flour), for a light dredge
- 2 tbsp olive oil
- 3 tbsp unsalted butter, divided
- 1 tsp lemon zest (optional but recommended)
- 2 tbsp fresh lemon juice, plus more to taste
- 1 tbsp chopped fresh parsley (optional)
- Lemon wedges, for serving
- Prep and dry the fish: Pat the flounder fillets very dry with paper towels. (This matters for browning.) Season both sides with salt, pepper, and garlic powder if using.
- Lightly dredge: Place flour in a shallow dish. Dredge each fillet lightly, shaking and tapping off any excess so you have a thin dusting, not a thick coating.
- Heat the pan: Heat a large nonstick skillet over medium-high heat for 1 to 2 minutes. Add olive oil and swirl to coat.
- Sear first side: Add flounder in a single layer. Cook until the underside is light golden and the fish releases easily, 2 to 4 minutes depending on thickness (about 2 to 3 minutes for very thin fillets, closer to 4 minutes for 1/2-inch fillets).
- Flip carefully: Use a fish spatula to flip. Cook the second side 1 to 3 minutes, until the thickest part turns opaque and the fish flakes easily.
- Butter baste and finish: Reduce heat to medium-low. Add 2 tablespoons butter to the skillet. Once melted, tilt the pan and spoon the butter over the fillets for 30 to 60 seconds.
- Add lemon: Turn off the heat. Add remaining 1 tablespoon butter, lemon zest (if using), and lemon juice. Swirl the pan to melt and emulsify into a glossy sauce.
- Serve: Plate the flounder and spoon lemon butter over the top. Finish with parsley if using and serve with lemon wedges.
- Oven option for thicker fillets (3/4 inch or thicker): Preheat oven to 400°F. Sear flounder as above for 2 minutes per side to lightly brown, then transfer the skillet to the oven (or move fish to a sheet pan). Roast 4 to 7 minutes, until opaque and flaky. Finish with the butter, zest, and lemon juice as written.
Notes
- Thickness matters: Thin flounder cooks fast. If your fillets are around 1/4 inch thick, start checking doneness at the low end of the time range.
- Doneness cue: Opaque flesh and easy flaking at the thickest point. If using a thermometer, aim for 145°F.
- Batch cooking: If your pan is crowded, cook in batches. Crowding causes steaming and tearing.