Delishing
Bacon-Wrapped Tri-Tip

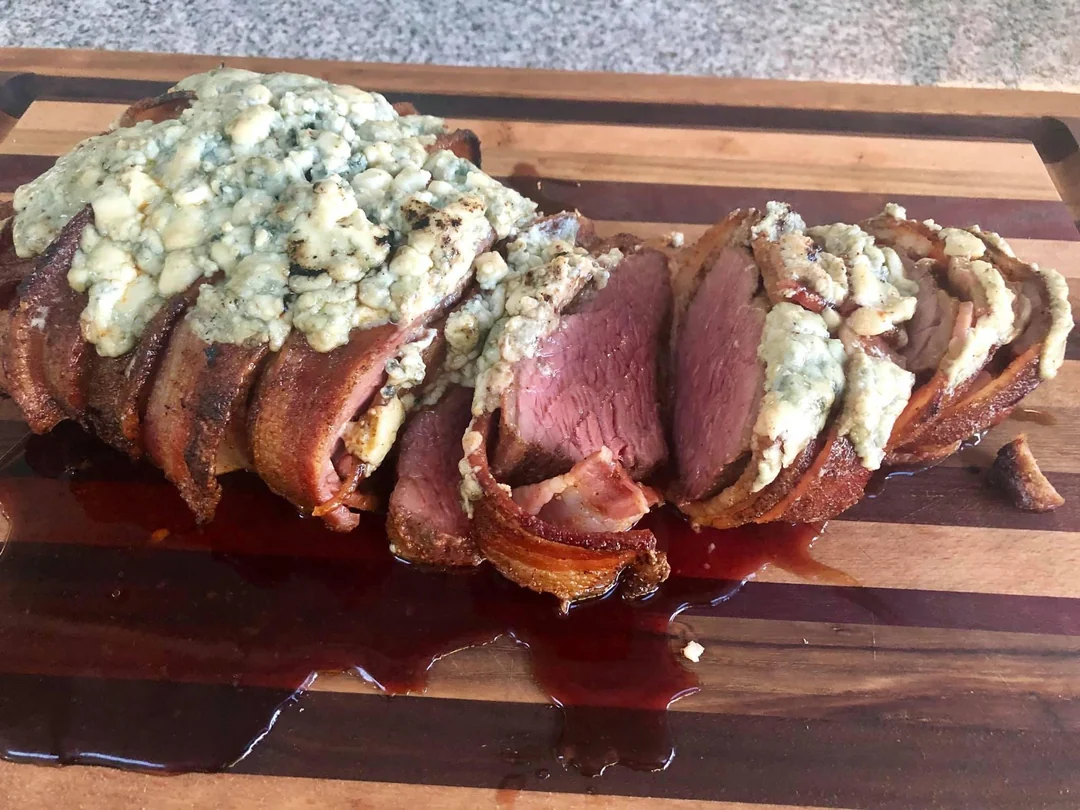
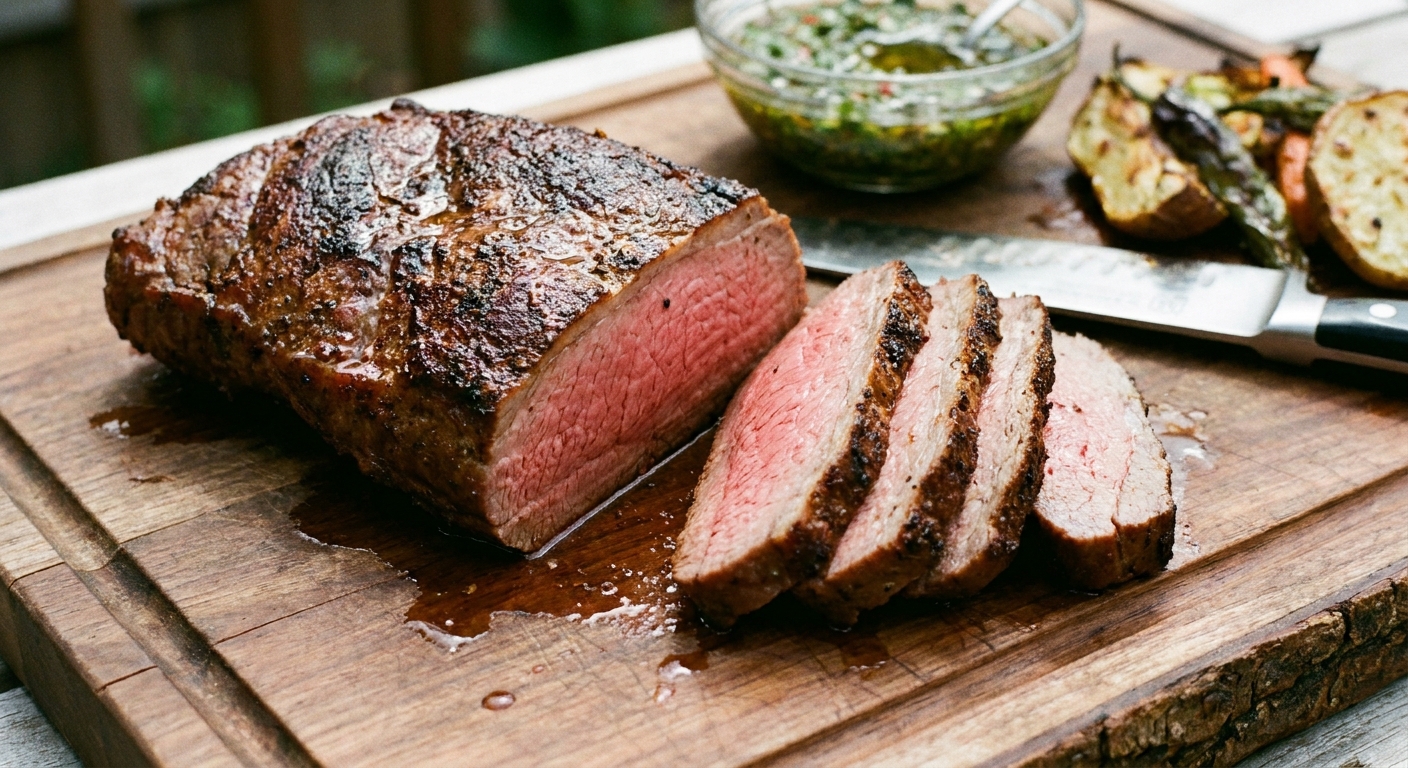
Tri-tip is one of my favorite “feed everyone without drama” roasts, but it can lean out fast if it overshoots your target temperature. Wrapping it in bacon gives you a built-in safety net: the rendered fat helps baste the surface as it cooks, the outside gets deeply savory, and you still get that gorgeous rosy center.
The trick is that bacon and tri-tip do not finish at the same pace. Bacon wants higher heat to crisp. Tri-tip stays happiest with a more controlled finish so the middle stays juicy. This recipe uses a two-stage method that works especially well for bacon: start hot so the bacon actually browns, then finish in the oven to your preferred doneness.
If you are wondering what “preferred doneness” looks like here, I recommend aiming for medium-rare to medium for the best balance of tenderness and beefy flavor.
I will also walk you through two things that make bacon-wrapped tri-tip feel restaurant-level instead of bacon fell off, now what: how to keep the bacon in place (without toothpick chaos) and how to slice across tri-tip’s changing grain so every bite is tender.
If you love tri-tip in general, you might also like my base method for tri-tip roast or the doneness strategy in reverse sear tri-tip.
Why it works
- Two-stage cooking gets you crisp bacon and a juicy center. Starting on the stovetop browns the bacon quickly, then the oven gently finishes the roast.
- The bacon fat self-bastes the tri-tip. Tri-tip is flavorful but relatively lean, so a steady coating of rendered fat helps protect the exterior and improves overall juiciness.
- A simple spice rub still shines. Bacon brings salt and smoke, so the beef only needs a straightforward seasoning to taste bold, not busy.
- Resting and correct slicing fix most “tough tri-tip” complaints. Resting redistributes juices, and slicing across the grain matters a lot with this cut.
Ingredient notes
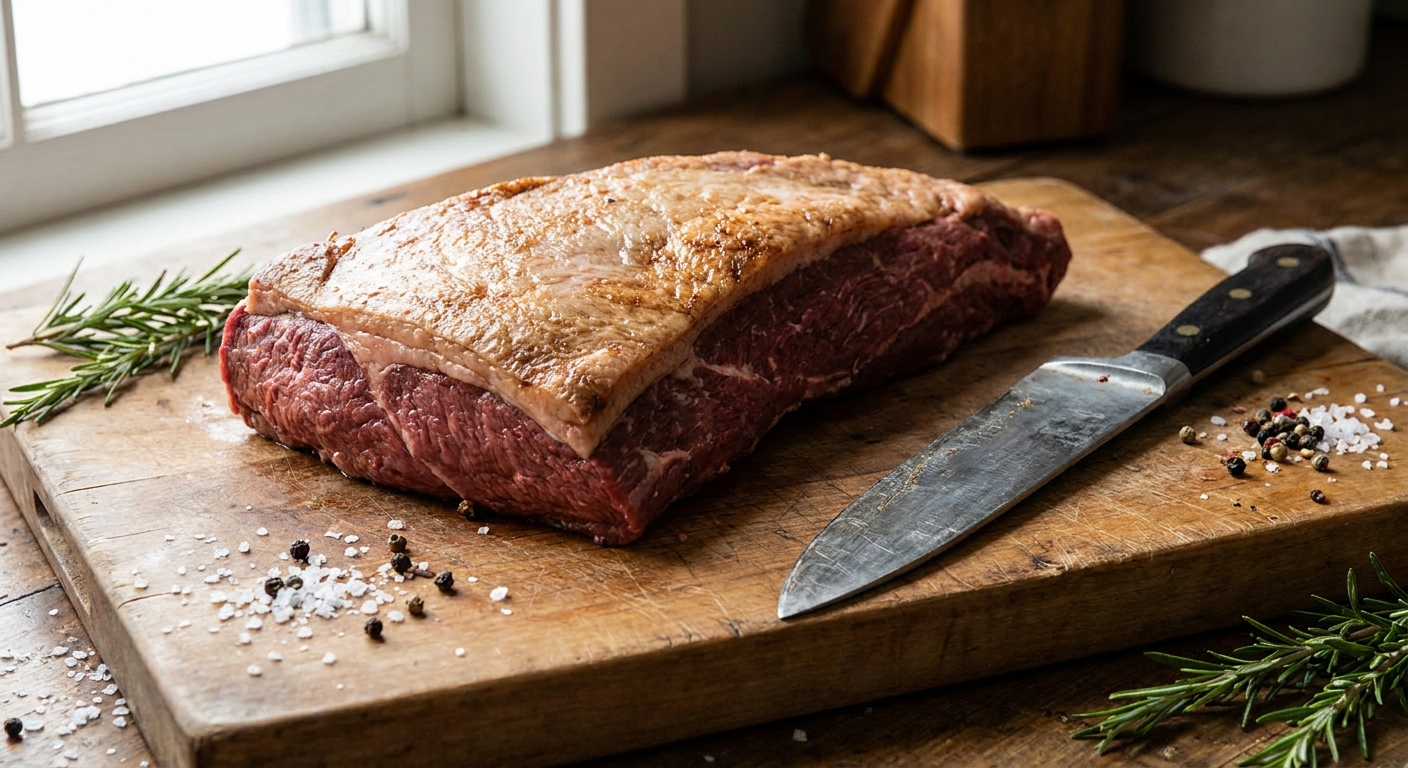
- Tri-tip roast: Look for 2 to 3 pounds. If it has a thick fat cap, trim it down to about 1/4 inch so the bacon can hug the meat without sliding on a slick layer of fat. Need help? See how to trim a tri-tip.
- Bacon: Choose regular cut, not thick-cut. Thick-cut bacon often needs more time to render and crisp, and that can push the beef past medium-rare. Avoid very sugary bacon for high heat because it can scorch.
- Salt: Go lighter than you normally would on a roast. Bacon is doing a lot of the salting for you.
- Oil: You only need a small amount to start the sear. The bacon will render plenty of fat quickly.
- Optional aromatics: Garlic cloves and rosemary or thyme are great in the skillet for aroma, but keep them from direct high heat so they do not burn.
Equipment
- Oven-safe skillet (12-inch cast iron is ideal) or a heavy oven-safe sauté pan
- Instant-read thermometer (this is the doneness insurance policy)
- Kitchen twine or toothpicks (twine is my first choice)
- Cutting board with a juice groove
- Sharp slicing knife
Pro tips
How to keep the bacon in place
- Use the “shingle” method: Lay bacon slices slightly overlapping, then roll the tri-tip across them so the bacon wraps snugly.
- Secure with twine: Tie 3 to 4 loops around the roast, spaced evenly. It is faster than a dozen toothpicks, and it holds through flipping.
- Chill 15 minutes if needed: If your kitchen is warm or the bacon feels slippery, pop the wrapped roast in the fridge briefly to firm up before searing.
How to nail doneness
- Pull early: Remove the roast from the oven when it is about 5°F below your final target. Carryover cooking will finish the job while it rests.
- Use the thickest center: Temp the thickest part, avoiding the skillet and any bacon seams.
How to slice tri-tip correctly
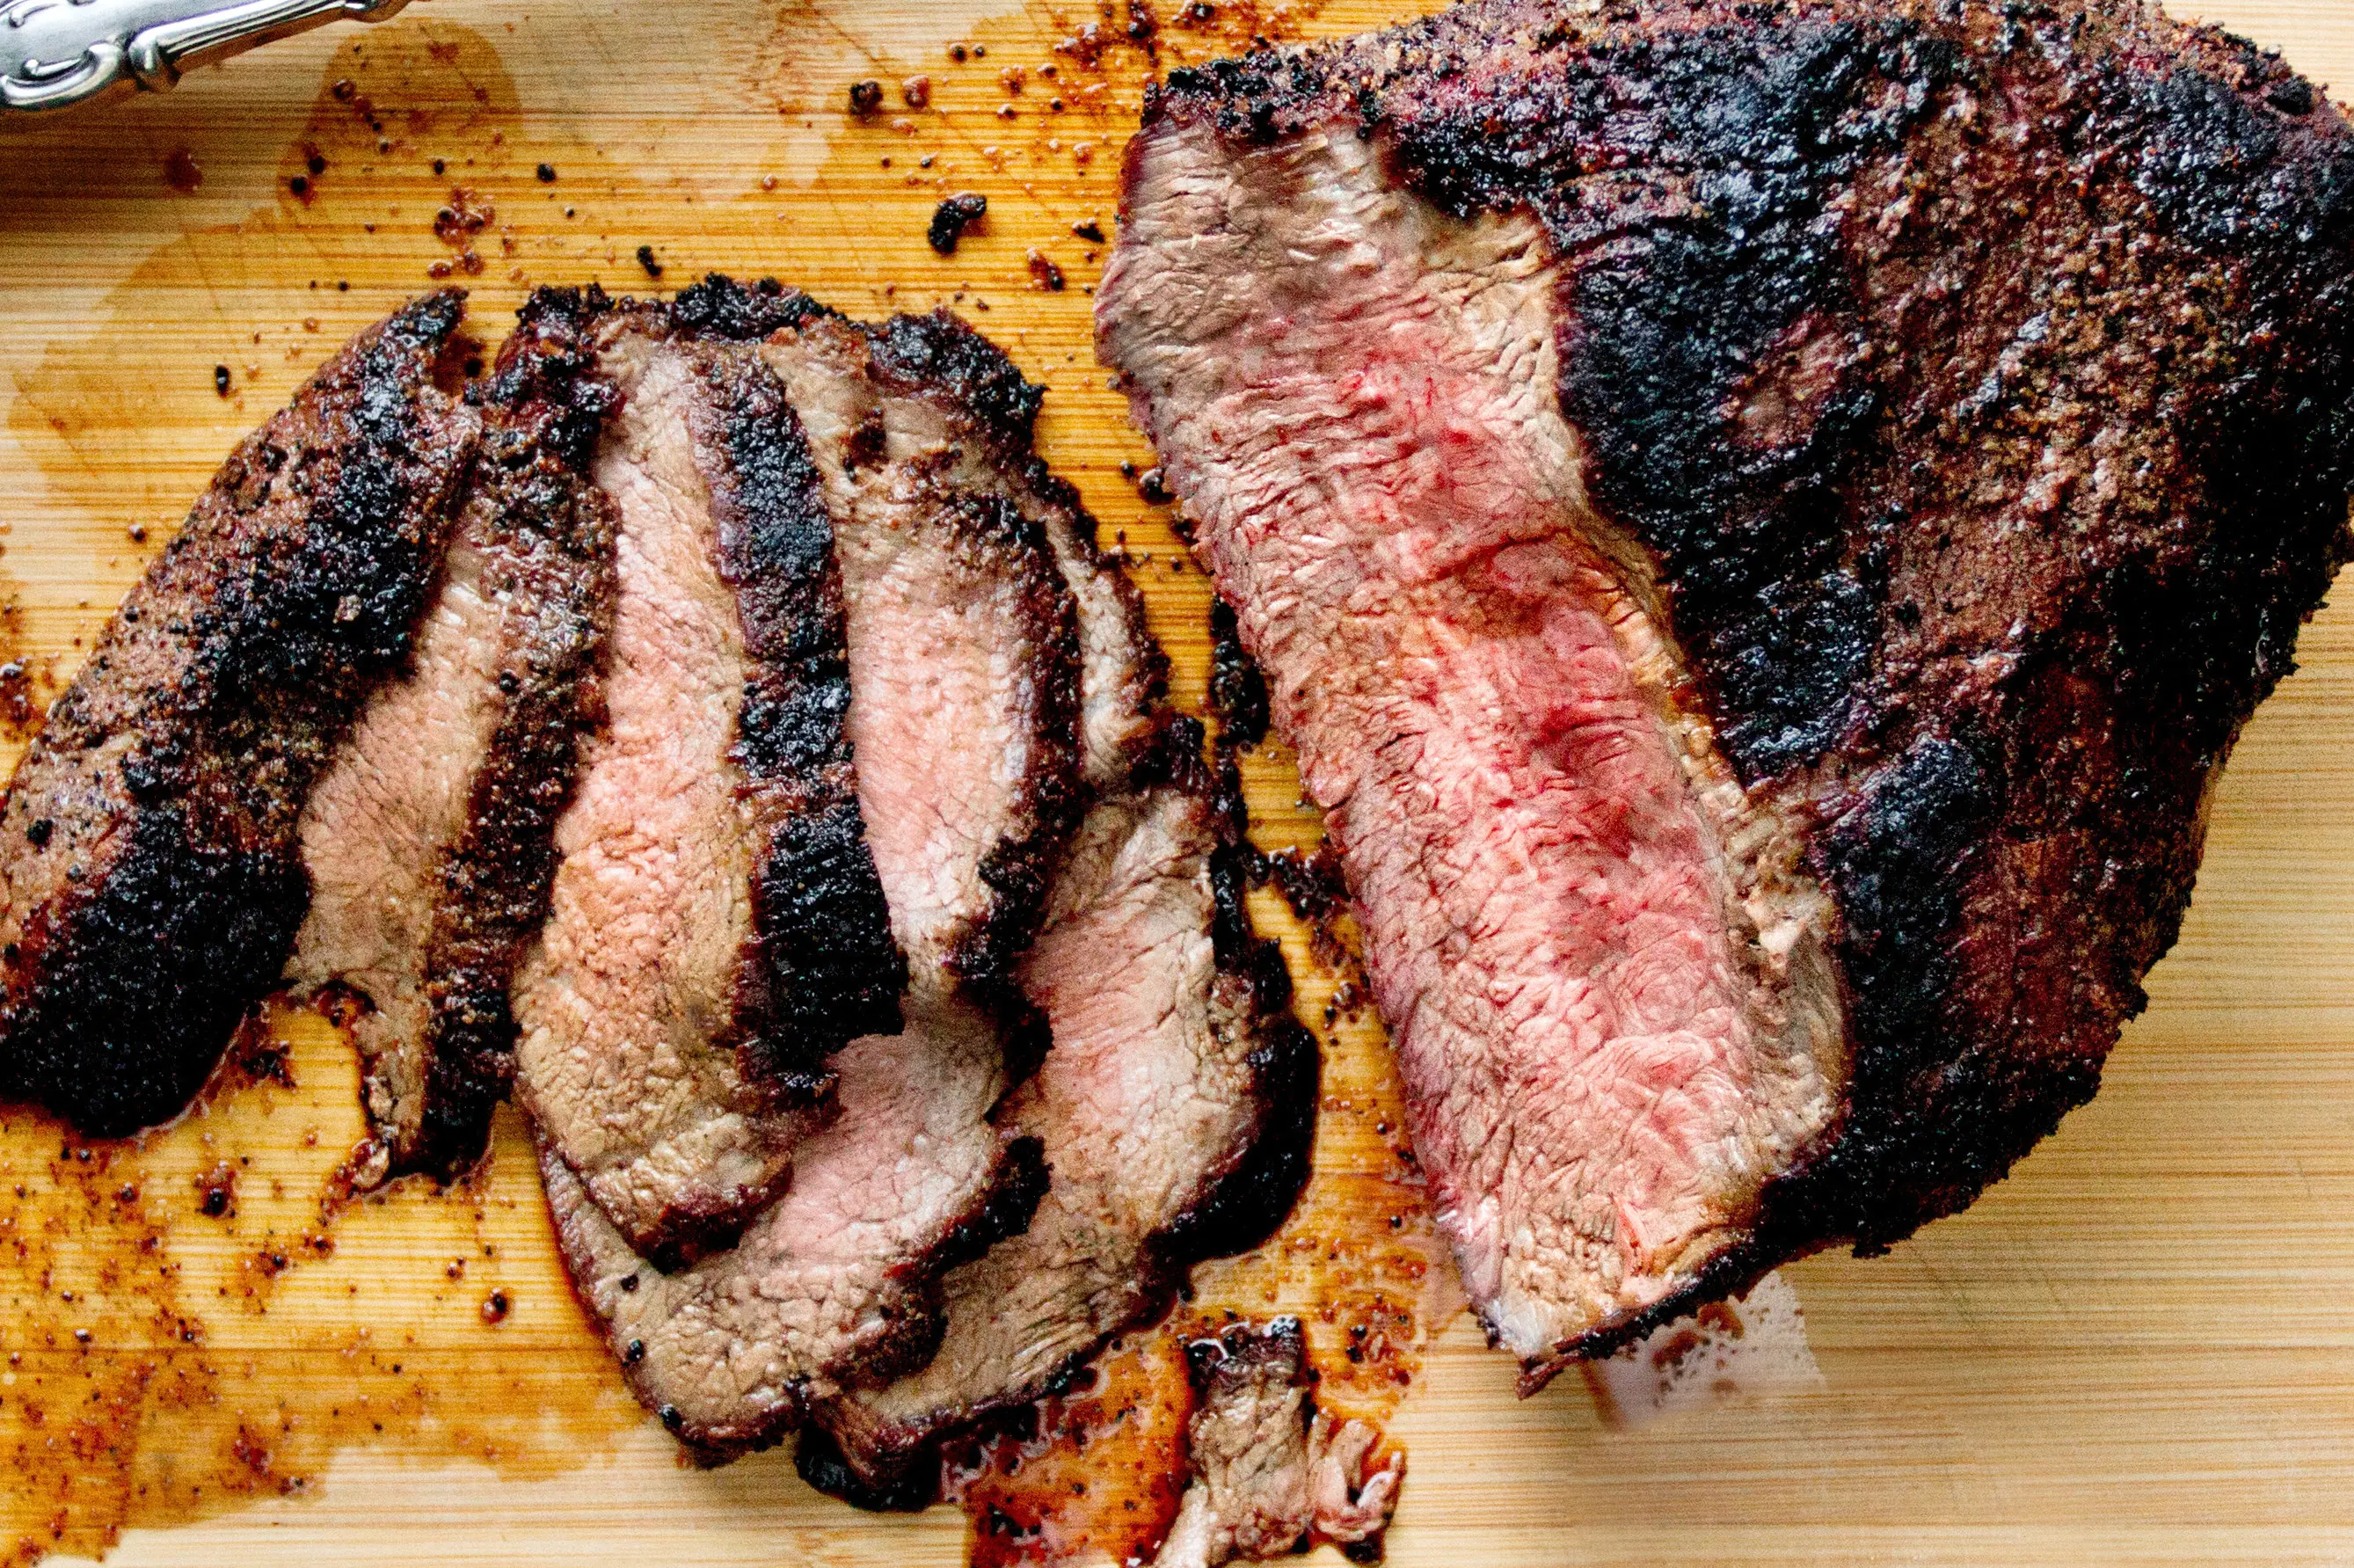
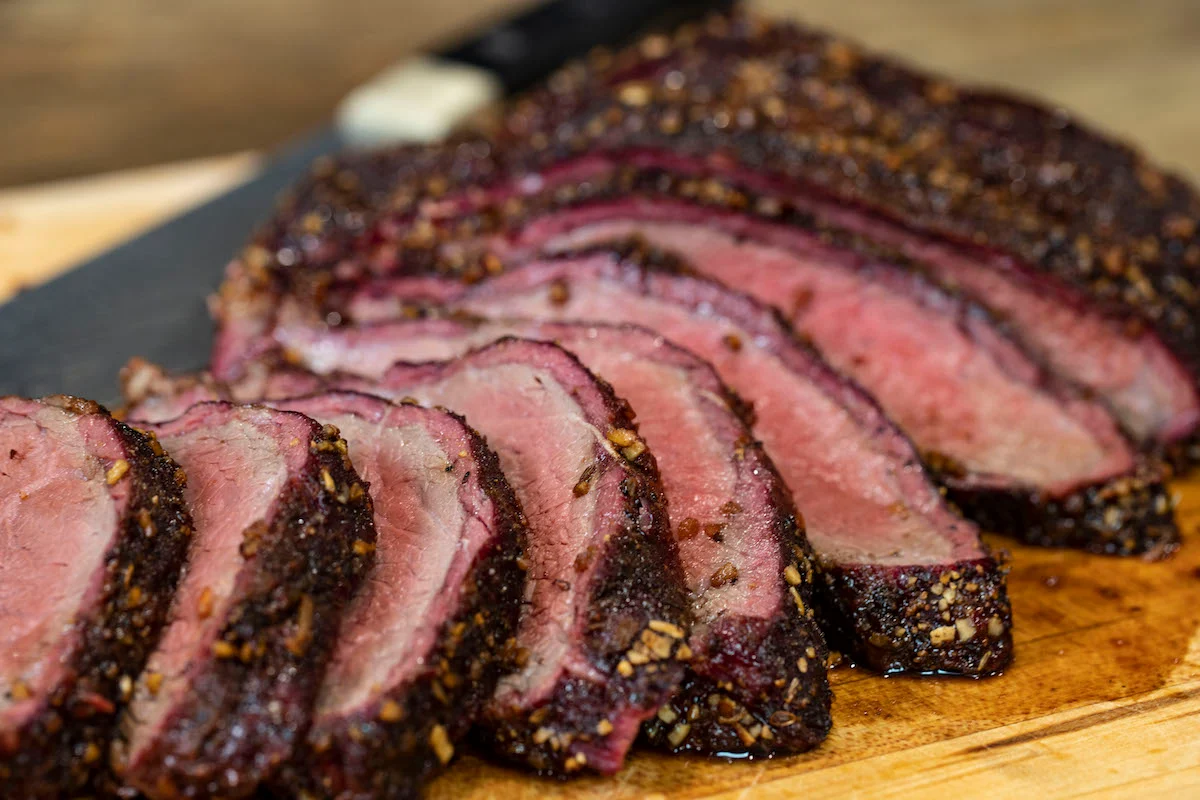
Tri-tip has two grain directions. After resting, look closely at the surface lines in the meat and make your first cut where the direction changes, splitting the roast into two pieces. Then slice each piece thinly against its grain. This is the difference between “wow, tender” and “why is this chewy?”
If you want a deeper dive, my doneness and slicing notes in tri-tip roast are a great companion.
Substitutes
- No kitchen twine: Use toothpicks, inserted at an angle through overlapping bacon ends. Count them going in so you can count them coming out.
- No cast iron: Use any heavy oven-safe skillet. If your pan is not oven-safe, sear in a skillet, then transfer to a roasting pan to finish.
- Different seasoning profile: Swap the garlic powder and smoked paprika for your favorite steak seasoning, but keep added salt modest.
Variations
- Pepper-crusted: Add 1 to 2 teaspoons coarsely cracked black pepper to the rub for a steakhouse vibe.
- Chili-lime: Add 1 teaspoon chili powder and the zest of 1 lime to the rub, then squeeze lime over the sliced meat.
- Herb-forward: Add 1 teaspoon dried rosemary or thyme to the rub, and baste with the rendered bacon fat while it finishes.
Serving ideas
- Serve with roasted Brussels sprouts or roasted broccoli for an easy sheet-pan style pairing.
- Turn leftovers into a sandwich, inspired by Santa Maria tri-tip sandwich, with sliced beef, pickled onions, and a creamy spread.
- Go classic comfort with baked potatoes with sour cream and a simple salad.
Storage
- Refrigerate: Store sliced or whole leftovers in an airtight container for up to 4 days.
- Freeze: Wrap tightly and freeze up to 2 months for best texture. For help planning ahead, see how to freeze tri-tip.
- Reheat: Warm gently so the beef stays tender. My favorite method is a low oven, covered, with a splash of broth. More options here: how to reheat tri-tip.
Common mistakes
- Using thick-cut bacon: It often stays rubbery unless you cook longer, and longer cooking can overdo the tri-tip.
- Over-salting the beef: Bacon brings plenty of salt. Season the meat, but do it thoughtfully.
- Searing on low heat: Low heat makes bacon stick and tear, and it can start to steam instead of brown. Go medium-high and adjust if it smokes.
- Skipping the thermometer: Tri-tip’s shape means different thicknesses cook at different rates. Temperature beats guesswork every time.
- Slicing with the grain: This is the fastest path to chewy slices, even if the roast is cooked perfectly.
FAQ
Do I need to pre-cook the bacon?
No. The hot sear renders and browns it, and the oven finishes crisping while the beef reaches your target temperature. Pre-cooking can make the bacon brittle and more likely to crack and fall off.
Can I cook bacon-wrapped tri-tip on the grill?
Yes, but treat it like two-zone cooking. Start over direct heat just long enough to brown the bacon, then move to indirect heat to finish to temperature. If you want a grill-first tri-tip, my smoked tri-tip approach is a helpful reference for managing heat gently.
What internal temperature should I aim for?
For most households, medium-rare to medium is the sweet spot for tri-tip. Pull from the oven about 5°F below your target because it will rise as it rests.
Should I remove the twine before slicing?
Yes. Rest the roast first, then snip and remove the twine, then slice. If you remove twine while it is piping hot, the bacon can shift.
Why does tri-tip have “changing grain”?
It is a triangular muscle with fibers running in two directions. Splitting the roast where the grain changes and slicing each piece against the grain gives you tender slices.
Bacon-Wrapped Tri-Tip
A whole tri-tip wrapped in bacon, seared until the bacon starts to crisp, then finished in the oven so the center stays juicy. Includes doneness temperatures and a foolproof slicing plan for tri-tip’s changing grain.
- 1 tri-tip roast (2 to 3 pounds), patted very dry
- 1/2 teaspoon kosher salt (use less if bacon is very salty)
- 1 teaspoon garlic powder
- 1 teaspoon smoked paprika
- 1/2 teaspoon black pepper
- 10 to 12 slices regular-cut bacon
- 1 teaspoon neutral oil (avocado, canola, or grapeseed)
- Kitchen twine (or 8 to 10 toothpicks)
- Optional: 3 to 4 garlic cloves, smashed
- Optional: 2 rosemary or thyme sprigs
- Heat the oven: Arrange a rack in the middle of the oven and preheat to 375°F.
- Season the tri-tip: In a small bowl, mix the kosher salt, garlic powder, smoked paprika, and black pepper. Sprinkle the seasoning all over the tri-tip, pressing it on gently.
- Wrap with bacon: On a cutting board, lay the bacon slices side by side, slightly overlapping, to form a rectangle long enough to wrap the tri-tip. Place the tri-tip on the bacon and roll it so the bacon wraps around the roast. Tuck any ends underneath where you can.
- Secure: Tie 3 to 4 loops of kitchen twine around the roast (spaced evenly from tip to tip) and cinch snugly. If using toothpicks, pin the bacon ends at an angle through overlapping seams. (Optional: refrigerate the wrapped roast 15 minutes if the bacon feels loose.)
- Sear to start crisping the bacon: Heat a large oven-safe skillet over medium-high heat. Add the oil. Place the roast seam-side down and sear until the bacon begins to brown, 2 to 4 minutes per side. Use tongs to rotate and brown as many sides as possible, including the ends. If using garlic and herbs, add them to the pan during the last 2 minutes of searing and keep them from scorching.
- Roast: Transfer the skillet to the oven. Roast until the thickest center reaches your pull temperature on an instant-read thermometer:
- For medium-rare: pull at 125°F (will rise to about 130°F)
- For medium: pull at 135°F (will rise to about 140°F)
- For medium-well: pull at 145°F (will rise to about 150°F)
- Rest: Transfer the roast to a cutting board and loosely tent with foil. Rest 15 to 20 minutes. (Do not skip this. It keeps the slices juicy.)
- Remove twine and slice across the changing grain: Cut and remove the twine or toothpicks. Look for the point where the grain direction changes and slice the roast into two pieces there. Then slice each piece thinly against its grain. Serve warm.
Note 1: Regular-cut bacon crisps more reliably than thick-cut in the time window that keeps tri-tip juicy.
Note 2: If the bacon is browning too quickly during the sear, lower the heat slightly. If it is not browning, increase heat and give it a full minute before moving it.
Note 3: Doneness is personal, but tri-tip is at its best from medium-rare to medium. If you go past medium, slice extra thin to keep it pleasant to chew.