Delishing
Tri-Tip Jerky

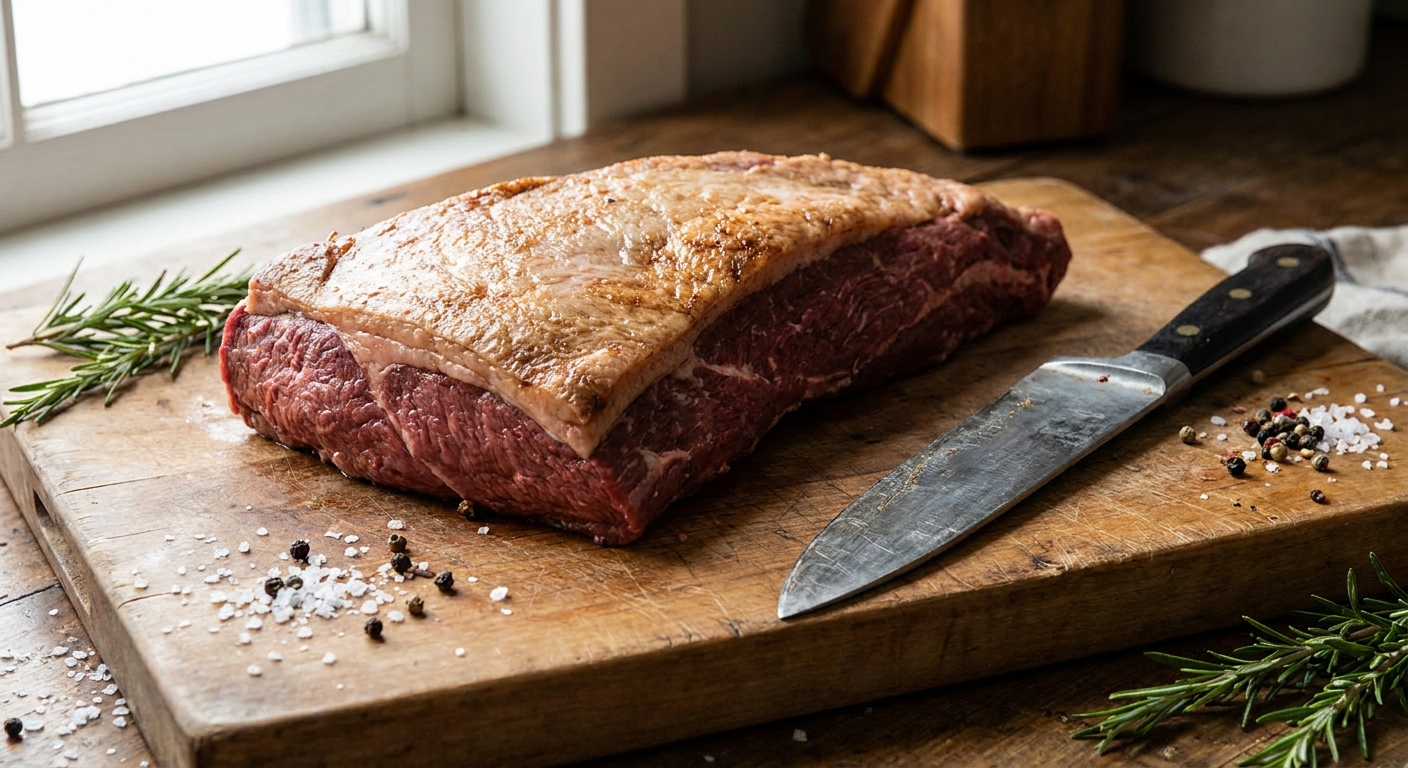
Tri-tip is one of my favorite cuts for weeknight dinners, but when I want something snacky that lasts, I turn it into jerky. It’s beefy, lean enough to dry well once you trim off the fat cap and any silverskin, and when you slice it thin across the grain, it eats tender instead of toothy.
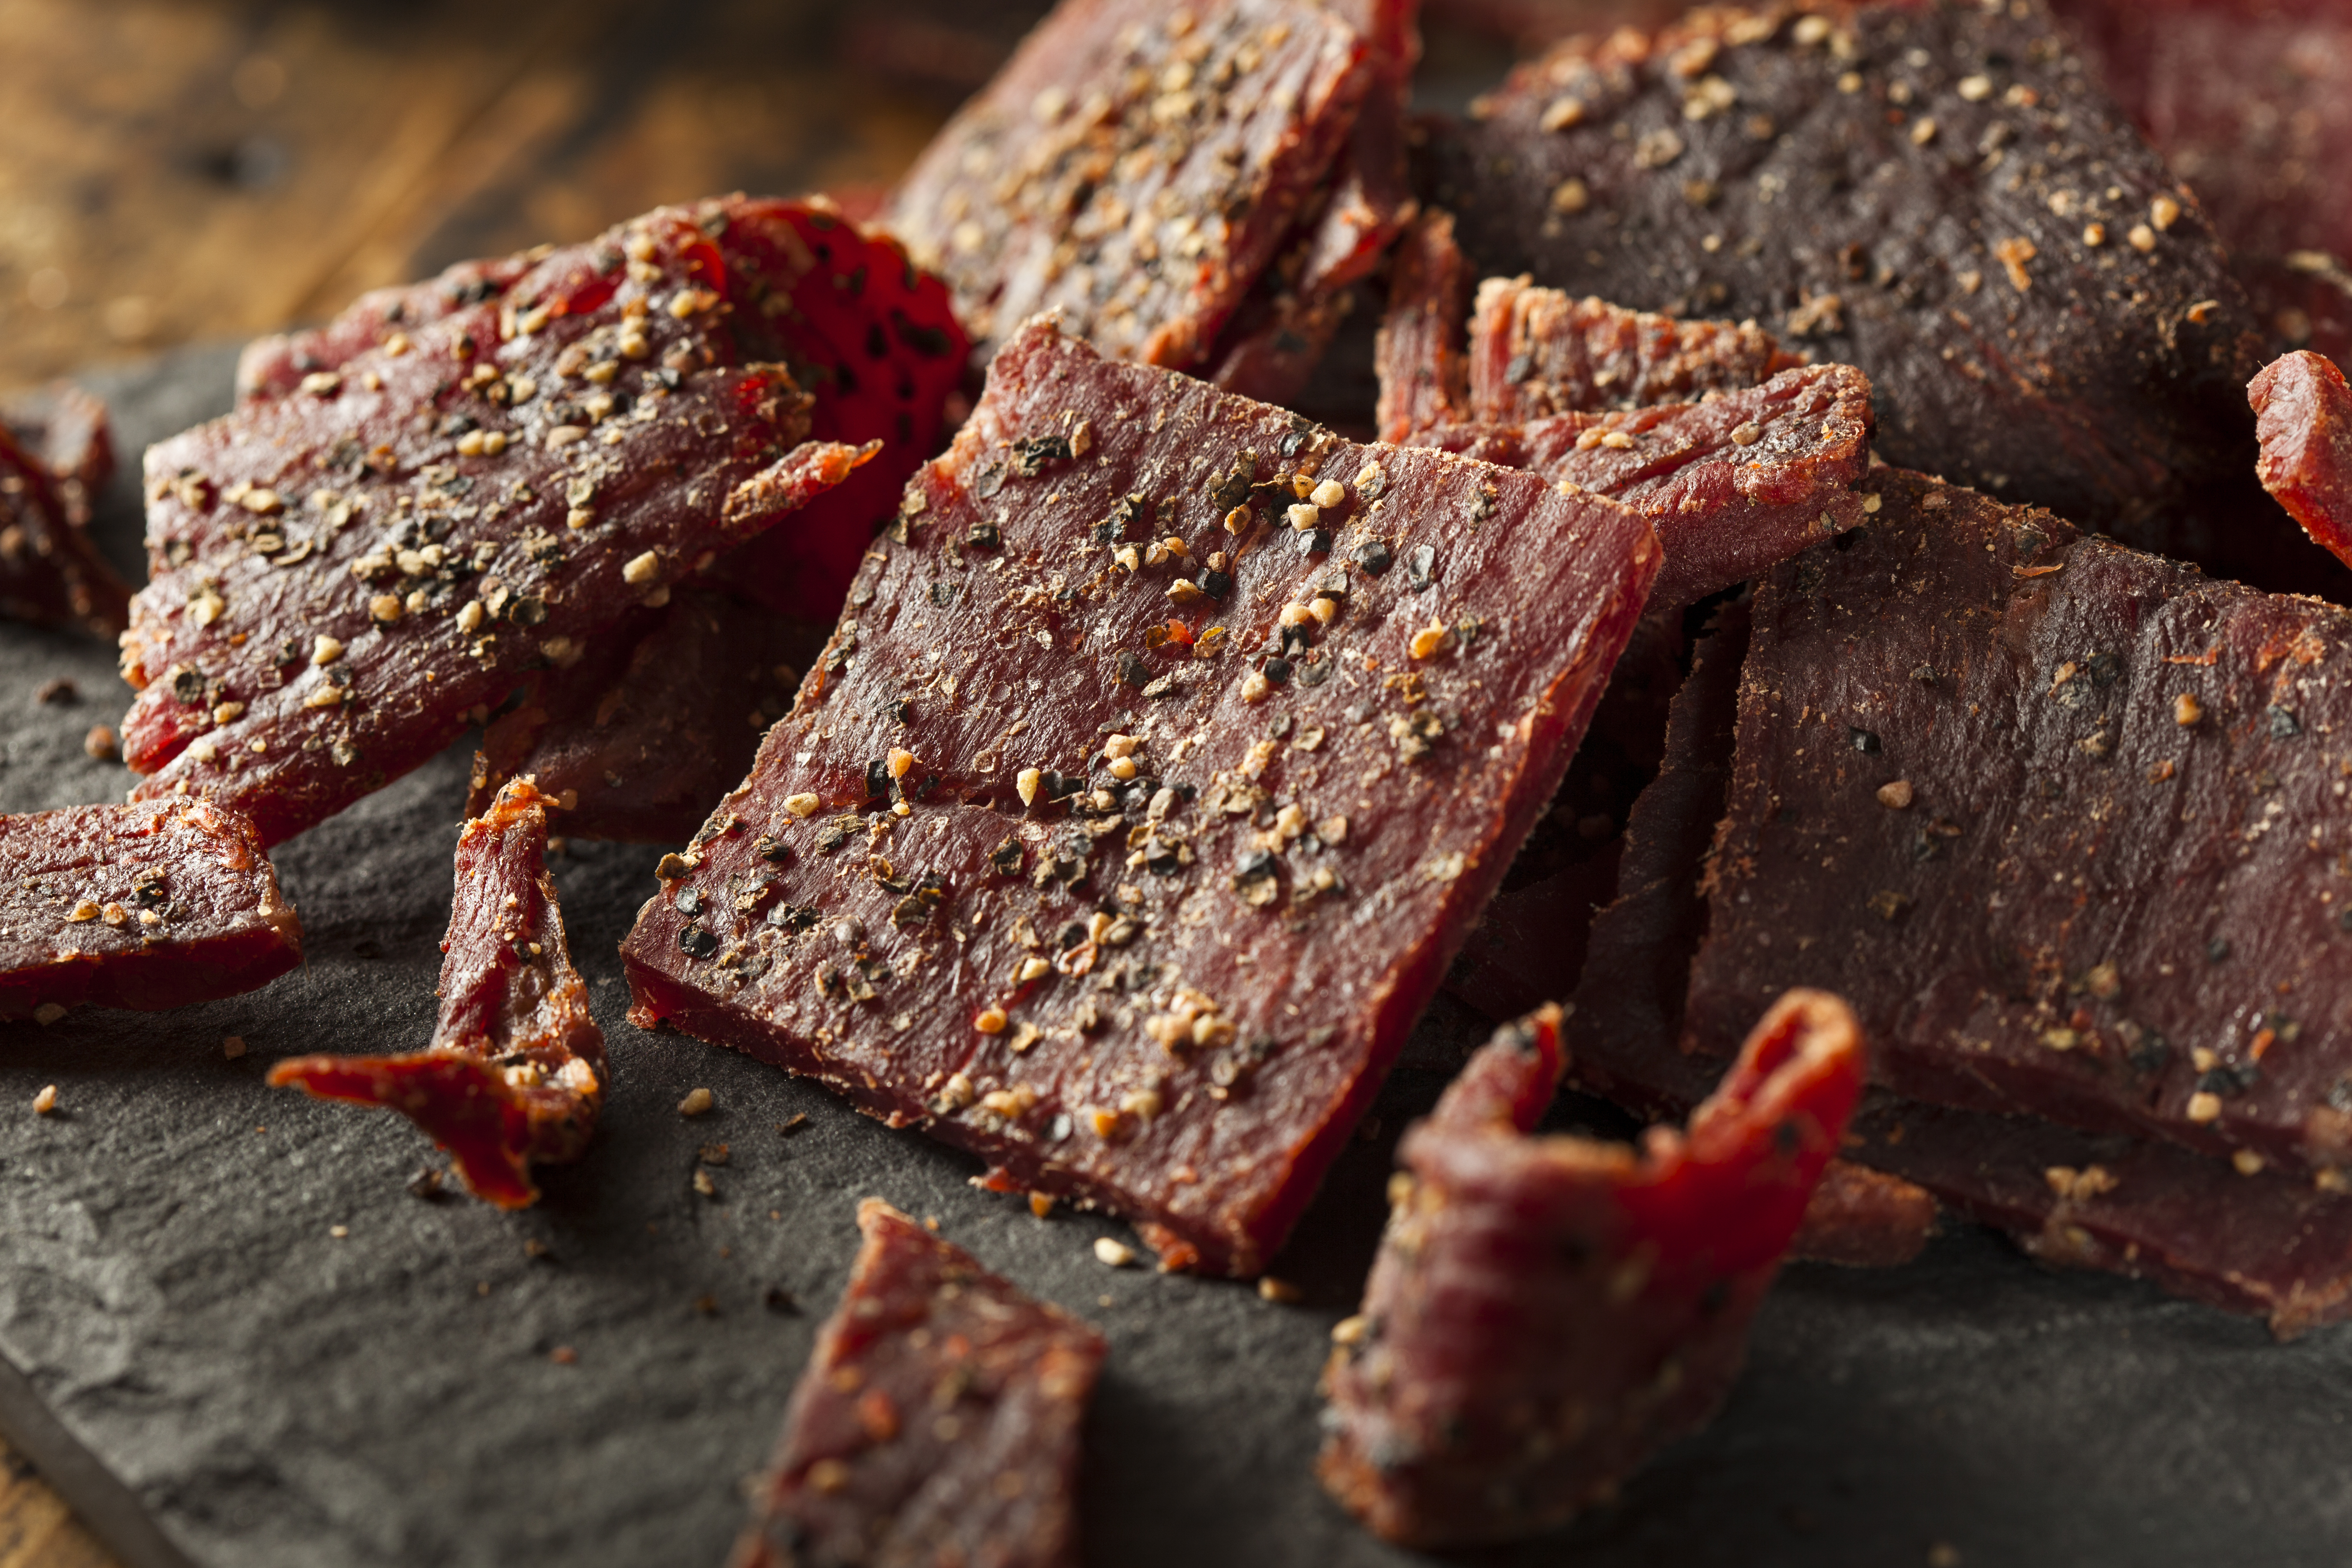
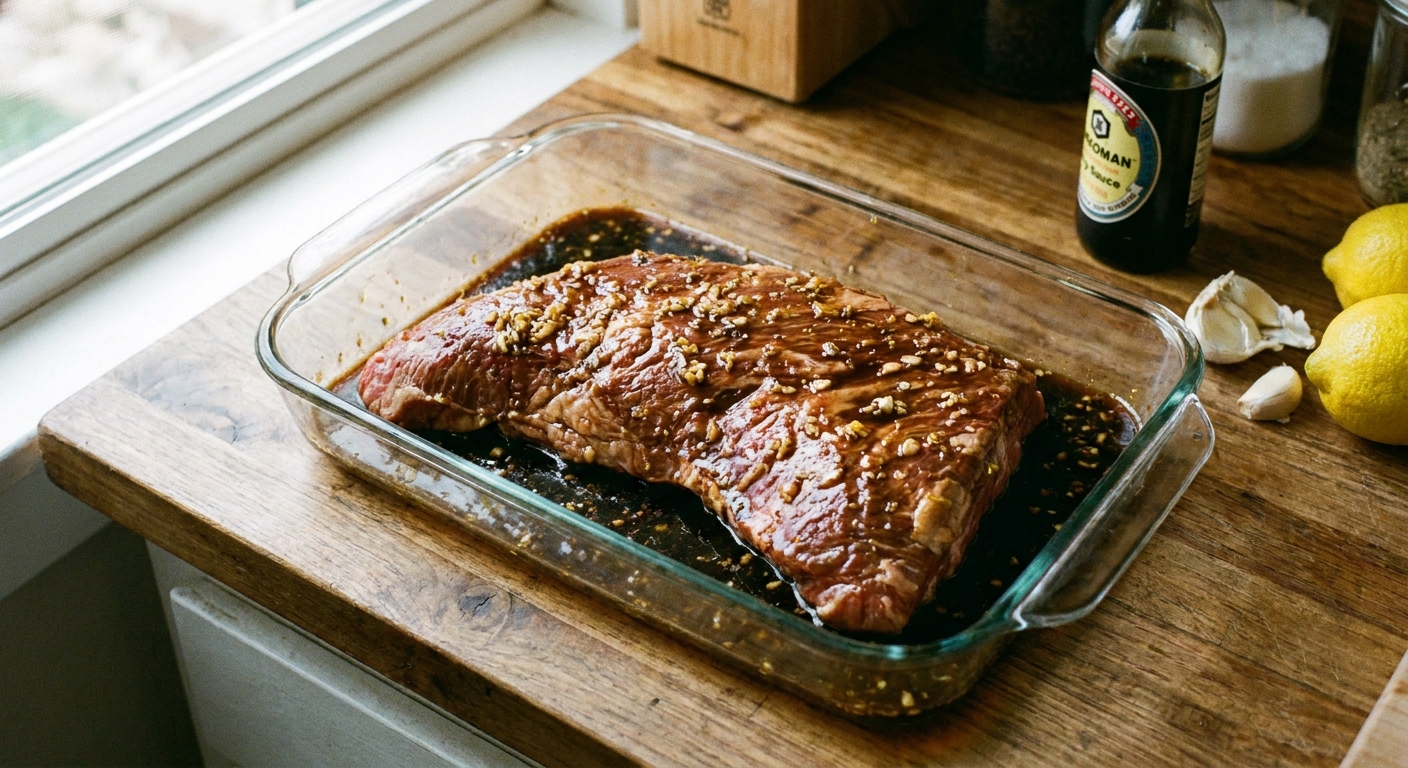
This recipe uses a salty, slightly sweet marinade that helps season the meat all the way through. Then you dry it low and slow in a dehydrator or oven until it passes the jerky test: it bends, you can see the fibers, and it cracks when you bend it. If you like a drier, more brittle jerky, keep going until it snaps.
Two things I do not skip: (1) chilling or briefly freezing the tri-tip so it slices evenly, and (2) a food-safe finish step where the thickest pieces hit 160°F so you can snack with confidence. (More on that below.) If you are already a tri-tip fan, you might also like my go-to tri-tip marinade for grilling and roasting, plus the hands-on trimming help in how to trim a tri-tip.
Why this works
- Tri-tip is naturally flavorful, so jerky tastes like beef, not just seasoning.
- Slicing across the grain shortens the muscle fibers, which makes the finished jerky easier to chew.
- A salty marinade seasons deeply and helps the strips dry evenly.
- Low, steady drying removes moisture without cooking the outside too fast.
- A food-safe finish (either preheating or post-heating) gives you an extra layer of safety without ruining texture.
Ingredient notes
Tri-tip
Look for a piece with a decent lean section. A thick fat cap will not dry into jerky the way lean meat does. Trim external fat as best you can.
Soy sauce and Worcestershire
These bring the salty backbone and that classic savory jerky flavor. If you are sensitive to salt, choose reduced-sodium soy sauce, but do not remove salt entirely or the jerky will taste flat.
Brown sugar (or honey)
A small amount balances the salt. It will not make the jerky sweet unless you increase it. Sugar also helps browning during the safety finish step.
Black pepper, garlic, smoked paprika
This trio is my everyday baseline. Smoked paprika adds a gentle BBQ vibe without needing a smoker.
Optional curing salt
This recipe does not require curing salt. If you do use it, follow the package directions exactly. It is powerful and not something to eyeball.
Equipment
- Very sharp knife (or an electric knife) for thin, even slicing
- Cutting board with a groove to catch juices
- Large zip-top bag or covered container for marinating
- Dehydrator (easiest) or an oven plus wire racks set over sheet pans
- Instant-read thermometer for the food-safe finish step
Pro tips
- Partially freeze for clean slices. Pop the tri-tip in the freezer 30 to 45 minutes. You want it firm, not rock-solid.
- Cut across the grain, then cut with the grain if you like it extra chewy. Across the grain is the most beginner-friendly for tenderness.
- Aim for consistent thickness. About 1/8 to 1/4 inch is the sweet spot. Thicker pieces take much longer and can dry unevenly.
- Leave space between strips. Airflow is what dries jerky, so do not let pieces touch.
- Condition your jerky. After drying and cooling, loosely pack it in a jar for 24 hours, shaking a couple times. If you see moisture on the glass, dry it longer.
Substitutes
- No Worcestershire? Use more soy sauce plus a splash of apple cider vinegar.
- Gluten-free: Use tamari (gluten-free soy sauce) and a gluten-free Worcestershire.
- No brown sugar: Use honey or maple syrup, same amount.
- Different cut: London broil, top round, or eye of round also work well, but tri-tip stays especially beefy.
Variations
- Pepper-forward: Double the black pepper and add crushed red pepper flakes.
- Teriyaki style: Add 1 teaspoon grated fresh ginger and a small splash of rice vinegar.
- Chili-lime: Add lime zest and 1 teaspoon chili powder. Keep the salt base the same.
- Extra smoky: Add a few drops of liquid smoke. A little goes a long way.
Serving ideas
- Tuck jerky into lunchboxes with grapes and cheese.
- Chop it into little bits and scatter over a salad for a salty crunch, like a steakhouse topper.
- Pack it for road trips with nuts and dried fruit.
- Slice thin and add to a snack board alongside hummus. My everyday go-to is classic hummus.
Storage
Cool completely first
Let jerky cool to room temperature before storing. Warm jerky trapped in a container can create condensation, which shortens shelf life.
Short-term
For the best texture and safety, store in an airtight container in the refrigerator. Jerky is a dried food, but home setups vary and the fridge keeps things predictable.
Longer storage
Freeze jerky in a zip-top bag, pressing out as much air as possible. Thaw in the fridge overnight.
When to toss
If you see visible mold, feel tacky wet spots, or smell anything sour or off, do not taste it. Discard it.
Common mistakes
- Slicing with the grain by accident. It will still be jerky, but it can turn into a jaw workout.
- Not trimming surface fat. Fat does not dry like lean meat and can go rancid faster.
- Overcrowding the racks. Touching strips trap moisture and slow drying.
- Relying on time alone. Drying time varies. Use the bend-and-crack cue.
- Skipping the safety step. Drying is not the same thing as cooking. Use one of the finish options provided in the recipe card.
FAQ
Do I have to use a dehydrator?
No. An oven works well if it can hold a low temperature and you use wire racks for airflow. Keep the door slightly cracked if your oven tends to trap moisture, and rotate pans as needed.
How do I know when jerky is done?
Cool a strip for a minute, then bend it. Properly dried jerky should bend, show white fibers, and crack. If you like it drier, keep drying until it snaps. If it folds like a ribbon, it needs more time.
Should I rinse off the marinade before drying?
No. Just pat the strips dry with paper towels so the surface is not dripping. You want flavor on the meat, not puddles on the rack.
Why does my jerky feel dry on the outside but soft inside?
The slices are likely too thick or your temperature is too high, which can seal the outside early. Slice thinner and dry at a steady low heat.
Can I make it less salty?
You can use reduced-sodium soy sauce, but jerky needs solid seasoning. If you cut salt too far, the flavor and keeping quality both suffer.
Tri-Tip Jerky
Thin-sliced tri-tip in a salty, savory marinade, dried low and slow until bend-and-crack tender. Includes dehydrator and oven options plus a food-safe finishing step.
Prep Time: 20 minutes (plus marinating)
Cook Time: 4 to 7 hours (drying time varies)
Total Time: 4 hours 20 minutes to 7 hours 20 minutes (plus marinating)
Servings: About 8 (varies by how you portion)
- 2 to 2 1/2 pounds tri-tip, trimmed of surface fat
- 1/2 cup soy sauce (or tamari)
- 2 tablespoons Worcestershire sauce
- 2 tablespoons brown sugar (or honey)
- 1 tablespoon apple cider vinegar
- 1 1/2 teaspoons kosher salt
- 1 1/2 teaspoons freshly ground black pepper
- 1 teaspoon garlic powder
- 1 teaspoon onion powder
- 1 teaspoon smoked paprika
- 1/2 teaspoon red pepper flakes (optional)
- Firm up the tri-tip for easy slicing. Place the tri-tip in the freezer for 30 to 45 minutes, just until it feels very firm but not frozen solid.
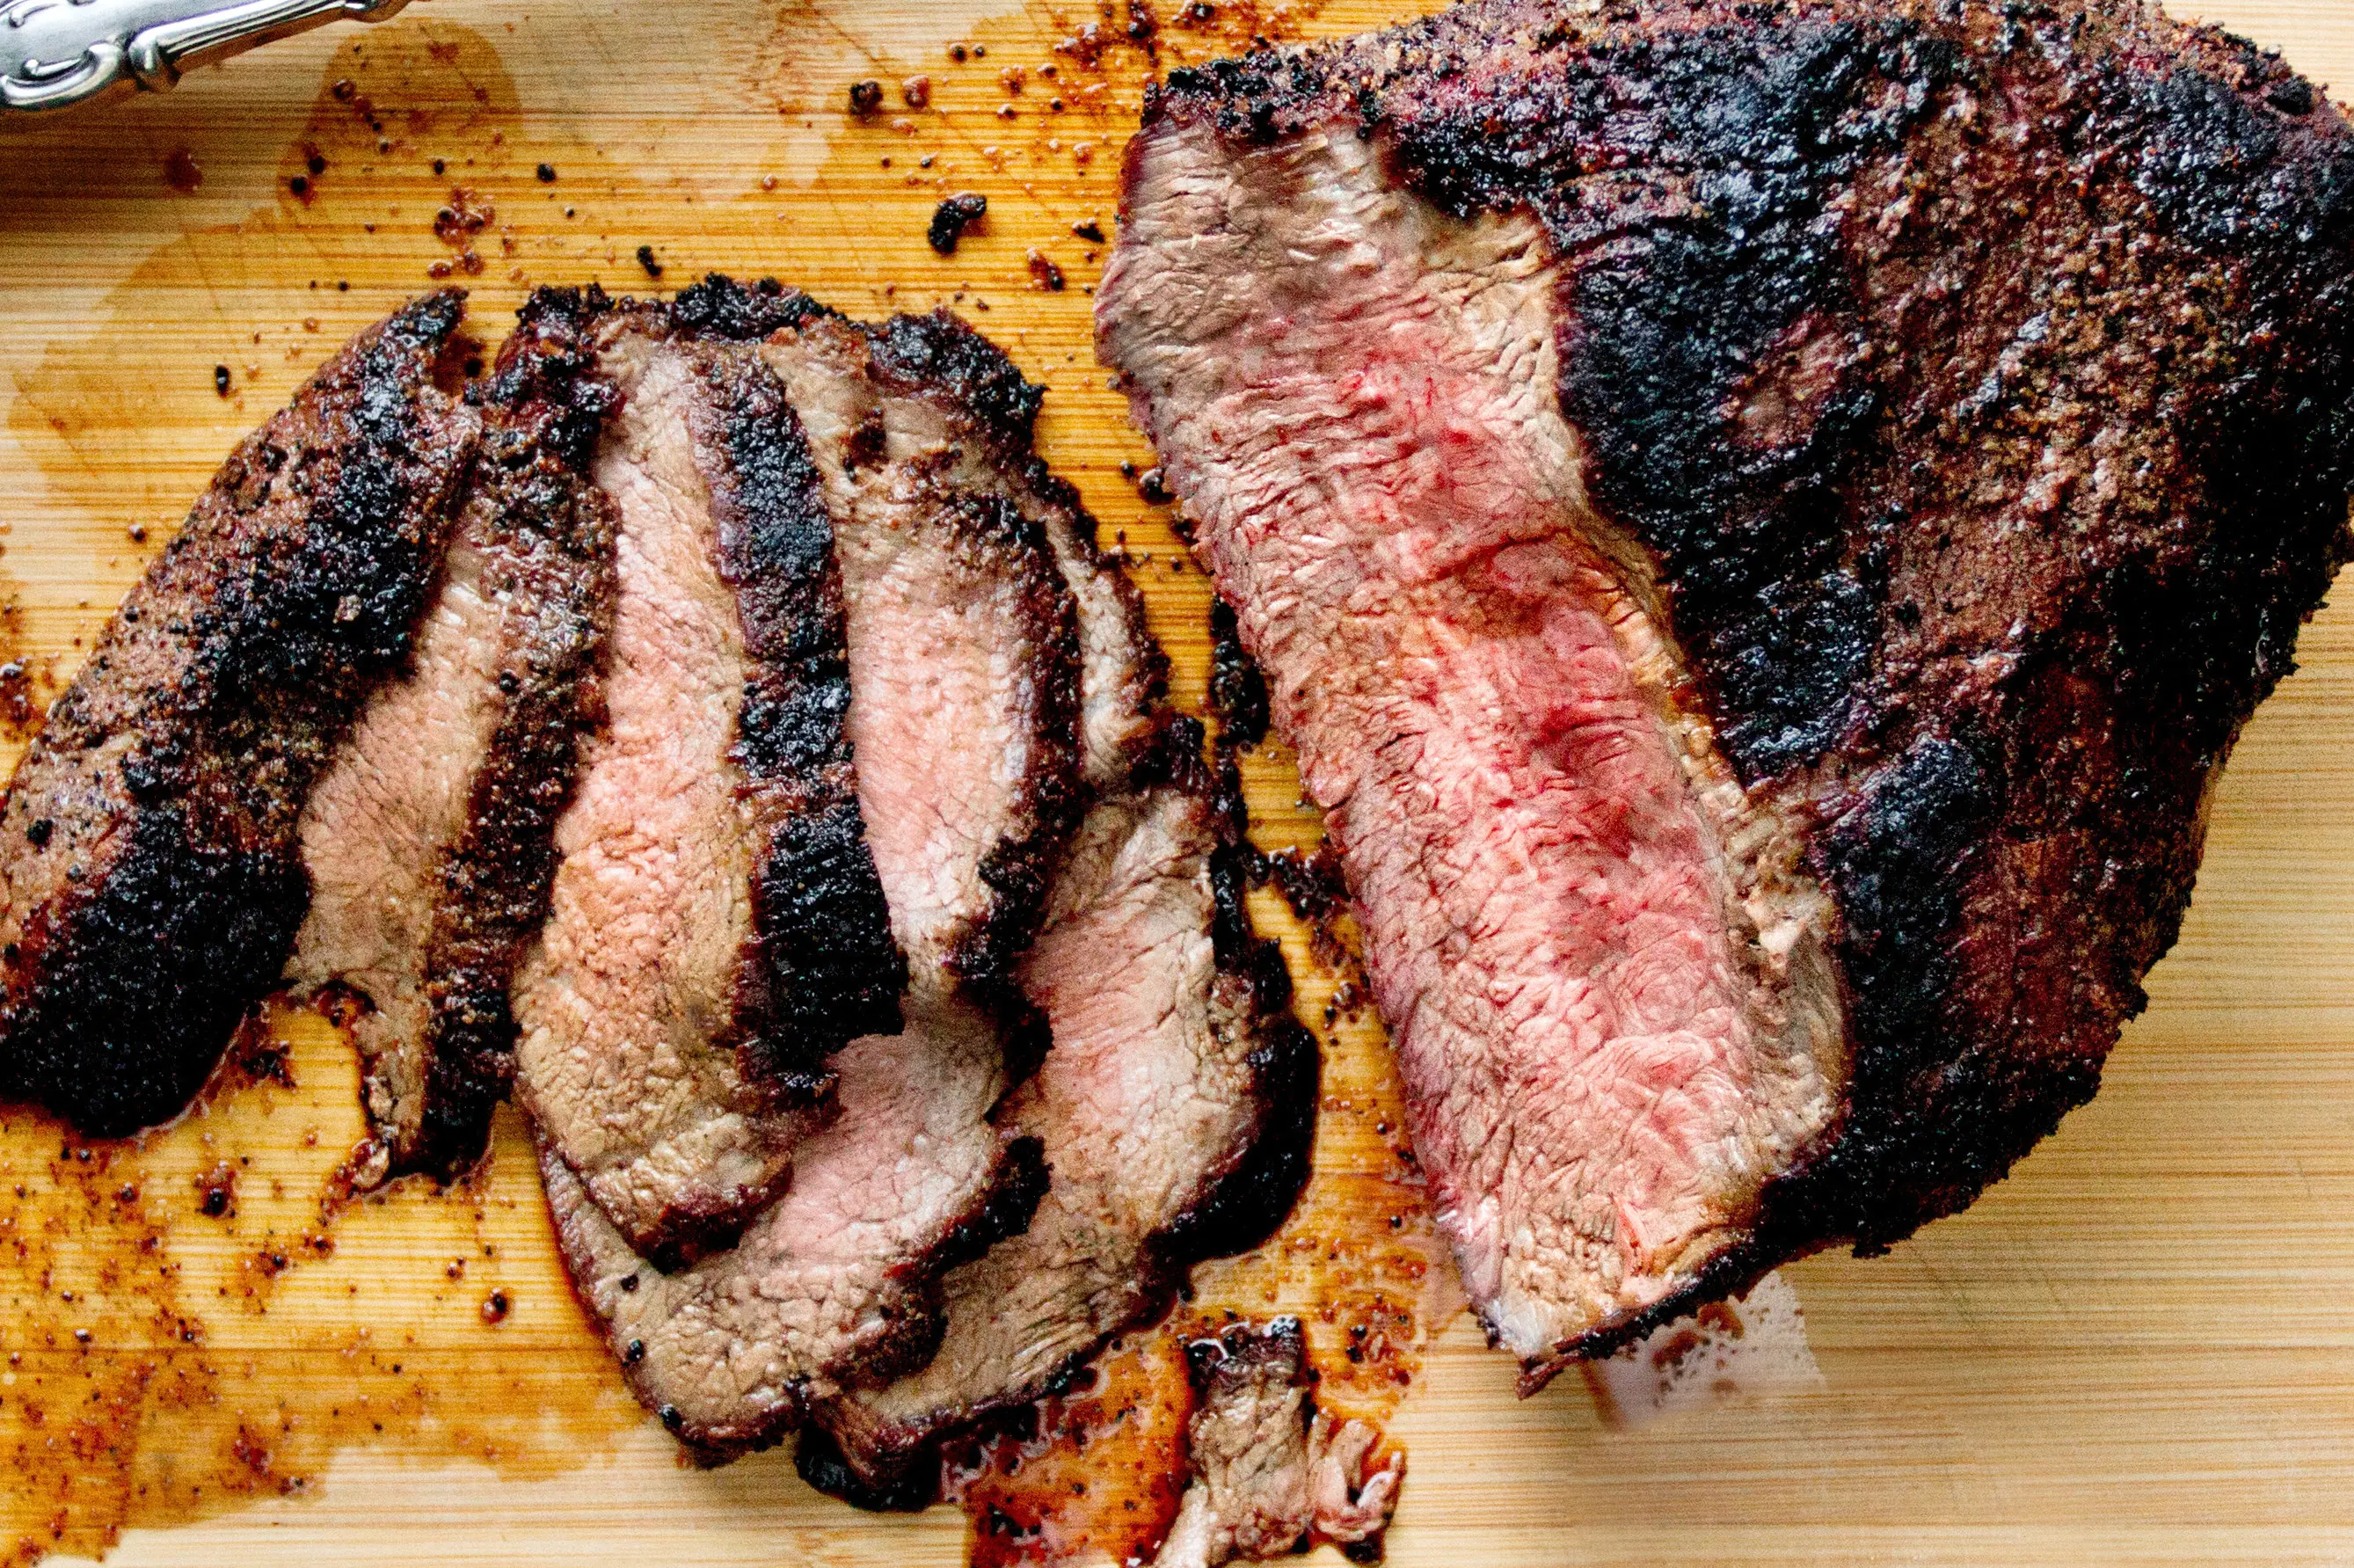
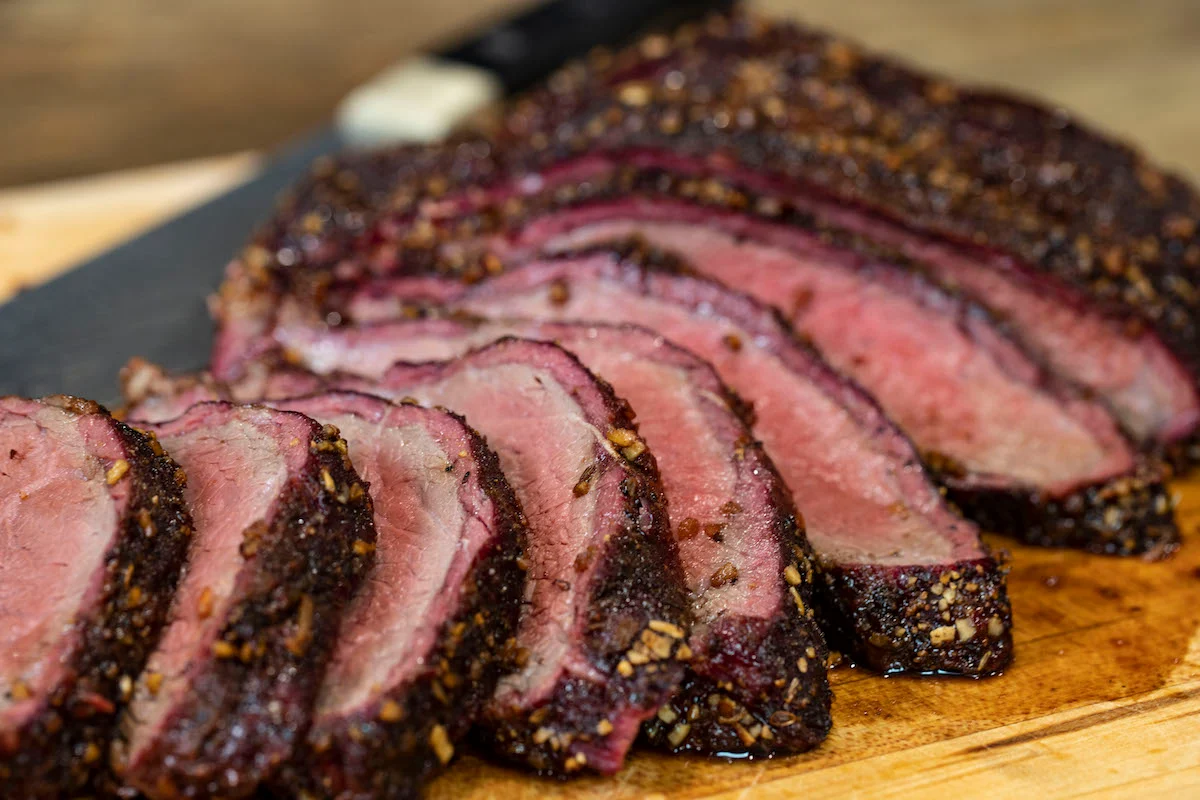
- Slice thin across the grain. Using a sharp knife, slice the tri-tip across the grain into strips about 1/8 to 1/4 inch thick. Try to keep thickness consistent so everything dries evenly.
- Make the marinade. In a large bowl, whisk together soy sauce, Worcestershire, brown sugar, apple cider vinegar, kosher salt, black pepper, garlic powder, onion powder, smoked paprika, and red pepper flakes (if using).
- Marinate. Add sliced beef to a large zip-top bag or covered container. Pour in the marinade, seal, and massage to coat. Refrigerate at least 6 hours and up to 24 hours, turning the bag once or twice if you remember.
- Drain and pat dry. Remove beef strips from marinade and let excess drip off. Pat both sides with paper towels so strips are not wet on the surface.
- Arrange for airflow. Place strips in a single layer on dehydrator trays or on wire racks set over sheet pans. Leave a little space between pieces so air can circulate.
- Dry.
- Dehydrator: Dry at 160°F until jerky is dry but still slightly pliable, 4 to 7 hours depending on thickness and your machine.
- Oven: Set oven to its lowest setting (ideally 170°F or lower). Dry on racks, rotating pans as needed, until jerky is dry but still slightly pliable, about 4 to 7 hours.
- Check doneness the right way. Remove one piece and let it cool for 1 to 2 minutes. Bend it. It should bend, show fibers, and crack. For a drier jerky, keep drying until it snaps. If it folds without cracking, keep drying and check again every 30 minutes.
- Food-safe finish (choose one option).
- Option A, preheat method: Before drying, preheat the marinated strips on wire racks in a 275°F oven until the thickest pieces reach 160°F on an instant-read thermometer, then proceed with drying.
- Option B, post-heat method: After drying, place jerky on a sheet pan in a 275°F oven until the thickest pieces reach 160°F, then cool completely.
- Cool and condition. Cool jerky completely at room temperature. For best results, loosely pack into a jar for 24 hours, shaking occasionally. If you see condensation, dry the jerky longer.
- Store. Transfer to an airtight container and refrigerate for best quality, or freeze for longer storage.
Note on slicing: Tri-tip has grain that can shift direction in different parts of the roast. Adjust your slicing angle as you go so you keep cutting across the grain.
Note on safety: Drying alone does not always guarantee a bacteria-killing temperature. Using one of the finish options adds a safer final step while still giving you that classic jerky texture.