Delishing
Tri-Tip Burnt Ends

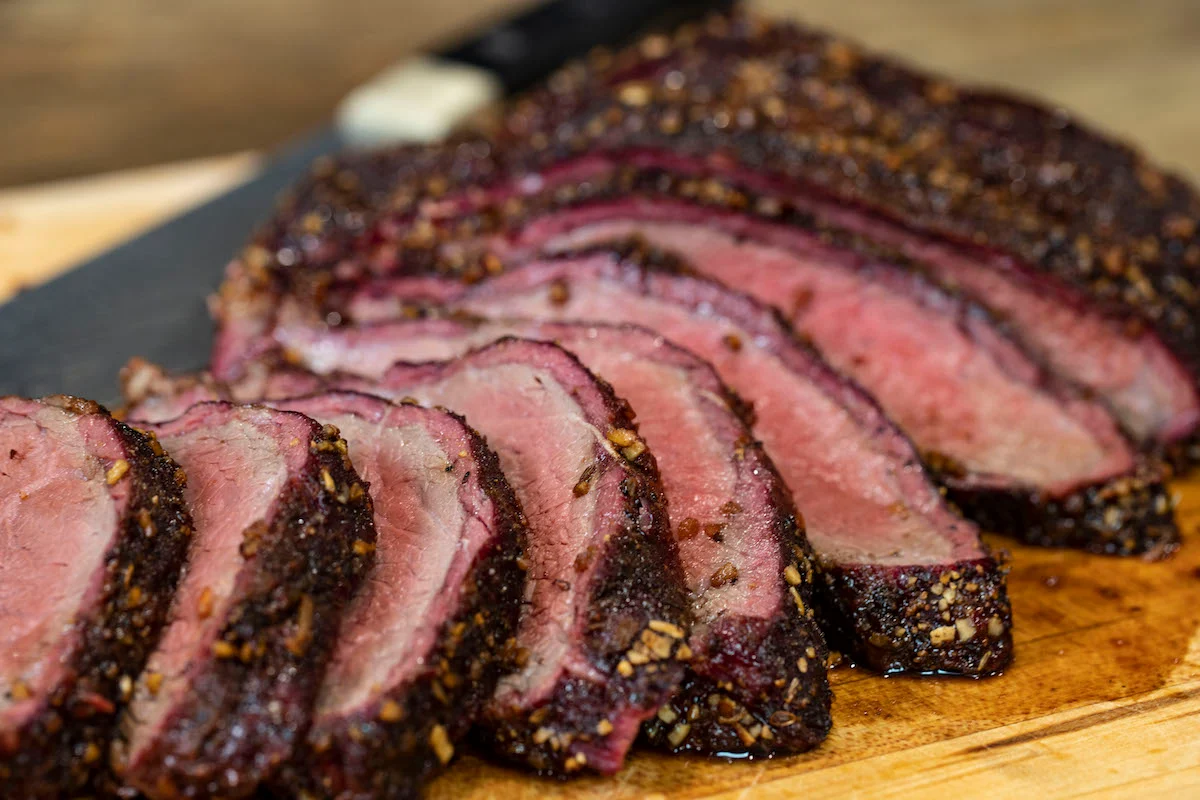
If you love the idea of burnt ends but do not want an all-day brisket project, tri-tip burnt ends are my weeknight-friendly, backyard-party-approved workaround. You still get that irresistible combo of smoky beef, sweet-heat barbecue sauce, and caramelized edges. The difference is tri-tip is leaner, so the second cook (the sauced, high-heat step) should be shorter than brisket burnt ends to keep those cubes juicy instead of dry.
This recipe gives you two paths: a smoker method for deep barbecue flavor, and an oven method that delivers sticky, glossy results when a smoker is not in the cards. Just know the oven version will not have the same smoke punch as a smoker, but it still nails that lacquered, pick-at-the-edges finish. Either way, plan on about 1 1/2 to 2 1/2 hours total, depending on your roast size and which method you choose.
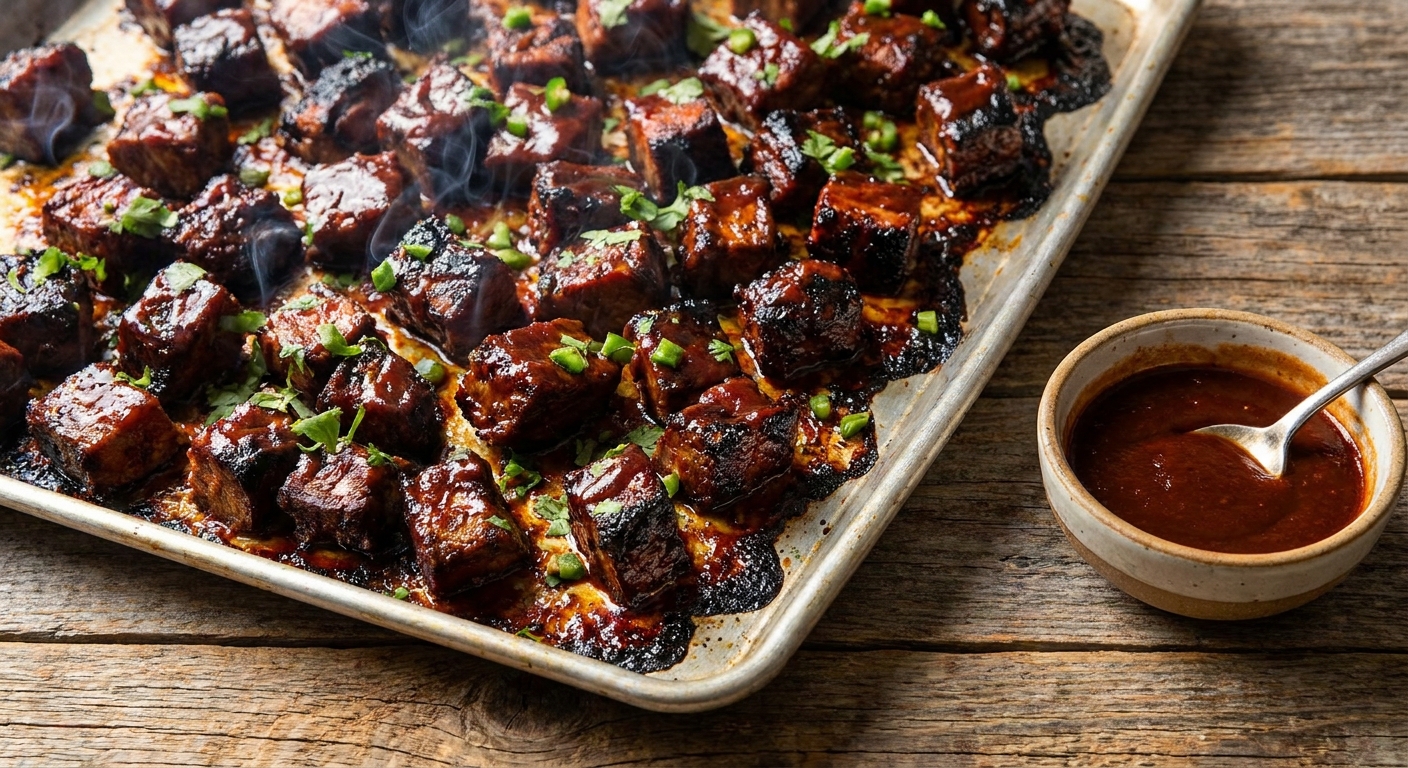
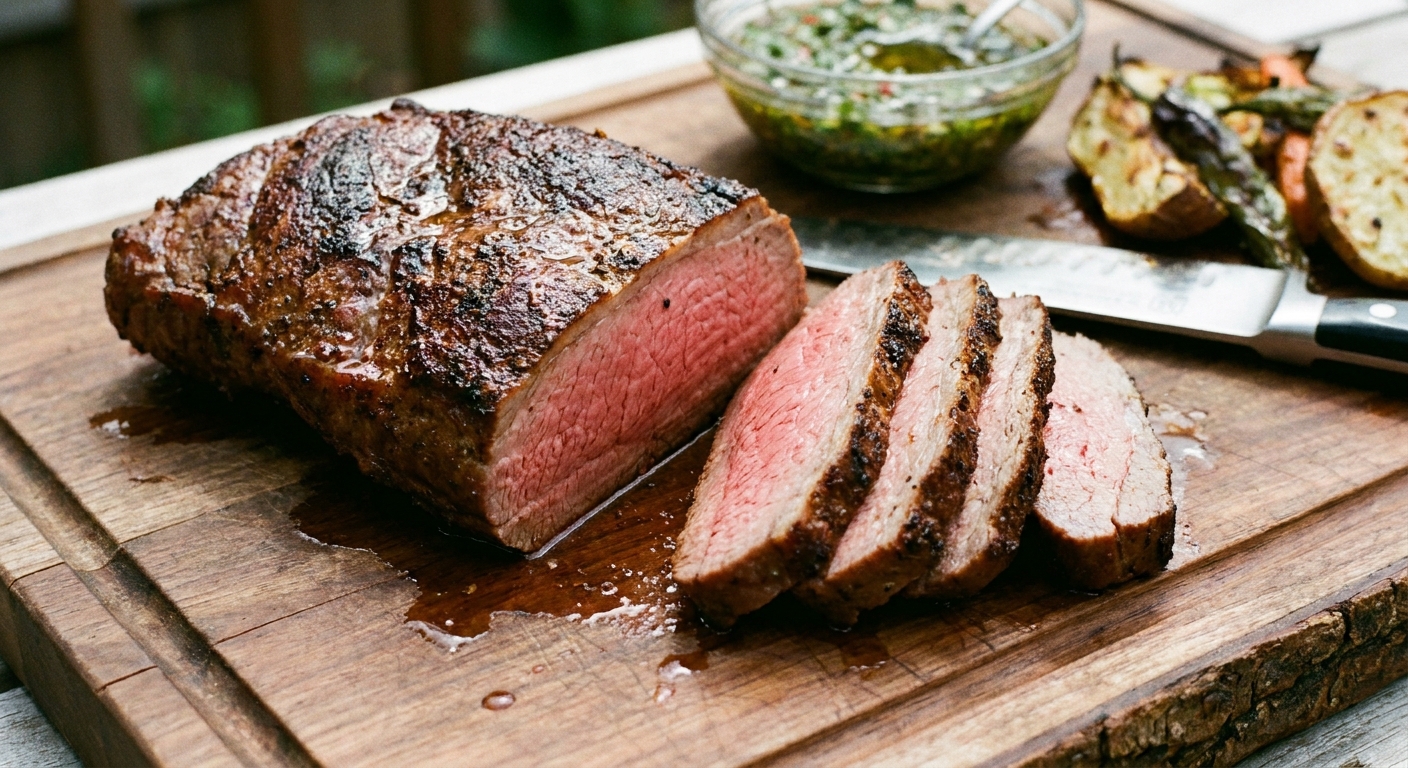
If you are new to tri-tip, you might also like my classic approach to cooking it as a roast first, then slicing: Tri-Tip Roast. For smoke-specific tips, see Smoked Tri-Tip. This burnt ends version is the fun, finger food cousin.
Why it works
- Two stage cooking protects lean meat. You cook tri-tip to a tender, sliceable doneness first, then do a short sauced second cook to caramelize the outside without drying the inside.
- A hot finish makes the glaze sticky fast. High heat concentrates the sauce and creates those lacquered edges we all pick off first.
- Resting before cubing keeps juices where you want them. Slice too soon and you lose moisture before the cubes ever hit the sauce.
- Simple seasoning plus sauce equals balance. A basic rub builds savory depth, while the sauce brings sweetness and tang.
Ingredient notes
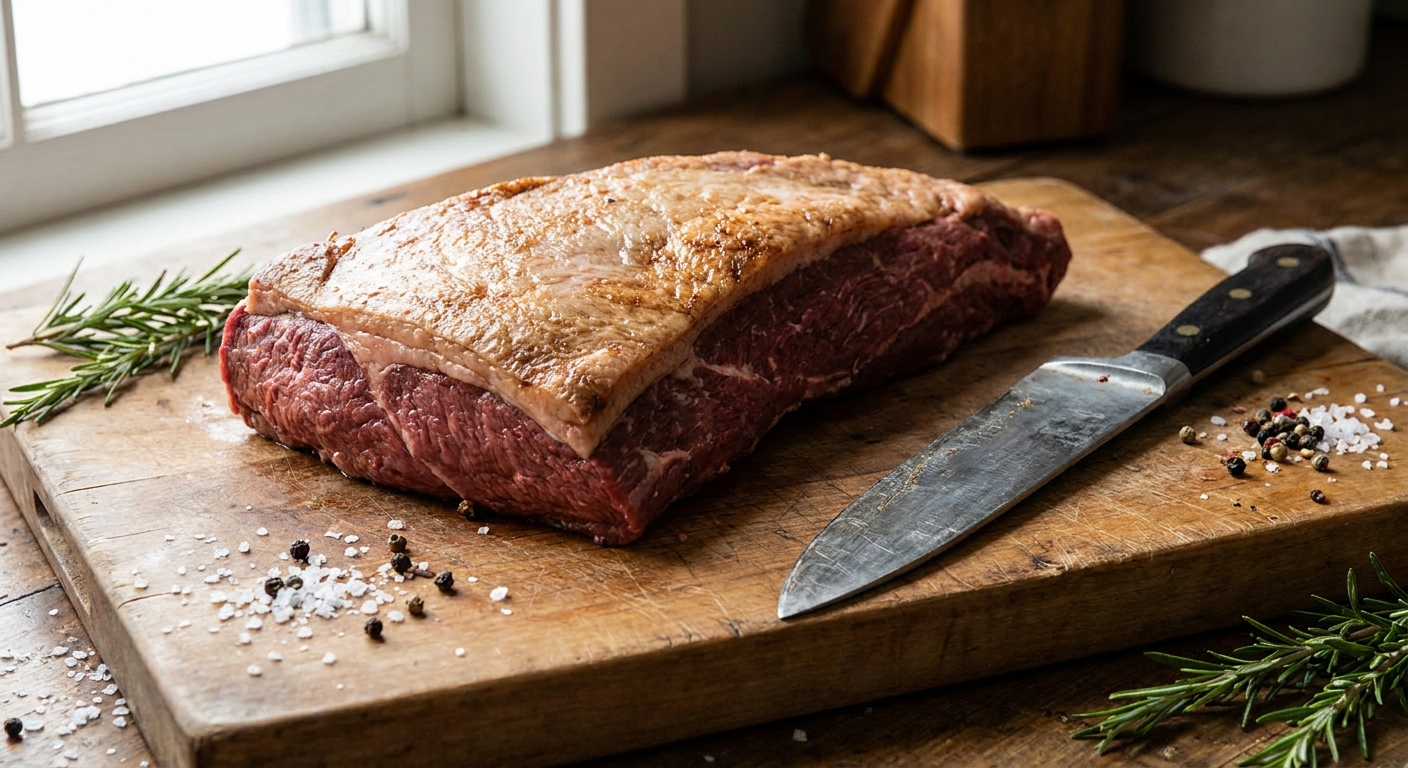
- Tri-tip roast: Look for a 2 to 3 pound tri-tip with good color and a fat cap. If yours is very lean, be extra strict about the short second cook.
- BBQ sauce: Use a thicker sauce you already like. Thin sauces take longer to reduce, which risks overcooking the beef.
- Apple cider vinegar: A small splash keeps the sauce from tasting flat and helps it cling.
- Brown sugar: Optional, but it boosts caramelization and gives that classic sticky finish. If your sauce is already sweet, you can skip it.
- Worcestershire sauce: Adds savory depth fast. A little goes a long way.
- Butter: A few tablespoons make the glaze glossy and help the cubes stay succulent.
Equipment
- Smoker or oven
- Instant-read thermometer
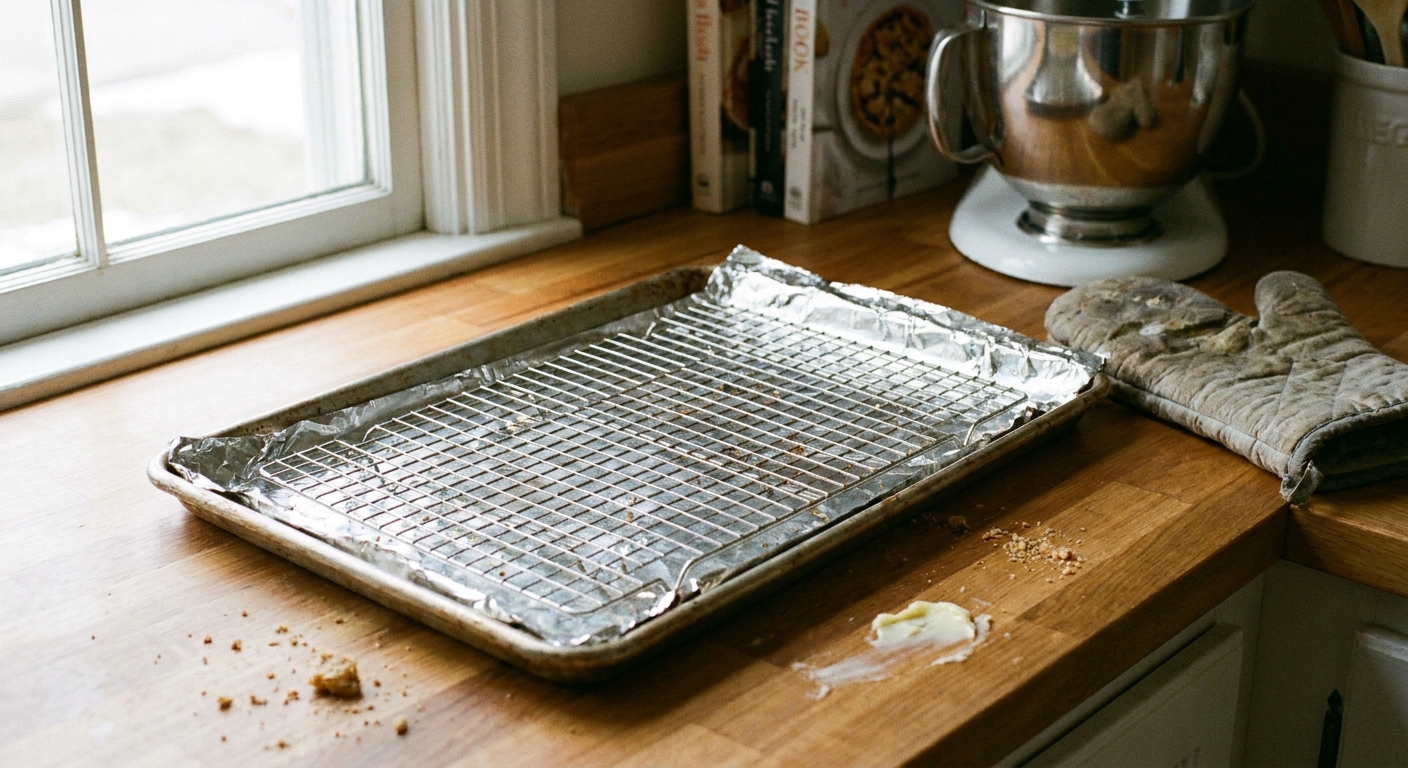
- Rimmed baking sheet and foil (for the oven path and for finishing either method)
- Wire rack (optional, but helps airflow)
- Large bowl for tossing cubes
- Sharp knife and cutting board
Pro tips
- Do not chase brisket texture. Tri-tip will not get jiggly and ultra soft like brisket point. The goal is tender, juicy cubes with caramelized edges.
- Keep the second cook short. Once the cubes are sauced, you are setting a glaze, not cooking the meat through.
- Use temperature plus feel. Pull the roast when it is at your preferred doneness, then rely on the finish to add a little extra heat.
- Cut even cubes. Aim for 1 to 1 1/2 inch cubes so they caramelize at the same pace.
- Mind the grain when cubing. Tri-tip has changing grain direction. When you cube, you will naturally catch some pieces at different angles, but you can still make it more tender by slicing the roast into slabs against the grain before cubing.
Substitutes
- No Worcestershire: Use soy sauce (start with half) plus an extra splash of vinegar.
- No apple cider vinegar: Red wine vinegar or even lemon juice works in a pinch.
- Low sugar: Skip the brown sugar and choose a no sugar added BBQ sauce.
- No smoked paprika: Regular paprika is fine, or add a tiny pinch of chipotle powder for heat.
Variations
- Spicy: Add 1 to 2 teaspoons hot sauce to the glaze or a pinch of cayenne to the rub.
- Kansas City style sticky: Increase brown sugar slightly and finish with an extra 5 minutes, watching closely so it does not burn.
- Garlic pepper: Swap chili powder for extra black pepper and garlic powder for a steakhouse vibe.
- Teriyaki-ish: Use a thick teriyaki style glaze, replace vinegar with rice vinegar, and sprinkle with sesame seeds at the end.
Serving ideas
- Serve as an appetizer with toothpicks and extra warm sauce for dipping.
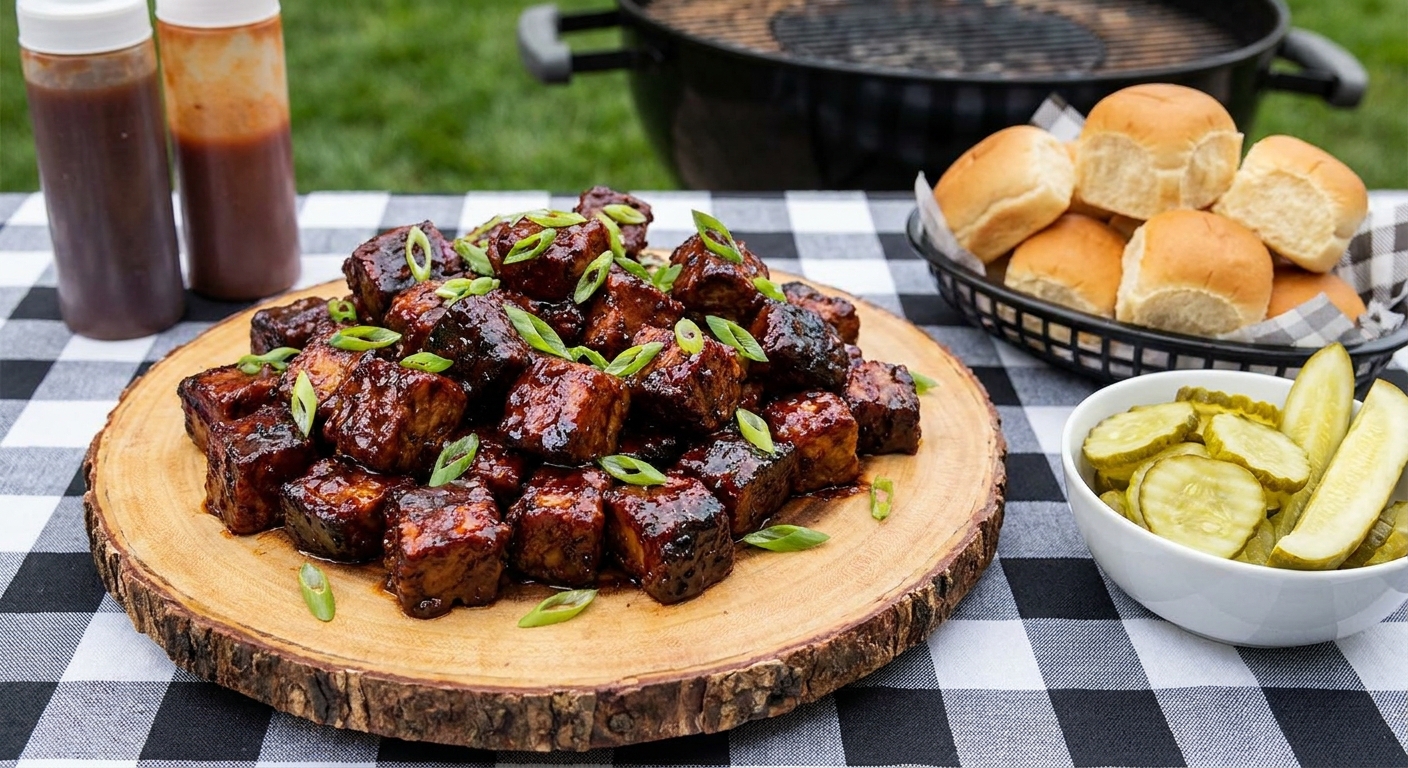
- Pile into slider buns with pickles and thin sliced onion.
- Turn into a quick rice bowl with something crunchy on the side, like Roasted Broccoli.
- Make a comfort dinner plate with Classic Creamy Potato Salad or Sweet Potato Fries and Aioli.
Storage and reheating
- Refrigerate: Cool completely, then store in an airtight container for up to 3 to 4 days.
- Reheat: Warm on a sheet pan at 300°F until heated through, then blast at 425°F for 3 to 5 minutes to re-sticky the edges. You can add a spoonful of sauce if they look dry.
- Freeze: Freeze in a sealed container for up to 2 months. Thaw overnight in the fridge before reheating.
Common mistakes to avoid
- Overcooking during the second cook: This is the big one. Tri-tip is lean, so leave the cubes in the heat only until the sauce looks tacky and the edges are caramelized.
- Saucing too heavily: Drowning the meat steams it. Use enough to coat, not pool.
- Skipping the rest: If you cube immediately, juices run out onto the board, and the burnt ends start dry.
- Using tiny cubes: Small pieces dry out before you get good browning.
FAQ
Are tri-tip burnt ends the same as brisket burnt ends?
No. They are the same idea but not the same texture. Brisket burnt ends traditionally come from fatty brisket point and can take a longer sauced cook. Tri-tip is leaner, so the sauced finish needs to be shorter to keep it juicy.
What internal temperature should I cook tri-tip to before cubing?
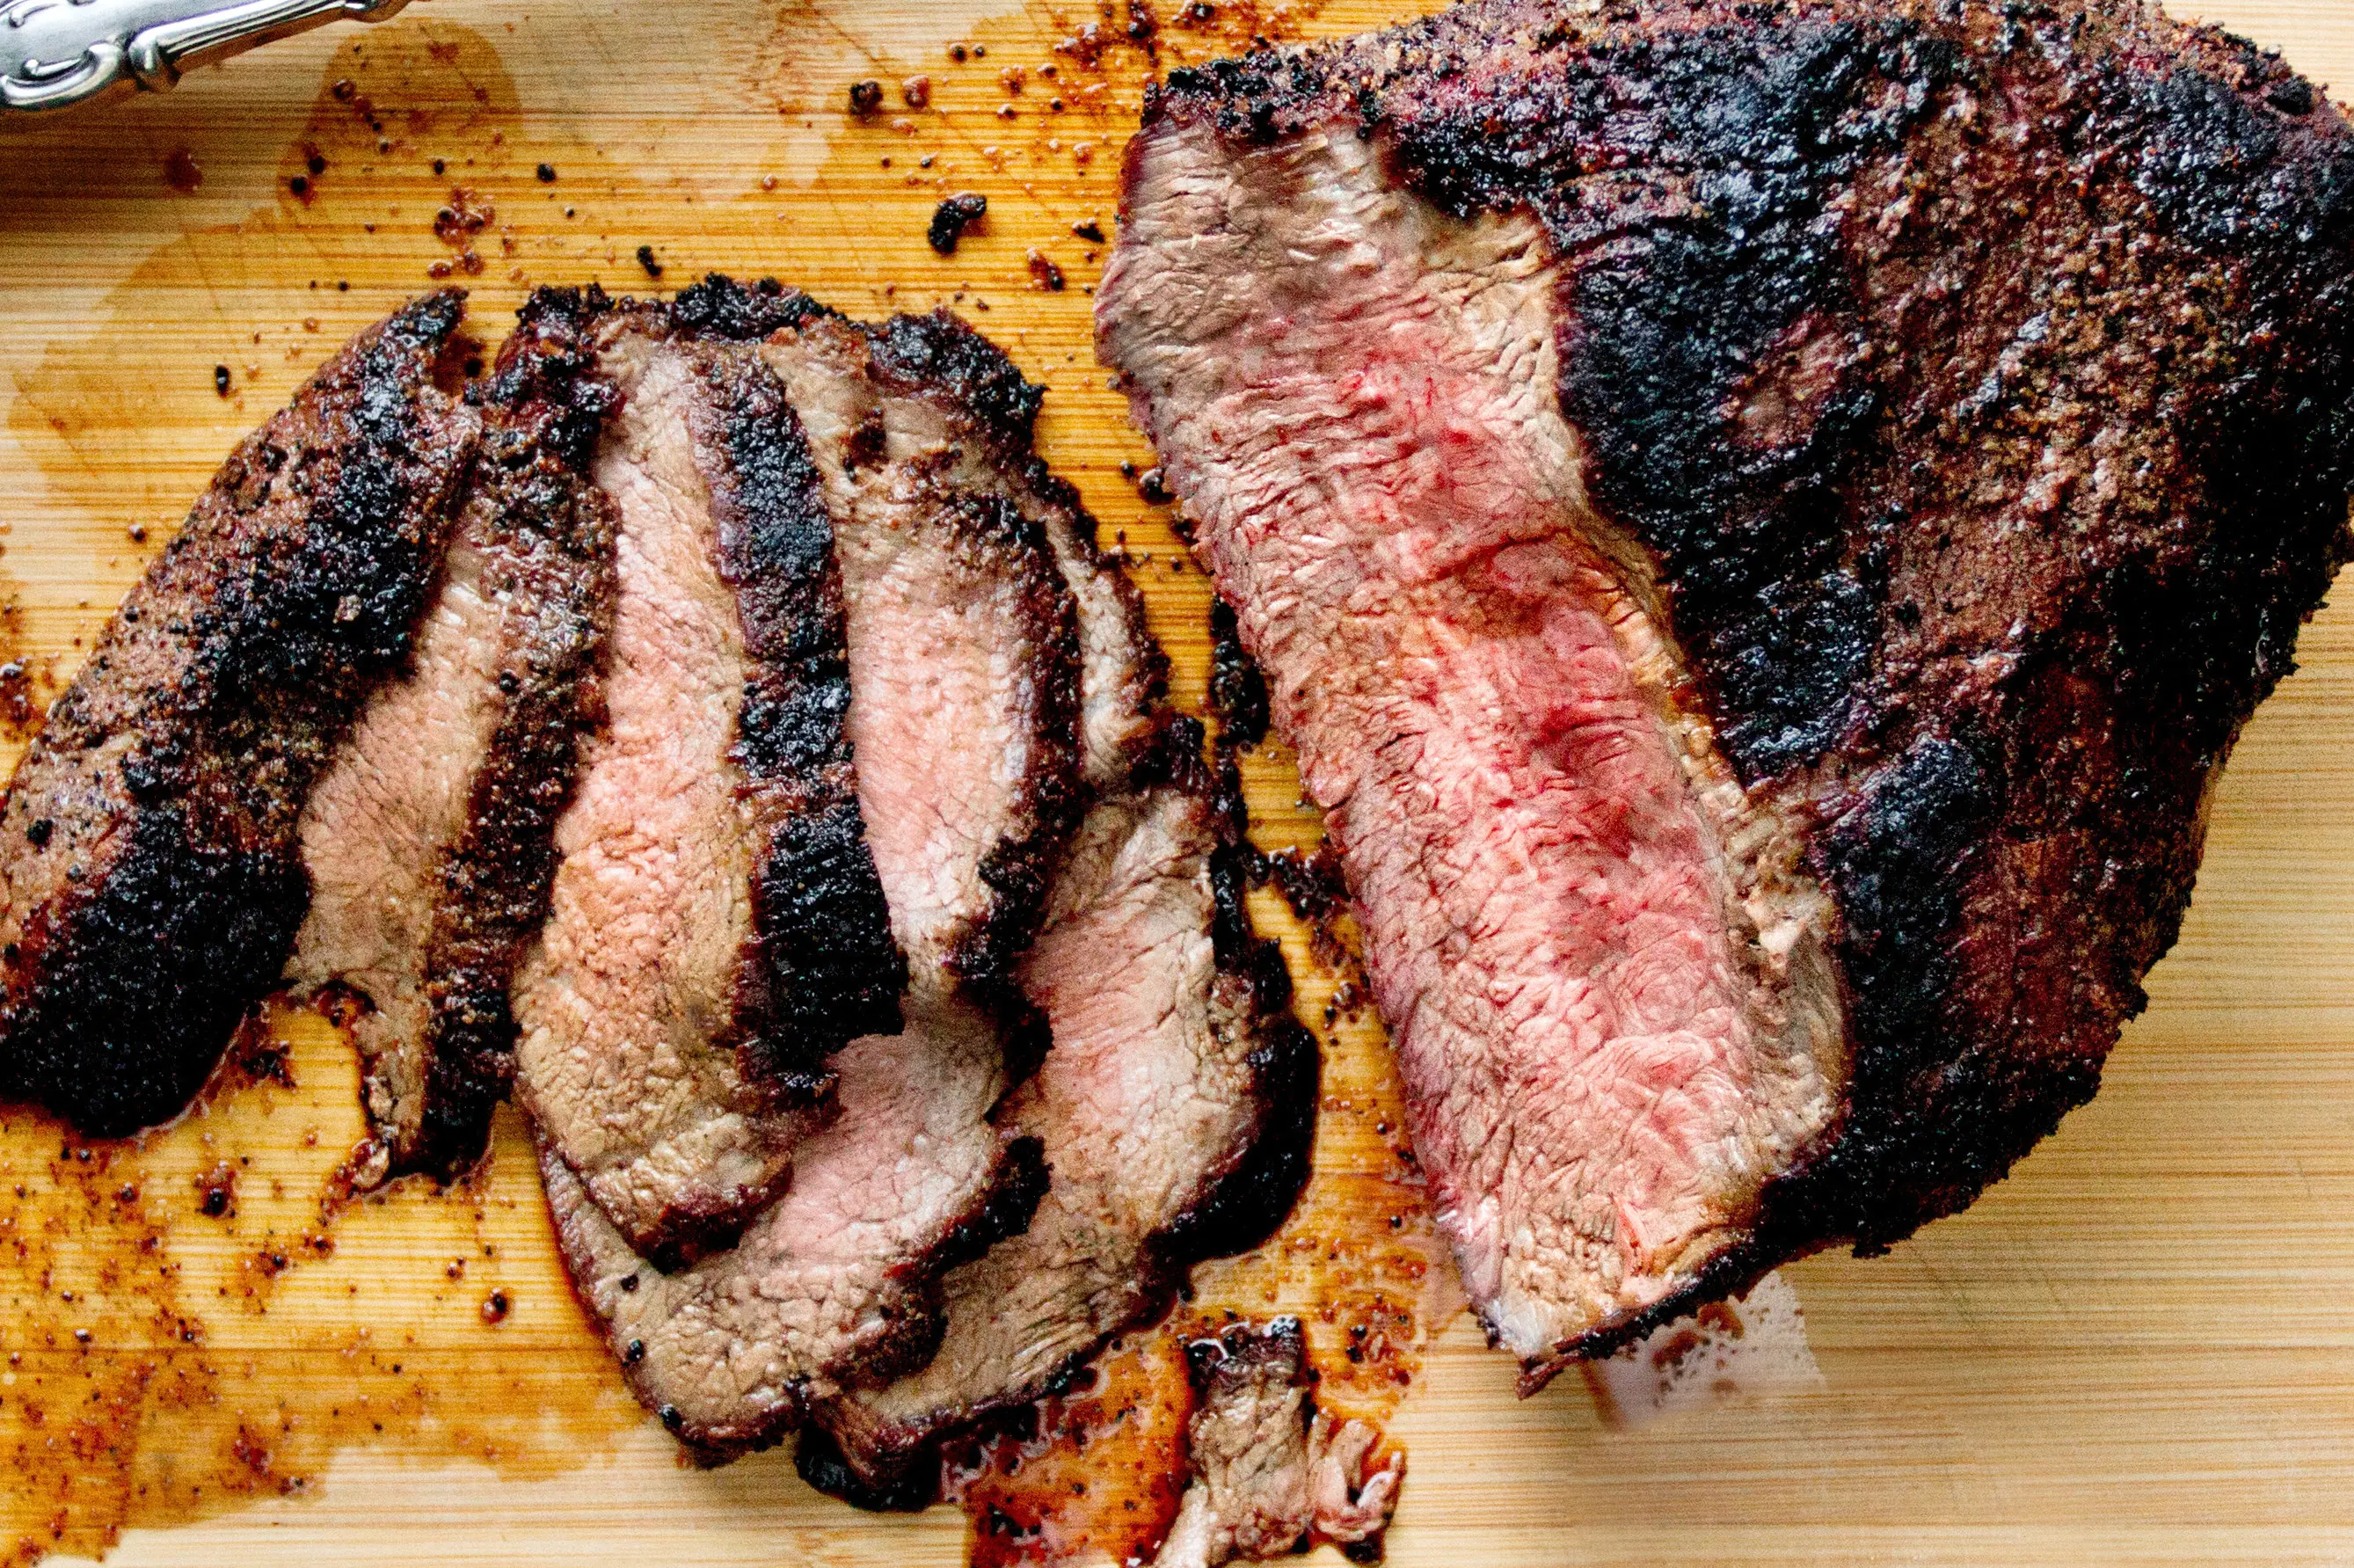
Cook it like a roast to your preferred doneness. For most people, that is medium rare to medium. Remember the cubes will get a little more heat during the glaze step.
Can I make these without a smoker?
Yes. The oven method in the recipe card uses a low roast first, then a hot sauced finish. Smoked paprika helps mimic some of the smoky note, but it will not be identical to real smoke.
Do I have to wrap the roast?
No. Wrapping is common with brisket, but tri-tip does not need it here. Keeping it unwrapped helps build better exterior color before you cube it.
Why are my burnt ends dry?
Usually one of three things: the roast was cooked too far in stage one, the cubes were too small, or the sauced finish went too long. Keep that second cook short and high heat.
Tri-Tip Burnt Ends
Tender tri-tip cubes tossed in a buttery barbecue glaze, then finished quickly at high heat until sticky around the edges. Includes smoker and oven paths with a short second cook to keep lean tri-tip juicy.
Prep Time: 15 minutes
Cook Time: 1 hour 15 minutes to 2 hours (method dependent)
Total Time: 1 hour 40 minutes to 2 hours 30 minutes
Servings: 6 (as an appetizer) or 4 (as a main)
- 1 (2 to 3 lb) tri-tip roast
- 1 tbsp kosher salt
- 2 tsp black pepper
- 2 tsp smoked paprika (optional but helpful for the oven method)
- 1 tsp garlic powder
- 1 tsp onion powder
- 1 tsp chili powder (optional)
- 1 cup BBQ sauce
- 2 tbsp apple cider vinegar
- 1 tbsp Worcestershire sauce
- 2 tbsp packed brown sugar (optional)
- 3 tbsp unsalted butter, cut into small pieces
- Optional for serving: sliced green onions, pickles, extra BBQ sauce
- Season the tri-tip. Pat the tri-tip dry. In a small bowl, mix salt, pepper, smoked paprika, garlic powder, onion powder, and chili powder (if using). Season the tri-tip all over, pressing the rub into the surface.
- Choose your cook path for stage one (cook the roast).
Smoker path: Heat smoker to 225°F to 250°F. Place tri-tip on the grates and smoke until the thickest part reaches 125°F for medium rare or 135°F for medium, 60 to 120 minutes depending on thickness and smoker temp.
Oven path: Heat oven to 250°F. Place tri-tip on a foil lined rimmed baking sheet (a wire rack helps). Roast until the thickest part reaches 125°F for medium rare or 135°F for medium, about 60 to 90 minutes depending on thickness. - Rest. Transfer tri-tip to a cutting board and rest 15 to 20 minutes. This matters for juicy burnt ends.
- Heat the finishing oven or smoker. Increase heat for the quick glaze step.
If you used a smoker: Increase to 275°F to 300°F if possible, or keep it steady and plan on a few extra minutes.
If you used the oven: Increase oven to 425°F. - Cube the tri-tip. Slice the rested tri-tip into 1 to 1 1/2 inch slabs, aiming to cut against the grain as best you can, then cut into cubes.
- Make the glaze. In a large bowl, stir together BBQ sauce, apple cider vinegar, Worcestershire, and brown sugar (if using). Add the cubes and toss until evenly coated.
- Finish (short second cook). Spread sauced cubes on a foil lined rimmed baking sheet in a single layer. Dot with butter pieces over the top.
Oven: Bake at 425°F for 10 to 15 minutes, tossing once halfway, until the sauce is bubbling and sticky on the edges.
Smoker: Return to the smoker at 275°F to 300°F for 15 to 25 minutes, tossing once halfway, until sticky and lightly caramelized. If you want more bark, you can finish on a hot grill for 1 to 2 minutes, watching closely. - Rest briefly, then serve. Let the burnt ends sit 5 minutes so the glaze sets, then serve warm with pickles, green onions, and extra sauce if you like.
Note 1: The second cook is intentionally shorter than brisket burnt ends because tri-tip is lean. Once the glaze is tacky and the edges look caramelized, pull them.
Note 2: For best texture, keep the cubes at least 1 inch. Smaller pieces tend to dry out before the sauce turns sticky.
Note 3: Doneness guide for stage one: 125°F yields medium rare; 135°F yields medium. The cubes will warm and climb a bit during the finish.