Delishing
Dutch Oven Tri-Tip

Tri-tip is usually the relatively lean, weeknight hero I cook hot and fast, then slice for medium-rare. But there are days when I want the opposite energy: a heavy pot, a gentle oven, and a sauce that quietly turns glossy while I do anything else.
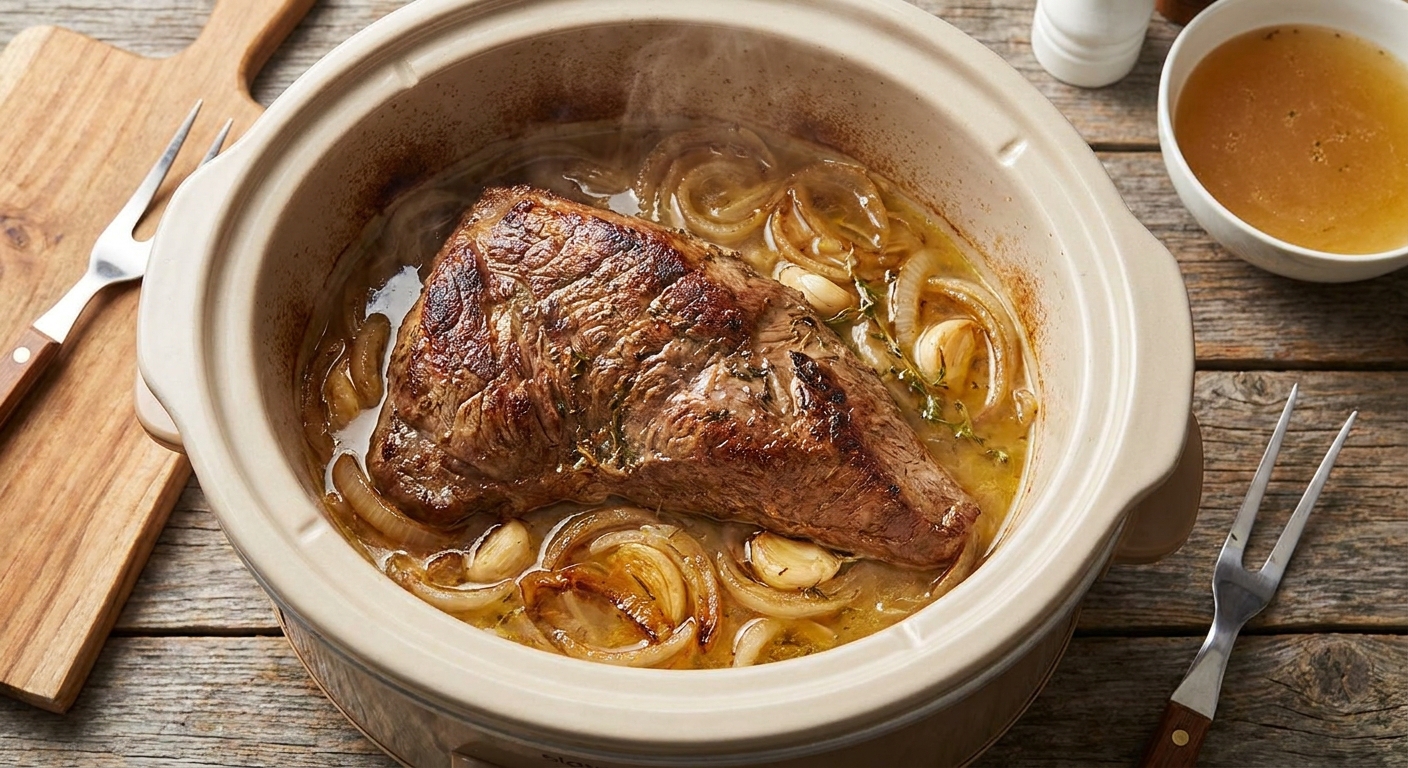
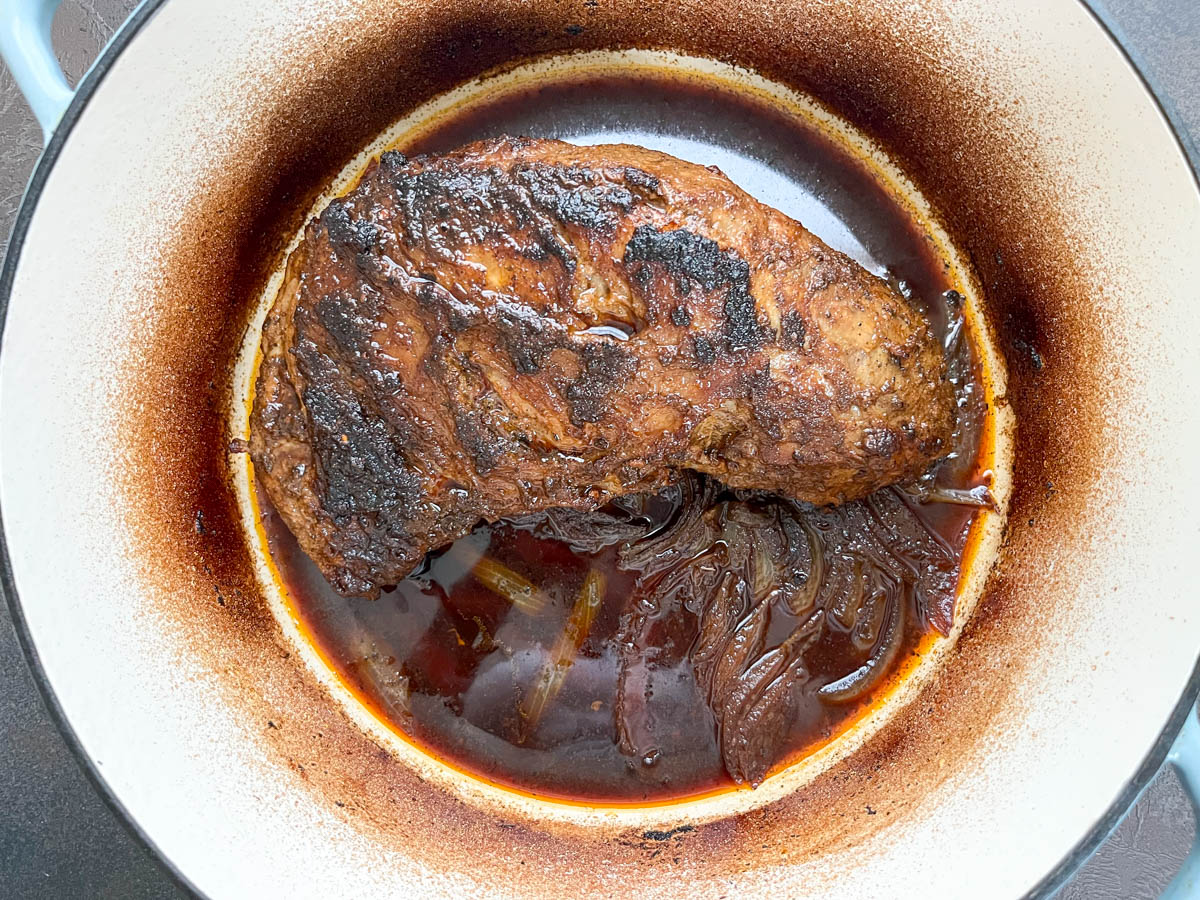
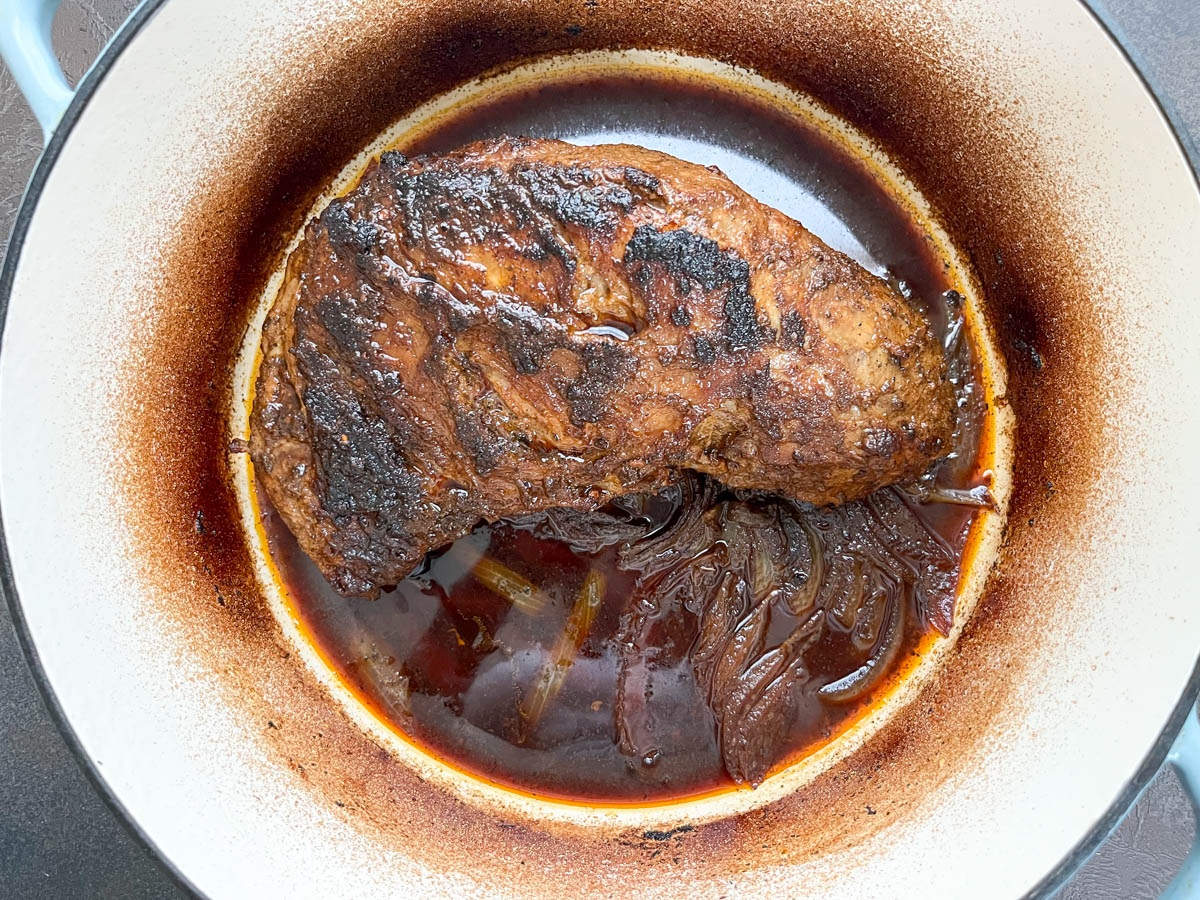
This Dutch oven tri-tip is my answer to that mood. It is a covered oven braise designed specifically for a triangular roast that is leaner than the usual braising cuts. You get two outcomes on purpose: a shorter braise that stays sliceable with that “pull-apart at the edges” tenderness, and a longer braise that goes fully shred-ready. Both versions start with a proper sear, then build a real sauce in the pot from browned bits, onions, garlic, and a few bold pantry staples. It finishes with the lid off so everything reduces into something you will want to spoon over everything.
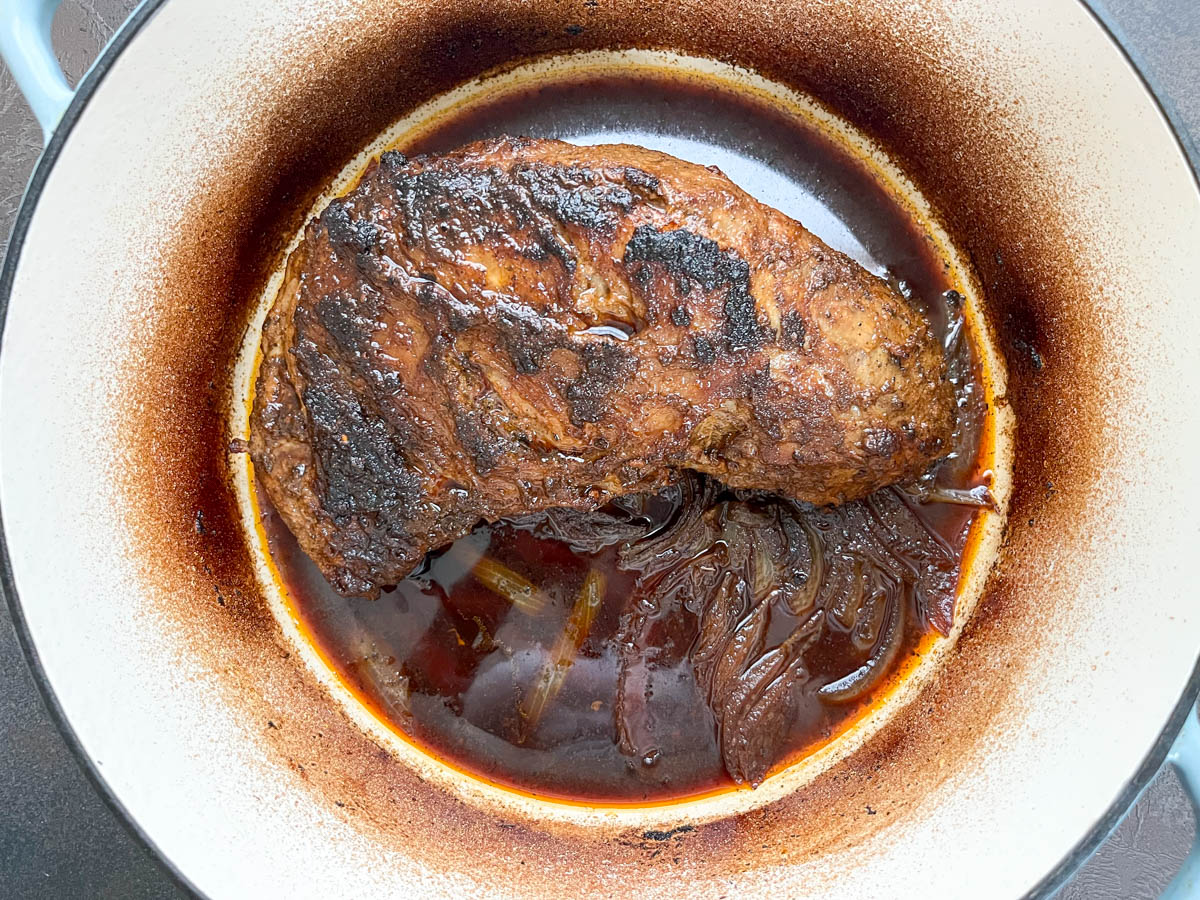
If you are looking for a classic dry-heat roast for pink slices, head to my Tri-Tip Roast. This page is all about the Dutch oven method and the reducing sauce.
What to expect
- Oven temperature: A steady 300°F is gentle enough to keep the meat tender as it braises.
- Liquid level: Enough to come about 1/3 of the way up the meat so it braises without getting fully submerged, and the exposed surface can still deepen in flavor.
- Sauce: Built from browned bits, aromatics, and a small amount of tomato paste, then reduced in the same pot until silky.
- Two finishes: Sliceable pull (about 2 to 2 1/2 hours, fork-tender but still holding together) or shreddable (about 3 to 3 1/2 hours, twists and pulls apart easily).
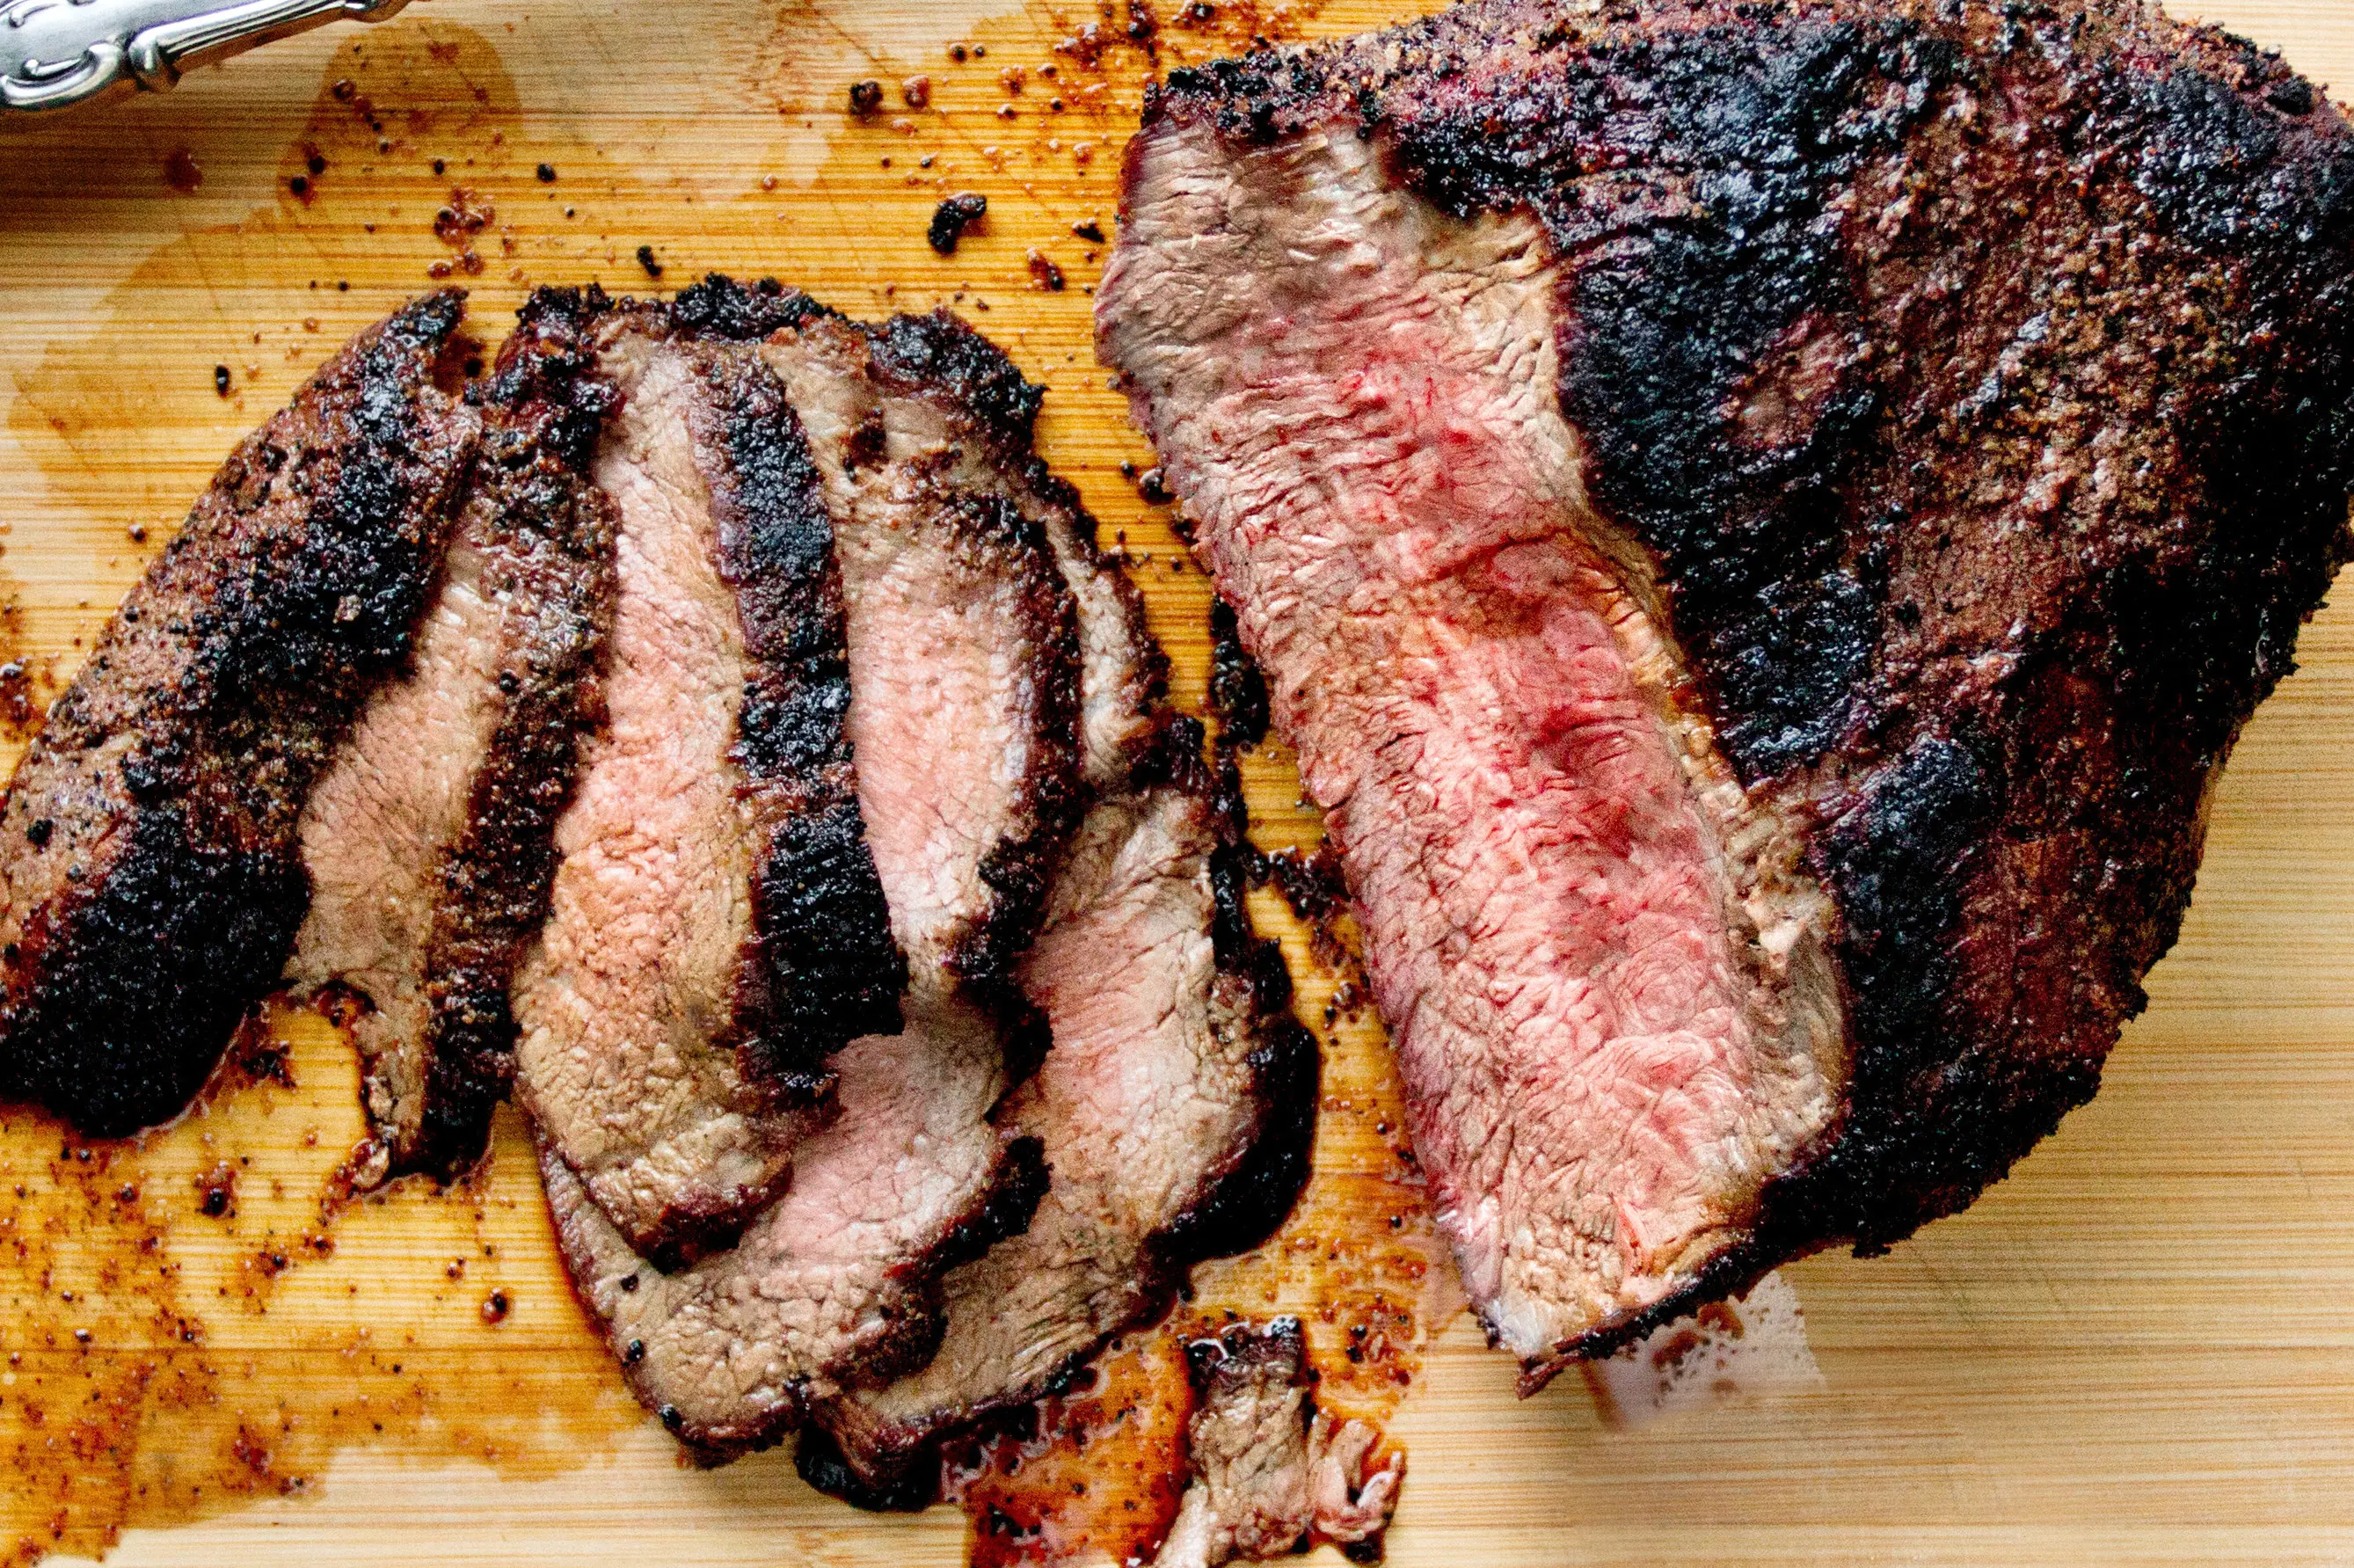
- Slicing matters: If you go sliceable, plan to slice against the grain (and rotate the roast if the grain changes direction).
Why this works
- Hard sear first: Tri-tip is relatively lean, so we build flavor on the outside early, then let gentle heat do the tenderizing.
- Controlled liquid level: Keeping liquid at about 1/3 height prevents boiling the meat, so you still get a roast-like texture in the sliceable version.
- Low oven, tight lid: A Dutch oven holds heat evenly and traps moisture so the interior stays juicy.
- Lid-off reduction at the end: This is the secret to a sauce that tastes like you fussed, even if you did not.
Ingredient notes
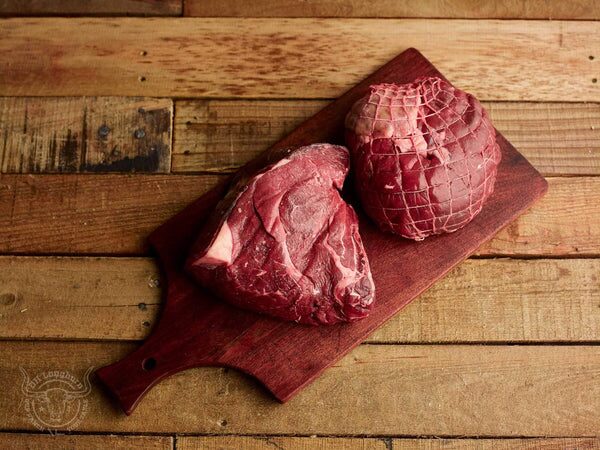
- Tri-tip roast: Look for 2 to 3 pounds. If it is unevenly thick, do not worry, the braise is forgiving.
- Kosher salt: If you only have fine table salt, use less. It packs more densely.
- Onion and garlic: They sweeten as they braise and help thicken the sauce naturally.
- Tomato paste: Just a little deepens color and adds body. Cook it briefly so it tastes caramelized, not raw.
- Beef broth: Low-sodium is ideal so you can reduce without the sauce turning too salty.
- Worcestershire and balsamic: Optional but very helpful for complexity. They make the sauce taste “finished”.
- Flour (optional): Only if you want a slightly thicker sauce without reducing quite as long.
Equipment
- Dutch oven (5 to 7 quart): Heavy enameled cast iron is perfect for even heat and reduction.
- Tongs: For a confident sear and easy turning.
- Instant-read thermometer: Helpful for the sliceable version, where you want tenderness but not full shredding.
- Fine mesh strainer (optional): If you want a smoother sauce, though I usually keep it rustic.
Pro tips
- Dry the meat well before searing: Paper towels matter here. Moisture blocks browning.
- Do not flood the pot: If the liquid covers the roast, you are simmering it. Keep it around 1/3 up the sides for best texture.
- Flip once during the braise: This keeps the top from drying and helps the cook stay even.
- Rest before slicing: Even braised meat benefits from 10 to 15 minutes of rest so juices redistribute.
- Reduce after the meat is out: It is easier to control thickness when you are not worried about overcooking the roast.
- Slice across the grain: Tri-tip has a grain that shifts. If you notice the direction change, rotate the roast and keep slicing against it.
Substitutes
- No balsamic: Use red wine vinegar (start with 1 teaspoon, then adjust).
- No Worcestershire: Use soy sauce (start with 1 teaspoon) plus an extra pinch of brown sugar or honey.
- No tomato paste: Use 1/3 cup tomato sauce, but reduce a little longer.
- Broth options: Beef broth is best, but chicken broth works in a pinch. Add a little extra Worcestershire for depth.
- Gluten-free thickening: Skip the flour and reduce longer, or whisk 1 teaspoon cornstarch with 1 tablespoon cold water and stir it into simmering sauce at the end.
Variations
- Red wine braise: Replace 1 cup of broth with 1 cup dry red wine and add an extra sprig of thyme.
- Southwest-ish: Add 1 teaspoon ground cumin and 1 teaspoon smoked paprika with the tomato paste. Finish with lime juice.
- Garlic and herb: Add extra rosemary and thyme, plus a strip of lemon peel during the braise (remove before reducing).
- Mushroom gravy vibe: Sauté 8 ounces sliced cremini mushrooms after the onions, then continue as written.
Serving ideas
- Classic: Mashed potatoes or a baked potato with a generous spoonful of sauce.
- Cozy bowl: Serve over buttered egg noodles or rice with the onions and sauce.
- Taco night shortcut: Use the shreddable version and pile into warm tortillas with quick cabbage slaw.
- Greens on the side: Try Roasted Brussels Sprouts or Roasted Broccoli.
- Sandwich: Thin-slice the sliceable version, dip in sauce, and tuck into a toasted roll.
Storage
- Refrigerate: Store meat and sauce together in an airtight container for up to 4 days.
- Freeze: Freeze sliced or shredded tri-tip in sauce for up to 3 months. Sauce protects the meat from drying out.
- Reheat gently: Warm in a covered saucepan over low heat with a splash of broth or water until hot. Avoid a hard boil, which can make lean beef feel dry.
Common mistakes
- Adding too much liquid: This is the number one reason braised tri-tip tastes washed out. Keep liquid low, then reduce for flavor.
- Skipping the sear: The browned crust is where your sauce gets its backbone.
- Undersalting early: Salt helps the meat taste beefy, not bland. Season the roast, not just the sauce.
- Not reducing long enough: If the sauce tastes thin, it is not done. Simmer it lid-off until it coats a spoon.
- Slicing with the grain: Tri-tip can look tender but chew tough if you slice the wrong direction.
FAQ
What oven temperature is best for Dutch oven tri-tip?
I like 300°F. It is gentle enough to keep a leaner roast from tightening up too quickly, but warm enough to steadily tenderize and build flavor.
How much liquid should I add for a Dutch oven braise?
A good rule is about 1/3 of the way up the sides of the meat. This gives you braising power without fully submerging, and it helps the sauce concentrate.
How do I choose between sliceable and shreddable?
Sliceable pull is for plates and sandwiches: tender, but still holds together when sliced. Shreddable is for tacos, bowls, and anything saucy: it pulls apart easily with two forks.
Do I have to flip the tri-tip during the braise?
You do not have to, but flipping once halfway through improves even tenderness, especially if part of the roast sits above the liquid line.
Why is my sauce bitter or sharp?
Usually it is tomato paste that did not get cooked long enough, or the sauce reduced too far with high heat. Keep the simmer gentle and taste at the end. A small pinch of sugar or a pat of butter can round it out.
Dutch Oven Tri-Tip (Sliceable or Shreddable)
A cozy covered oven braise for lean tri-tip with a rich, reduced sauce. Choose a shorter cook for sliceable tenderness or a longer cook for easy shredding.
Prep Time: 20 minutes
Cook Time: 2 hours 15 minutes (sliceable) to 3 hours 30 minutes (shreddable), plus reduction
Total Time: About 2 hours 50 minutes to 4 hours 10 minutes
Servings: 6
- 1 (2 1/2 to 3 lb) tri-tip roast
- 2 tsp kosher salt, plus more to taste
- 1 tsp black pepper
- 1 tsp garlic powder
- 2 tbsp neutral oil (avocado, canola, or vegetable)
- 1 large yellow onion, sliced
- 4 cloves garlic, minced
- 2 tbsp tomato paste
- 2 tbsp all-purpose flour (optional, for slightly thicker sauce)
- 2 cups low-sodium beef broth, plus more as needed
- 1 tbsp Worcestershire sauce
- 1 tbsp balsamic vinegar
- 1 tsp Dijon mustard
- 2 sprigs fresh rosemary (or 1/2 tsp dried)
- 4 sprigs fresh thyme (or 1 tsp dried)
- 1 bay leaf
- 2 tbsp unsalted butter (optional, to finish sauce)
- Chopped fresh parsley, for serving (optional)
- Heat the oven: Position a rack in the lower middle of the oven and preheat to 300°F.
- Season the tri-tip: Pat the roast very dry with paper towels. Season all over with salt, pepper, and garlic powder.
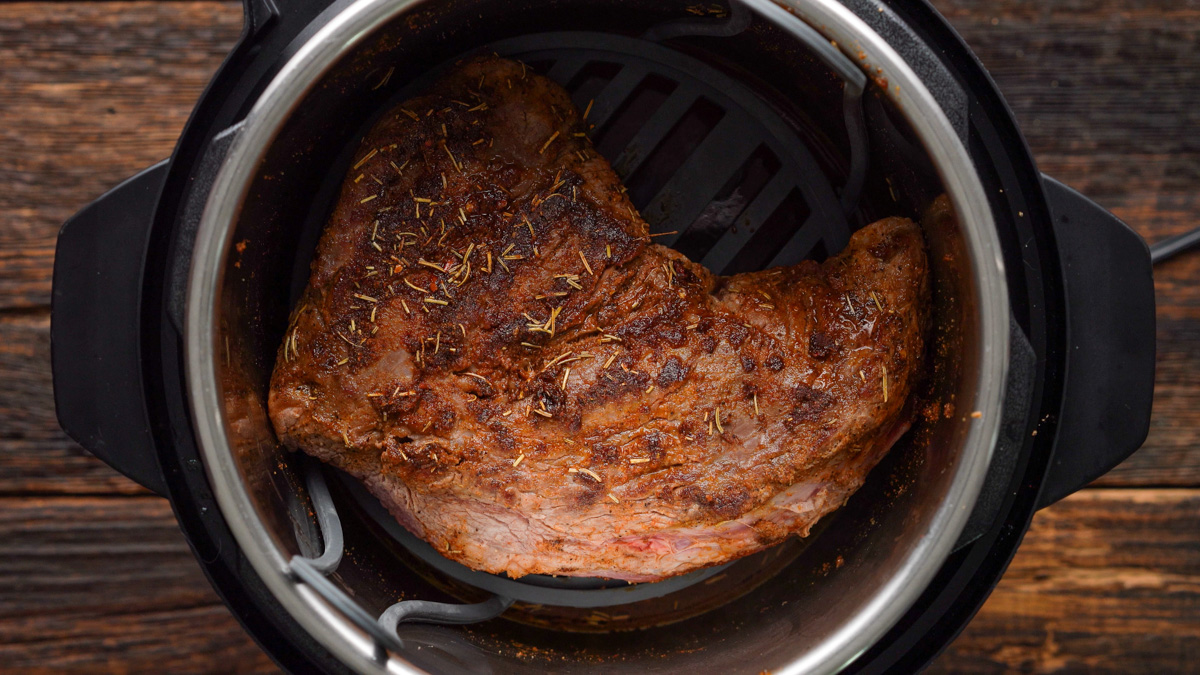
- Sear: Heat oil in a Dutch oven over medium-high heat until shimmering. Add the tri-tip and sear until deeply browned, 3 to 5 minutes per side. Sear the edges too, 1 to 2 minutes as needed. Transfer to a plate.
- Sauté the aromatics: Reduce heat to medium. Add the sliced onion and cook, stirring and scraping up browned bits, until softened and lightly browned, 6 to 8 minutes. Add garlic and cook 30 seconds.
- Build the base: Stir in tomato paste and cook, stirring constantly, 1 minute. If using flour, sprinkle it in and cook 1 minute, stirring so it coats the onions.
- Deglaze: Pour in beef broth and stir well, scraping the bottom of the pot until no stuck-on bits remain.
- Season the braising liquid: Stir in Worcestershire, balsamic vinegar, and Dijon. Add rosemary, thyme, and bay leaf.
- Set the liquid level: Return the tri-tip to the pot along with any juices on the plate. The liquid should come about 1/3 of the way up the sides of the roast. Add a splash more broth if needed to reach that level.
- Cover and braise: Bring liquid to a gentle simmer on the stovetop, then cover with the lid and transfer to the oven.
- Choose your finish:
- Sliceable pull: Braise 2 hours to 2 hours 30 minutes, flipping the roast once halfway through, until a fork meets little resistance and the center is around 185°F to 195°F.
- Shreddable: Braise 3 hours to 3 hours 30 minutes, flipping once halfway through, until the meat shreds easily and the center is around 200°F to 205°F.
- Rest the meat: Transfer tri-tip to a cutting board and tent loosely with foil. Rest 10 to 15 minutes.
- Reduce the sauce: Place the Dutch oven on the stovetop over medium heat and simmer uncovered until the sauce reduces and looks glossy, 10 to 20 minutes. Stir occasionally. If you want an extra-silky finish, whisk in butter off heat.
- Slice or shred: For sliceable tri-tip, slice thinly against the grain. For shreddable tri-tip, pull into pieces with two forks and toss with a bit of sauce.
- Serve: Spoon reduced sauce and onions over the beef. Finish with parsley if you like.
Note 1: Tri-tip has a grain that changes direction. If you notice the grain shifting, rotate the roast and keep slicing against it.
Note 2: If the sauce reduces too far, loosen it with a splash of broth or water, then simmer 1 to 2 minutes to re-blend.
Note 3: For a smoother sauce, strain out herbs and onions after reducing, or blend briefly with an immersion blender (use caution with hot liquid).