Delishing
Tri-Tip Cheesesteak

I love a classic cheesesteak moment, but I don’t always love classic cheesesteak prep. Finding the “right” shaved steak can be hit or miss, and I have absolutely stood in front of the meat case at 5:07 PM doing mental math on what will cook fast and keep everyone happy.
This tri-tip cheesesteak is my weeknight solve. A well-trimmed tri-tip is beefy, fairly leaner than something like ribeye, and cooks up fast when you shave it thin. It’s also often easy to find, especially on the West Coast. If your store doesn’t stock it, you can still use this same approach with a different steak cut, as long as you can slice it super thin.
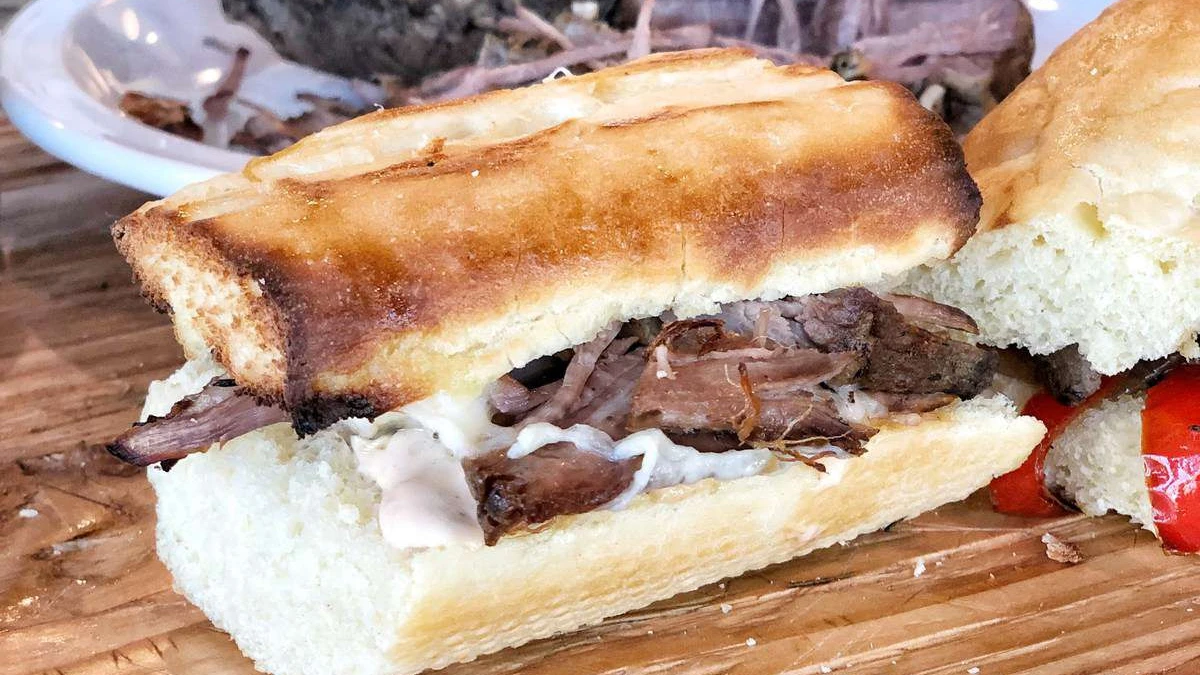
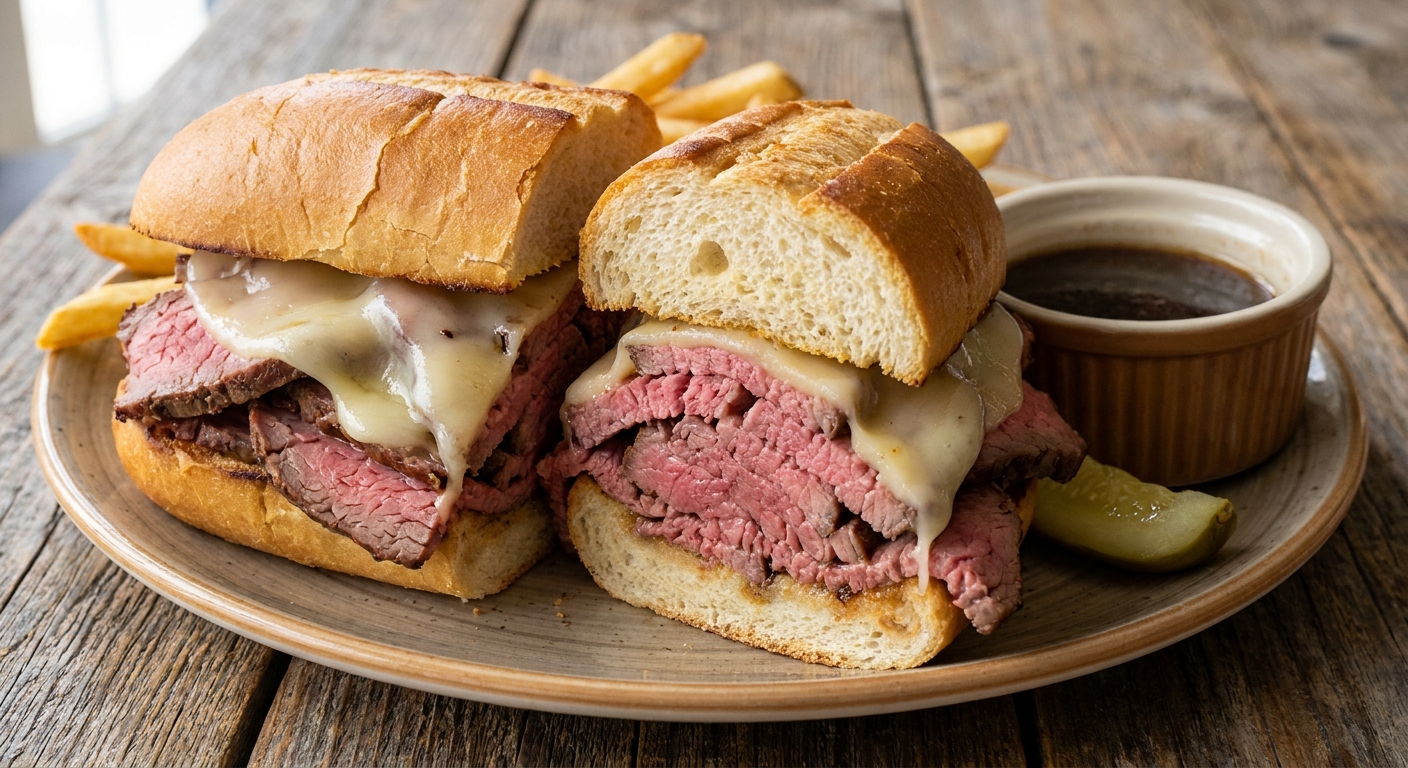
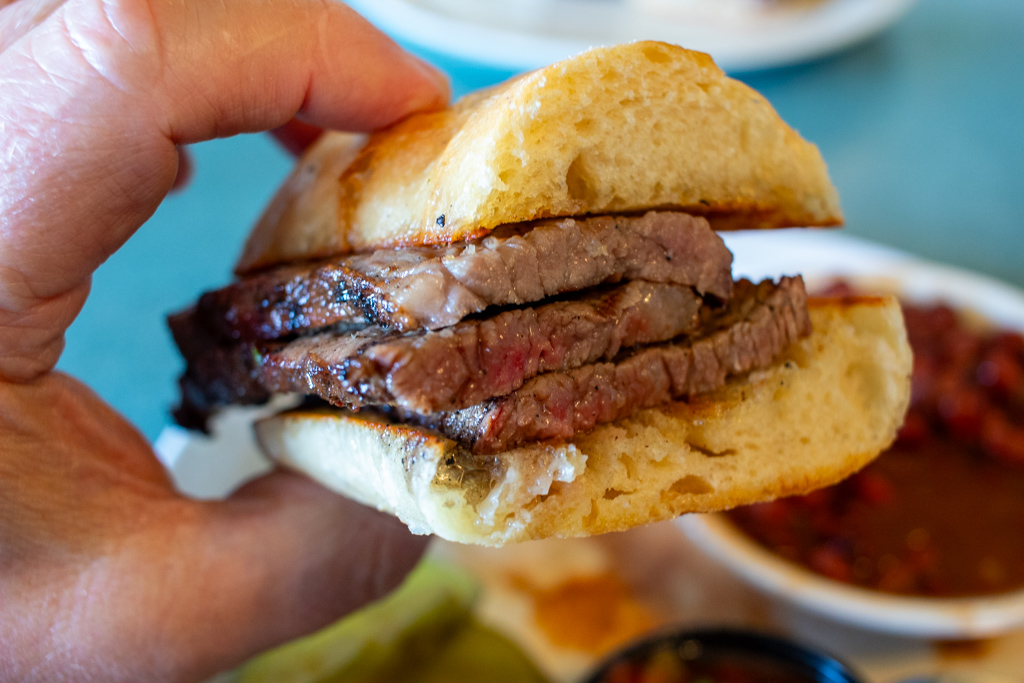
We keep this version firmly in cheesesteak territory: peppers and onions, melty cheese, and a soft roll. No jus for dipping here, on purpose, because I am not trying to drift into French-dip land on a Tuesday. If you want a different tri-tip sandwich vibe, my Tri-Tip French Dip is the one built for dipping, and my Santa Maria Tri-Tip Sandwich is all about thicker slices and bright salsa.
The trick
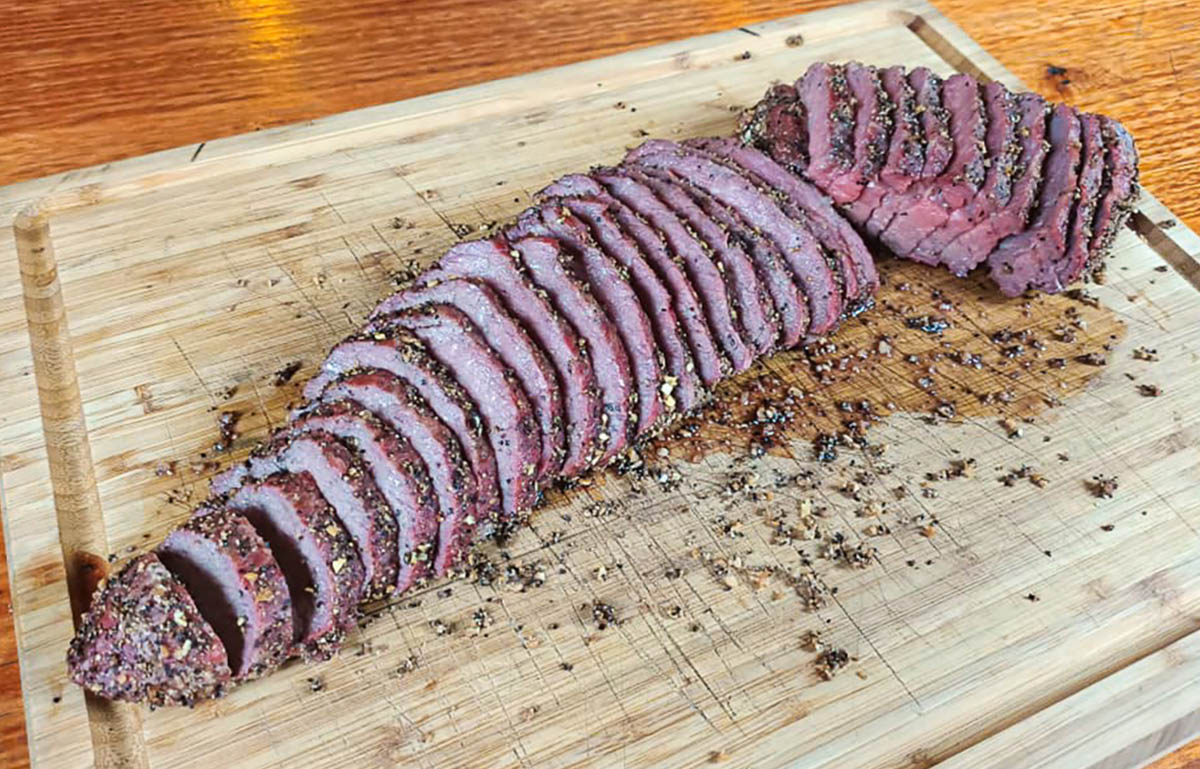
The main trick that makes tri-tip work for a cheesesteak is firming it up in the freezer so you can shave it whisper-thin. After that, there are two supporting moves that keep it tender: slice across the grain and cook it hot and fast.
My go-to method is:
- Partially freeze the tri-tip so it firms up.
- Slice across the grain and keep the knife angle low to make wide, thin shavings.
- Cook hot and fast so you get browning without drying it out.
What to expect
- Flavor: beefy and savory with sweet, browned onions and peppers.
- Texture: tender shaved steak with a little crisp edge, plus gooey melted cheese.
- Difficulty: easy once you do the quick chill and slice.
- Cheese choice: I go provolone for a mellow, classic melt, but American is also a great move if you want extra creamy meltability.
- Rolls: soft hoagie-style rolls are ideal, and a quick toast helps them hold up to all that cheesy, steaky goodness.
- Best cooking surface: griddle, cast iron skillet, or any heavy skillet that holds heat.
Why it works
- Partial freezing makes clean shaves. Tri-tip firms up so you can slice it paper-thin without fighting a wiggly piece of meat.
- Thin slices cook in minutes. Fast cooking keeps a leaner, well-trimmed cut from drying out.
- Two-zone cooking keeps things controlled. Veggies soften and brown first, then the beef hits the hottest part of the pan for quick searing.
- Cheese melts right on the meat. A quick steam under a lid finishes everything without overcooking the steak.
Ingredient notes
Tri-tip
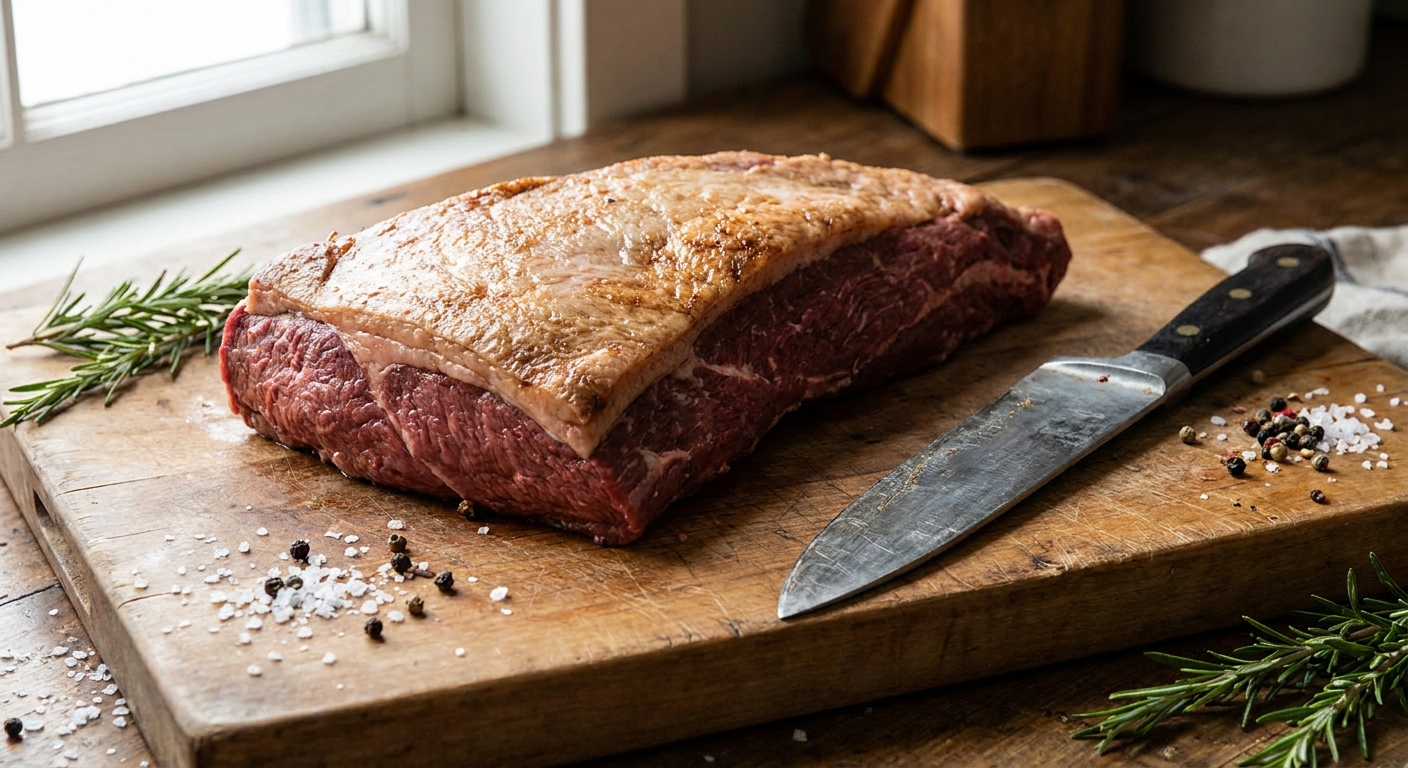
Start with a tri-tip roast (not already cooked). Trim any thick fat cap down to a thin layer so you get flavor without greasy pockets. If you need help handling the cut, see How to Trim a Tri-Tip.
Peppers and onions
Green bell pepper is the classic, but I often do a mix of green and red for sweetness. Slice everything thin so it cooks quickly and tucks into the roll without falling out.
Cheese
Provolone is my default for a mellow, stretchy melt. American cheese melts like a dream. Cheese sauce is also fair game, but keep it simple on busy nights.
Rolls
Look for hoagie rolls or long sandwich rolls that are soft but sturdy. A quick toast in the pan keeps them from getting soggy.
Equipment
- Large cast iron skillet or flat-top griddle for high heat and good browning
- Sharp chef’s knife for shaving the tri-tip thin
- Cutting board that will not slide around
- Tongs or a metal spatula for quick tossing and chopping
- Lid (or sheet pan) to trap steam and melt the cheese
Pro tips
- Freeze just until firm. You want the meat to feel stiff but still sliceable. If it is rock solid, let it sit a few minutes and try again.
- Find the grain, then slice against it. Tri-tip has grain that shifts direction. Rotate the roast as needed so each batch gets sliced across the grain.
- Do not overcrowd the pan. If your skillet is smaller, cook the shaved beef in two quick batches so it sears instead of steams.
- Season in layers. Lightly salt the veggies, then finish the beef after it hits the heat.
- Melt the cheese with a splash of water. A tablespoon of water plus a lid makes a quick steam chamber for perfect melt.
Substitutes
- Meat: If tri-tip is not available, flank steak works if you slice it very thin against the grain.
- Cheese: Swap provolone for American, mozzarella, or pepper jack.
- Rolls: Use sub rolls, bolillo rolls, or even toasted sandwich bread in a pinch.
- No peppers: Double the onions and add mushrooms for a different classic vibe.
Variations
- Mushroom cheesesteak: Add sliced mushrooms and cook them down until they are browned and not watery.
- Spicy: Add pickled hot peppers or a pinch of crushed red pepper to the onions.
- Loaded: Stir in a spoonful of sautéed cherry peppers right before cheesing.
- Low carb: Skip the roll and serve the cheesy steak and peppers over shredded lettuce or cauliflower rice.
Serving ideas
- Serve with crispy potatoes like my Air Fryer French Fries.
- Keep it simple with a big green salad, or go cozy with Classic Vegetable Soup.
- For game night energy, add Air Fryer Mozzarella Sticks on the side.
Storage
Refrigerate
Store the cooked shaved tri-tip and vegetables in an airtight container for up to 3 to 4 days. Keep rolls separate.
Reheat
Reheat in a skillet over medium heat with a small splash of water, just until warmed through. Add cheese at the end and cover briefly to melt.
Freezing
I do not love freezing the finished sandwich, but the cooked beef and veggies can be frozen for up to 2 months. Thaw overnight in the fridge and reheat in a hot skillet.
Common mistakes (and how to avoid them)
- Slicing too thick. This is the fastest path to chewy tri-tip. Firm it up in the freezer, then shave thin with a sharp knife.
- Slicing with the grain. It will feel tough even if you cook it perfectly. Rotate the roast as the grain changes.
- Cooking the beef too long. Shaved steak should be a quick sear, not a long sauté. Cook it hot and fast.
- Overcrowding the skillet. If the pan is packed, you get gray steamed meat. Work in batches if needed.
- Adding cheese too early. Let the beef finish first, then melt the cheese as the final step so it stays gooey, not oily.
FAQ
Do I need a deli slicer to shave tri-tip?
No. Partial freezing plus a sharp knife gets you very close to deli-thin at home. Aim for thin shavings, not perfect uniform sheets.
Can I use leftover cooked tri-tip?
You can, but it will eat more like a sliced steak sandwich than a true cheesesteak. Slice it as thin as possible and warm it gently with the peppers and onions, then melt the cheese.
What if my tri-tip is tough?
Most of the time it is a slicing issue, not a cooking issue. Recheck the grain direction and slice thinner. Also make sure your pan is hot enough to sear quickly.
Should I marinate the tri-tip first?
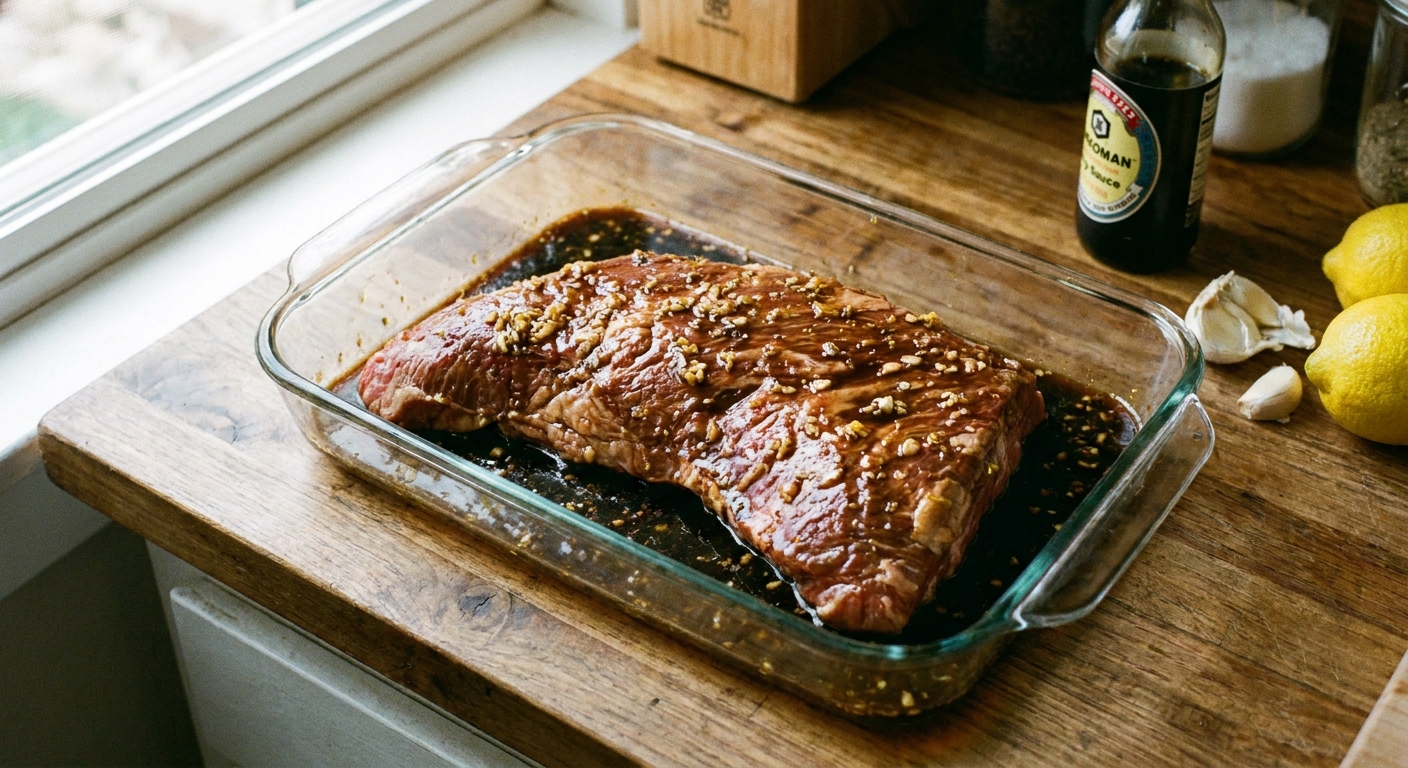
Not necessary for a cheesesteak. A simple seasoning and a fast sear keeps the flavor clean and the cook time short. If you love marinated beef, my Tri-Tip Marinade is a great option. Just pat the meat dry before it hits the hot pan.
Tri-Tip Cheesesteak
Shaved tri-tip cooks hot and fast with peppers and onions, then gets finished under a lid with melted provolone for an easy, weeknight-friendly cheesesteak.
Prep Time: 20 minutes
Cook Time: 15 minutes
Total Time: 35 minutes
Servings: 4
Ingredients
- 1 1/2 pounds tri-tip roast
- 1 tablespoon olive oil, plus more as needed
- 1 large yellow onion, thinly sliced
- 1 large green bell pepper, thinly sliced
- 1 large red bell pepper, thinly sliced (optional)
- 2 cloves garlic, minced
- 1 teaspoon kosher salt, plus more to taste
- 1/2 teaspoon black pepper
- 1/2 teaspoon smoked paprika (optional)
- 1 tablespoon Worcestershire sauce
- 4 hoagie rolls or long sandwich rolls, split
- 8 slices provolone cheese (or 6 to 8 slices American cheese)
- 1 to 2 tablespoons water (for melting the cheese)
Instructions
- Firm up the tri-tip for shaving: Place the tri-tip in the freezer for 25 to 35 minutes, just until the exterior feels very firm but the center is still sliceable.
- Slice the vegetables: While the meat chills, thinly slice the onion and peppers. Mince the garlic.
- Shave the tri-tip thin: Set the tri-tip on a cutting board. Identify the grain direction, then slice against the grain as thinly as you can, keeping your knife at a low angle to create wide shavings. If the grain changes direction, rotate the roast as you go.
- Cook the peppers and onions: Heat a large skillet or griddle over medium-high heat. Add 1 tablespoon olive oil, then add onions and peppers. Season with a pinch of salt and cook, stirring often, until softened and lightly browned, 6 to 8 minutes. Add garlic and cook 30 seconds. Transfer veggies to a plate.
- Sear the shaved tri-tip: Increase heat to high. Add a small drizzle of oil if the pan looks dry. Add the shaved tri-tip in an even layer. Season with 1 teaspoon kosher salt, black pepper, and smoked paprika (if using). Let it sear undisturbed for 45 to 60 seconds, then toss and cook until most pieces are just cooked through with some browned edges, 2 to 3 minutes more.
- Season and combine: Add Worcestershire sauce and toss. Add the cooked peppers and onions back to the pan and mix everything together. Taste and adjust salt and pepper.
- Melt the cheese: Divide the mixture into 4 piles in the skillet. Top each pile with 2 slices provolone. Splash 1 to 2 tablespoons water into the pan (not on the sandwiches) and immediately cover with a lid. Cook until the cheese is fully melted, 45 to 90 seconds.
- Toast the rolls (optional but recommended): If you want, quickly toast the split rolls cut-side down on the griddle or in the skillet for 1 to 2 minutes.
- Assemble: Use a spatula to scoop each cheesy pile into a roll. Serve immediately.
Notes
- Best slicing tip: If slicing starts to feel messy, pop the tri-tip back in the freezer for 10 minutes and continue.
- Batch cooking: If your skillet is small, cook the shaved tri-tip in two batches so it browns properly, then return everything to the pan to melt the cheese.
- Food safety: Keep raw meat separate from sliced vegetables, and wash your board and knife before switching back to cooked ingredients.