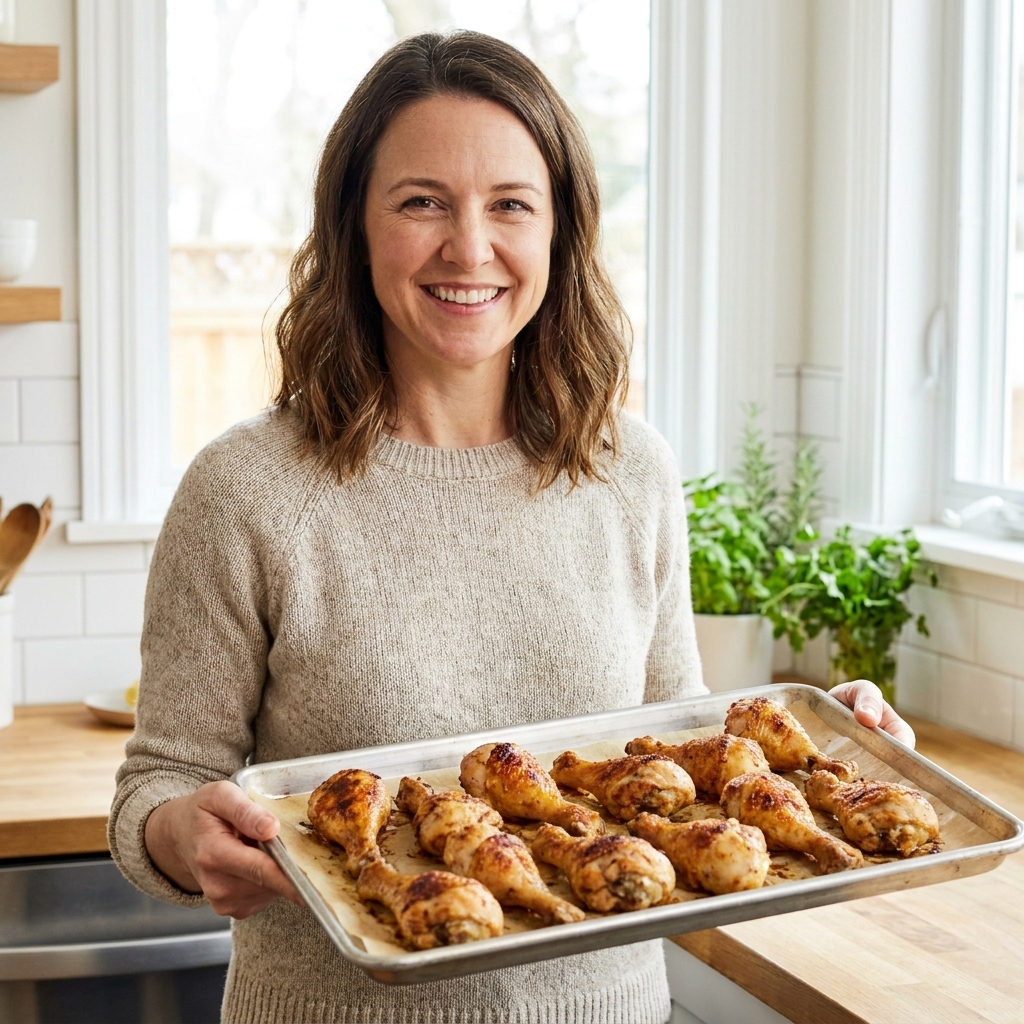
My weeknight baked chicken legs method delivers crisp skin and juicy dark meat. Get timing ranges for drumsticks and leg quarters, easy seasoning swaps, and ...
Delishing
Juicy Chicken Breast Recipes

Maya Brooks
Maya Brooks is a dedicated home cook and the lead recipe developer at Delishing, where she shares practical, foolproof meals for everyday life. With over a decade of hands-on kitchen experience, she specializes in creating approachable dishes that fit a variety of dietary needs and modern cooking methods. Maya is passionate about helping busy people get delicious, stress-free food on the table without needing formal culinary training.
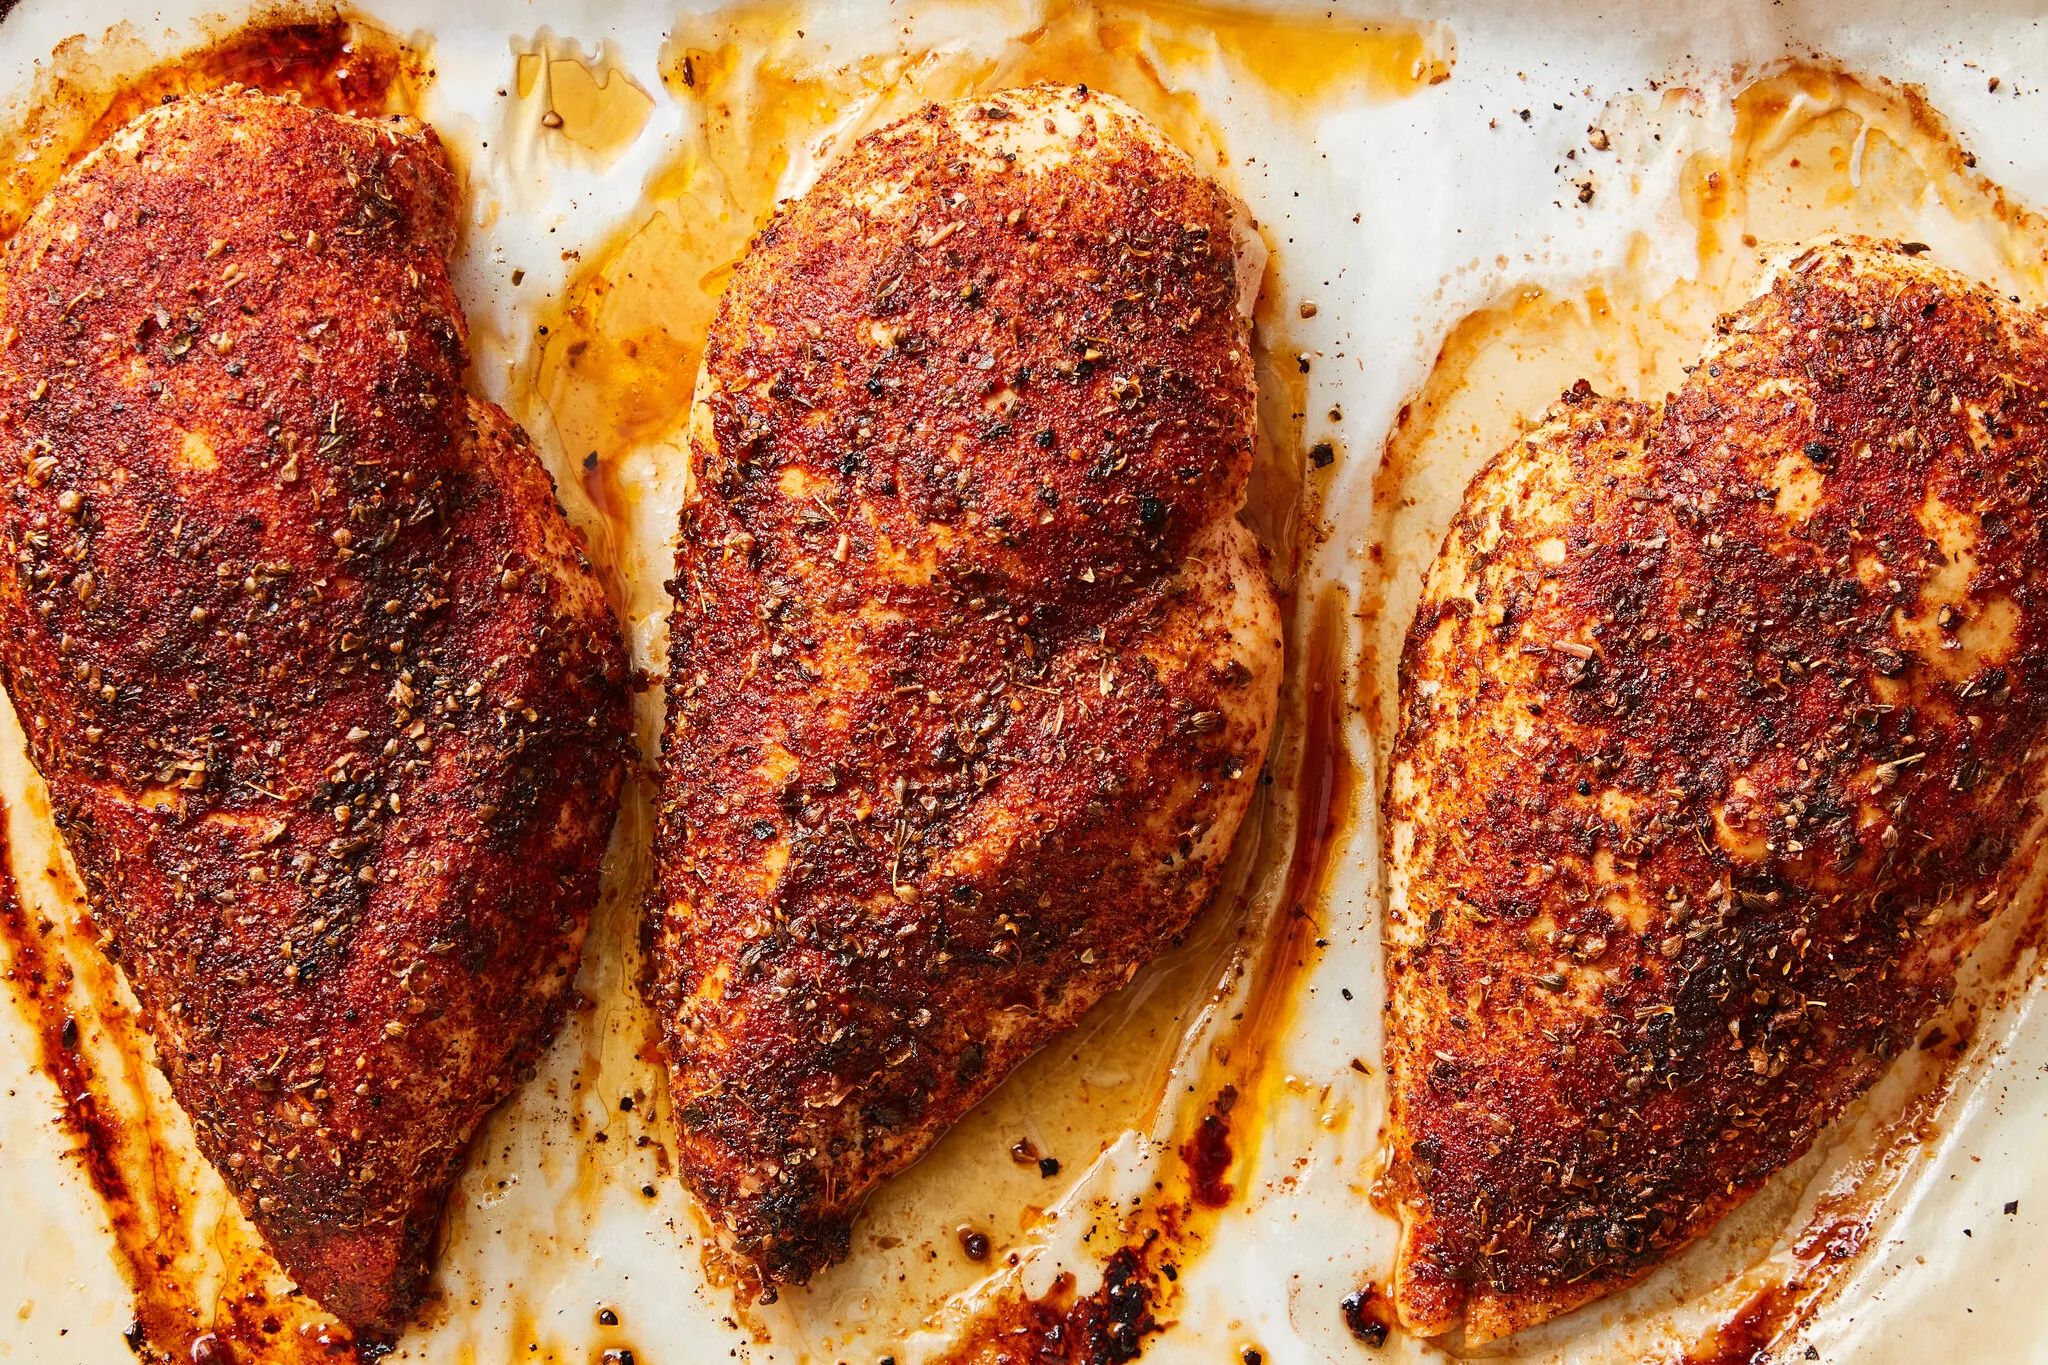
The juicy chicken breast method I use on repeat
Chicken breast gets a bad reputation because it has basically zero wiggle room. One minute too long and it goes from dinner to drywall. After years of weeknight trial and error (and more than a few sad, squeaky bites), this is the simple method that keeps boneless, skinless chicken breast tender and juicy without fancy tricks.
The keys are: even thickness, salt ahead of time, a little oil, pulling it at the right internal temperature, and letting it rest so the juices stay where they belong.
Oven-baked juicy chicken breast
Best for: meal prep, salads, sandwiches, bowls, and “I need something dependable at 5:00 PM.”
Ingredients (serves 4)
- 4 boneless, skinless chicken breasts (about 6 to 8 ounces each)
- 1 1/4 to 1 1/2 teaspoons kosher salt (total)
- 1 tablespoon olive oil (or avocado oil)
- 1/2 teaspoon black pepper
- Optional but great: 1 teaspoon garlic powder, 1 teaspoon paprika, or your favorite seasoning blend
Equipment
- Rimmed baking sheet
- Parchment paper or foil (optional for easy cleanup)
- Instant-read thermometer (this is the difference-maker)
Step-by-step
- Even out the thickness. Place the chicken between two pieces of parchment or plastic wrap and gently pound the thick end until the breast is an even thickness (aim for about 3/4-inch to 1-inch). This helps it cook evenly so the skinny end does not dry out while the thick end catches up. No mallet? Carefully slice each breast horizontally into cutlets or butterfly it and open it like a book.
- Salt ahead. Sprinkle both sides with the salt. If you can, let it sit 20 to 40 minutes at room temperature (uncovered is great for a slightly drier surface and better browning). For food safety, keep this as a short counter rest and do not let it linger for hours. If you have more time, cover and refrigerate up to 24 hours, then take it out for about 15 minutes before baking. Salting ahead seasons deeper and helps the meat hold onto moisture.
- Heat the oven. Preheat to 425°F with a rack in the center. Line a rimmed baking sheet if you want easier cleanup.
- Oil and season. Pat the chicken dry, then rub with olive oil and black pepper (plus any optional seasoning). Place on the baking sheet with space between pieces. If your breasts are uneven, point the thicker ends toward the hotter outer edges of the pan so they get a little extra heat.
- Bake. Bake for 14 to 18 minutes, depending on thickness. Start checking early. The goal is a final internal temperature of 165°F in the thickest part.
- Rest. Transfer to a plate and rest 5 to 10 minutes. Resting finishes the job gently and keeps the juices in the chicken instead of on your cutting board.
- Slice against the grain. For the most tender bite, slice across the width (short way) rather than lengthwise.
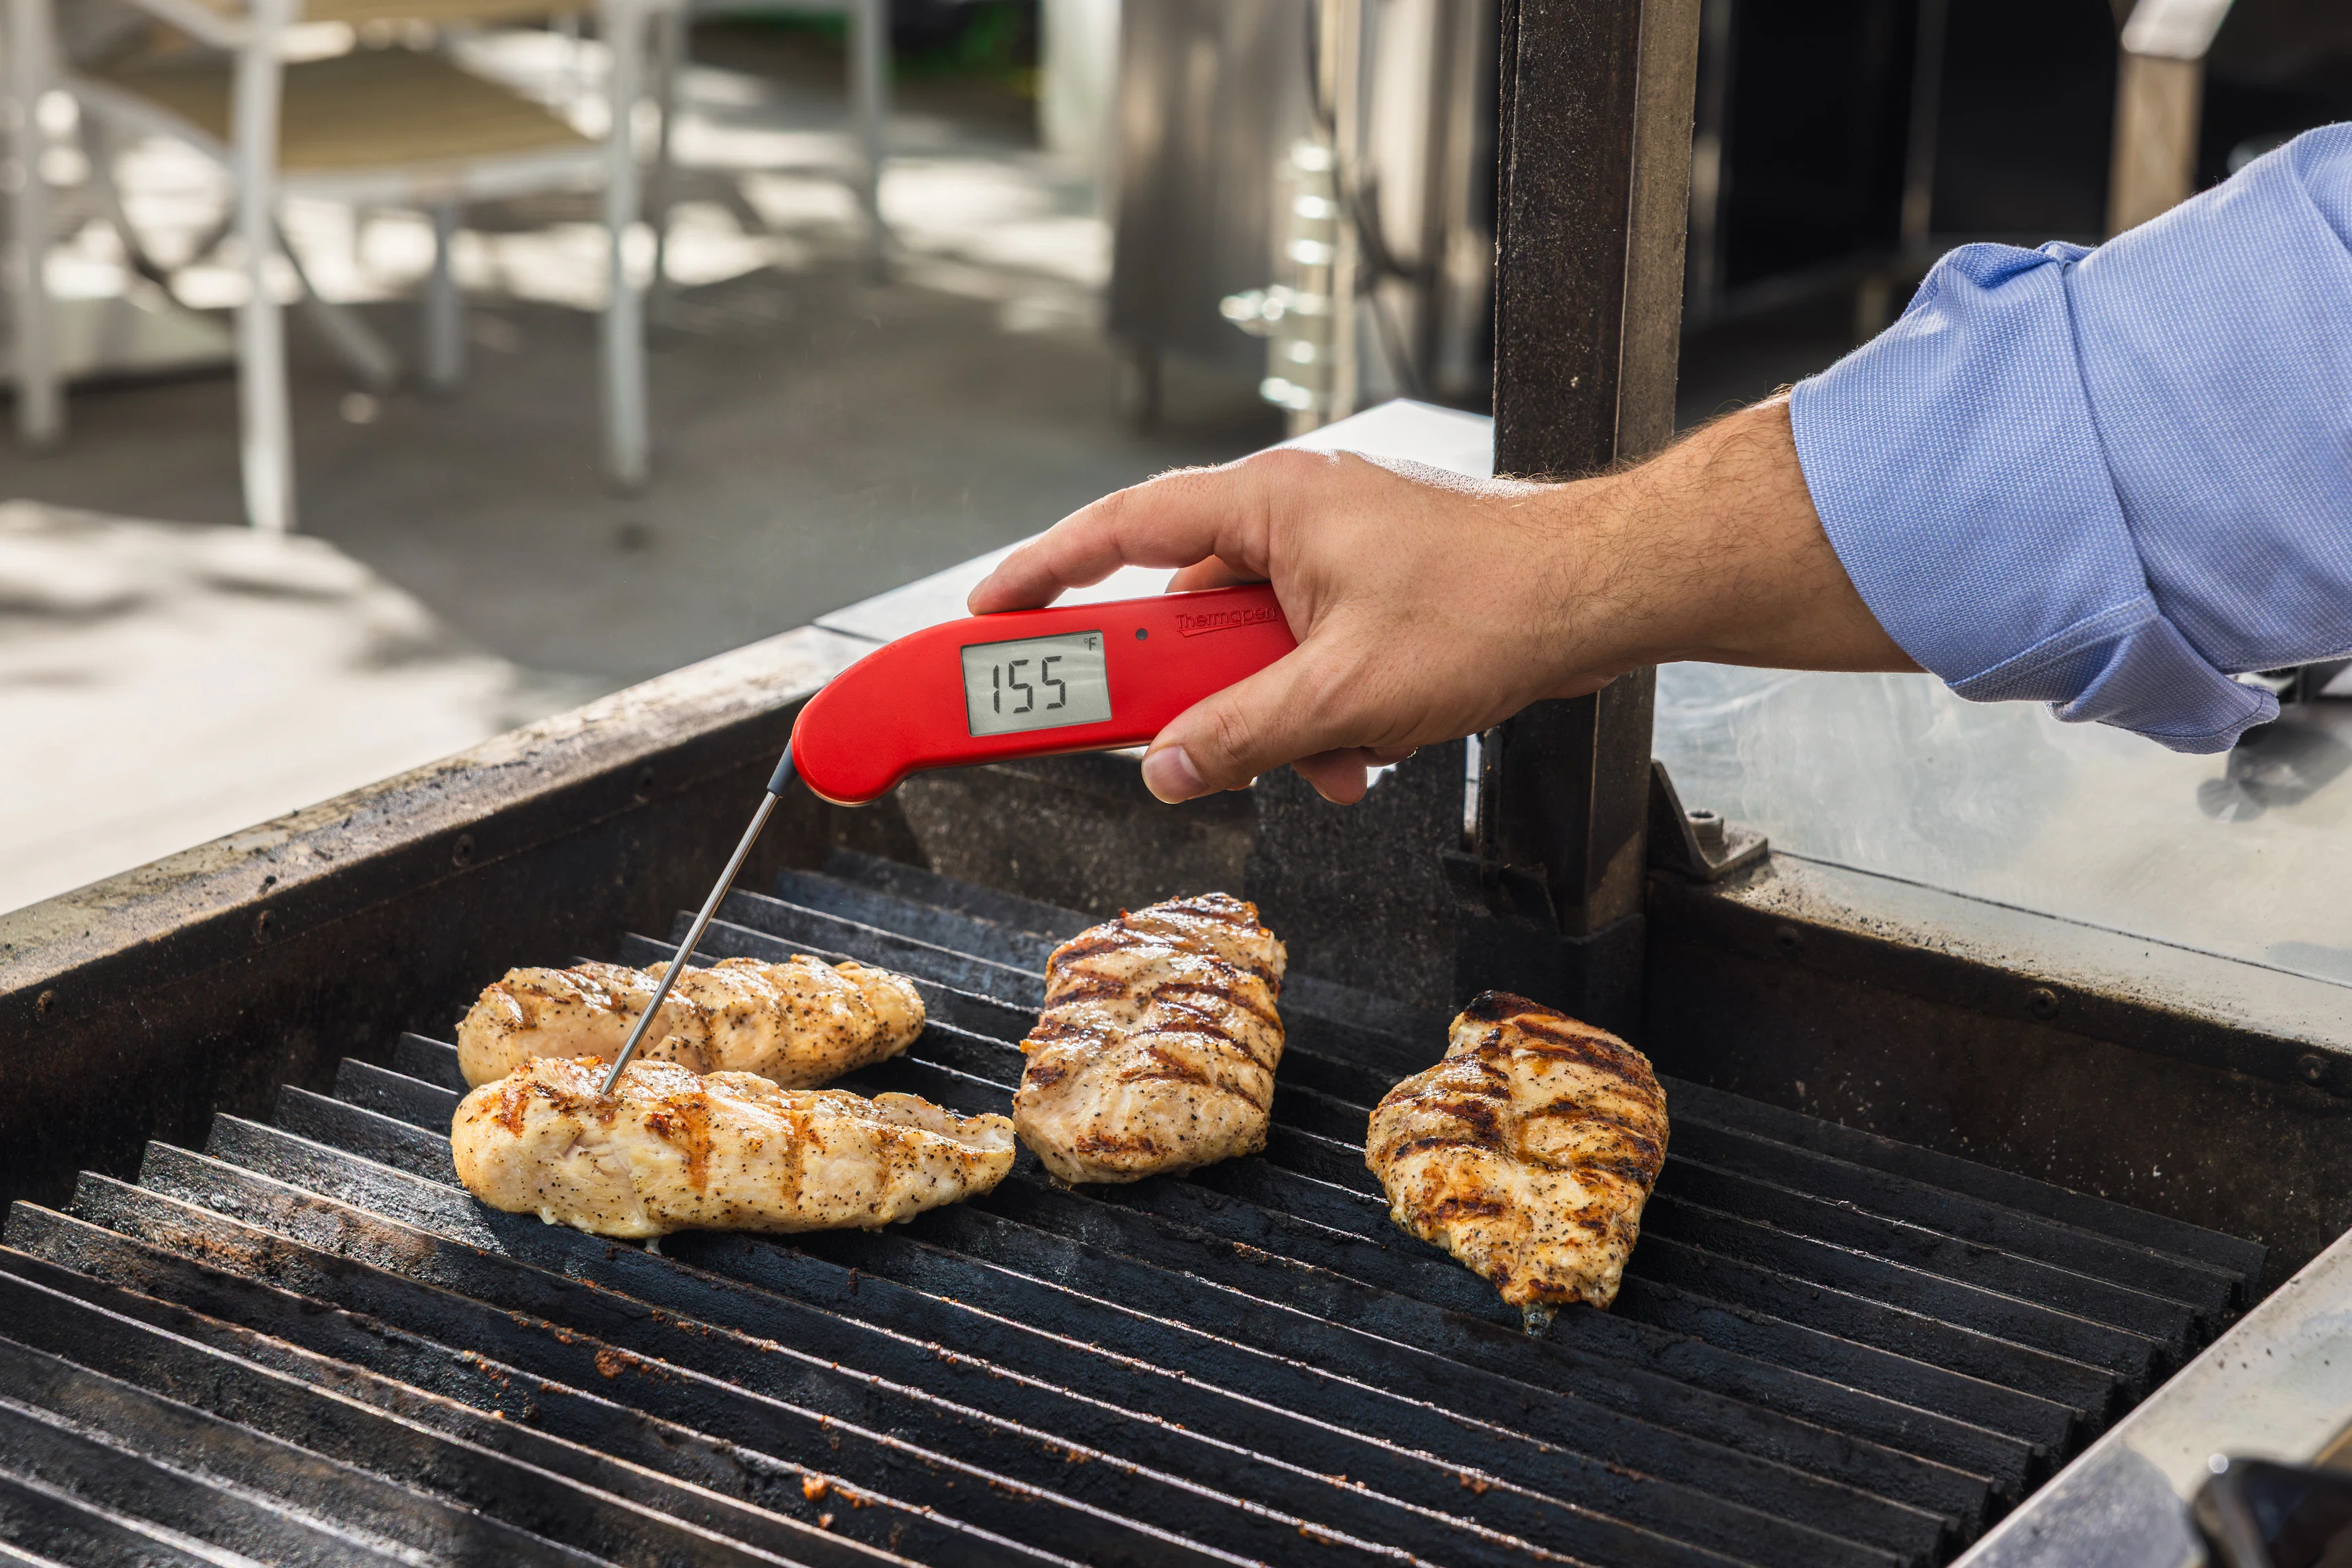
My “don’t overthink it” temperature rule: I usually pull chicken at 160 to 162°F and let it rest until it reaches 165°F. If you are not sure your chicken will get much carryover (very small breasts, thin cutlets, or a cool plate), just bake until it hits 165°F in the oven.
Why this works
- Even thickness = even cooking. That tapered end cooks fast. Pounding (or cutting into cutlets) prevents the classic dry tip problem.
- Salt ahead = juicier meat. A short dry brine improves seasoning and moisture retention.
- High heat = less time in the oven. The longer lean meat cooks, the more moisture you lose.
- Thermometer = no guessing. Color is not a reliable doneness test.
- Resting matters. Cutting too soon lets the juices run out onto the cutting board instead of staying in your chicken.
Size notes
Very large breasts (10 to 12 ounces): I almost always slice them into cutlets or butterfly them first. You get faster, more even cooking and a much bigger juicy window.
Small breasts or thin cutlets: Start checking early. They can go from perfect to dry fast, and they may not climb many degrees during resting.
Variations
Once you’ve nailed the basic method, changing the flavor is easy. Here are my go-to variations that keep the same juicy result.
Variation 1: Quick pan-seared chicken breast
Best for: when you want a golden crust and you do not want to turn the oven on.
- Pound to even thickness and salt as above (even 15 minutes helps).
- Heat a large skillet over medium-high heat. Add 1 tablespoon oil.
- Sear chicken 5 to 7 minutes on the first side until deeply golden.
- Flip, reduce heat to medium, and cook 5 to 7 minutes more.
- Cook to 160 to 162°F, then rest 5 to 10 minutes, checking that it reaches 165°F before serving.
Tip: If the pan is scorching before the chicken is cooked through, lower the heat. A calmer sizzle beats a burnt crust and raw center.
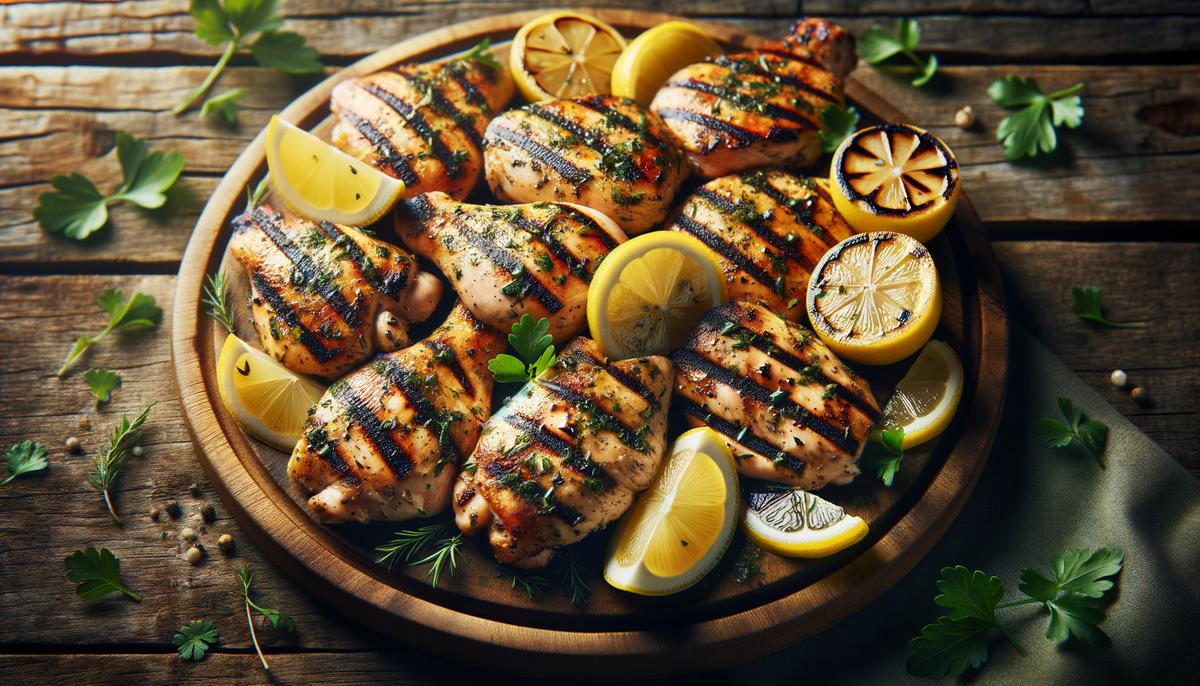
Variation 2: Lemon-herb chicken breast
- Rub with oil, salt, pepper, 1 teaspoon dried oregano (or Italian seasoning), and 1 teaspoon lemon zest.
- After baking, squeeze fresh lemon over the top while it rests.
If you love this flavor direction, my grilled lemon herb chicken is a great warm-weather cousin to this oven method.
Variation 3: Smoky paprika-garlic chicken breast
- Mix: oil + 1 teaspoon smoked paprika + 1/2 teaspoon garlic powder + pepper.
- Optional: add a pinch of brown sugar for a subtle sweet-smoky vibe.
Note: If you use regular paprika instead of smoked, you’ll still get color and warmth, just less smokiness.
Serving ideas
Dry chicken often happens after cooking, when it sits uncovered in the fridge and gets reheated into oblivion. Here are easy ways to serve and store it so it stays tender.
- Slice only what you need. Keep the rest whole so it holds moisture.
- Pair with a sauce-y side. Try it next to garlic roasted vegetables or spoon it over one-pot garlic parmesan orzo.
- Make a quick bowl. Chicken + rice + veggies + a dollop of hummus. My classic hummus is a great shortcut to a flavorful, not-dry bite.
Storage and reheating
How to store
- Cool, then refrigerate in an airtight container for up to 4 days.
- For meal prep, store whole breasts and slice right before serving.
Best reheating methods
- Skillet: Add a splash of water or broth, cover, and warm over low heat until just heated through.
- Microwave: Slice first, cover, and microwave at 50 to 70% power in short bursts. Add a teaspoon of water or sauce to the container to create gentle steam.
Troubleshooting
“My chicken is dry even when I follow the time.”
It is almost always one of these: chicken breasts were different sizes, the oven runs hot, convection dried it out faster, or it was baked past 165°F. Use the thermometer and treat time like a suggestion, not a promise.
“It’s tough and chewy.”
That is classic overcooking. Also make sure you are slicing against the grain.
“It’s juicy but bland.”
Use enough salt and give it at least 20 minutes before cooking. Salt right before baking only seasons the surface.
“The outside is dry but the inside is fine.”
Try a lighter hand with dry seasonings that can scorch at high heat, and make sure you are using oil. If you bake with convection, start checking 2 to 3 minutes earlier because the moving air can dry the surface faster.
FAQ
Is it better to bake chicken breast at 350°F or 425°F?
For juiciness, I prefer 425°F because it cooks faster and limits moisture loss. Lower temperatures can work, but the longer cook time makes it easier to overshoot.
Should I cover chicken breast when baking?
Not necessary with this method. Covering can trap steam and prevent any browning. If your chicken is very thin, you can cover loosely for part of the bake, but the thermometer is still the key.
Can I use frozen chicken breasts?
For the best texture, thaw first so you can pound to even thickness and season properly. If you must cook from frozen, expect less even cooking and plan to rely on internal temperature, not time.