How to Make the Perfect Cheese Ball for Any Occasion

Cheese balls are a party staple, offering a creamy, savory bite that's always a hit. Their beauty lies in their simplicity and adaptability. Whether you're aiming for a classic cheddar and bacon combination or a sweet and decadent dessert cheese ball, the possibilities are endless. These recipes offer a delightful textural contrast, with a smooth interior yielding to a crunchy exterior.
The key to a great cheese ball is high-quality ingredients and proper chilling time. Allowing the flavors to meld in the refrigerator is crucial for a well-rounded taste. Don't be afraid to experiment with different cheeses, herbs, and coatings to create a signature cheese ball that will impress your guests.
Understanding Cheese for Cheese Balls
The base of any good cheese ball is, of course, cheese! Cream cheese is essential for its smooth texture and ability to bind other ingredients. However, varying the hard or semi-hard cheeses adds complexity and depth. Cheddar, Gruyere, or even a smoked Gouda can be incorporated.
When purchasing cheeses, opt for high-quality blocks rather than pre-shredded varieties. Blocks of cheese tend to have better flavor and melt more smoothly. For cream cheese, full-fat is recommended for the best texture and flavor. Avoid using low-fat cream cheese, as it can result in a grainy or less creamy final product.
Why Cook Cheese Balls This Way?
- Versatility: Cheese balls can be adapted to suit any taste preference, from savory to sweet.
- Flavor: The combination of creamy cheese, herbs, spices, and crunchy coatings creates a complex and satisfying flavor profile.
- Convenience: Cheese balls can be made ahead of time, making them the perfect appetizer for busy hosts.
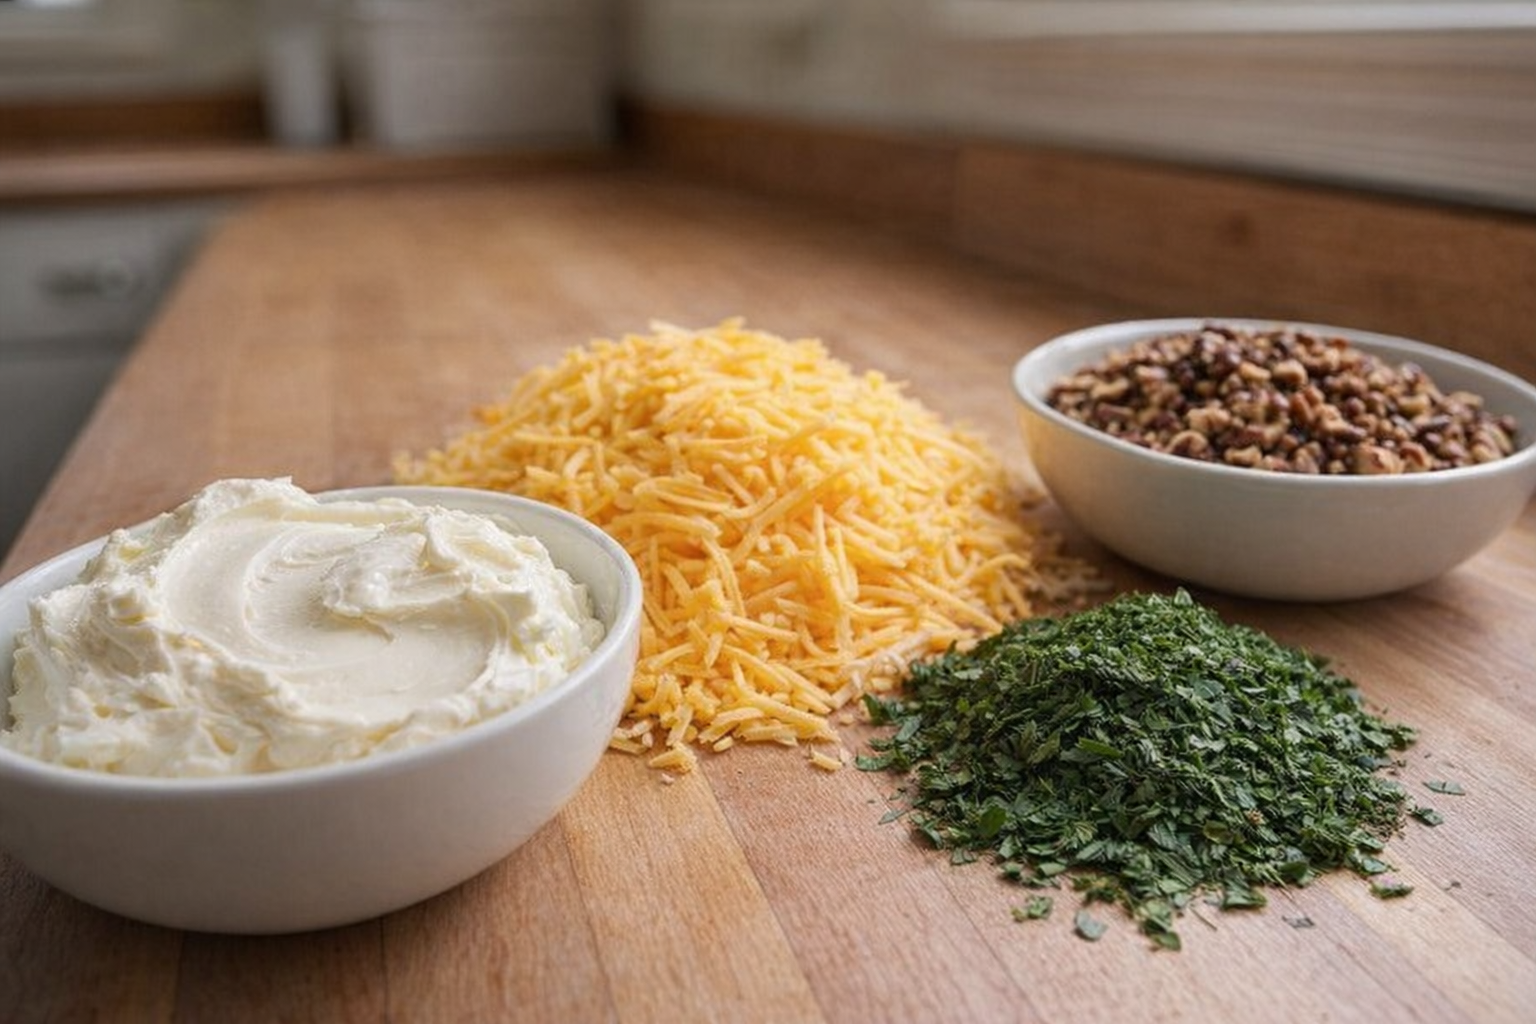
Preparation (Mise en Place)
Before starting, ensure your cream cheese is softened to room temperature for easy mixing. Shred any hard cheeses using a box grater. Chop any herbs, nuts, or other ingredients you plan to incorporate. For coatings like nuts or bacon, toast or cook them in advance for optimal flavor and texture.
Essential Tools
- Mixing Bowls: For combining ingredients.
- Rubber Spatula: For scraping down the sides of the bowl and ensuring even mixing.
- Plastic Wrap: For wrapping the cheese ball during chilling.
- Serving Platter or Board: For displaying the finished cheese ball with accompaniments.
The Cooking Method(s):
Here are several delicious cheese ball variations you can make:
Method 1: Classic Cheddar Bacon Cheese Ball
Ingredients:
- 8 ounces cream cheese, softened (225g)
- 8 ounces sharp cheddar cheese, shredded (225g)
- 4 slices bacon, cooked and crumbled
- 1/4 cup chopped green onions (30g)
- 1 tablespoon Worcestershire sauce (15ml)
- 1/2 teaspoon garlic powder (2.5ml)
- 1/4 teaspoon black pepper (1.25ml)
- 1 cup chopped pecans, for coating (120g)
- In a medium mixing bowl, combine the softened cream cheese, shredded cheddar cheese, crumbled bacon, green onions, Worcestershire sauce, garlic powder, and black pepper. The aroma of bacon will start to fill your kitchen, teasing the senses.
- Mix until all ingredients are evenly incorporated. The mixture should be smooth and creamy.
- Place a large piece of plastic wrap on a flat surface. Spoon the cheese mixture onto the plastic wrap and shape it into a ball.
- Wrap the cheese ball tightly in the plastic wrap and refrigerate for at least 2 hours, or preferably overnight, to allow the flavors to meld. The cheese ball will firm up as it chills.
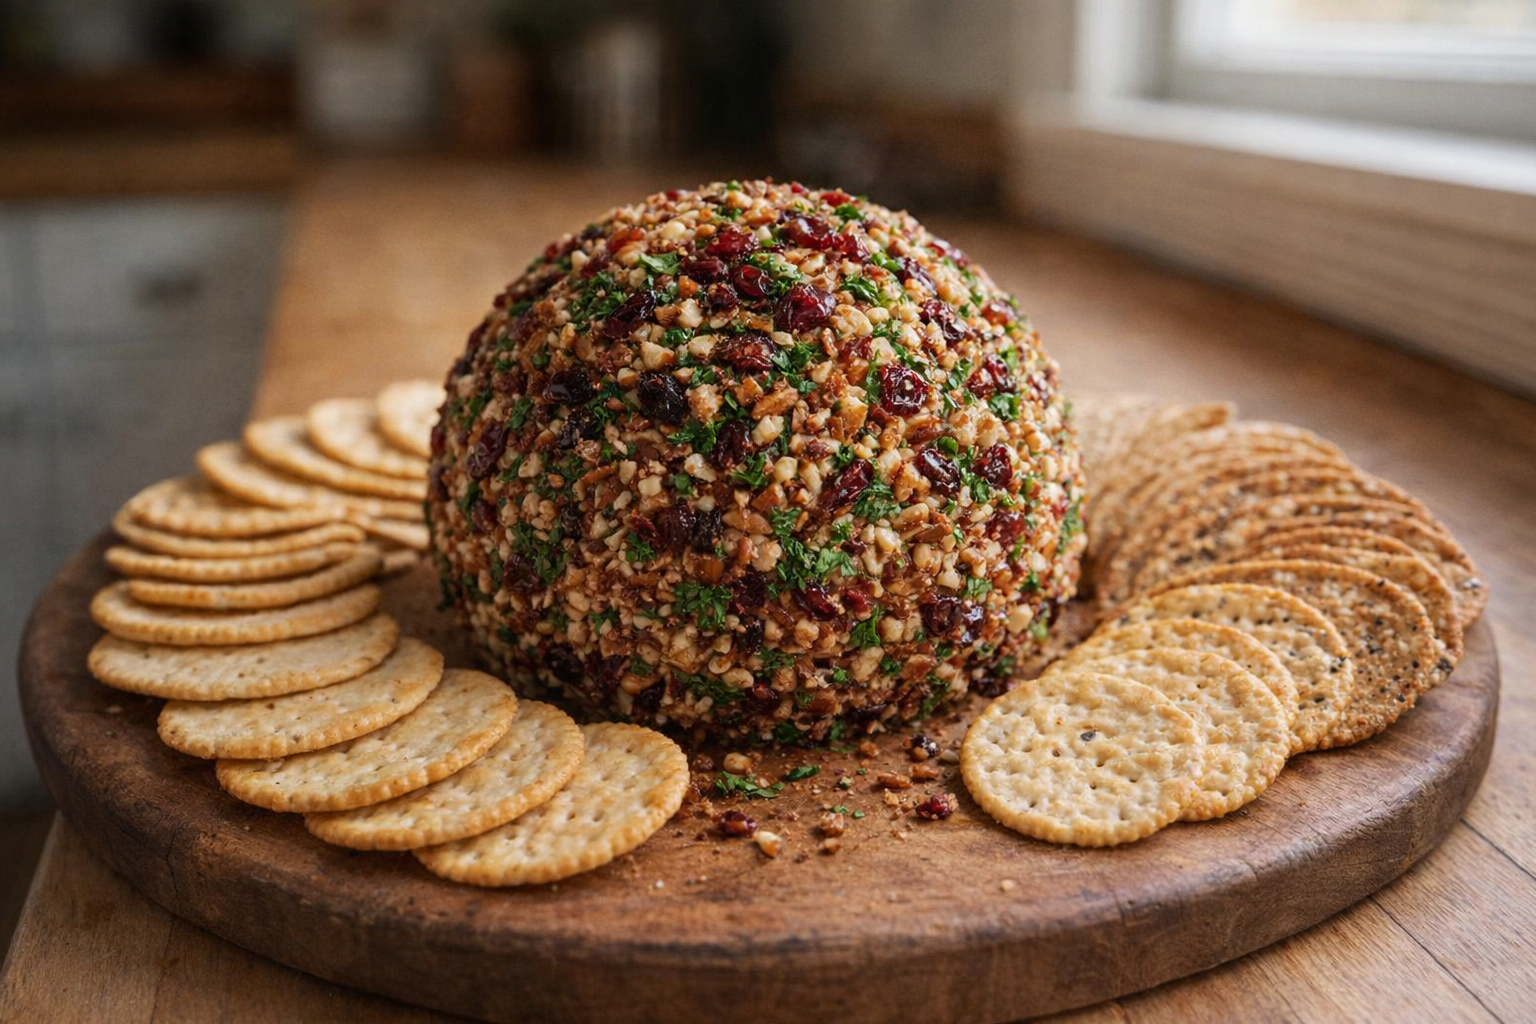
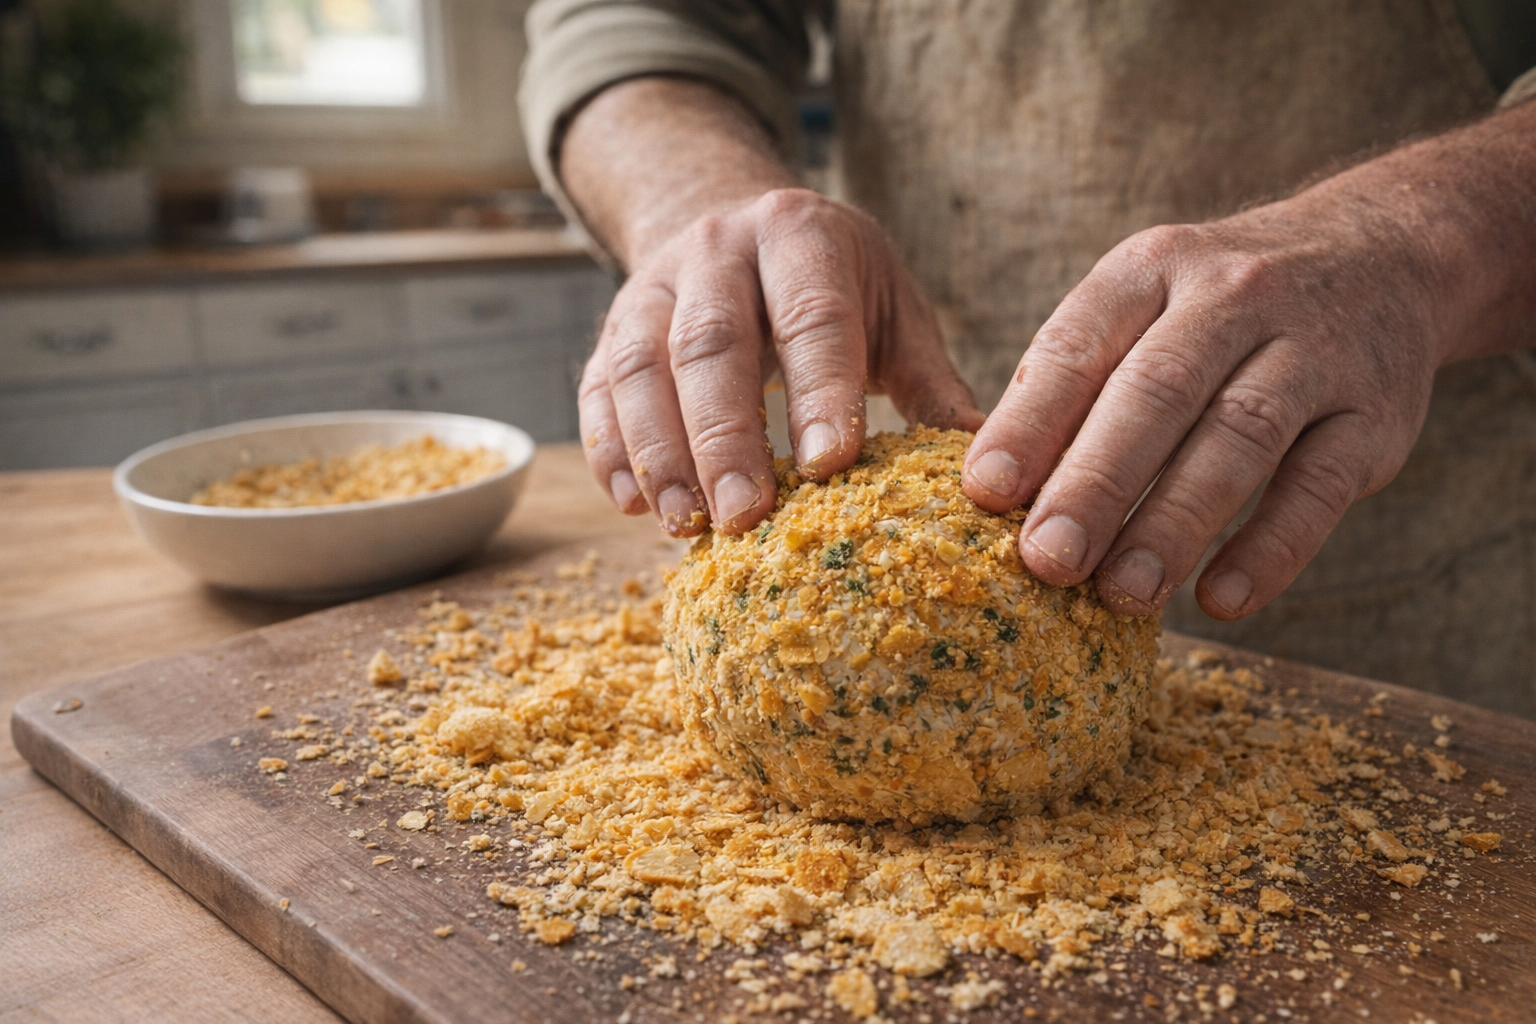
- Before serving, unwrap the cheese ball and roll it in the chopped pecans, pressing gently to ensure they adhere. The pecans should completely cover the cheese ball.
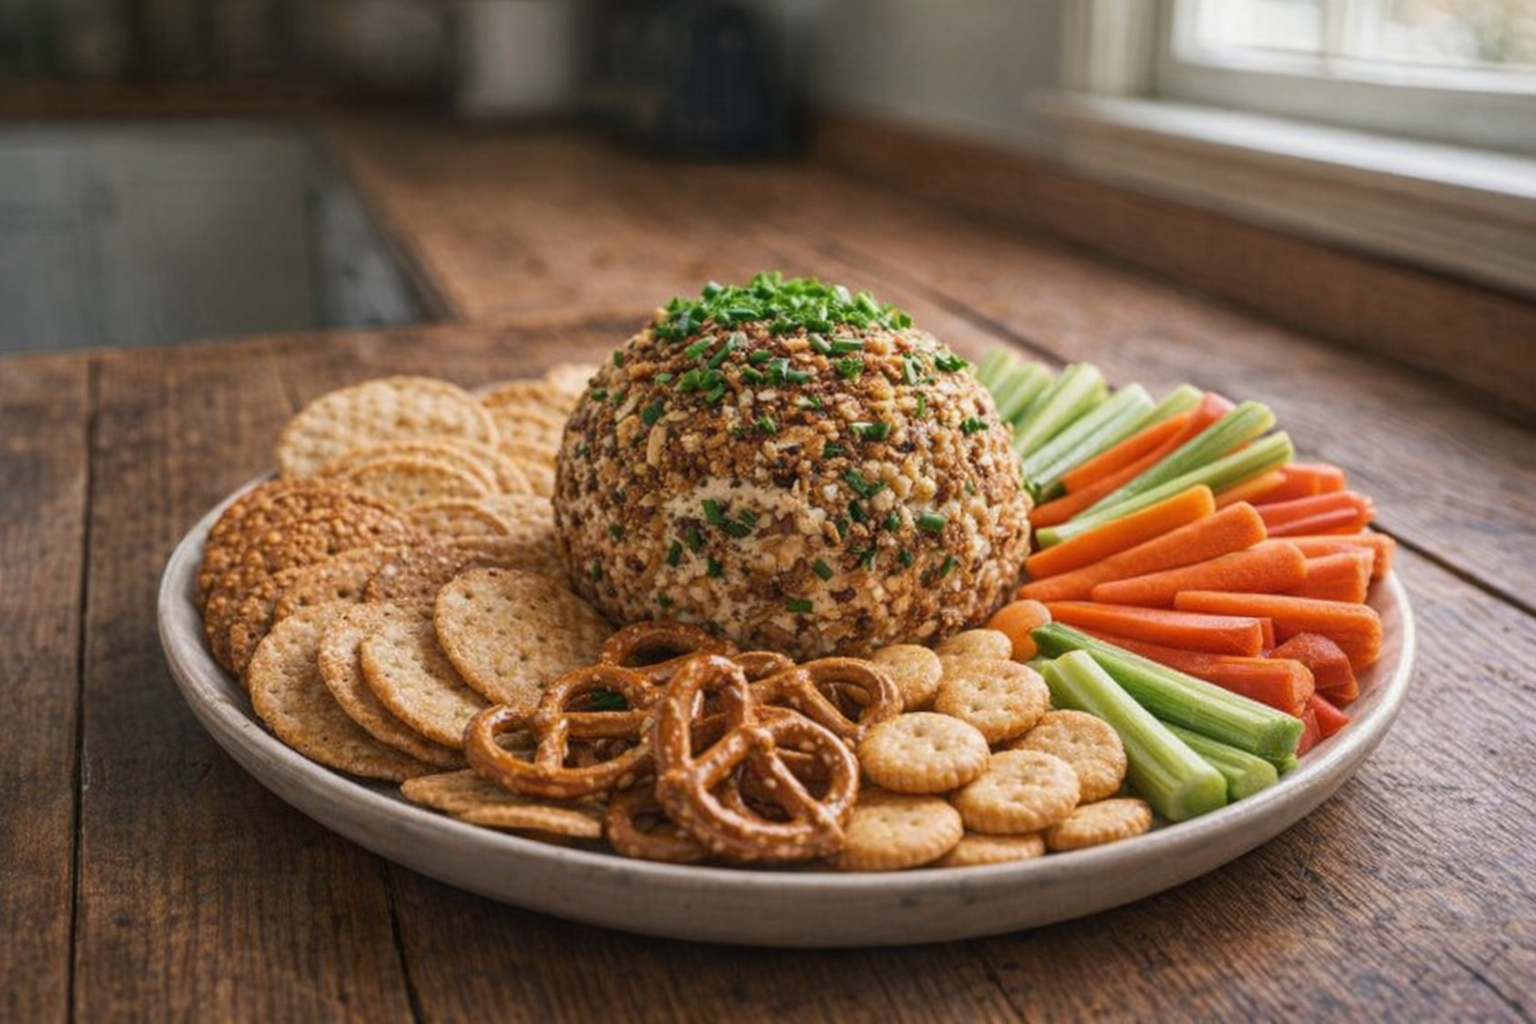
- Place the cheese ball on a serving platter and serve with crackers, pretzels, or vegetables.
Method 2: Jalapeno Popper Cheese Ball
Ingredients:
- 8 ounces cream cheese, softened (225g)
- 4 ounces sharp cheddar cheese, shredded (110g)
- 1/4 cup pickled jalapenos, drained and diced (30g)
- 4 slices bacon, cooked and crumbled
- 2 tablespoons chopped green onions (15g)
- 1/2 teaspoon garlic powder (2.5ml)
- 1/4 teaspoon black pepper (1.25ml)
- 1 cup crushed tortilla chips, for coating (60g)
- In a medium mixing bowl, combine the softened cream cheese, shredded cheddar cheese, diced jalapenos, crumbled bacon, green onions, garlic powder, and black pepper. The tangy scent of jalapenos mingles with the savory aroma of bacon.
- Mix until all ingredients are evenly incorporated.
- Place a large piece of plastic wrap on a flat surface. Spoon the cheese mixture onto the plastic wrap and shape it into a ball.
- Wrap the cheese ball tightly in the plastic wrap and refrigerate for at least 2 hours, or preferably overnight.
- Before serving, unwrap the cheese ball and roll it in the crushed tortilla chips, pressing gently to ensure they adhere.
- Place the cheese ball on a serving platter and serve with tortilla chips, crackers, or vegetables.
Cooking Time & Doneness Guide:
There is no active "cooking" involved in making a cheese ball. The key is proper chilling time. A minimum of 2 hours is required, but overnight chilling is preferred for optimal flavor and texture. The cheese ball should be firm to the touch before serving.
Visual Cues
The cheese ball should hold its shape well and not be too soft or sticky.
Tips for Perfection:
- Soften Cream Cheese: Ensure the cream cheese is fully softened to prevent lumps in the final product.
- Chill Thoroughly: Do not rush the chilling process. The longer the cheese ball chills, the better the flavors will meld and the firmer it will become.
- Coat Generously: Make sure the coating is evenly distributed and adheres well to the cheese ball.
- Prepare Ahead: Cheese balls can be made up to 3 days in advance, making them a great option for parties and gatherings.
Storage & Reheating:
Store leftover cheese balls in an airtight container in the refrigerator for up to 5 days. Since cheese balls are served cold, reheating is not necessary. Simply remove from the refrigerator about 15-20 minutes before serving to allow it to soften slightly.
Serving Suggestions:
- With Crackers: Serve with an assortment of crackers, such as water crackers, wheat crackers, or flavored crackers.
- With Vegetables: Offer a selection of raw vegetables, such as carrot sticks, celery sticks, cucumber slices, or bell pepper strips, for a healthy and refreshing accompaniment.
- With Pretzels: Serve with pretzel crisps or pretzel rods for a salty and crunchy contrast.
- As a Dip: If the cheese ball is slightly softened, it can be served as a dip with tortilla chips or pita bread.
💡 Pro Tips
- Ensure your cream cheese is completely at room temperature before mixing to achieve a perfectly smooth and lump-free base.
- Allow the cheese ball to chill in the refrigerator for at least two hours so the flavors can fully meld and the structure firms up.
- Apply crunchy coatings like toasted nuts or crushed crackers immediately before serving to prevent them from becoming soggy.
- Opt for freshly grated blocks of cheese instead of pre-shredded bags to ensure a superior taste and a more cohesive texture.
- Wrap the cheese mixture tightly in plastic wrap to easily mold it into a uniform sphere without making a mess.
Frequently Asked Questions
While block cheese is recommended for better flavor and melting, you can use pre-shredded cheese in a pinch. Just be aware that it may not bind as well due to the cellulose added to prevent clumping, so ensure your cream cheese is very soft and mix thoroughly.
A cheese ball can be stored in the refrigerator for up to a week if properly wrapped in plastic wrap. For best results, make sure it's tightly sealed to prevent it from drying out or absorbing odors from other foods in the fridge.
Besides crackers, a cheese ball pairs well with a variety of accompaniments such as baguette slices, pretzel crisps, vegetable sticks (carrots, celery, cucumber), or even apple slices for a sweet and savory combination. Consider offering a mix of textures and flavors for your guests to enjoy.
If your cheese ball mixture is too soft, it likely needs more chilling time. Wrap it tightly in plastic wrap and refrigerate for at least another hour, or even overnight. This will allow the cheese to firm up and make it easier to shape.