 delishing
How to Bake a Moist Cake From Scratch

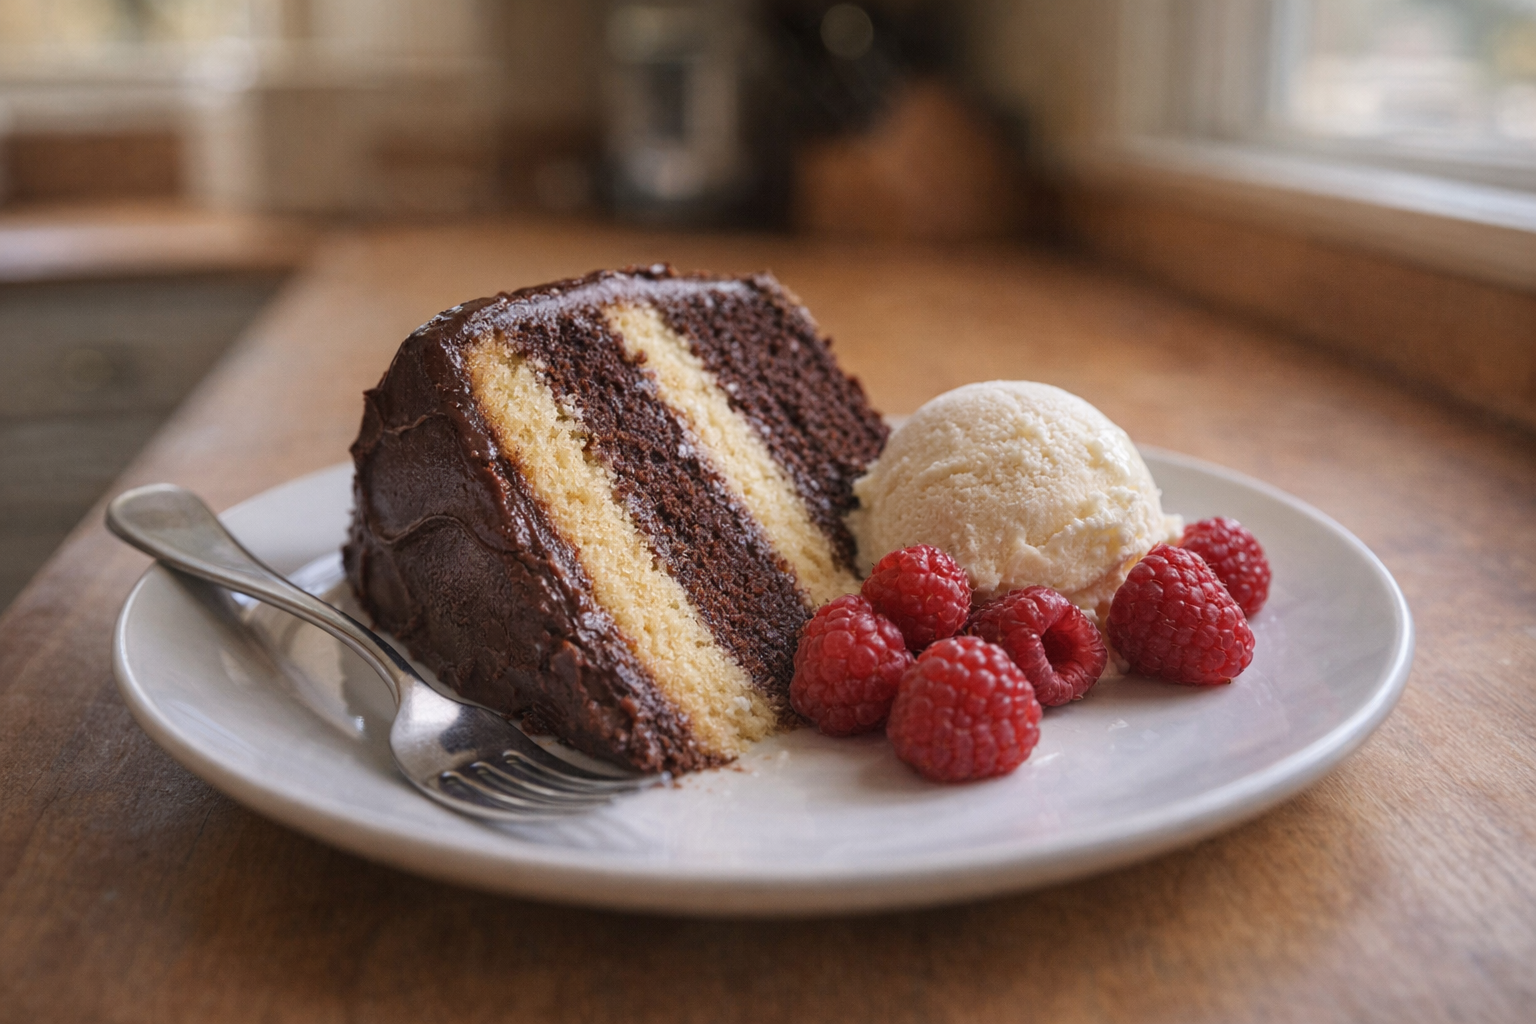
The aroma of a freshly baked cake is universally comforting, and a moist cake is a true testament to baking skill. This guide will provide a comprehensive walkthrough of how to achieve a perfectly moist cake, focusing on the science behind each ingredient and technique. We'll explore the critical role of moisture enhancers and the importance of precise measurements to ensure a tender, flavorful outcome.
This recipe focuses on a classic cake base that can be adapted with various frostings and fillings. We'll delve into each step of the process, from preparing the pans to cooling the finished product, so you can confidently bake a cake that rivals those from professional bakeries. Get ready to impress your friends and family with your new baking prowess.
Understanding Cake Flour
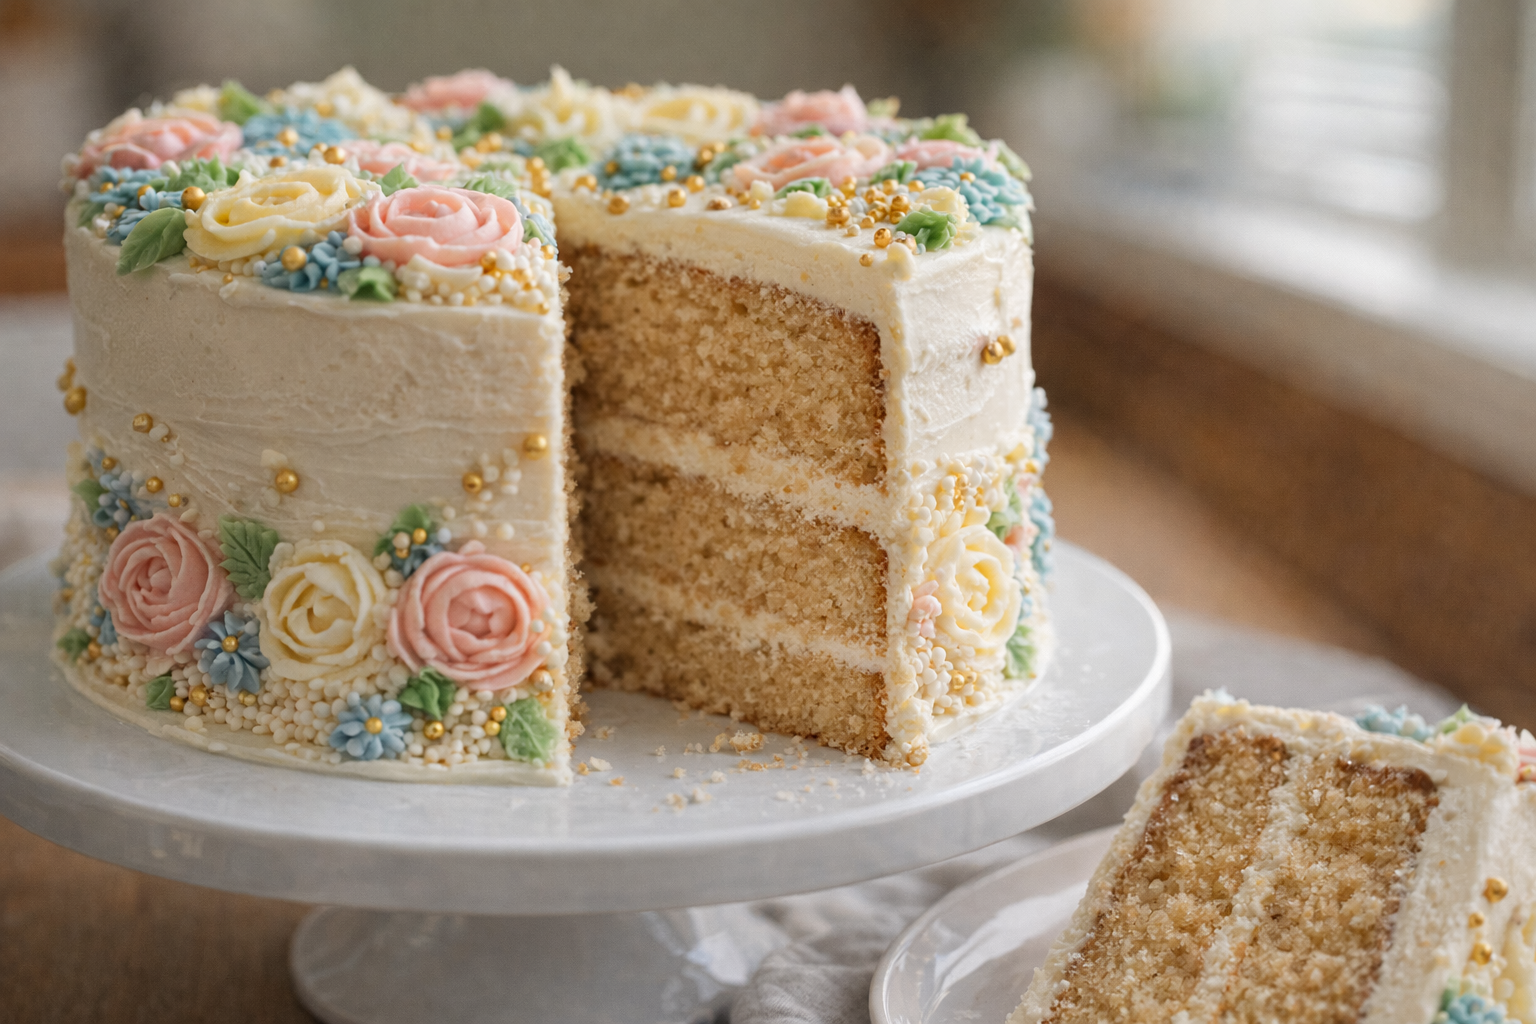
While this recipe calls for all-purpose flour, understanding the nuances of cake flour is essential for advanced baking. Cake flour has a lower protein content than all-purpose flour, typically around 7-9% versus 10-12%. This lower protein content results in less gluten development, leading to a more tender and delicate crumb. If you choose to use cake flour, you may need to adjust the liquid content slightly, as it absorbs less moisture than all-purpose flour. When purchasing cake flour, look for brands specifically labeled as "cake flour" for the best results. If you have no cake flour on hand, you can substitute by removing 2 tablespoons of all-purpose flour per cup and replacing it with 2 tablespoons of cornstarch.
Why Cook Cake This Way?
- Flavor: The combination of butter, sugar, and vanilla extract creates a rich and satisfying flavor profile that is perfect for any occasion.
- Versatility: This recipe creates a great base for different flavors.
- Convenience: Baking from scratch allows you to control the ingredients and tailor the recipe to your preferences, ensuring a fresh and delicious cake every time.
Preparation (Mise en Place)
Before starting the baking process, proper preparation is key to success.
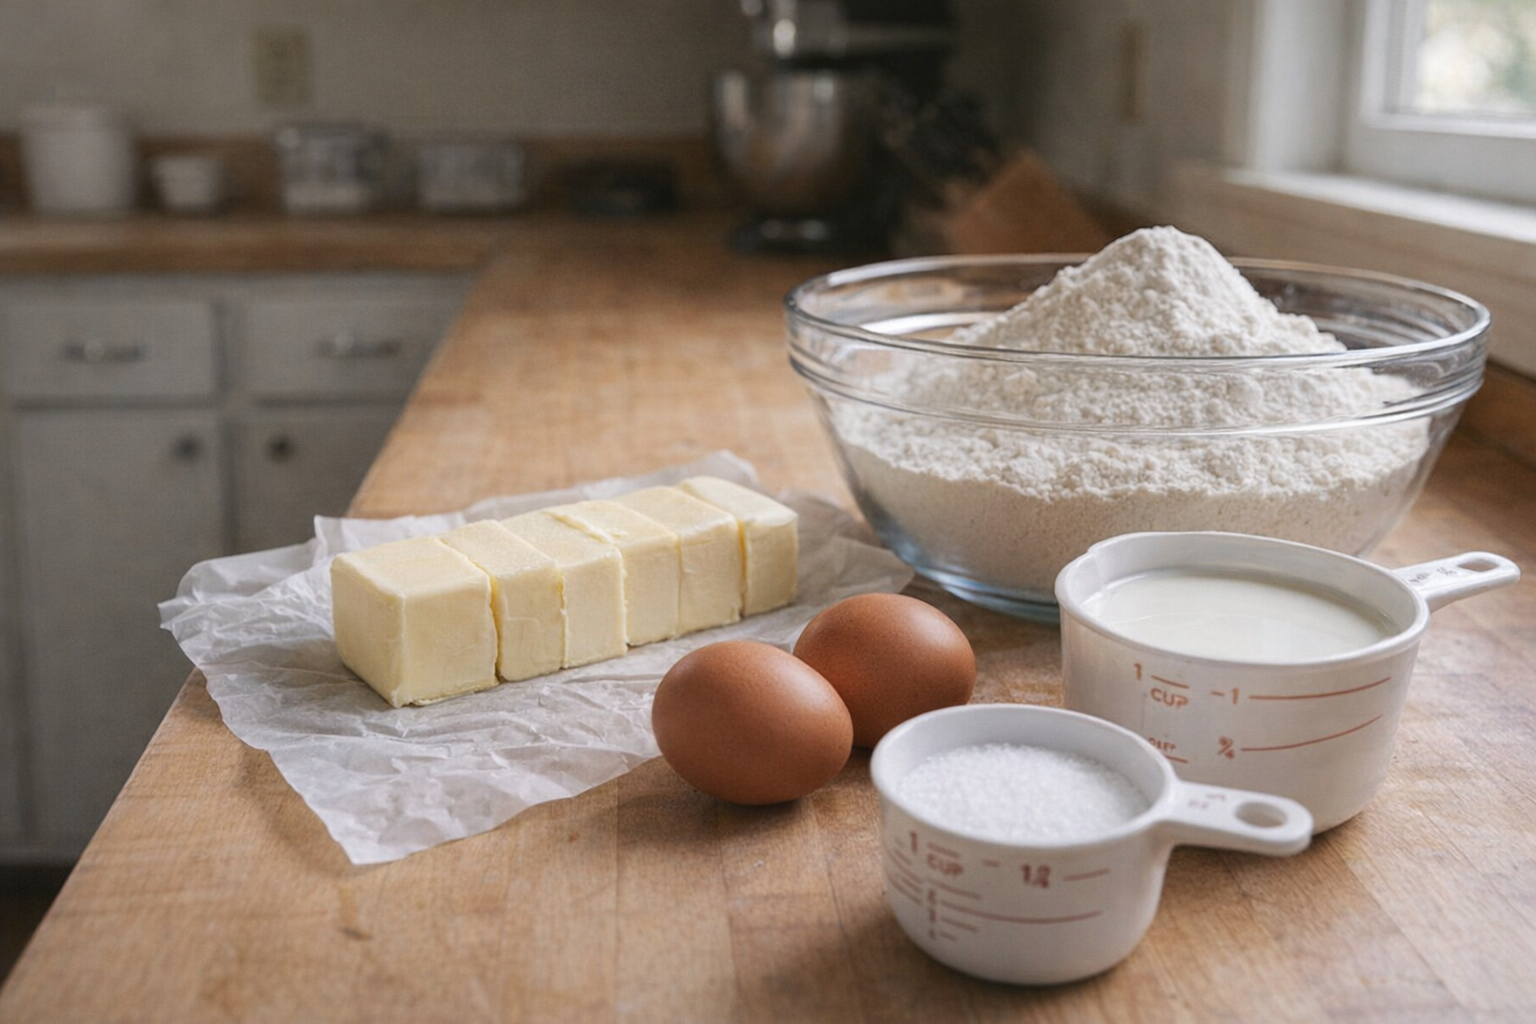
- Measure Ingredients: Accurately measure all ingredients using measuring cups and spoons. This is critical for achieving the correct balance of flavors and textures.
- Soften Butter: Ensure the butter is softened to room temperature. This allows it to cream properly with the sugar, creating air pockets that contribute to a light and airy cake.
- Room Temperature Eggs & Buttermilk: Bring the eggs and buttermilk to room temperature. Cold ingredients can hinder emulsification and result in a denser cake.
- Prepare Baking Pans: Grease and flour the cake pans or line them with parchment paper to prevent the cake from sticking.
Essential Tools
- 9-inch Round Cake Pans (2): We use two 9-inch round cake pans for even baking and consistent layer thickness.
- Stand Mixer: A stand mixer makes creaming butter and sugar easier and more efficient, incorporating more air for a lighter cake.
- Rubber Spatula: Essential for scraping down the sides of the bowl and gently folding ingredients to prevent overmixing.
- Oven Thermometer: Using an oven thermometer ensures an accurate temperature, which is crucial for proper cake baking.
The Cooking Method(s)
Method 1: Classic Layer Cake
This method outlines the standard approach for baking a classic layer cake from scratch.
Ingredients:
- All-purpose flour: 320g (2 1/2 cups)
- Baking powder: 12.5ml (2 1/2 teaspoons)
- Baking soda: 2.5ml (1/2 teaspoon)
- Salt: 2.5ml (1/2 teaspoon)
- Unsalted butter: 180ml (3/4 cup), softened
- Granulated sugar: 300g (1 1/2 cups)
- Vegetable oil: 120ml (1/2 cup)
- Large eggs: 4, room temperature
- Buttermilk: 240ml (1 cup), room temperature
- Vanilla extract: 5ml (1 teaspoon)
Instructions:
- Preheat and Prepare: Preheat the oven to 175°C (350°F). Grease and flour two 9-inch round cake pans, or line them with parchment paper. The gentle warmth radiating from the oven indicates it's reaching the optimal temperature.
- Combine Dry Ingredients: In a medium bowl, whisk together the flour, baking powder, baking soda, and salt. The sound of the whisk against the bowl ensures everything is well-combined.
- Cream Butter and Sugar: In a large mixing bowl, cream together the softened butter and sugar until light and fluffy, about 3-5 minutes. The mixture should lighten in color and increase in volume, indicating proper aeration.
- Add Oil and Eggs: Gradually add the vegetable oil to the butter-sugar mixture, mixing until combined. Beat in the eggs one at a time, mixing well after each addition. The mixture should be smooth and emulsified.
- Alternate Wet and Dry: Gradually add the dry ingredients to the wet ingredients, alternating with the buttermilk, beginning and ending with the dry ingredients. Mix until just combined. Be careful not to overmix. The batter should be smooth but not overworked.
- Add Vanilla: Stir in the vanilla extract. A subtle aroma will fill the kitchen as you do.
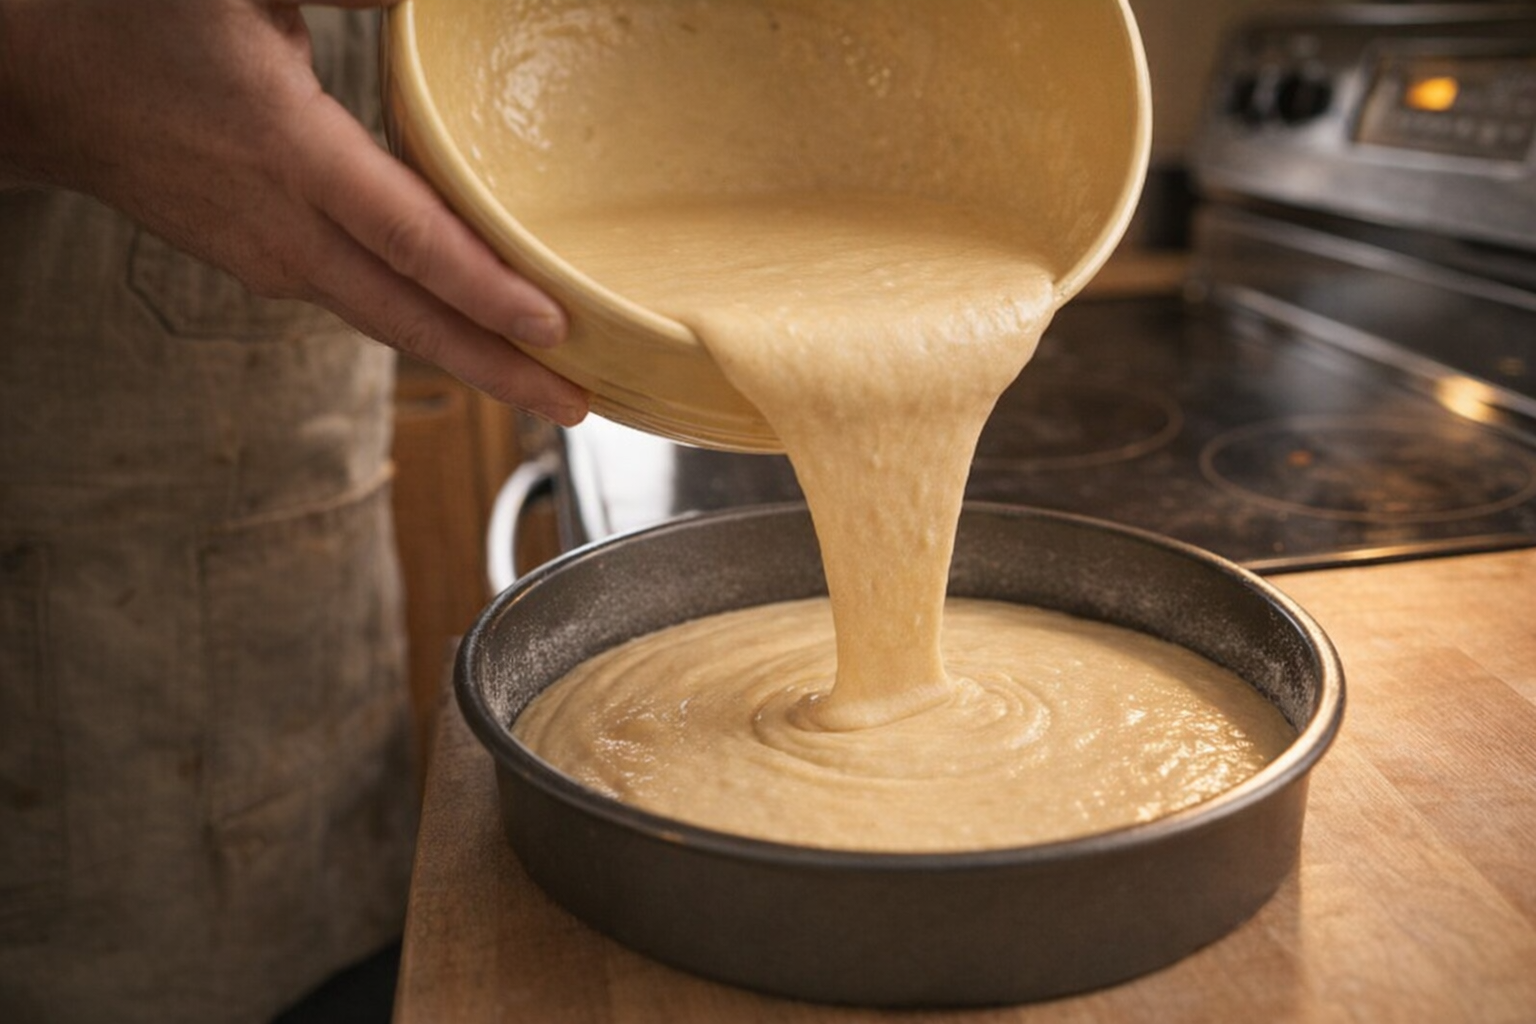
- Pour and Bake: Pour the batter evenly into the prepared cake pans. Bake for 25-35 minutes, or until a wooden skewer inserted into the center comes out clean. The cake will rise and turn golden brown.
- Cool: Let the cakes cool in the pans for 10 minutes before inverting them onto a wire rack to cool completely. The cakes will slightly pull away from the edges of the pans.
Cooking Time & Doneness Guide:
- Baking Time: 25-35 minutes at 175°C (350°F).
- Internal Temperature: The internal temperature should reach approximately 98°C (210°F).
Visual Cues
The cake should be golden brown on top and spring back lightly when touched. A toothpick inserted into the center should come out clean.
Tips for Perfection:
- Don't Overmix: Overmixing develops gluten, resulting in a tough cake. Mix until just combined.
- Accurate Measurements: Use measuring cups and spoons to ensure accurate ingredient ratios.
- Room Temperature Ingredients: Ensure butter, eggs, and buttermilk are at room temperature for proper emulsification.
- Even Baking: Rotate the cake pans halfway through baking to ensure even browning.
Storage & Reheating:
- Storage: Store leftover cake in an airtight container at room temperature for up to 3 days or in the refrigerator for up to 1 week.
- Reheating: Reheat individual slices in the microwave for 10-15 seconds.
Serving Suggestions:
- Classic Frosting: Frost with your favorite buttercream, cream cheese frosting, or chocolate ganache.
- Fresh Fruit: Top with fresh berries or sliced fruit for a refreshing twist.
- Dusting: Simply dust with powdered sugar for an elegant and easy presentation.
- Layered Dessert: Use the cake as a base for trifles or parfaits with layers of cream, fruit, and other toppings.
💡 Pro Tips
- Ensure your butter, eggs, and dairy are at room temperature before mixing to create a smooth emulsion that traps air effectively.
- Measure your flour by weight using a digital scale to prevent adding too much flour, which is a common cause of dry cakes.
- Substitute a portion of the liquid with sour cream or full-fat Greek yogurt to increase the moisture content and create a tender crumb.
- Stop mixing the batter as soon as the dry ingredients are just incorporated to avoid overworking the gluten and making the cake tough.
- Test for doneness five minutes before the recommended bake time ends by inserting a toothpick that should come out with a few moist crumbs.
Frequently Asked Questions
If your cake is browning too fast, tent it loosely with aluminum foil. This will deflect some of the heat and allow the inside to finish baking without the top burning.
Yes, you can easily make a buttermilk substitute! Simply add 1 tablespoon of white vinegar or lemon juice to a liquid measuring cup, then fill the cup with milk until it reaches 1 cup. Let it stand for 5-10 minutes before using.
For extra insurance against sticking, use parchment paper rounds in addition to greasing and flouring your pans. Cut a circle of parchment paper to fit the bottom of each pan, or use parchment paper baking cups.
This cake will stay fresh for about 3-4 days when stored properly. Keep it in an airtight container at room temperature or, for longer storage, wrap it tightly in plastic wrap and freeze for up to 2-3 months.