Delishing
Hard Boiled Eggs

Hard-boiled eggs look like the simplest thing in the world until you are standing at the sink, peeling off eggshell confetti while the white tears into craters. I have been there. After way too many lunch-prep Sundays (and a few rushed weekday breakfasts) I started testing eggs the way I test everything: timing, starting temperature, pot size, and what actually makes peeling easier in real life.
This page is method-first on purpose. You will get two reliable ways to cook eggs: a cold-start method (eggs in cold water, then heat) and a boiling-water start (water boiling first, then eggs go in). Both work. They just behave differently. I am also giving you clear timing for jammy yolks and fully set yolks, plus an ice bath step that is not optional if you care about peelability and that clean yellow center.
Along the way, we will cover the green-ring problem, the best peeling techniques I have found, and how to store hard-boiled eggs safely so you actually want to grab one as a snack later.
Cold-start vs boiling-water start
If you have ever argued with yourself about whether eggs should go into cold water or boiling water, you are not alone. Here is the practical difference:
- Cold-start (eggs + cold water, then heat): Gentle, low-stress, very hands-off. Timing starts when the water reaches a full boil, but the eggs have already warmed gradually. This method is forgiving and great if your eggs are straight from the fridge.
- Boiling-water start (water boiling first, then add eggs): More precise because your eggs start cooking immediately. This can produce very consistent yolks once you know your timing, but it requires careful lowering of eggs into boiling water to avoid cracks.
Both methods finish the same way: turn off the heat, cover (for the cold-start method), then chill in an ice bath to stop carryover cooking and help the shell release.
Yolk doneness timing (jammy vs fully set)
For most home cooks, the real question is not “how long do I boil eggs,” it is “what texture do I want in the center?” Here is the quick guide you can count on:
- Jammy yolk (set edges, slightly creamy center): 7 to 8 minutes in boiling water (boiling-water start), or 6 to 7 minutes covered after a boil (cold-start method).
- Fully set yolk (classic hard-boiled): 10 to 12 minutes in boiling water (boiling-water start), or 10 to 11 minutes covered after a boil (cold-start method).
Egg size matters. These times are written for large eggs. If you routinely buy extra-large eggs, add about 1 minute. If your eggs are medium, subtract about 1 minute.
Why the ice bath matters
I used to skip the ice bath when I was tired. It always came back to haunt me.
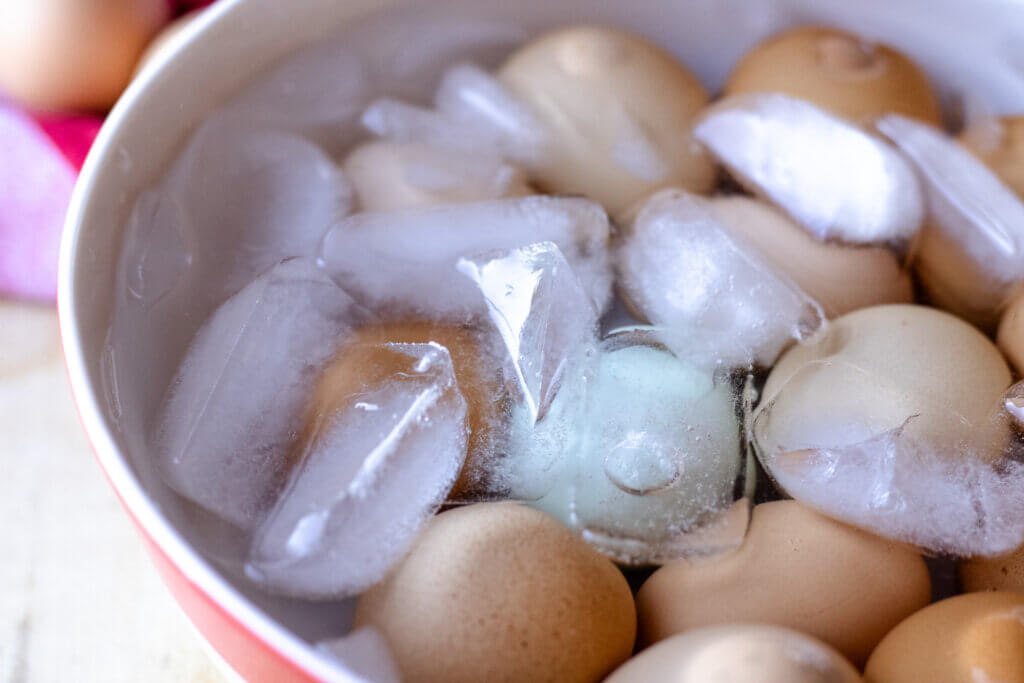
- It stops carryover cooking so your yolk stays the doneness you chose.
- It reduces the green-gray ring that can form when eggs stay hot too long.
- It helps peeling by cooling and slightly contracting the egg inside the shell.
You do not need a fancy setup. A bowl of cold water with a big handful of ice is enough. Let the eggs sit until they feel fully cool, about 10 minutes.
Peeling tips that actually work
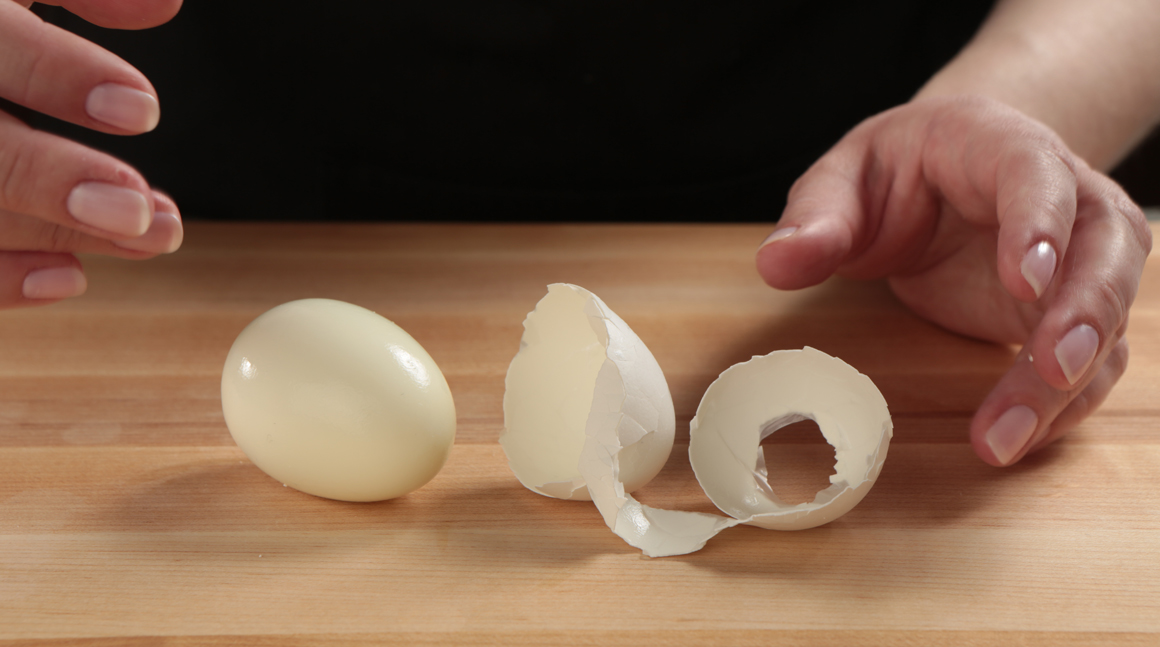
Peeling is where most people get frustrated, so here is my no-drama approach:
- Cool first: peel after the ice bath. Warm eggs tend to tear.
- Crack all over: tap the egg gently on the counter, then roll it under your palm to create lots of cracks.
- Start at the wide end: there is usually an air pocket there, which gives you a good entry point.
- Peel under water if needed: running water or peeling in the ice bath helps rinse away tiny shell shards and can loosen the membrane.
- Use slightly older eggs when possible: very fresh eggs can be harder to peel. If you know you are making hard-boiled eggs for the week, buying eggs a few days ahead can help.
The green-ring problem
That green-gray ring around the yolk is harmless, but it can look unappetizing. It is caused by a reaction between sulfur in the egg white and iron in the yolk, usually triggered by overcooking or cooling too slowly.
- How to prevent it: do not exceed the fully set timing, and always use an ice bath.
- If it happens anyway: it is still fine to eat. Slice it up and use it in salads, grain bowls, or on toast where nobody is judging the yolk ring.
Why it works
- Two start methods, one clear finish: whether you prefer cold-start or boiling-water, the ice bath locks in your yolk texture and improves peeling.
- Timing by texture: jammy and fully set eggs have different sweet spots, and the recipe gives you both so you are not guessing.
- Gentle handling: lowering eggs carefully and using a steady simmer reduces cracks and leaks.
Ingredient notes
- Eggs: Large eggs are the baseline for the timing here. If you use extra-large, add about 1 minute. If you use medium, subtract about 1 minute.
- Water: You need enough water to cover the eggs by about 1 inch, which helps keep the temperature stable.
- Ice: A generous handful is the difference between “kind of cooled” and truly stopped cooking.
- Salt or vinegar in the water: Not required. If an egg cracks, a little salt can help the leaking white coagulate faster, but it will not magically guarantee easy peeling.
Equipment
- Medium saucepan with a lid
- Slotted spoon or spider strainer
- Timer
- Medium bowl for an ice bath
Pro tips
- Aim for a simmer, not a violent boil: once the eggs are in, reducing to a gentle simmer helps prevent cracking.
- Set up the ice bath before you start cooking: the moment the timer ends, you want a smooth transfer.
- Peel when cool, or peel later: eggs are easiest to peel right after cooling. If you are storing them, keep them unpeeled and peel as needed.
- For super clean halves: slice with a sharp knife wiped between cuts, or use dental floss for picture-perfect edges.
Substitutes
- No ice? Use the coldest tap water you can and change it once or twice until the eggs are fully cool. Ice works better, but cold water is still much better than leaving eggs hot.
- No lid? Use a sheet pan or another pan as a makeshift cover for the cold-start method. You want to trap heat during the timed rest.
Variations
- Jammy meal-prep eggs: cook to the jammy timing, cool fully, then store unpeeled. These are great for ramen or grain bowls.
- Extra-firm yolks for slicing: use the fully set timing and cool completely before slicing for the cleanest cuts.
- Steamed eggs (stovetop): if you prefer steaming, the same ice bath and peeling tips apply. Keep the timing similar to the boiling-water start once steam is steady.
Serving ideas
Hard-boiled eggs are one of my favorite “panic-proof” proteins because they require zero decisions once they are in the fridge.
- Snack plate: halved eggs with a pinch of salt and pepper, plus fruit or crackers.
- On toast: sliced egg over avocado toast. Try my avocado toast with poached egg idea as inspiration, then swap the poached egg for sliced hard-boiled.
- Ramen topper: add a jammy egg to ramen noodle bowl with egg for a faster weeknight version.
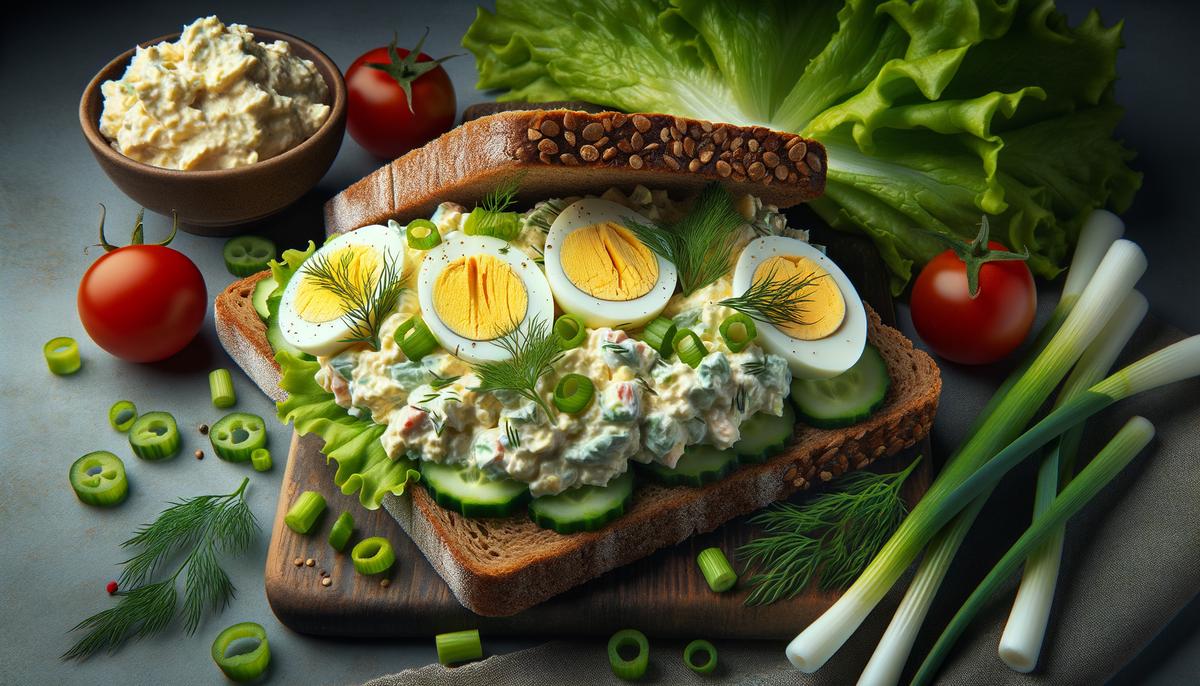
- Salads and bowls: quartered eggs add staying power to greens, quinoa bowls, or a quick lunch box.
Storage
- Refrigerate promptly: once cooled, refrigerate within 2 hours.
- How long they last: hard-boiled eggs keep best for up to 7 days in the refrigerator.
- Peeled vs unpeeled: unpeeled eggs stay fresher longer. If peeled, store in an airtight container with a barely damp paper towel to prevent drying.
- Odor control: keep eggs in a sealed container if your fridge tends to pick up smells.
Common mistakes
- Starting the timer too early: for boiling-water start, start timing once the eggs are in and the water returns to a gentle simmer. For cold-start, start timing after the water reaches a full boil and you turn off the heat.
- Skipping the ice bath: this is the fastest path to overcooked yolks and tougher peeling.
- Boiling aggressively: a rolling, violent boil can knock eggs around, leading to cracks.
- Peeling hot eggs: it is tempting, but it often tears the whites.
FAQ
Is cold-start or boiling-water start better?
For most busy weeknights, I reach for cold-start because it is forgiving and hands-off. If you want the most precise yolk texture, boiling-water start is slightly more consistent once you dial in your timing.
Why are my hard-boiled eggs hard to peel?
The biggest culprits are very fresh eggs, skipping the ice bath, or peeling while still warm. Cool fully, crack all over, start at the wide end, and peel under water if needed.
Can I make a big batch?
Yes, just keep eggs in a single layer in the pot if possible, and make sure they are covered by at least 1 inch of water. If you stack them, they can bump and crack more easily.
Are hard-boiled eggs safe to eat if the yolk has a green ring?
Yes. The color change is a normal reaction from heat and slow cooling. Use an ice bath next time to minimize it.
How do I reheat hard-boiled eggs?
If you want them warm, place peeled or unpeeled eggs in hot (not boiling) water for a few minutes until warmed through. Avoid microwaving whole eggs, which can explode from steam buildup.
Hard Boiled Eggs (Cold-Start or Boiling-Water Start)
Choose your start method, pick jammy or fully set yolks, then finish with an ice bath for easy peeling and better texture.
- 6 large eggs
- Cold water (enough to cover eggs by 1 inch)
- Ice (about 2 cups, or a generous handful)
- 1 teaspoon kosher salt (optional, for serving)
- Freshly ground black pepper (optional, for serving)
- Set up an ice bath. Fill a medium bowl halfway with ice, then add cold water to make a very cold bath. Set aside.
- Choose your start method.
- Cold-start method: Place eggs in a medium saucepan in a single layer. Add cold water to cover by about 1 inch.
- Boiling-water start method: Fill a medium saucepan with enough water to cover the eggs by about 1 inch. Bring to a boil over high heat.
- If using cold-start: bring to a boil, then cover and time. Bring the pan with eggs and water to a full boil over high heat. As soon as it reaches a boil, turn off the heat, cover with a lid, and start your timer:
- Jammy yolks: 6 to 7 minutes
- Fully set yolks: 10 to 11 minutes
- If using boiling-water start: lower in eggs and time. Reduce heat slightly so the boil is not violent. Carefully lower eggs into the boiling water with a slotted spoon. Adjust heat to maintain a gentle simmer and start your timer:
- Jammy yolks: 7 to 8 minutes
- Fully set yolks: 10 to 12 minutes
- Transfer to the ice bath. When the timer ends, use a slotted spoon to move eggs immediately into the ice bath. Let sit until fully cool, about 10 minutes.
- Peel. Tap the egg gently on the counter to crack, then roll under your palm to create lots of small cracks. Start peeling at the wide end (air pocket) and peel under water if helpful.
- Serve. Eat as-is or sprinkle with a pinch of salt and pepper.
Notes: Times are written for large eggs. For extra-large eggs, add about 1 minute. For medium eggs, subtract about 1 minute. The ice bath helps prevent overcooking and minimizes the green-gray ring around the yolk.