 delishing
How to Caramelize Onions on the Stove: A Culinary Guide

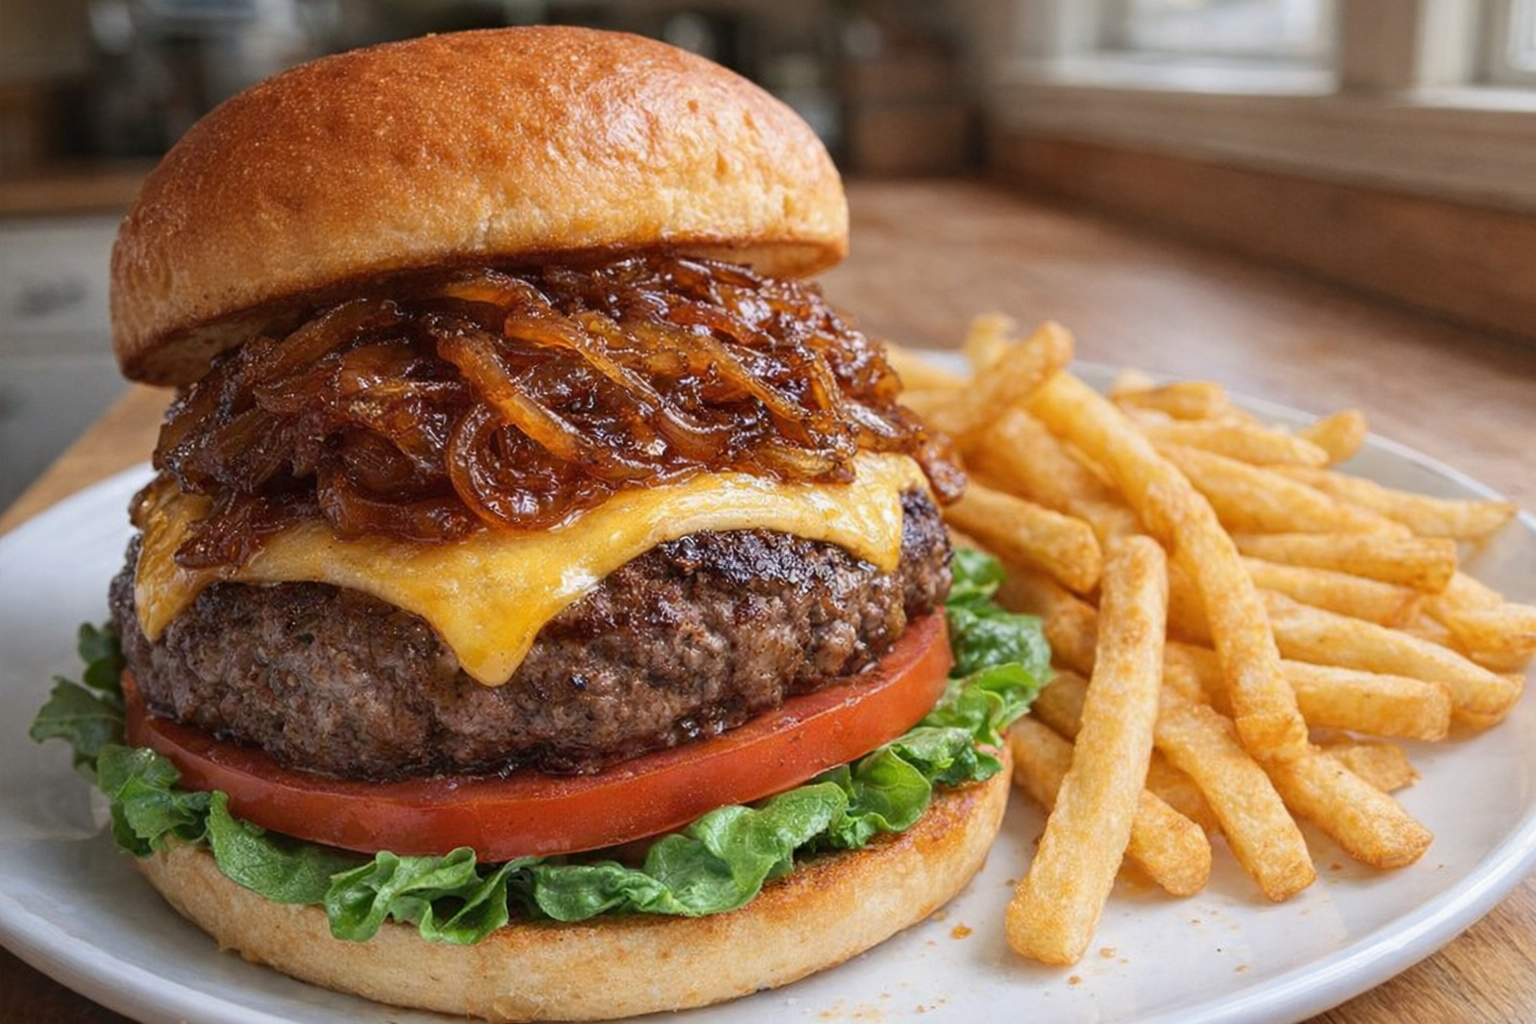
Caramelized onions, with their deep, savory-sweet flavor, are a versatile ingredient that can elevate countless dishes. The magic lies in the slow, patient cooking process that transforms sharp, pungent onions into a melt-in-your-mouth delicacy. This guide breaks down the process, offering expert tips and techniques to ensure you achieve perfectly caramelized onions every time.
The beauty of caramelizing onions is that the process coaxes out their natural sugars, creating a depth of flavor unlike any other. The result is a concentrated sweetness balanced by a savory umami richness that makes them a fantastic addition to everything from burgers to soups.
Understanding Onions
When it comes to caramelizing, the type of onion matters.
- Yellow Onions: These are your workhorses. They offer a good balance of sweetness and sharpness, making them ideal for caramelizing. They break down beautifully during the long cooking process.
- Red Onions: Red onions have a milder, slightly sweeter flavor than yellow onions. They add a lovely color to your caramelized onions, but they may not develop the same depth of flavor as yellow onions.
- White Onions: These have a sharper, more pungent flavor when raw. When caramelized, they become quite sweet but lack some of the complexity of yellow onions.
Why Cook Onions This Way?
- Versatility: Caramelized onions can be used in an endless variety of dishes, from appetizers to main courses.
- Flavor: The slow cooking process unlocks a deep, complex flavor that is impossible to achieve with other cooking methods.
- Convenience: While caramelizing onions takes time, it requires minimal active effort. You can prepare a large batch and store them for later use.
Preparation (Mise en Place)
Before you begin cooking, proper preparation is key:
- Peel the Onions: Remove the outer papery layers of the onions.
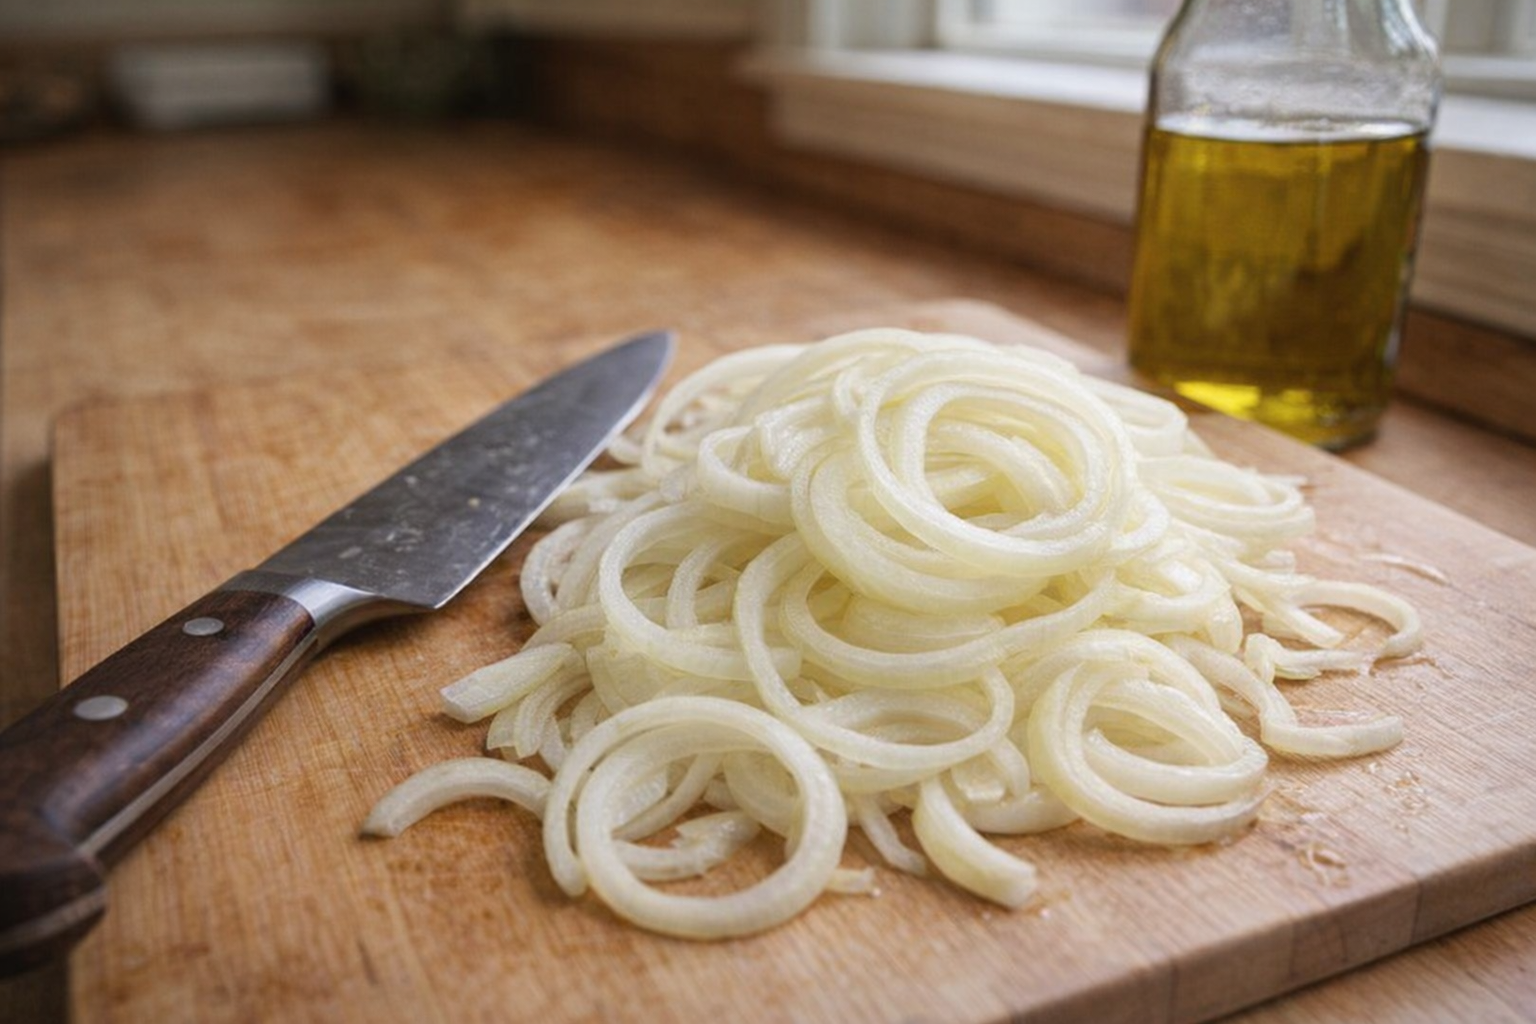
- Slice the Onions: Cut the onions in half from root to tip. Then, lay each half flat on a cutting board and slice thinly, about 1/8 to 1/4 inch thick. Consistent thickness ensures even cooking.
- Gather Your Ingredients: Have all your ingredients measured and within reach.
Essential Tools
- Wide, Heavy-Bottomed Skillet (Cast Iron or Stainless Steel): A heavy bottom ensures even heat distribution, preventing hot spots and burning. Cast iron is especially effective at maintaining consistent heat.
- Sharp Knife: A sharp knife makes slicing the onions easier and safer.
- Cutting Board: Choose a stable cutting board to prevent slipping.
- Wooden Spoon or Silicone Spatula: These utensils won't scratch your pan and are heat-resistant.
The Cooking Method(s)
Method 1: Stovetop Caramelization
This is the classic and most reliable method for caramelizing onions.
Ingredients
- 2-3 large yellow onions, thinly sliced (about 700g / 1.5 lbs)
- 3-4 tablespoons olive oil or unsalted butter (45-60ml / 0.2 - 0.25 cups)
- ½ teaspoon salt (2.5g)
- ½ teaspoon granulated sugar (optional) (2.5g)
- 1-2 tablespoons balsamic vinegar, red wine vinegar, or dry red wine (15-30ml / 0.06 - 0.12 cups) (optional, for deglazing)
Instructions
- Heat the Pan: Place the skillet over medium heat. Add the olive oil or butter and let it heat until it shimmers or the butter melts completely. The subtle aroma of the heating fat fills the kitchen.
- Add the Onions: Add the sliced onions to the pan, stirring to coat them evenly with the oil or butter. Spread them in an even layer. The pan will sizzle slightly as the onions make contact.
- Initial Cooking: Cook the onions over medium heat, stirring occasionally, until they soften and begin to release their moisture. This takes about 10 minutes. The onions will become translucent and slightly limp.
- Season and Reduce Heat: Sprinkle the onions with salt and sugar (if using). Stir to combine. Reduce the heat to medium-low or low. The sound of the onions cooking will lessen.
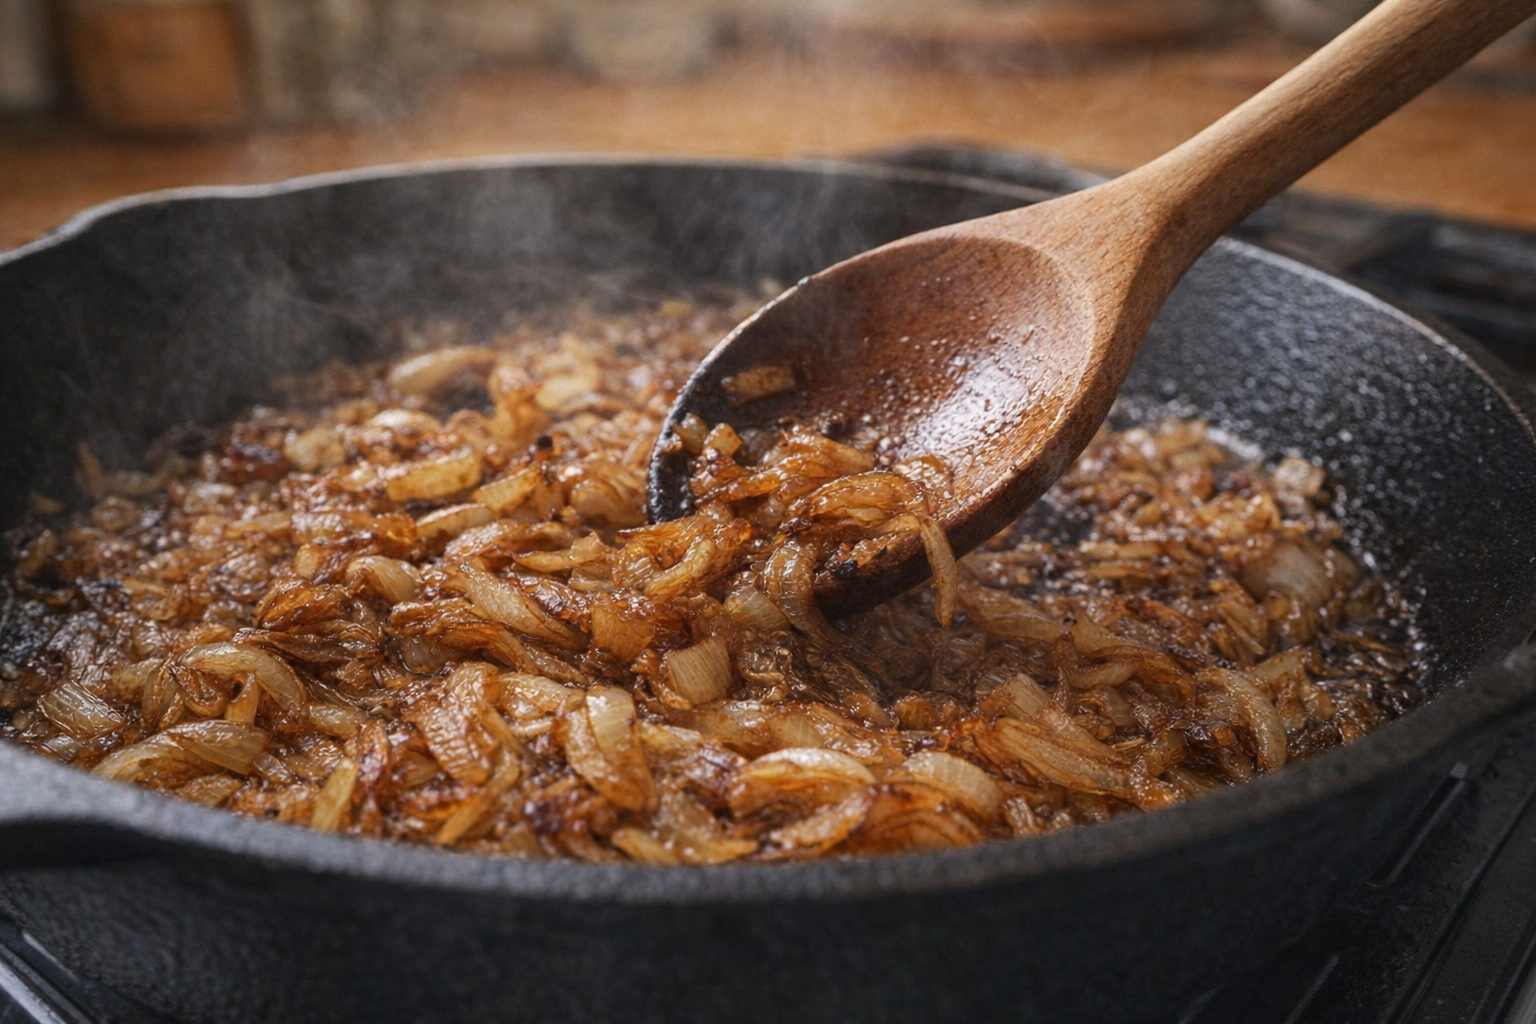
- Caramelization: Continue to cook, stirring every 5-10 minutes. As they cook, the onions will gradually turn from translucent to golden brown, releasing a sweet aroma. This process can take 30-60 minutes, depending on the heat and the onions.
- Deglaze (Optional): If the onions start sticking or develop a dark residue on the bottom of the pan, deglaze by adding a tablespoon of vinegar or wine. Scrape up any browned bits from the bottom of the pan. The pan will hiss and the aroma will intensify.
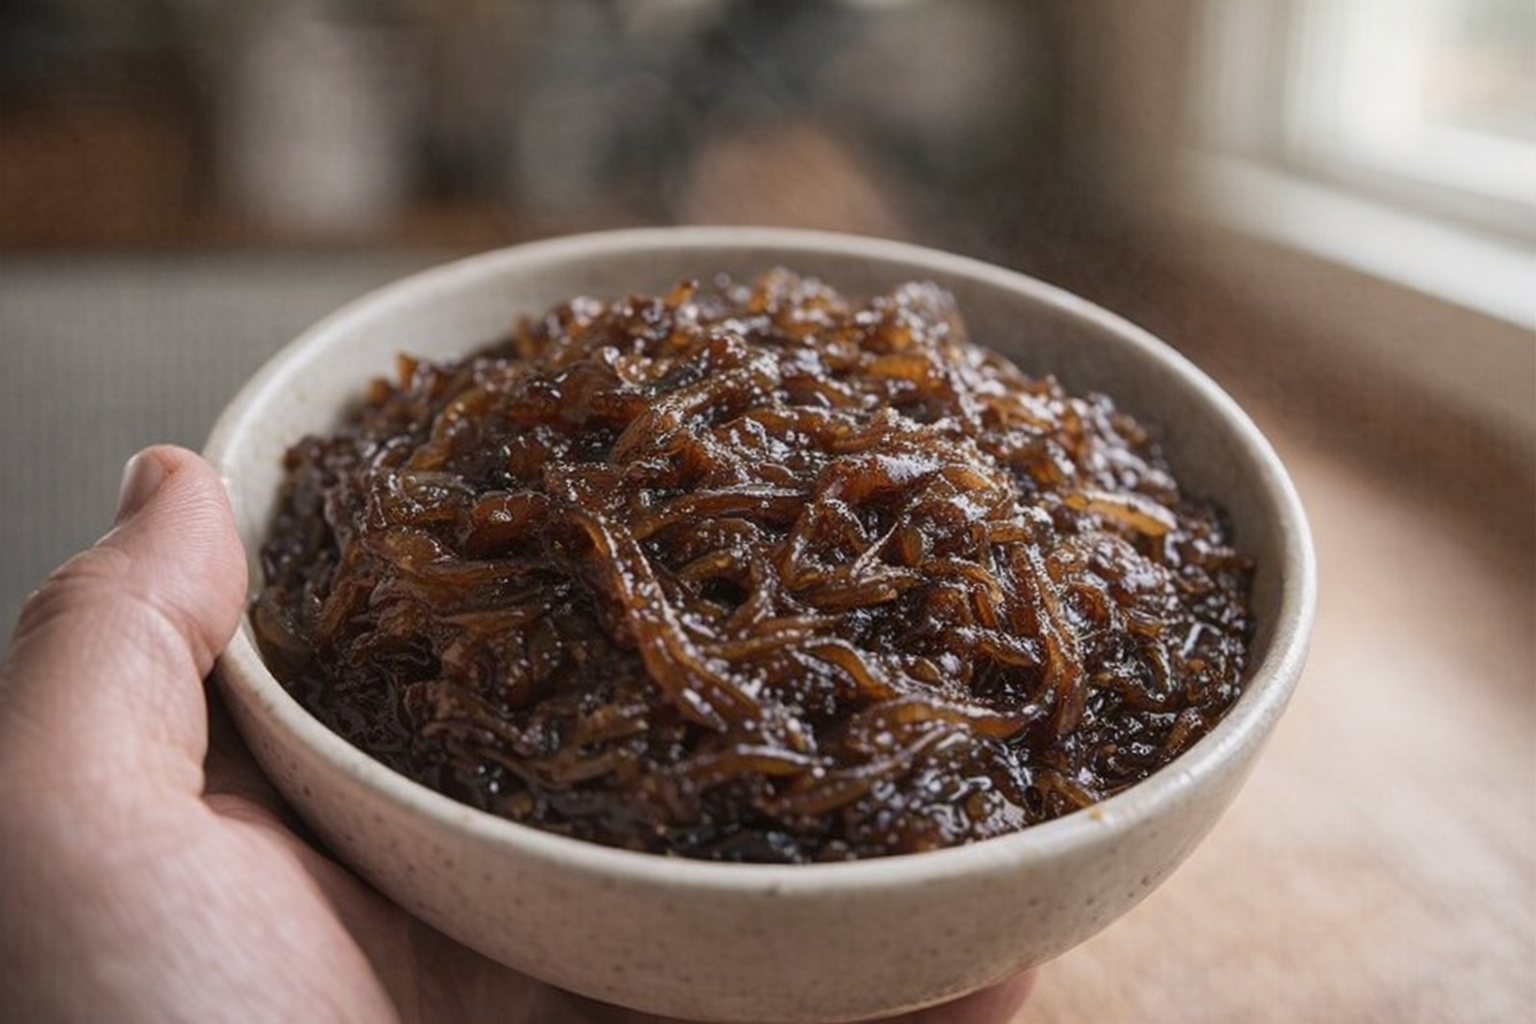
- Finish Cooking: Continue cooking until the onions reach a deep, golden-brown color and have a sweet, rich flavor. Taste and adjust seasoning if needed. The onions should be soft, jammy, and have reduced significantly in volume.
Cooking Time & Doneness Guide
- Total Cooking Time: 40-70 minutes.
- Internal Temperature: Not applicable.
Visual Cues
The onions should be a deep, golden-brown color, significantly reduced in volume, and have a soft, jam-like texture. Avoid black or burnt edges, which indicate overheating.
Tips for Perfection
- Don't Rush: Low and slow is the key. Increasing the heat will result in burnt onions, not caramelized ones.
- Stir Regularly: Stirring prevents sticking and ensures even cooking.
- Use the Right Pan: A heavy-bottomed pan is essential for even heat distribution.
- Adjust Seasoning: Taste the onions towards the end of the cooking process and adjust the salt and sugar as needed.
Storage & Reheating
- Storage: Let the caramelized onions cool completely before transferring them to an airtight container. Store in the refrigerator for up to 5 days.
- Freezing: For longer storage, freeze the caramelized onions in a freezer-safe container or bag for up to 2 months.
- Reheating: Reheat in a skillet over low heat or in the microwave, stirring frequently, until warmed through.
Serving Suggestions
- Burger Topping: Elevate your burgers with a generous spoonful of caramelized onions.
- Pizza Topping: Add caramelized onions to your favorite pizza for a touch of sweetness and depth.
- French Onion Soup: The star of classic French onion soup.
- Savory Tart: Incorporate them into a savory tart with cheese and herbs.
💡 Pro Tips
- Select yellow onions for the most balanced flavor profile because their high sugar content caramelizes beautifully without becoming overly sweet.
- Maintain a consistently low heat throughout the process to ensure the sugars brown slowly rather than burning and turning bitter.
- Deglaze the pan with a tablespoon of water or broth whenever a brown film forms on the bottom to incorporate those flavorful bits back into the onions.
- Slice the onions into uniform pieces to ensure they cook at the same rate and reach a soft, jammy consistency simultaneously.
- Add a pinch of salt at the beginning of the cooking process to help release moisture from the onions more quickly.
Frequently Asked Questions
Yes, you can still caramelize onions without a heavy-bottomed skillet, but it requires closer attention. Use a regular skillet over low heat and stir frequently to prevent burning, as the heat distribution won't be as even.
Burning is a common issue when caramelizing onions. To prevent it, maintain a low and consistent heat, stir the onions regularly (every 5-10 minutes), and add a tablespoon of water or broth if the pan becomes too dry or the onions start to stick.
Caramelized onions can be stored in an airtight container in the refrigerator for up to 5 days. For longer storage, freeze them in small portions; they can be frozen for up to 2-3 months and thawed as needed.
Yes, you can substitute olive oil for butter, but the flavor will be slightly different. Butter adds a richness that olive oil doesn't, so consider using a combination of both for a balanced flavor profile.