How to Boil Shrimp: A Culinary Guide to Perfect Texture and Flavor

Boiling shrimp is a deceptively simple technique that, when mastered, unlocks a world of culinary possibilities. Properly boiled shrimp are plump, juicy, and subtly sweet, offering a clean flavor canvas for countless dishes. The secret lies in understanding the delicate balance between cooking time and temperature, ensuring the shrimp are cooked through without becoming rubbery. This guide will walk you through each step, from selecting the right shrimp to serving suggestions that will elevate your meal.
This method is ideal because it's fast, requires minimal equipment, and allows you to infuse the shrimp with flavor through aromatics in the boiling liquid. Unlike steaming or frying, boiling offers even cooking and is easily scalable for larger quantities. By following these expert tips, you'll consistently achieve restaurant-quality shrimp at home.
Understanding Shrimp Varieties
The world of shrimp can be confusing, with various sizes, colors, and origins. Here's what you need to know to make the best choice for boiling:
- Size: Shrimp are sold by count (e.g., 16/20, 21/25), indicating the number of shrimp per pound. For boiling, larger shrimp (16/20 or 21/25) are ideal because they're less prone to overcooking.
- Fresh vs. Frozen: Frozen shrimp are often fresher than "fresh" shrimp at the seafood counter, as they are typically frozen immediately after being caught. Look for shrimp that are frozen solid, without signs of freezer burn or dehydration. Thaw properly before boiling (see Preparation section).
- Shell-on vs. Peeled & Deveined: Shell-on shrimp are more flavorful and stay moister during cooking, but require peeling after boiling. Peeled and deveined shrimp are convenient but can be less flavorful. Deveining is essential, as the vein can be gritty.
- Origin: The origin of shrimp impacts its flavor and sustainability. Look for wild-caught shrimp from well-managed fisheries or sustainably farmed shrimp.
Why Cook Shrimp This Way?
- Versatility: Boiled shrimp are incredibly versatile and can be used in a wide range of dishes, from shrimp cocktail to salads and pasta dishes.
- Flavor: The boiling liquid can be infused with aromatics like lemon, garlic, and herbs, imparting subtle yet delicious flavors to the shrimp.
- Convenience: Boiling shrimp is a quick and easy method that requires minimal effort and cleanup.
Preparation (Mise en Place)
- Thawing: If using frozen shrimp, thaw them completely before boiling. The best method is to place the shrimp in a bowl in the refrigerator overnight. For faster thawing, place the shrimp in a sealed bag and submerge it in cold water for 30-60 minutes, changing the water every 15 minutes.
- Deveining (if necessary): If using shell-on shrimp, devein them before or after boiling. To devein, use a small, sharp knife to make a shallow slit along the back of the shrimp. Remove the dark vein with the tip of the knife.
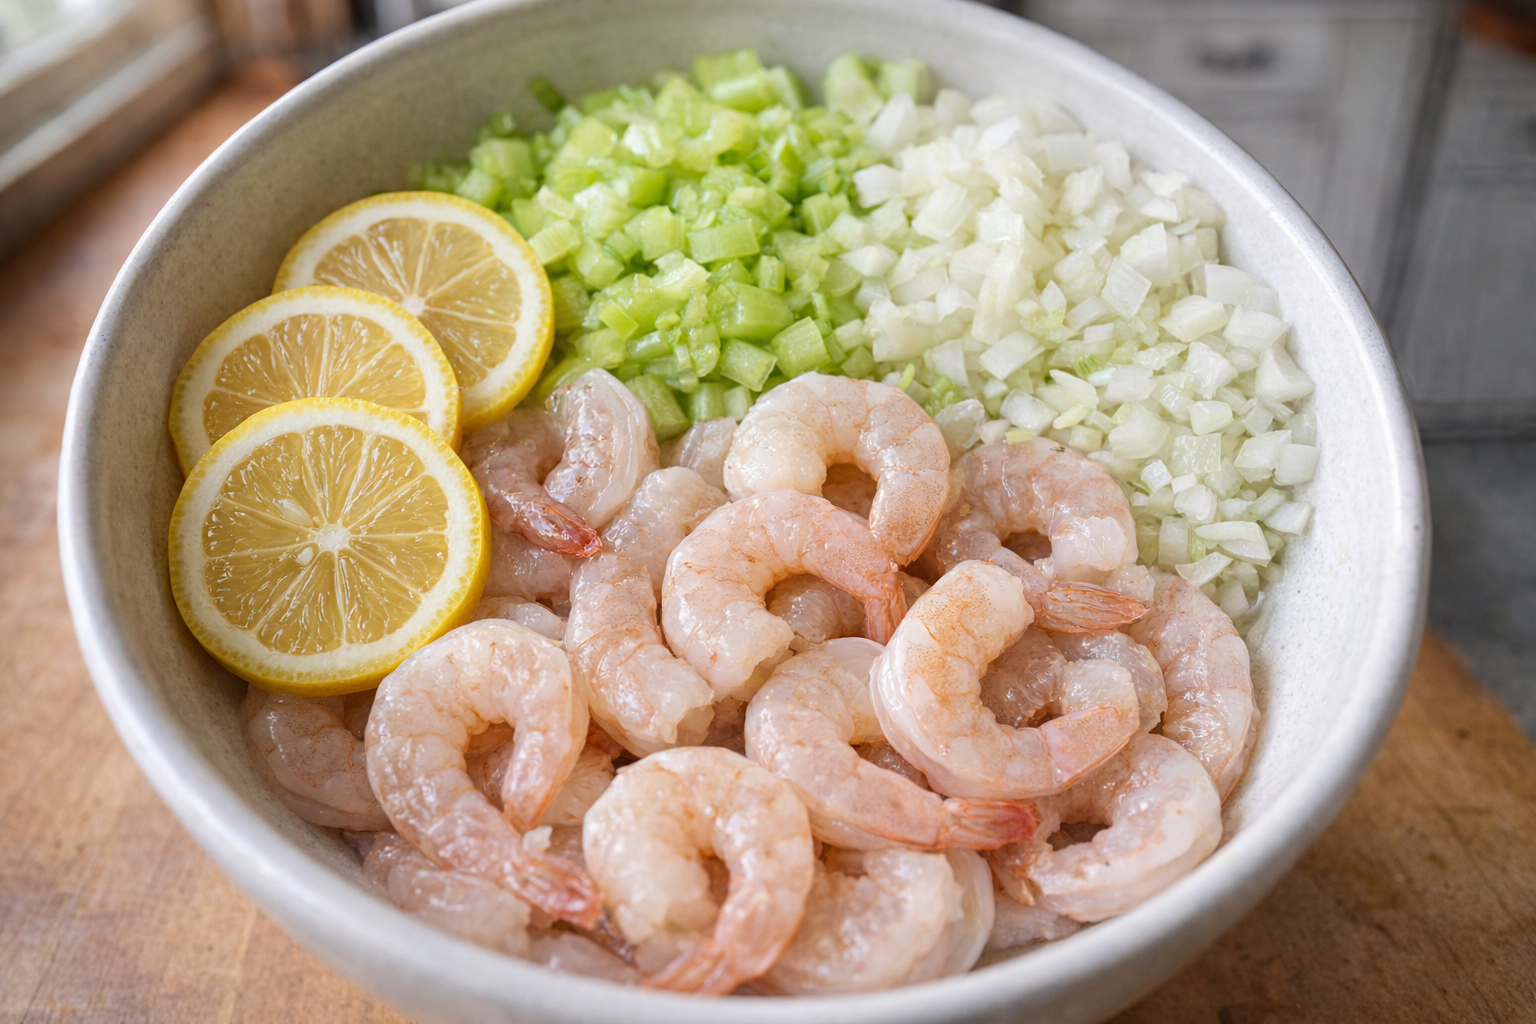
- Aromatics: Prepare your aromatics. Slice the lemon, chop the onion and celery, and gather your bay leaves and peppercorns.
Essential Tools
- Large Stockpot (6-8 quarts): A large pot ensures the shrimp are fully submerged and cook evenly.
- Colander or Strainer: For quickly draining the shrimp after boiling.
- Slotted Spoon or Tongs: For safely transferring the shrimp from the boiling water to the ice bath.
- Ice Bath: A bowl filled with ice and water to immediately stop the cooking process.
The Cooking Method
This recipe uses one core method, which is expanded to maximize flavor and ensure consistent results.
Boiling Shrimp with Aromatics
Ingredients:
- 1-2 pounds large shrimp (16/20 or 21/25), peeled and deveined or shell-on
- 8 cups (1.9 liters) water
- 1 yellow onion, quartered
- 2 celery stalks, chopped
- 1 lemon, halved
- 2 bay leaves
- 1 tablespoon black peppercorns
- 2 tablespoons sea salt
- Ice water, for ice bath
- Combine Aromatics: In a large stockpot, combine the water, onion, celery, lemon, bay leaves, peppercorns, and sea salt.
- Bring to a Boil: Bring the mixture to a rolling boil over high heat. The aromatic ingredients will infuse the water, creating a flavorful broth that will season the shrimp as they cook. The scent will be fragrant and savory.
- Add Shrimp: Once the water is boiling, gently add the shrimp to the pot. Ensure that the shrimp are fully submerged in the boiling liquid.
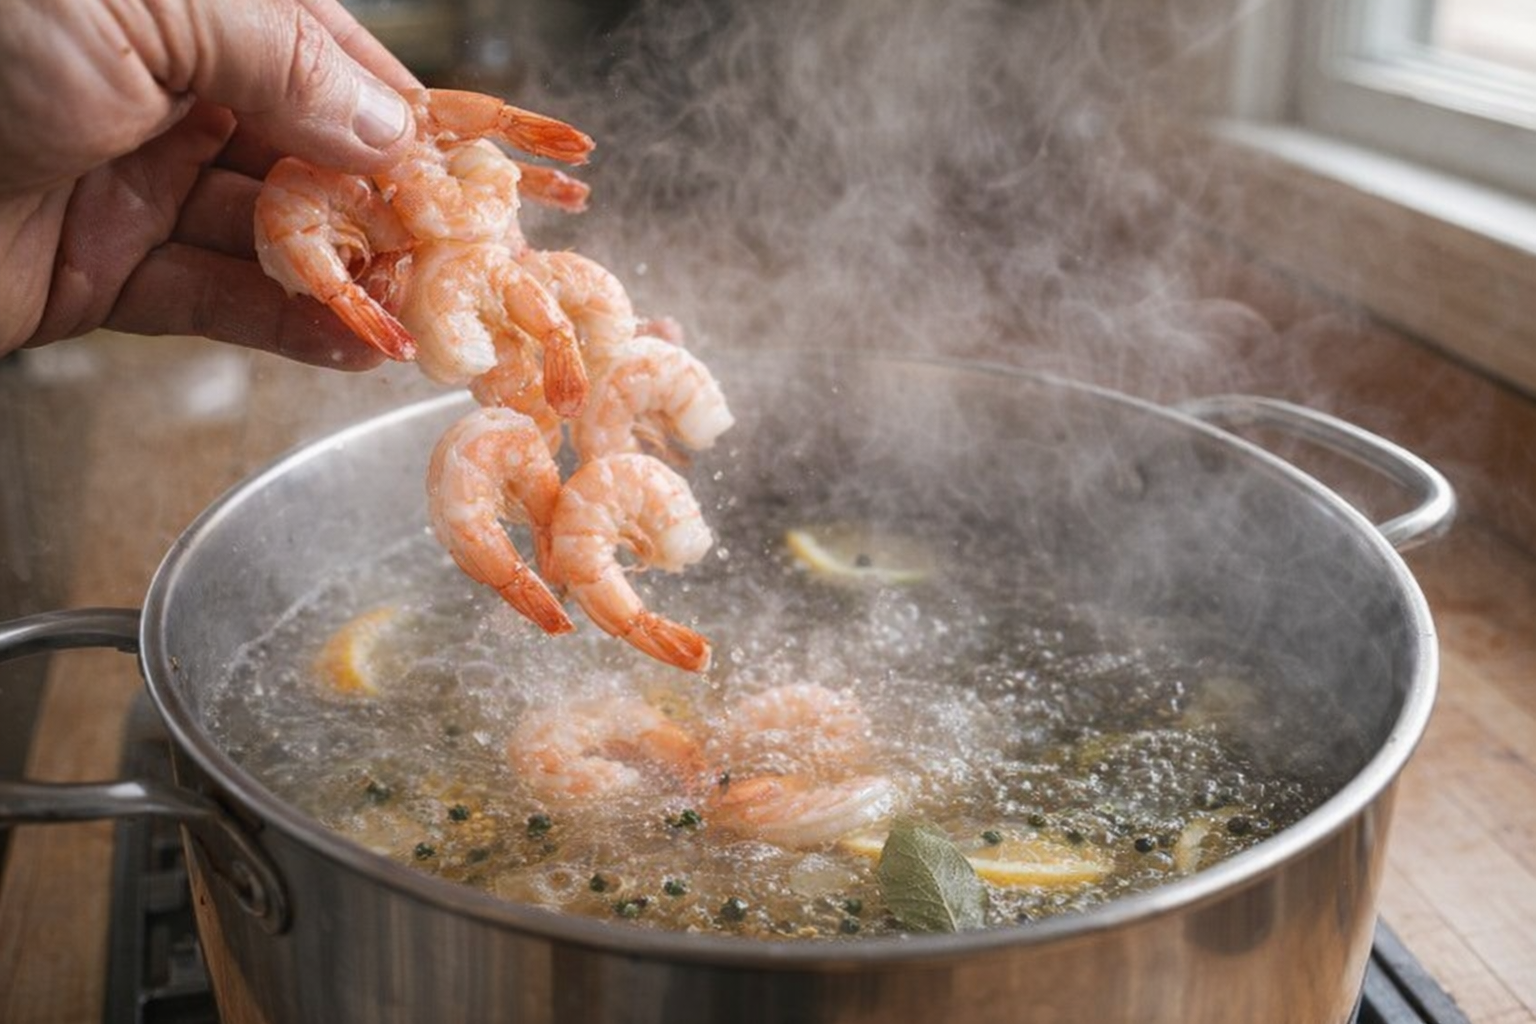
- Cook Briefly: Cook the shrimp for 2-3 minutes, depending on their size. Watch closely; they are done when they turn opaque and pink, and curl into a "C" shape. The color change is your primary indicator of doneness.
- Stop the Cooking: Immediately remove the shrimp from the boiling water using a slotted spoon or tongs. Transfer them to the prepared ice bath. This rapid cooling stops the cooking process and prevents overcooking.
- Cool and Drain: Allow the shrimp to cool in the ice bath for several minutes, or until they are cool to the touch. Drain the shrimp from the ice water.
Cooking Time & Doneness Guide
- Cooking Time: 2-3 minutes for large shrimp (16/20 or 21/25). Adjust time accordingly for smaller shrimp (1-2 minutes).
- Internal Temperature: While not typically measured for boiled shrimp, the internal temperature should reach 145°F (63°C).
Visual Cues
The most reliable indicator is the color. Raw shrimp are translucent gray; cooked shrimp are opaque pink. They should also curl into a "C" shape. Overcooked shrimp will curl into an "O" shape and be tough.
Tips for Perfection
- Don't Overcrowd the Pot: Cook the shrimp in batches to prevent overcrowding, which lowers the water temperature and results in uneven cooking.
- Use Enough Salt: Salt is crucial for seasoning the shrimp properly. Don't be afraid to add a generous amount to the boiling water.
- Prepare the Ice Bath: Have the ice bath ready before you start cooking the shrimp, as the rapid cooling is essential for stopping the cooking process.
- Don't Overcook: Overcooking is the most common mistake when boiling shrimp. Watch them closely and remove them from the heat as soon as they turn pink and opaque.
Storage & Reheating
- Storage: Store leftover boiled shrimp in an airtight container in the refrigerator for up to 3 days.
- Reheating: The best way to reheat boiled shrimp is gently. Steam them for a minute or two, or add them to a warm (not boiling) sauce to heat through. Avoid microwaving, as this can make them rubbery.
Serving Suggestions
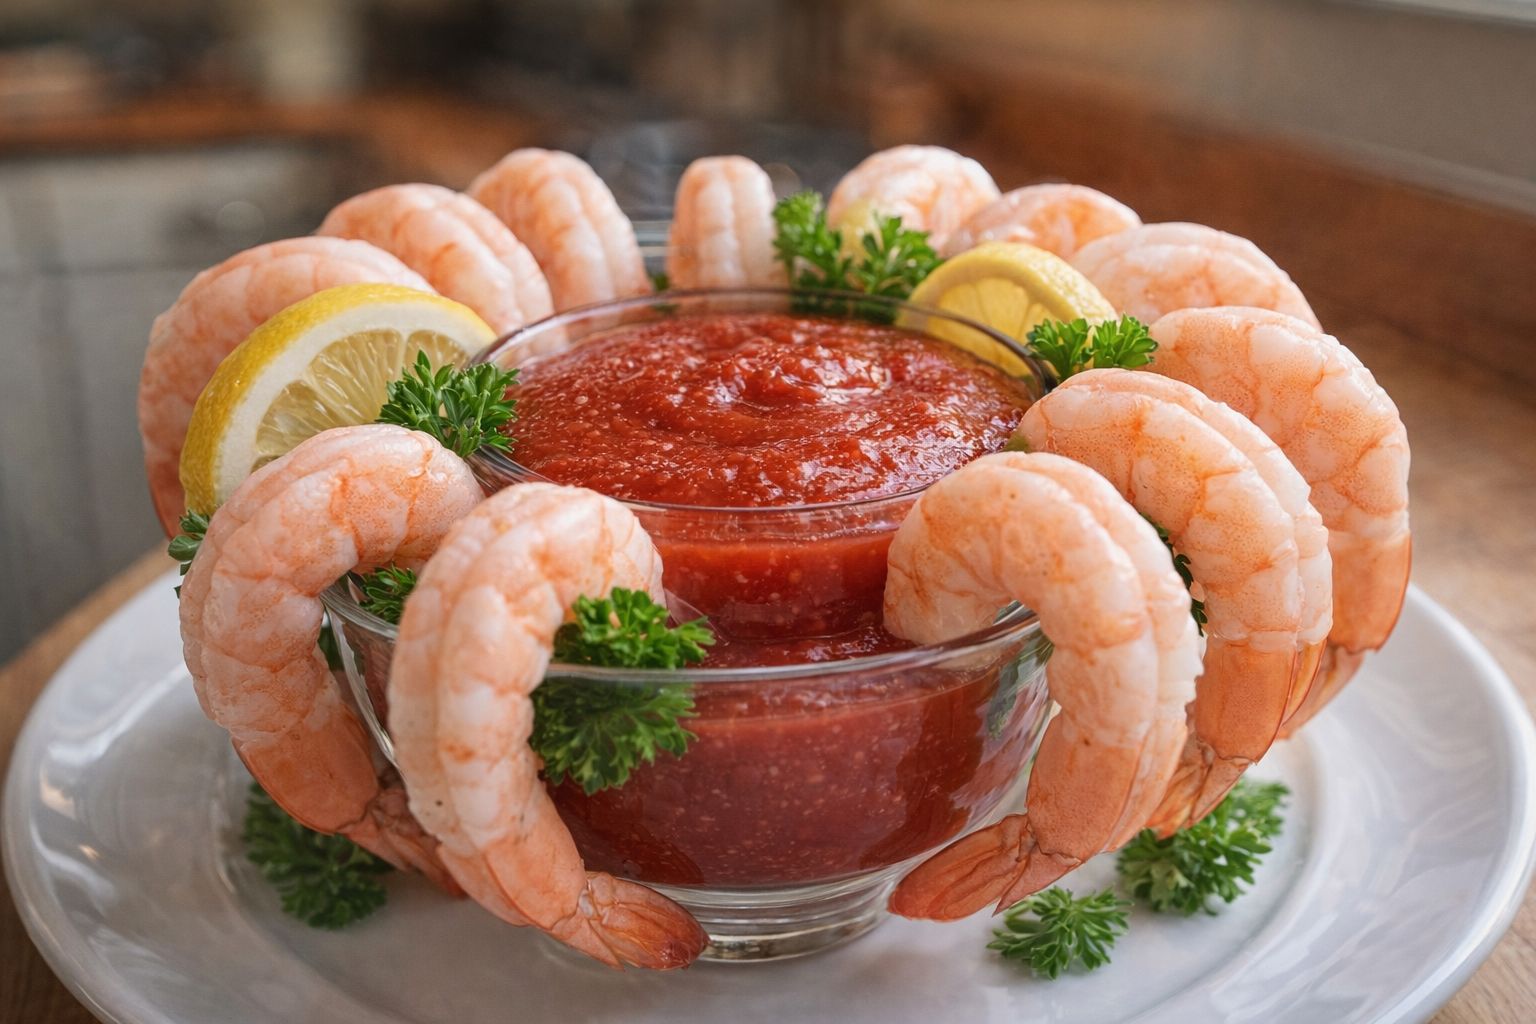
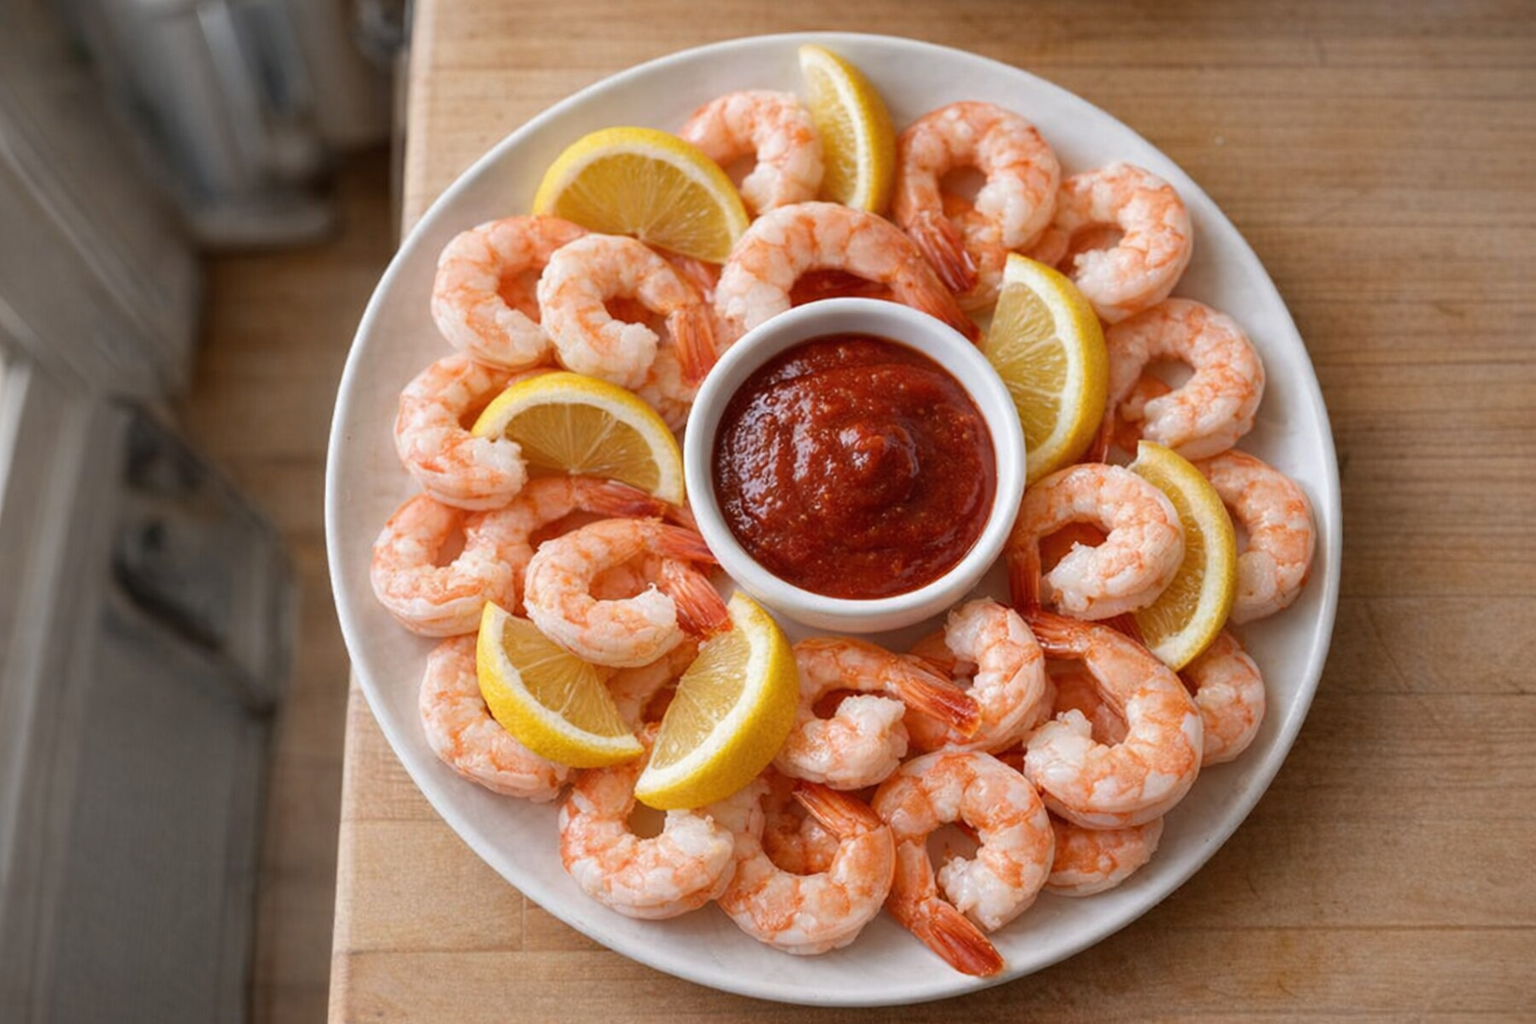
- Shrimp Cocktail: Serve chilled boiled shrimp with classic cocktail sauce and lemon wedges.
- Shrimp Salad: Combine boiled shrimp with mayonnaise, celery, onion, and seasonings for a refreshing shrimp salad. Serve on lettuce cups, in sandwiches, or with crackers.
- Shrimp Scampi Pasta: Toss boiled shrimp with pasta, garlic, butter, white wine, and parsley for a quick and flavorful scampi.
- Shrimp Tacos: Fill tortillas with boiled shrimp, shredded cabbage, avocado, salsa, and a squeeze of lime juice for delicious tacos.
Frequently Asked Questions
The key to preventing rubbery shrimp is to avoid overcooking. Pay close attention to the cooking time, and remove the shrimp from the heat as soon as they turn pink and opaque. Immediately transfer them to an ice bath to stop the cooking process.
While this recipe is for boiling raw shrimp, you can use pre-cooked shrimp. However, you'll only need to gently heat them through for a minute or two in the boiling water to avoid making them tough. You're just warming them, not cooking them.
Leftover boiled shrimp can be stored in an airtight container in the refrigerator for up to 3 days. They're great in salads, shrimp cocktail, or added to pasta dishes. Ensure they are properly chilled before storing.
You can customize the flavor of your boiled shrimp by using different aromatics. Consider adding Old Bay seasoning, peppercorns, bay leaves, or even a splash of hot sauce to the boiling water for a unique flavor profile.