 delishing
How to Cook Pulled Pork in the Oven: A Foolproof Guide

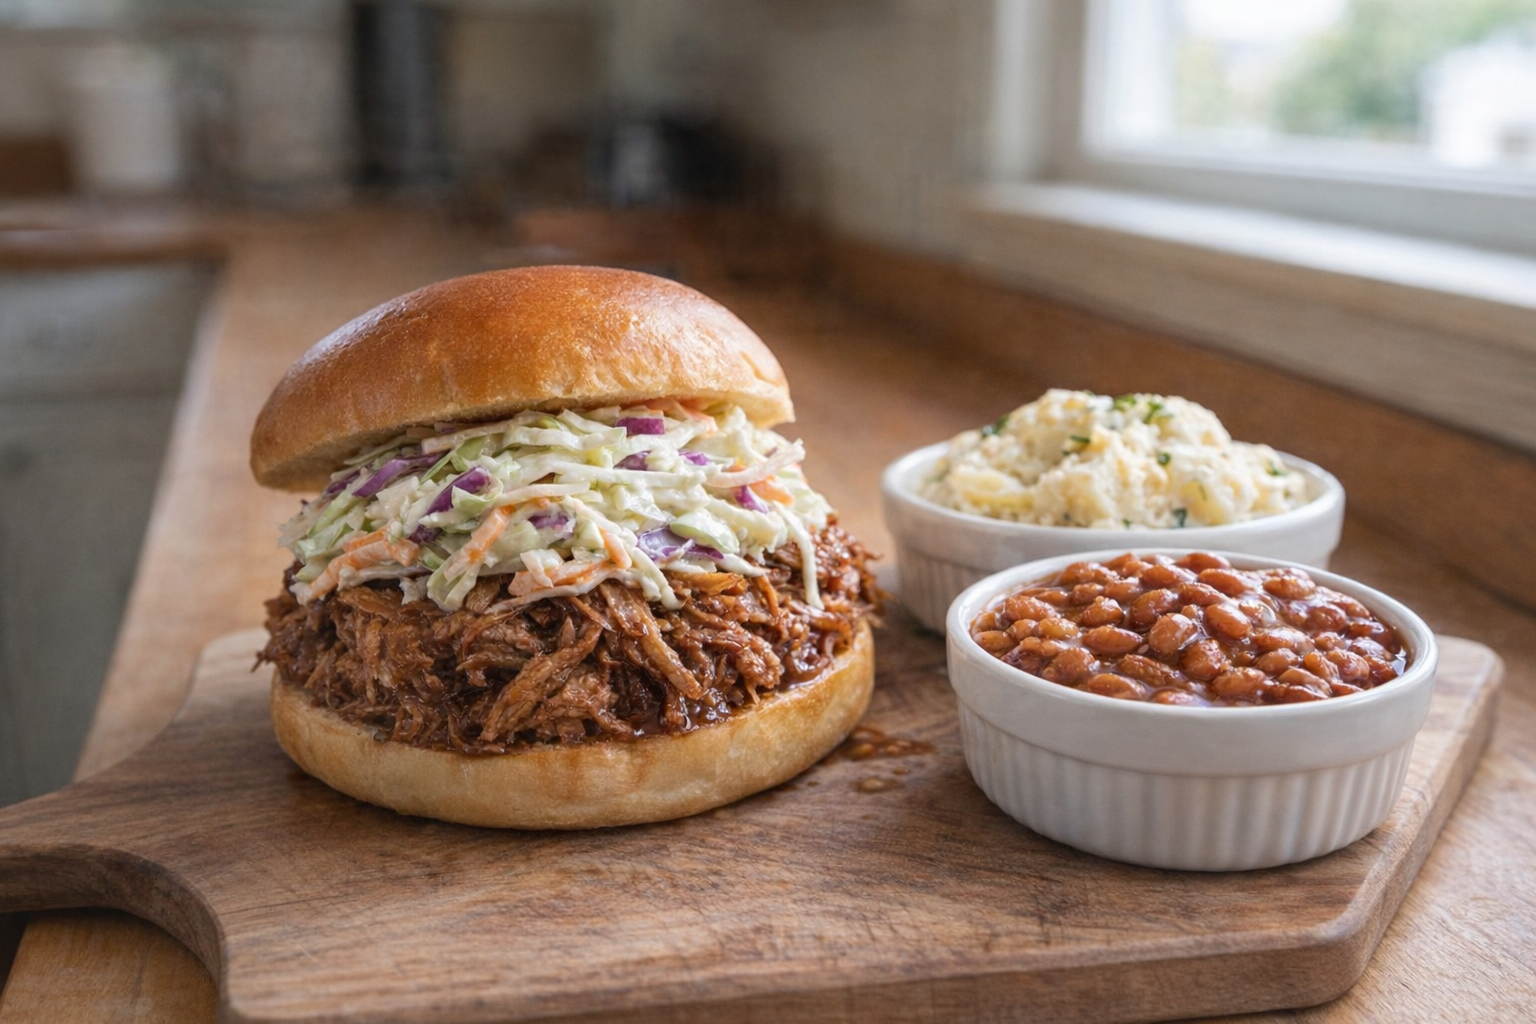
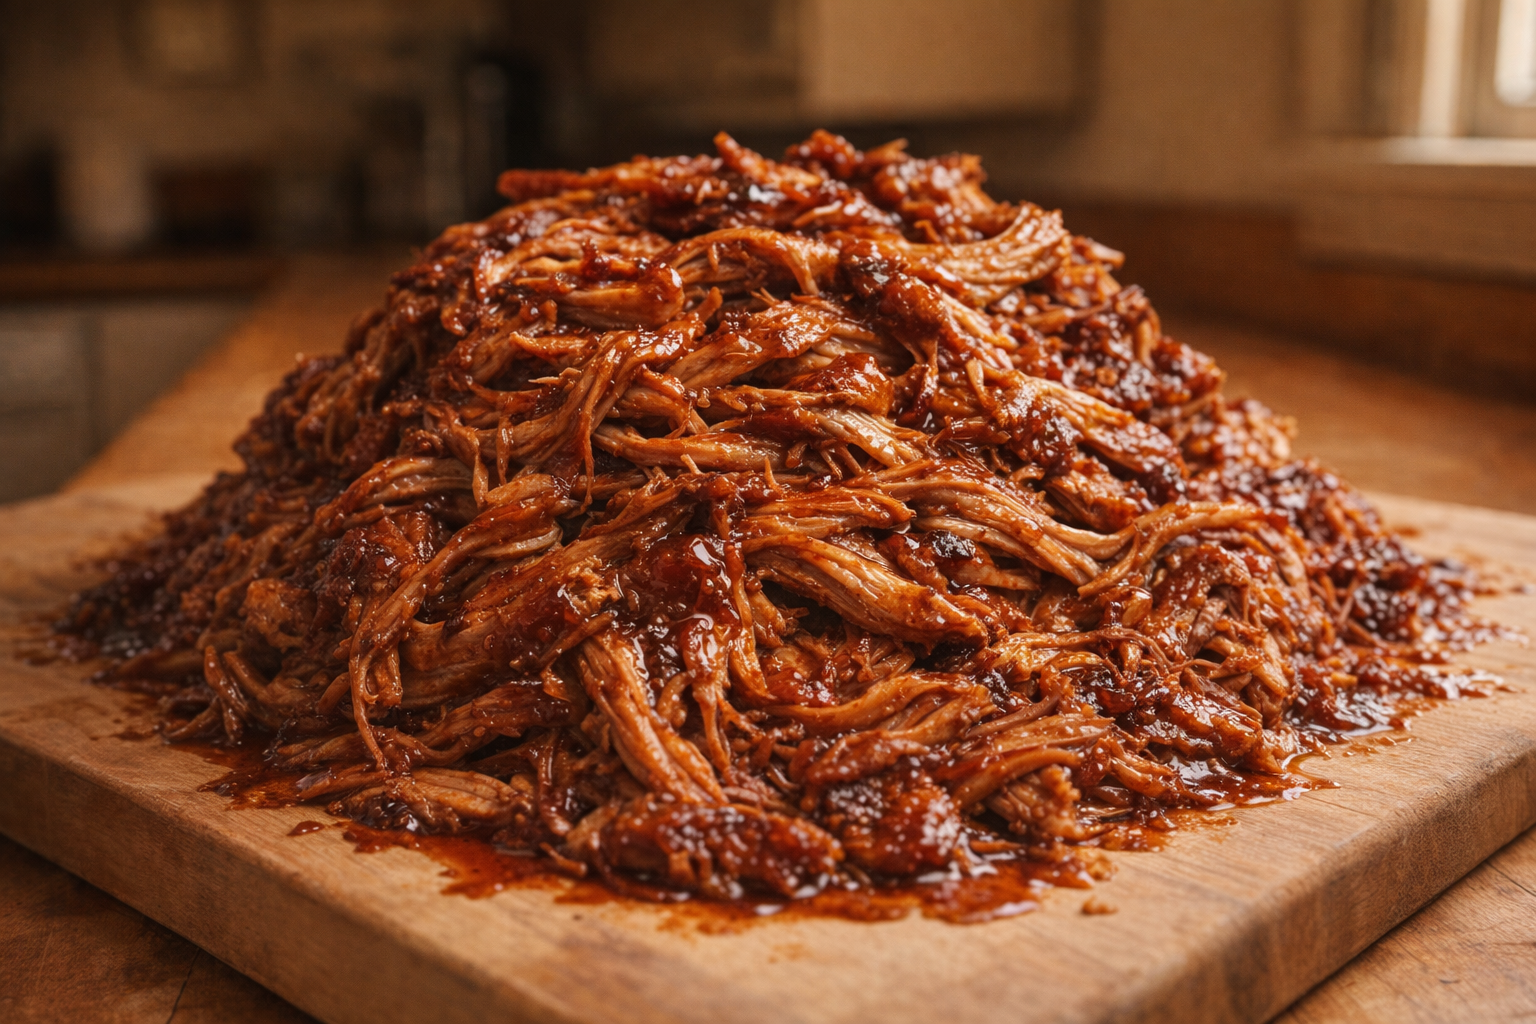
Pulled pork, with its smoky-sweet flavor and melt-in-your-mouth texture, is a barbecue staple that's surprisingly easy to achieve at home. This method focuses on oven-roasting, resulting in tender, juicy pork that rivals anything you'd get from a smoker, without the need for specialized equipment. The combination of a flavorful dry rub and slow cooking transforms a humble pork shoulder into a culinary delight.
The oven-roasting approach is incredibly reliable, providing consistent heat that evenly cooks the pork and breaks down its tough connective tissues. The result is a deeply savory and incredibly tender meat that's perfect for sandwiches, tacos, or simply enjoyed on its own. The finishing touch of BBQ sauce adds the perfect tangy-sweet counterpoint to the rich, smoky flavors.
Understanding Pork Butt (Shoulder)
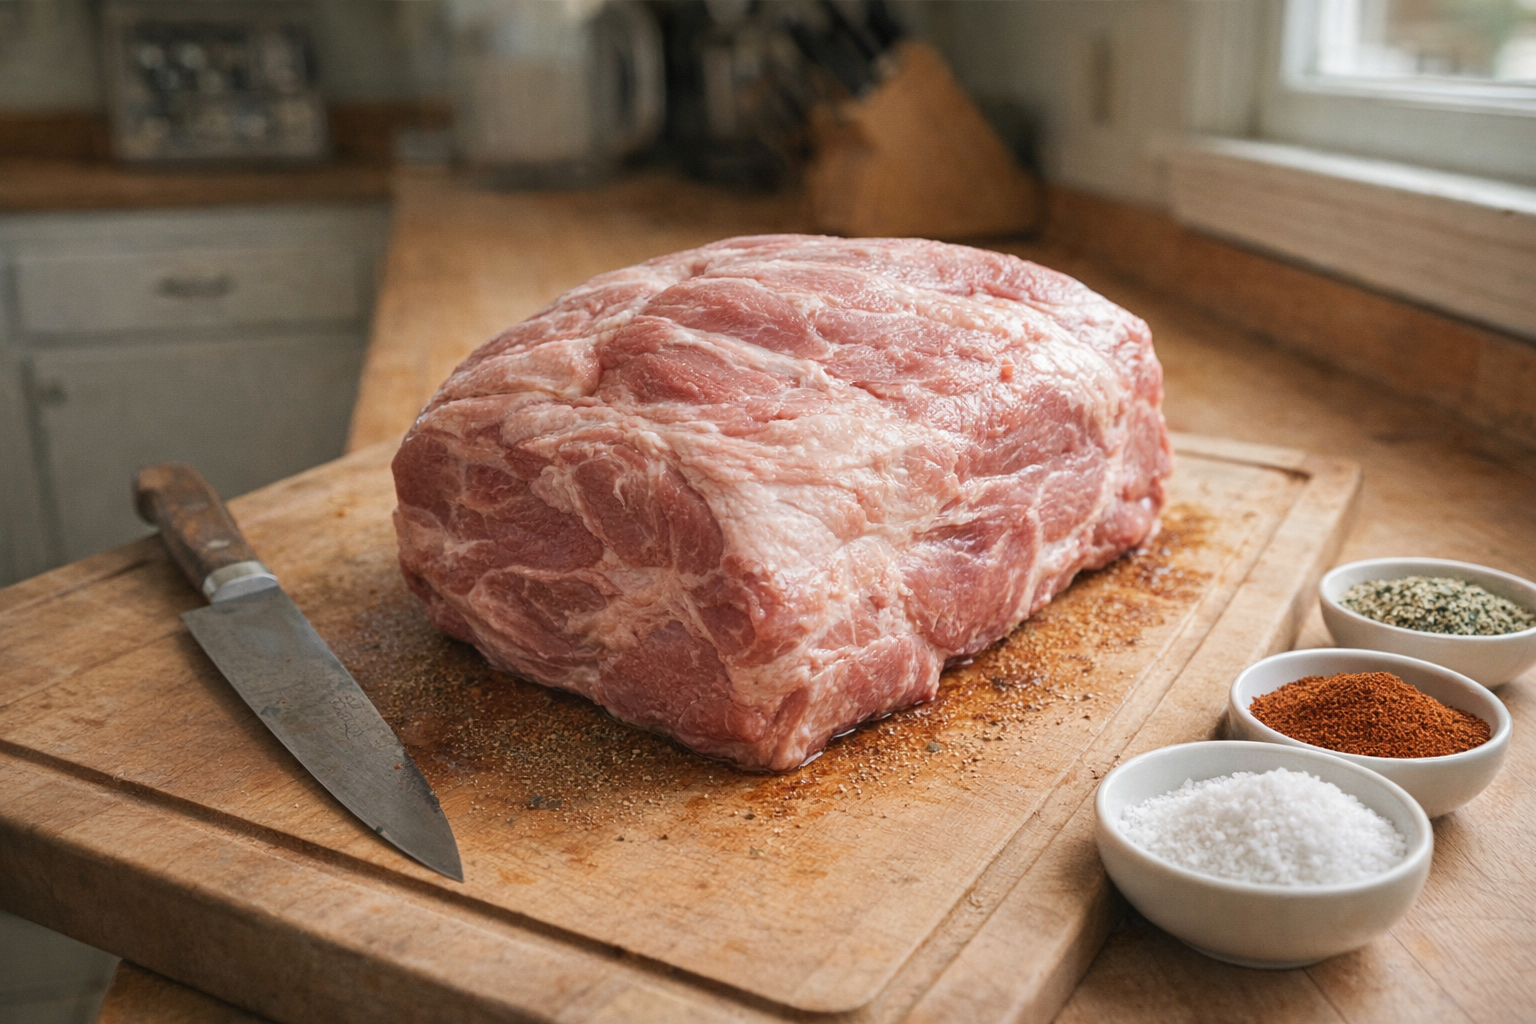
Despite its name, pork butt actually comes from the upper portion of the shoulder. This cut is ideal for pulled pork because it contains a generous amount of marbling (streaks of fat) that renders during the long cooking process, keeping the meat incredibly moist and flavorful.
- Bone-in vs. Boneless: Both bone-in and boneless pork butt work well. Bone-in often imparts slightly more flavor, but boneless is easier to slice and shred. We recommend boneless for beginners due to ease of handling.
- Size Matters: A 4-6 pound pork butt is a good size for most families. Larger cuts will require longer cooking times.
- Look for Marbling: Choose a pork butt with plenty of white streaks of fat running throughout the meat. This is key to achieving that tender, juicy texture. Avoid cuts that appear lean or dry.
Why Cook Pulled Pork This Way?
- Versatility: Pulled pork can be used in countless dishes, from sandwiches and tacos to salads and even pizza toppings.
- Flavor: Slow cooking allows the dry rub and pork’s natural flavors to meld together, creating a depth of flavor that's simply irresistible.
- Convenience: The oven method is largely hands-off, allowing you to prepare other dishes or simply relax while the pork roasts.
Preparation (Mise en Place)
Before you start cooking, it's important to prepare your ingredients and tools. This ensures a smooth and efficient cooking process.
- Thawing: If your pork butt is frozen, thaw it completely in the refrigerator for 24-48 hours. This ensures even cooking.
- Trimming: Trim any excess fat from the outside of the pork butt, leaving a thin layer (about 1/4 inch) to help keep the meat moist.
- Cutting (Optional): For faster cooking and more surface area for the rub, you can cut the pork butt into 2-3 smaller pieces.
Essential Tools
- Sharp Knife and Cutting Board: For trimming and cutting the pork.
- Mixing Bowl: For combining the dry rub ingredients.
- Roasting Pan with Rack: A roasting pan is ideal for catching drippings, while the rack elevates the pork, allowing for better air circulation and even cooking. If you don't have a rack, use a bed of roughly chopped onions and carrots to elevate the pork.
- Tongs: For handling the pork during browning and shredding.
- Meat Thermometer: Essential for ensuring the pork reaches the proper internal temperature for tenderness.
- Two Forks or Meat Claws: For shredding the cooked pork.
The Cooking Method(s)
Oven-Roasted Pulled Pork
This method involves slow-roasting the pork butt in the oven at a low temperature until it becomes incredibly tender and easily shreddable.
Ingredients:
- 4-pound boneless pork butt (shoulder)
- 2 tablespoons vegetable oil
- 12-ounce lager beer (or apple juice/chicken broth)
- 1-2 cups BBQ sauce (store-bought or homemade)
Dry Rub:
- 3 tablespoons packed dark brown sugar (35g)
- 1 tablespoon smoked paprika (8g)
- 1 tablespoon kosher salt (15g)
- 1 teaspoon ground cumin (2g)
- 1 teaspoon onion powder (2g)
- 1 teaspoon garlic powder (2g)
- 1 teaspoon freshly ground black pepper (2g)
Instructions:
- Prepare the Dry Rub: In a medium bowl, combine the brown sugar, smoked paprika, salt, cumin, onion powder, garlic powder, and black pepper. Mix well until evenly combined, breaking up any clumps of brown sugar. The aroma should be fragrant and savory.
- Season the Pork: Pat the pork butt dry with paper towels. Generously rub the dry rub all over the pork, ensuring every surface is coated. Press the rub firmly into the meat. If time allows, wrap the seasoned pork in plastic wrap and refrigerate for at least 2 hours, or preferably overnight, for deeper flavor penetration.
- Sear the Pork (Optional but Recommended): Heat the vegetable oil in a large Dutch oven or oven-safe skillet over medium-high heat. Once the oil is shimmering, sear the pork on all sides until browned, about 2-3 minutes per side. This step adds depth of flavor and color to the finished product. Listen for a satisfying sizzle as the pork hits the hot pan.
- Braise the Pork: Place the seared (or un-seared) pork in a roasting pan fitted with a rack. Pour the lager beer (or apple juice/chicken broth) into the bottom of the pan, being careful not to wash off the rub. The liquid should reach about ½ inch up the sides of the pork.
- Slow Roast: Cover the roasting pan tightly with aluminum foil. Bake in a preheated oven at 300°F (150°C) for 3 hours. The foil traps steam and helps to tenderize the meat.
- Continue Roasting (Uncovered): Remove the foil and continue roasting for another 1-2 hours, or until the pork is fork-tender and easily shreds. The internal temperature should reach 195-205°F (90-96°C). As the pork continues to cook uncovered, it will develop a rich, caramelized crust.
- Rest the Pork: Remove the pork from the oven and let it rest for at least 15 minutes before shredding. This allows the juices to redistribute throughout the meat, resulting in a more tender and flavorful final product. The aroma of the resting pork will be incredibly enticing.
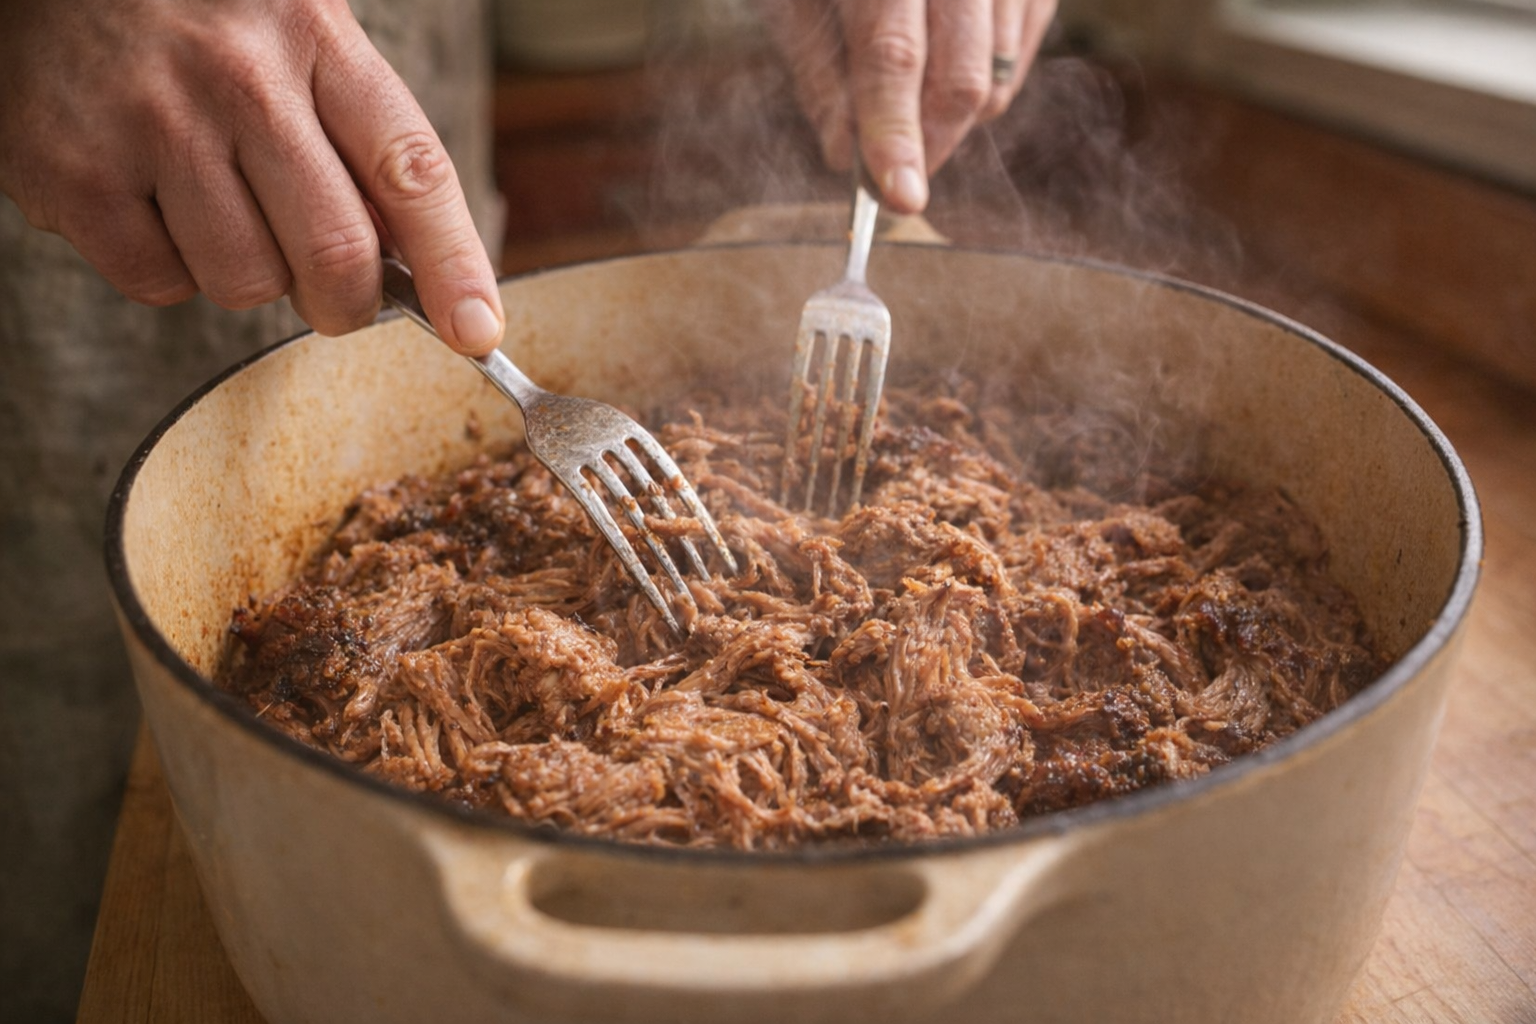
- Shred the Pork: Using two forks, shred the pork into bite-sized pieces. Discard any large pieces of fat or gristle.
- Sauce the Pork: In a large bowl, combine the shredded pork with your favorite BBQ sauce. Toss to coat evenly. You can also add a splash of the cooking liquid from the roasting pan for extra moisture and flavor. The combination of smoky pork and tangy-sweet BBQ sauce is the perfect finishing touch.
Cooking Time & Doneness Guide:
- Total Cooking Time: 4-5 hours (3 hours covered, 1-2 hours uncovered)
- Internal Temperature: 195-205°F (90-96°C)
Visual Cues
- The pork should be easily pierced with a fork with minimal resistance.
- The meat should pull apart effortlessly when shredded with two forks.
- The bone (if using bone-in) should easily pull away from the meat.
Tips for Perfection:
- Don't Overcrowd the Pan: Ensure there is enough space around the pork for even cooking. If necessary, use two roasting pans.
- Monitor the Liquid: Check the liquid level in the roasting pan periodically. If it evaporates too quickly, add more beer, apple juice, or chicken broth to prevent the pork from drying out.
- Adjust the Rub: Feel free to customize the dry rub to your liking. Add more or less of certain spices to create your own signature blend.
- Don't Rush the Process: Slow cooking is key to achieving tender, flavorful pulled pork. Resist the urge to increase the oven temperature, as this can result in tough, dry meat.
Storage & Reheating:
- Storage: Store leftover pulled pork in an airtight container in the refrigerator for up to 4 days or in the freezer for up to 3 months.
- Reheating: Reheat pulled pork in a skillet over medium heat with a splash of broth or BBQ sauce to prevent drying. You can also microwave it in short intervals, stirring occasionally.
Serving Suggestions:
- Pulled Pork Sandwiches: Serve the pulled pork on toasted buns with your favorite toppings, such as coleslaw, pickles, and extra BBQ sauce.
- Pulled Pork Tacos: Fill warm tortillas with pulled pork, shredded cheese, salsa, and a dollop of sour cream.
- Pulled Pork Nachos: Layer tortilla chips with pulled pork, melted cheese, black beans, corn, and your favorite nacho toppings.
- Pulled Pork Pizza: Top pizza dough with BBQ sauce, pulled pork, red onion, and shredded cheese.
💡 Pro Tips
- Roast the pork shoulder at a low temperature like 300°F to properly break down the connective tissue for a melt-in-your-mouth texture.
- Apply the dry rub generously to all sides of the meat and let it sit for at least 30 minutes to create a flavorful crust.
- Cover the roasting pan tightly with foil for the majority of the cooking time to retain moisture and ensure the pork stays juicy.
- Shred the meat immediately after a short rest while it is still hot to make the pulling process much easier and more efficient.
- Stir a small amount of the rendered pan drippings back into the shredded pork before saucing to enhance the deep, savory flavor.
Frequently Asked Questions
While it's best to fully thaw the pork butt in the refrigerator, you can speed up the process by placing it in a leak-proof bag and submerging it in cold water, changing the water every 30 minutes. However, be aware that this method might slightly affect the final texture, and you'll need to adjust cooking time accordingly.
While pork butt (shoulder) is the ideal cut, you could potentially use a picnic shoulder. However, picnic shoulder is often tougher and may require a longer cooking time to achieve the same level of tenderness. Be sure to monitor the internal temperature closely.
Allow the pulled pork to cool slightly, then store it in an airtight container in the refrigerator for up to 3-4 days. You can also freeze it for longer storage; portion it into freezer bags or containers to prevent freezer burn and thaw completely before reheating.
To reheat pulled pork, add a little bit of broth or BBQ sauce to the pork before reheating to maintain moisture. You can reheat it in the oven at a low temperature (around 250°F) or in a skillet over medium-low heat, stirring occasionally.