Delishing
Crispy Sheet-Pan Nachos

Nachos are one of those dinners that can be either a glorious, crunchy pile of melty cheese or a sad, soggy chip situation. I have made both. The turning point for me was treating nachos like a layering project, not a dump-and-bake. Once you separate what needs heat from what needs freshness, you get that restaurant-style balance: crisp chips, fully melted cheese, and toppings that still taste fresh.
Here is the simple rule I follow every time: the oven gets the chips, cheese, beans, and cooked meat, and everything juicy or creamy waits until the pan comes out. (Think salsa or pico de gallo, sour cream, and guacamole.)
This recipe is my reliable, weeknight-friendly sheet-pan method with an optional skillet version when I want the edges extra toasty. You will also find my exact layering rules, the oven timing that keeps the cheese bubbly without scorching the chip tips, and variations for game day crowds and quick dinners. If you are building a whole snack spread, pair these with my air fryer chicken wings or air fryer mozzarella sticks.
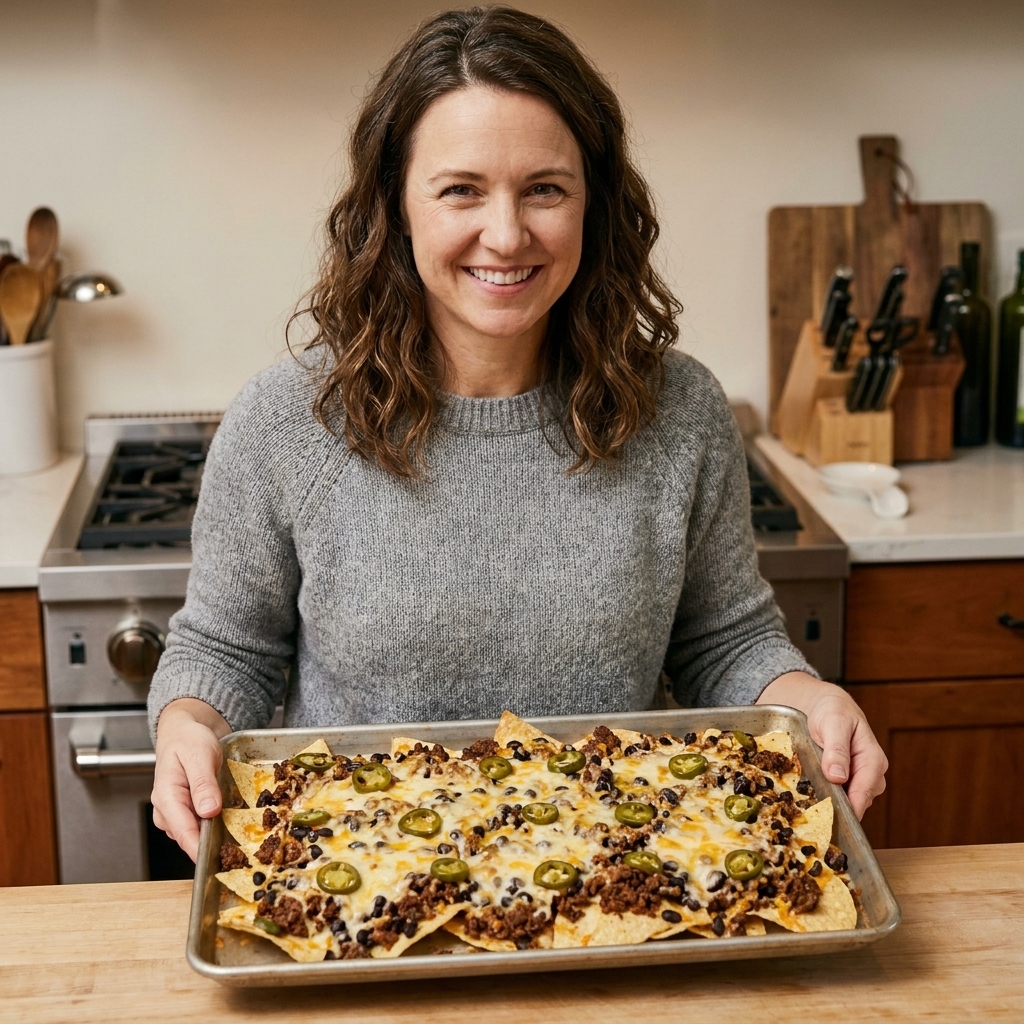
My biggest promise: you do not need a special cheese sauce, a fancy oven, or perfect knife skills. You just need a two-layer strategy, well-drained toppings, and a little restraint with anything wet until the very end.
Why this works
- Two-layer build prevents bald chips. Half the chips and cheese go down first, then you repeat, so you get melty coverage and fewer dry corners.
- Heat the hot toppings, finish with the cold toppings. Beans and meat warm through in the oven, while salsa, sour cream, and guacamole wait until the last second to keep chips crisp.
- A cheese blend melts better than a single cheese. Cheddar brings flavor, Monterey Jack brings melt, and the combo gives you that classic nacho pull.
- High heat, short time. Baking at 425°F melts cheese fast before chips dry out and burn at the edges.
Ingredient notes
Tortilla chips
Use thick, restaurant-style chips if you can. Thin chips are fine, but they break faster under toppings, especially if you are serving a crowd that hovers.
Cheese
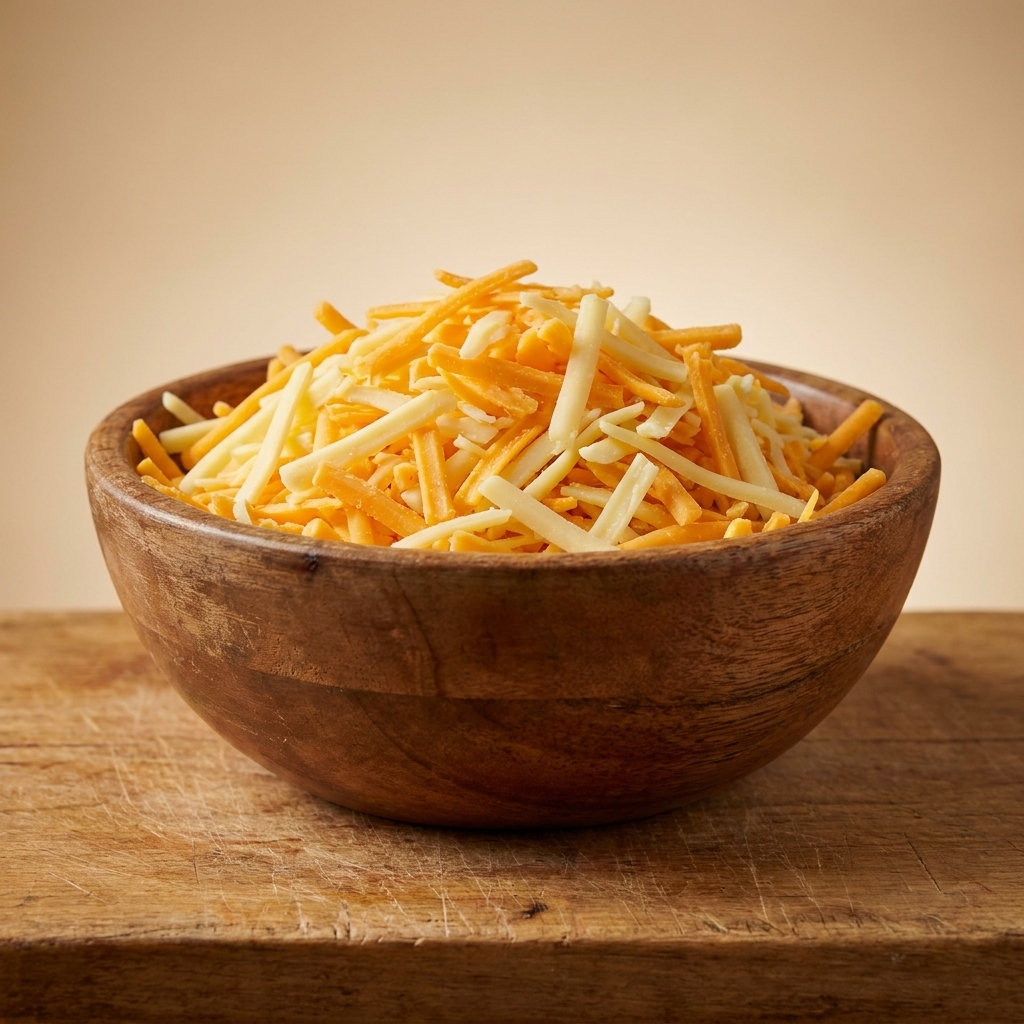
Pre-shredded cheese works in a pinch, but freshly shredded melts more smoothly. My go-to is a 50-50 mix of sharp cheddar and Monterey Jack. If you love a little heat, swap some cheddar for pepper jack.
Protein
Seasoned ground beef is classic and fast, but shredded rotisserie chicken, leftover taco meat, or crumbled chorizo also work. The key is using cooked protein so the oven time stays short.
Beans
Black beans add creaminess and hold heat well. Rinse and drain to avoid extra liquid on the chips.
Fresh toppings
Think of pico de gallo, salsa, sour cream, guacamole, shredded lettuce, and cilantro as your finishing layer. Add them after baking, not before.
Equipment
- Sheet pan (half-sheet size is ideal)
- Parchment paper or foil for easier cleanup (optional)
- Large skillet for browning the beef
- Microplane or box grater if shredding cheese fresh
- Optional: oven-safe skillet or cast iron pan for the skillet nacho method
Pro tips for crisp nachos
- Spread chips in a single, mostly even layer. Overlapping a little is fine, but big piles trap steam and soften faster.
- Cheese acts like glue. Sprinkle some cheese directly on chips before adding meat and beans. That layer helps protect chips from moisture.
- Drain everything. Drain beans well. If you are using salsa as a topping, consider using a slotted spoon so you get more solids than liquid.
- Warm the protein before it hits the pan. Hot meat melts cheese faster and reduces oven time.
- Serve immediately. Nachos have a short peak-crunch window. If you need them to last longer, keep wet toppings on the side.
If you love the crispy-edge effect, the skillet method below is worth it. A cast iron pan stays ripping hot and gives you extra toasty chips around the perimeter.
Substitutes
- Ground turkey or chicken: Use in place of beef, and bump up seasoning a bit since it is milder.
- Vegetarian protein: Skip meat and add extra beans, sautéed peppers, or a spoonful of canned green chiles (drained).
- Dairy-free: Use a dairy-free shredded cheese that melts well and finish with avocado, salsa, and pickled jalapeños.
- Gluten-free: Most tortilla chips are naturally gluten-free, but check the label for shared equipment warnings if needed.
Variations
Game day crowd nachos
Double the recipe and use two sheet pans. Bake them on separate racks and rotate halfway through. Serve with toppings in bowls so everyone builds their own and the chips stay crisp longer.
Quick dinner nachos
Use rotisserie chicken, canned beans, and pre-shredded cheese. You can be eating in about 20 minutes, including bake time.
BBQ chicken nachos
Toss shredded chicken with a little BBQ sauce, then top with red onion and cilantro. Keep the sauce light so it does not soak the chips. For another fast chicken dinner idea, my BBQ chicken salad is also a go-to.
Breakfast nachos
Swap the beef for breakfast sausage or crumbled bacon, then top after baking with scrambled eggs and sliced avocado.
Serving ideas
- Keep it simple: Serve straight off the sheet pan with salsa and sour cream on the side.
- Make it a snack board: Add wings from my air fryer chicken wings and a crunchy veggie tray.
- Add a fresh side: A quick chopped salad helps balance the richness. My caprese salad is especially good alongside cheesy nachos.
- Turn leftovers into lunch: Scoop toppings (not the chips) into a tortilla for an easy wrap.
Storage
Nachos are best eaten immediately. If you have leftovers, store toppings (meat, beans, and any fresh toppings) in an airtight container in the refrigerator for up to 3 days. Chips do not re-crisp well once they are loaded.
To reheat, warm the meat and beans in a skillet or microwave, then build a fresh small batch of nachos with new chips and cheese and bake until melted.
Common mistakes that lead to soggy nachos
- Pouring salsa over the whole pan before baking. Salsa is delicious and also basically chip kryptonite. Add it at the end or serve on the side.
- Using cold, wet toppings under the cheese. Cold toppings create steam as they heat, which softens chips.
- Overbaking. Once the cheese is melted and bubbling, pull the pan. Extra time mostly dries chips and scorches exposed edges.
- Not draining beans. Even a couple tablespoons of extra liquid can soften the center of the pan fast.
- Too many toppings. Nachos need some negative space. Think coverage, not height.
FAQ
How do you keep nachos from getting soggy?
Use thick chips, drain beans and anything canned, keep wet toppings off the oven bake, and build in two layers with cheese directly on chips.
What temperature should I bake nachos?
I like 425°F. It melts cheese fast without needing a long bake time. If your chips brown quickly, drop to 400°F and add 1 to 2 minutes.
Skillet vs sheet-pan nachos, which is better?
Sheet-pan nachos win for maximum surface area and feeding a crowd. Skillet nachos win for ultra-crispy edges and staying warm longer, especially in cast iron.
Can I prep nachos ahead of time?
You can prep components ahead, like cooking the meat and shredding cheese. I do not recommend assembling the full pan early because the chips will absorb moisture and lose crunch.
Crispy Sheet-Pan Nachos
A foolproof, two-layer nacho build that keeps chips crisp and cheese perfectly melted. Includes a skillet option for extra-toasty edges.
- Prep Time
- 15 minutes
- Cook Time
- 15 minutes
- Total Time
- 30 minutes
- Servings
- 4 servings
Ingredients
- 1 tablespoon olive oil
- 1 pound ground beef
- 1 tablespoon chili powder
- 1 teaspoon ground cumin
- 1 teaspoon kosher salt, plus more to taste
- 1/2 teaspoon garlic powder
- 1/4 teaspoon black pepper
- 1 (10 ounce) bag thick tortilla chips (about 8 to 10 cups)
- 2 cups shredded Monterey Jack cheese
- 2 cups shredded sharp cheddar cheese
- 1 (15 ounce) can black beans, rinsed and well drained
- 1/3 cup sliced pickled jalapeños, drained
- 1/2 cup diced red onion (optional)
- 1 cup pico de gallo or salsa, for serving
- 1/2 cup sour cream, for serving
- 1 to 2 avocados, sliced or mashed into guacamole, for serving
- 1/4 cup chopped fresh cilantro, for serving
- 1 lime, cut into wedges, for serving
Instructions
- Preheat the oven. Arrange a rack in the middle of the oven and preheat to 425°F. Line a sheet pan with parchment paper or foil if you want easier cleanup (optional).
- Cook and season the beef. Heat olive oil in a large skillet over medium-high heat. Add ground beef and cook, breaking it up with a spoon, until browned and cooked through, 6 to 8 minutes. Carefully drain excess fat if needed. Stir in chili powder, cumin, salt, garlic powder, and black pepper. Reduce heat to low to keep warm.
- Mix the cheese. In a bowl, toss Monterey Jack and cheddar together so every handful melts evenly.
- Build layer one. Spread about half the chips on the sheet pan. Sprinkle with about one third of the cheese mixture. Scatter on half the black beans and about half the seasoned beef.
- Build layer two. Add the remaining chips. Top with the remaining beans and beef. Sprinkle the remaining cheese evenly over the top. Add jalapeños and red onion (if using).
- Bake. Bake until the cheese is fully melted and bubbling, 6 to 9 minutes. Watch closely in the last 2 minutes to prevent exposed chip edges from browning too much.
- Finish and serve. Let the nachos rest for 2 minutes, then top with pico de gallo or serve it on the side. Add sour cream, avocado or guacamole, and cilantro. Serve with lime wedges and eat right away for maximum crunch.
- Optional skillet method. For skillet nachos, preheat an oven-safe cast iron skillet in the oven while it heats. Carefully remove the hot skillet, add a small drizzle of oil, then build the nachos in the skillet using the same two-layer method. Bake 6 to 9 minutes until melted and bubbling.
Notes
- For crispier nachos: Keep salsa, pico de gallo, sour cream, and guacamole off the pan until after baking.
- For a bigger pan: Use two sheet pans rather than overloading one. Overcrowding traps steam and softens chips.
- Cheese tip: Freshly shredded cheese melts smoother than pre-shredded, but both work.
Nutrition