 delishing
How to Tenderize Steak: 8 Proven Methods for Culinary Perfection

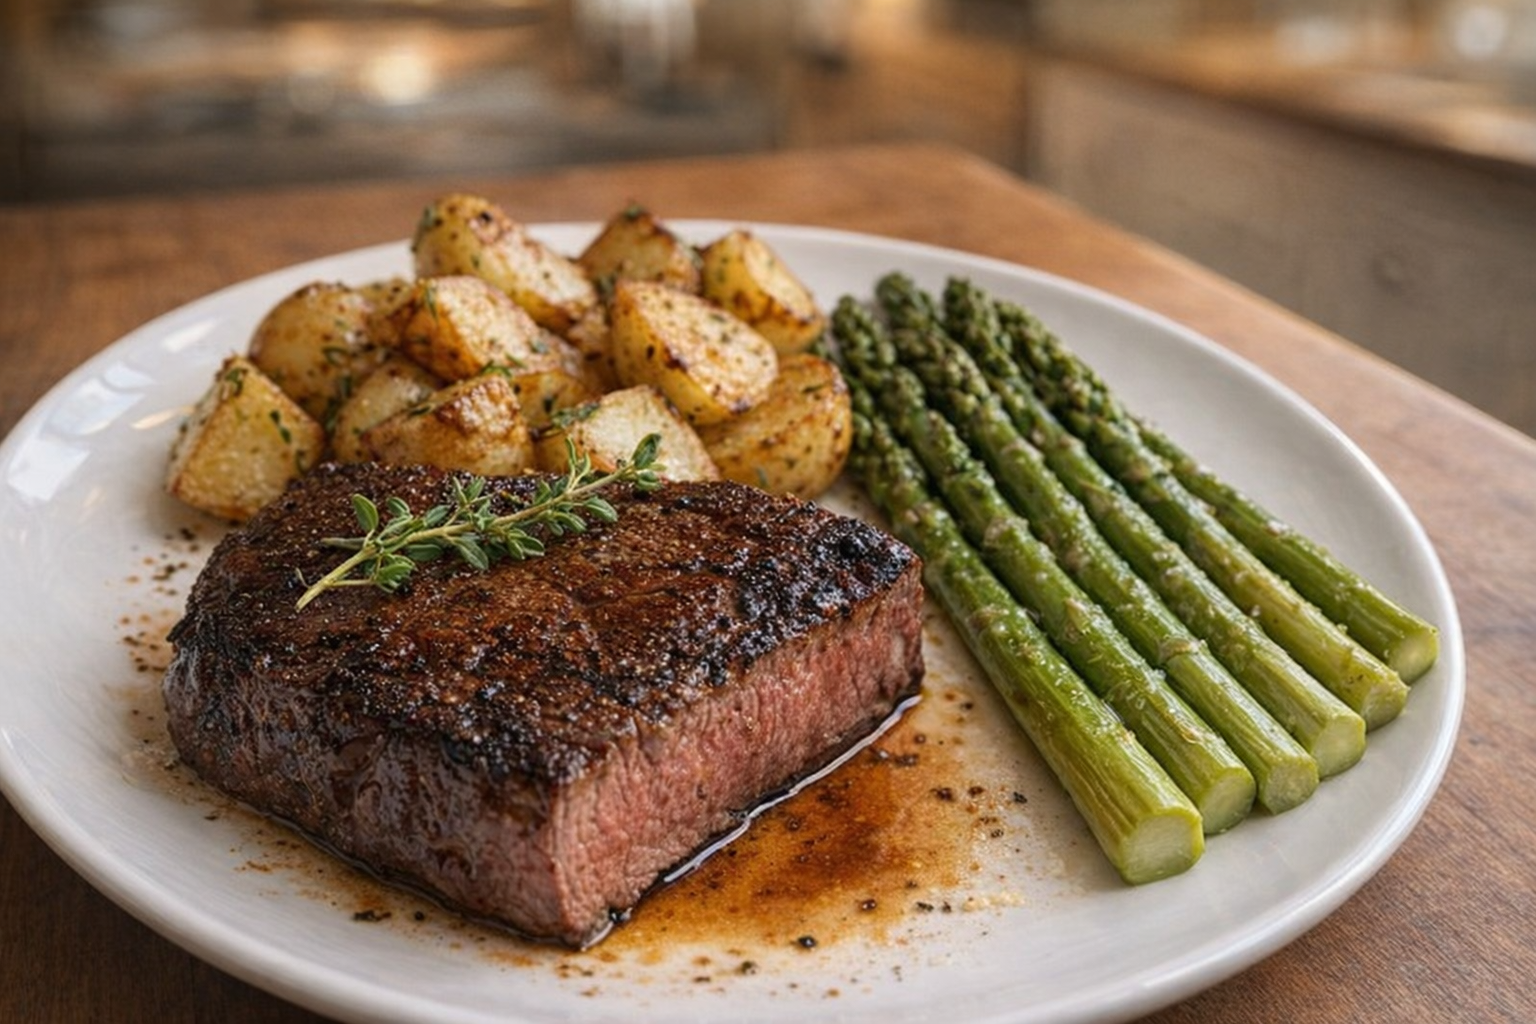
Introduction: Achieving a perfectly tender steak at home is within reach, regardless of the cut. The secret lies in understanding the muscle structure and employing techniques to break down tough connective tissues. These methods, ranging from mechanical disruption to enzymatic action, unlock the potential of even the most economical cuts, transforming them into succulent and satisfying meals. Mastering these techniques will elevate your steak game, ensuring a delightful dining experience every time.
Understanding steak tenderization is about more than just softening the meat; it's about enhancing flavor and improving texture. By breaking down the proteins, you allow marinades and seasonings to penetrate deeper, resulting in a more flavorful and evenly seasoned steak. Whether you're grilling, pan-searing, or broiling, tenderizing ensures that your steak cooks evenly and remains juicy, preventing it from becoming dry or tough.
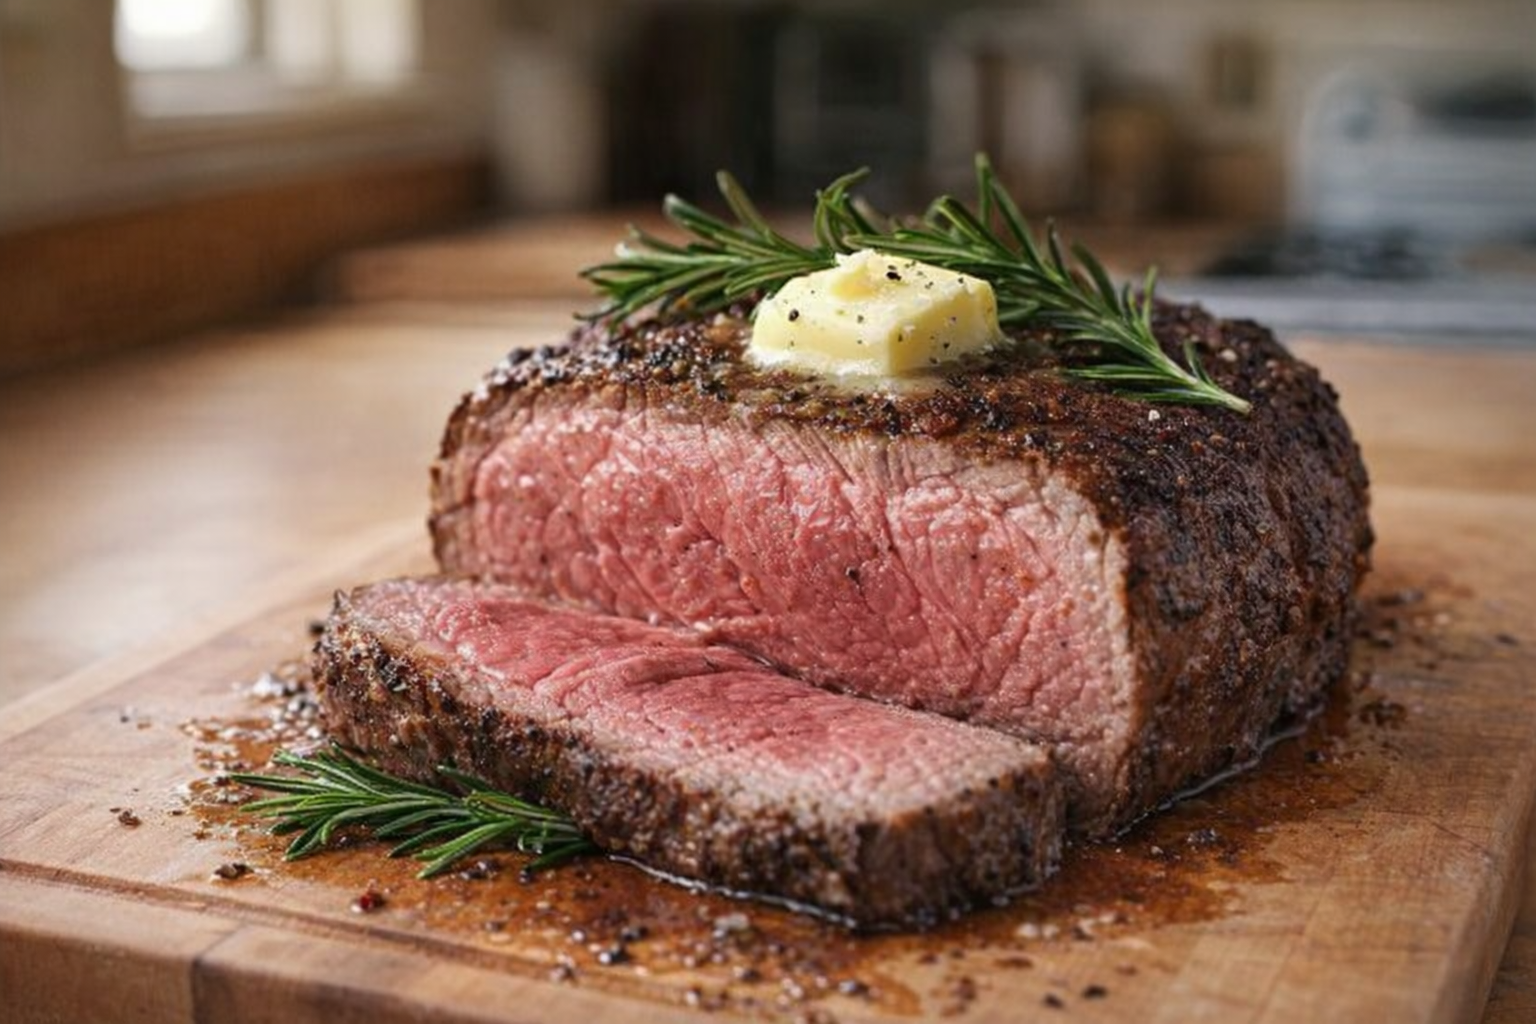
Understanding Steak Cuts: Not all steaks require tenderization. Premium cuts like ribeye, tenderloin, and strip steak are naturally tender due to their lower connective tissue content and come from less muscular parts of the cow. These cuts benefit most from proper cooking and resting. However, tougher cuts from the shoulder or leg, such as flank, skirt, chuck, and round steak, require tenderization to become palatable. When purchasing steak for tenderizing, look for well-marbled cuts as the intramuscular fat will contribute to the final flavor and moisture.
Why Tenderize Steak This Way?
- Versatility: Tenderizing opens up a wider range of steak cuts for various cooking methods, from quick grilling to slow braising.
- Flavor Enhancement: Tenderizing allows marinades and seasonings to penetrate deeper, resulting in a more flavorful steak.
- Convenience: Many tenderizing methods can be done ahead of time, making meal preparation easier.
- If using frozen steak, thaw it completely in the refrigerator for 24-48 hours before tenderizing. This ensures even tenderization.
- Pat the steak dry with paper towels to remove excess moisture. This helps the tenderizing agents adhere better.
- Trim any excess fat, leaving a thin layer for flavor.
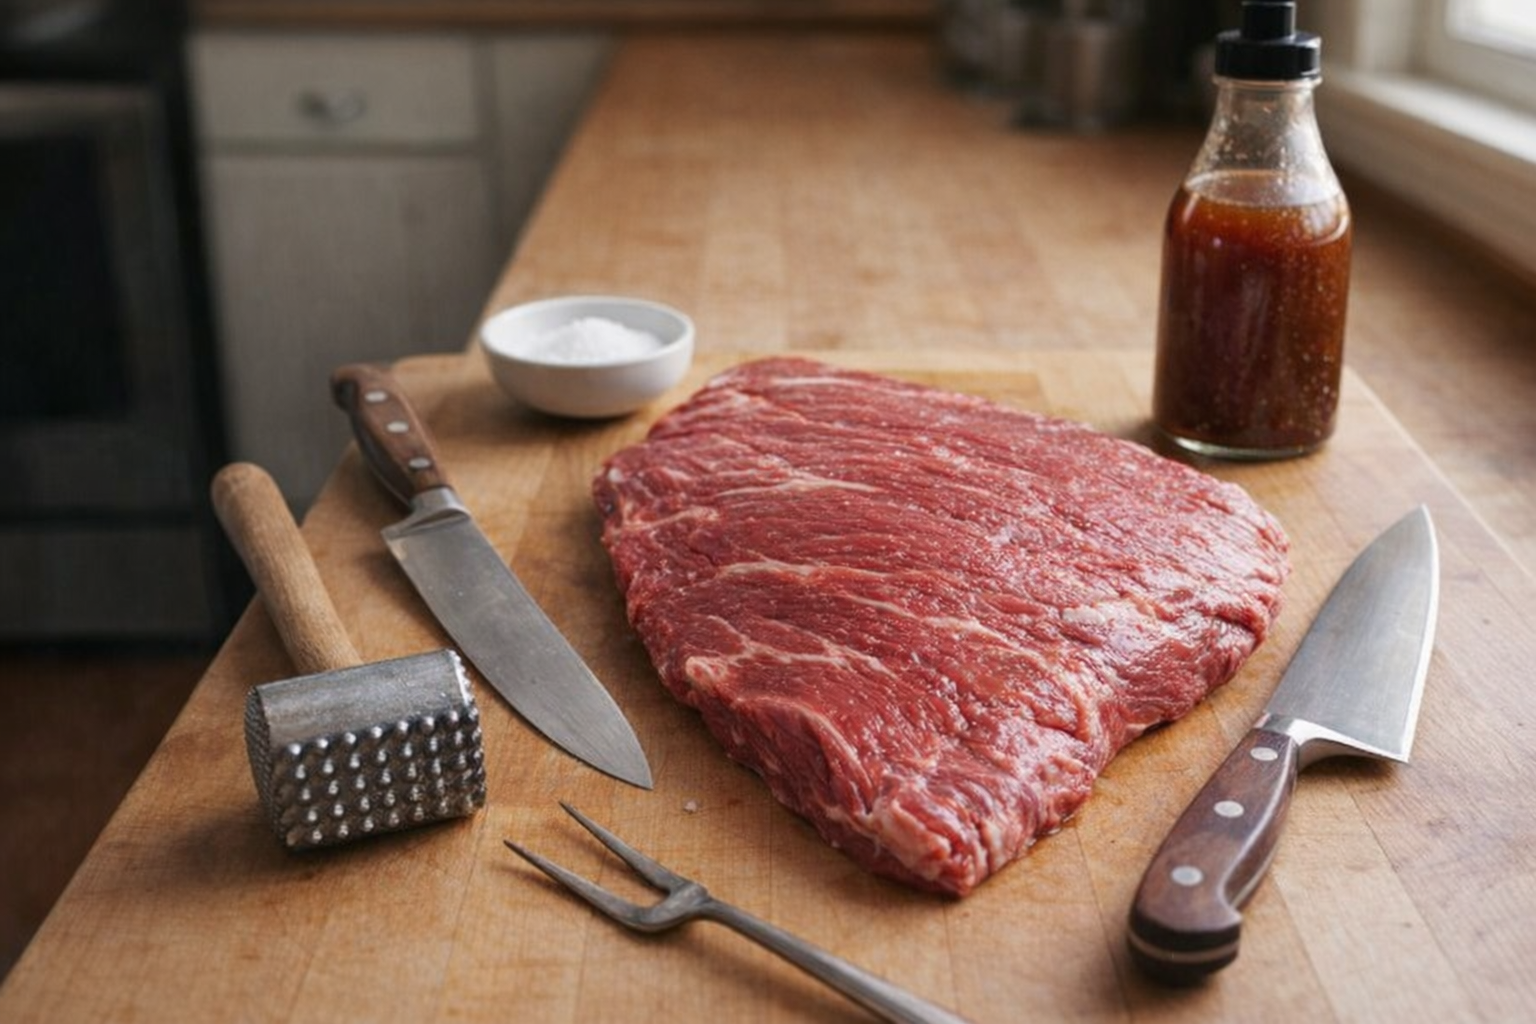
- Meat Mallet: For physically breaking down muscle fibers. A mallet with both a flat and textured side is ideal.
- Fork: For creating small punctures that aid in tenderization and flavor absorption.
- Sharp Knife: For scoring the steak, creating more surface area for tenderizing agents to penetrate.
- Non-Reactive Container or Plastic Bag: For marinating or brining the steak. Avoid aluminum containers, which can react with acidic ingredients.
The Cooking Methods:
Instruction: The following methods detail multiple approaches to tenderizing steak, ranging from mechanical techniques to enzymatic action. Each method is designed to break down tough muscle fibers and enhance flavor.
Method 1: Pounding with a Meat Mallet
Ingredients:
- Steak (Flank, Skirt, Chuck, or Round)
- Plastic Wrap or Heavy-Duty Plastic Bag
- Place a large cutting board on a stable surface. Cover the board with plastic wrap or place the steak inside a heavy-duty plastic bag to prevent meat splatter.
- Lay the steak flat on the covered cutting board. If using a plastic bag, ensure the steak is centered and laid out evenly.
- Begin pounding with the flat side of the mallet. Use gentle, even pressure to create a uniform thickness, about 1/4 to 1/2 inch. Start from the center and work your way outwards, applying consistent pressure. The sound should be a rhythmic thud, not a forceful whack.
- Flip to the textured side of the mallet. Use firmer, deliberate strikes to break down the muscle fibers. The goal is to create those characteristic small indentations without completely shredding the meat. You should feel the meat yielding slightly under the mallet.
- Keep your strikes consistent and spread evenly across the entire surface of the steak. Avoid concentrated pounding in one area, which could tear the meat.
- Periodically lift the steak to check its thickness. Most recipes call for a thickness between 1/4 to 1/2 inch after pounding. The texture should feel noticeably softer and more pliable.
- Once tenderized, remove the steak from the plastic and pat dry with paper towels. The meat is now ready for seasoning and cooking.
Method 2: Marinating
Ingredients:
- Steak (Flank, Skirt, Chuck, or Round)
- 1/2 cup Citrus Juice (Lime, Orange, or Lemon)
- 1/4 cup Olive Oil
- 2 cloves Garlic, minced
- 1 tbsp Fresh Herbs (Rosemary, Thyme, or Oregano), chopped
- 1 tsp Salt
- 1/2 tsp Black Pepper
- Select powerful tenderizing liquids. Citrus juices, tangy vinegar, yogurt, buttermilk, cola or wine work by gently relaxing the meat's tough muscle structure.
- Combine your acid base with complementary ingredients. Olive oil helps distribute flavors and keeps the meat moist. Toss in fresh herbs like rosemary or thyme, minced garlic, and your favorite spices.
- Don't forget to add salt! It is important - it helps the meat retain moisture and enhances overall flavor penetration.
- Take a few paper towels to remove excess moisture from the steak, helping the marinade stick. Shallow surface cuts can allow the flavors to soak in further. But it is totally optional.
- To marinate effectively, select a non-reactive container or a sturdy plastic bag. Completely cover the meat with the marinade, gently massaging the mixture to ensure full flavor absorption.
- Timing is everything. Thin cuts need 30 minutes to 2 hours, while thicker steaks can soak up to 8 hours in the fridge. Never push beyond 24 hours - too long, and the acids start to change the meat's texture in unwanted ways.
- When it's time to cook, remove the steak from the marinade. Let excess liquid drip off, but skip the rinsing. Pat the meat dry to ensure a perfect sear that locks in all those incredible flavors.
Method 3: Salt Brine
Ingredients:
- Steak (Ribeye, Sirloin, or Chuck)
- Kosher Salt or Sea Salt
- Grab kosher salt or sea salt. Avoid iodized table salt, which can make your steak taste metallic. You'll want a coarse salt that clings nicely to the meat and penetrates slowly.
- Pull your steak from the refrigerator and pat it completely dry. This helps the salt adhere better and start its magic immediately. Choose a flat dish or a wire rack that allows air circulation.
- Apply salt evenly across the entire steak, ensuring a light coating. Stick to about 1/2 teaspoon per pound for best results.
- Place the salted steak uncovered in the refrigerator. Thinner cuts take about 40 minutes, while thicker steaks can rest for 1-2 hours. Larger, tougher cuts might benefit from up to 24 hours of salting. The key is patience.
- Before cooking, rinse off excess salt and pat the steak absolutely dry. This prevents over-salting while ensuring a perfect sear. Let the meat rest at room temperature for about 30 minutes before cooking.
Method 4: Slow Cooking
Ingredients:
- Steak (Chuck or Brisket)
- Salt and Pepper to taste
- 1 cup Beef Broth, Wine, or Beer
- 1 Onion, chopped
- 2 cloves Garlic, minced
- Sprigs of Herbs (Rosemary, Thyme, or Oregano)
- First, trim any excess fat from the steak, but leave some for flavor.
- Season generously with salt and pepper. For extra depth, consider a quick sear on all sides before slow cooking. This step locks in flavor and creates a beautiful crust. The sizzle of the meat hitting the hot pan should fill the kitchen with savory aromas.
- Get a quality slow cooker, Dutch oven, or heavy-bottomed pot with a tight lid. Each works wonderfully, but slow cookers are the most hands-off option. Add a splash of liquid - beef broth, wine, or even beer works wonders to keep the meat moist.
- Low and slow is the golden rule. Aim for temperatures between 195-205°F. Cooking times vary - expect 6-8 hours for most cuts, sometimes longer for really tough meats.
- Don't let the meat dry out. Add enough liquid to cover about a third to half of the meat. This creates steam and helps break down those tough fibers. Toss in flavorful aromatics like chopped onions, minced garlic, or sprigs of herbs to elevate the taste of your recipe. The braising liquid will darken and thicken over time, releasing a rich, savory scent.
- Once cooking is complete let the meat relax for approximately 15-20 minutes. This allows juices to redistribute, ensuring every bite is tender and moist. For an extra-tender finish, use two forks to gently pull the meat apart.
Method 5: Meat Tenderizing Powder
Ingredients:
- Steak (Flank or Tough Beef Cuts)
- Meat Tenderizing Powder
- Get your steak ready by blotting it with a paper towel until absolutely dry. Then let it sit out briefly to warm up before cooking.
- Dust the steak with a teaspoon of tenderizing powder, spreading it evenly. Next is to softly massage the powder into the meat with your hands to cover every spot.
- Now, wait for some 20-30 minutes. This offers the powder time to soften those hard muscle fibers. After the timer is up, you can add your favorite seasonings like salt and pepper.
- Then cook the steak however you want - grilling, pan-searing, or broiling works wonderfully.
Method 6: Poking With A Fork
Ingredients:
- Steak (Budget-Friendly Cuts)
- Take your steak and grab a clean fork. Make sure the meat is at room temperature.
- Start poking the steak gently but firmly, creating small holes across the surface. Cover both sides of the steak, spacing the pokes about half an inch apart. The feel of the fork penetrating the meat should be consistent and even.
- Don't go crazy with the poking - you're not trying to destroy the meat. Just create enough holes to help break down those tough fibers. These tiny punctures will help seasonings sink in and make the meat more tender.
- After poking, add your favorite seasonings. The little holes will help flavors penetrate deeper, making your steak even more delicious.
- From there, proceed to cook the steak in your usual style.
Method 7: Scoring
Ingredients:
- Steak (Budget-Friendly Cuts)
- Grab a sharp knife and your room temperature steak. Hold the knife at a slight angle and make shallow cuts across the meat's surface.
- Create a diamond or crisscross pattern, being careful not to cut too deep. You want light, shallow cuts that just barely break the surface.
- Work your way across both sides of the steak, creating a beautiful pattern of thin cuts.
- After scoring, add your desired seasonings or marinades. The cuts will help flavors penetrate deeper, making your steak more delicious.
- Finally, cook the steak the way you normally like it done - grilling, pan-searing, or broiling all work great.
Method 8: Baking Soda
Ingredients:
- Steak (Tough Cuts)
- Baking Soda
- Take your steak and sprinkle a thin layer of baking soda over it. Add about 1/4 teaspoon per side of the meat.
- Gently rub the baking soda into the beef cut, making sure it covers the whole surface nicely.
- Place the steak in a sealed plastic bag or container. Next, pop it in the fridge and leave for at least 3 hours, but overnight is even better. This gives the baking soda time to work on the meat's muscle fibers.
- When you're prepared to cook, rinse the steak well below cold water. This removes the baking soda and prevents any weird taste. Pat the meat dry and add your favorite seasonings.
- Get ready to cook! Light the grill or warm up your pan. Once you cut into the steak, its tenderness and deep flavor will make it incredibly satisfying and delicious.
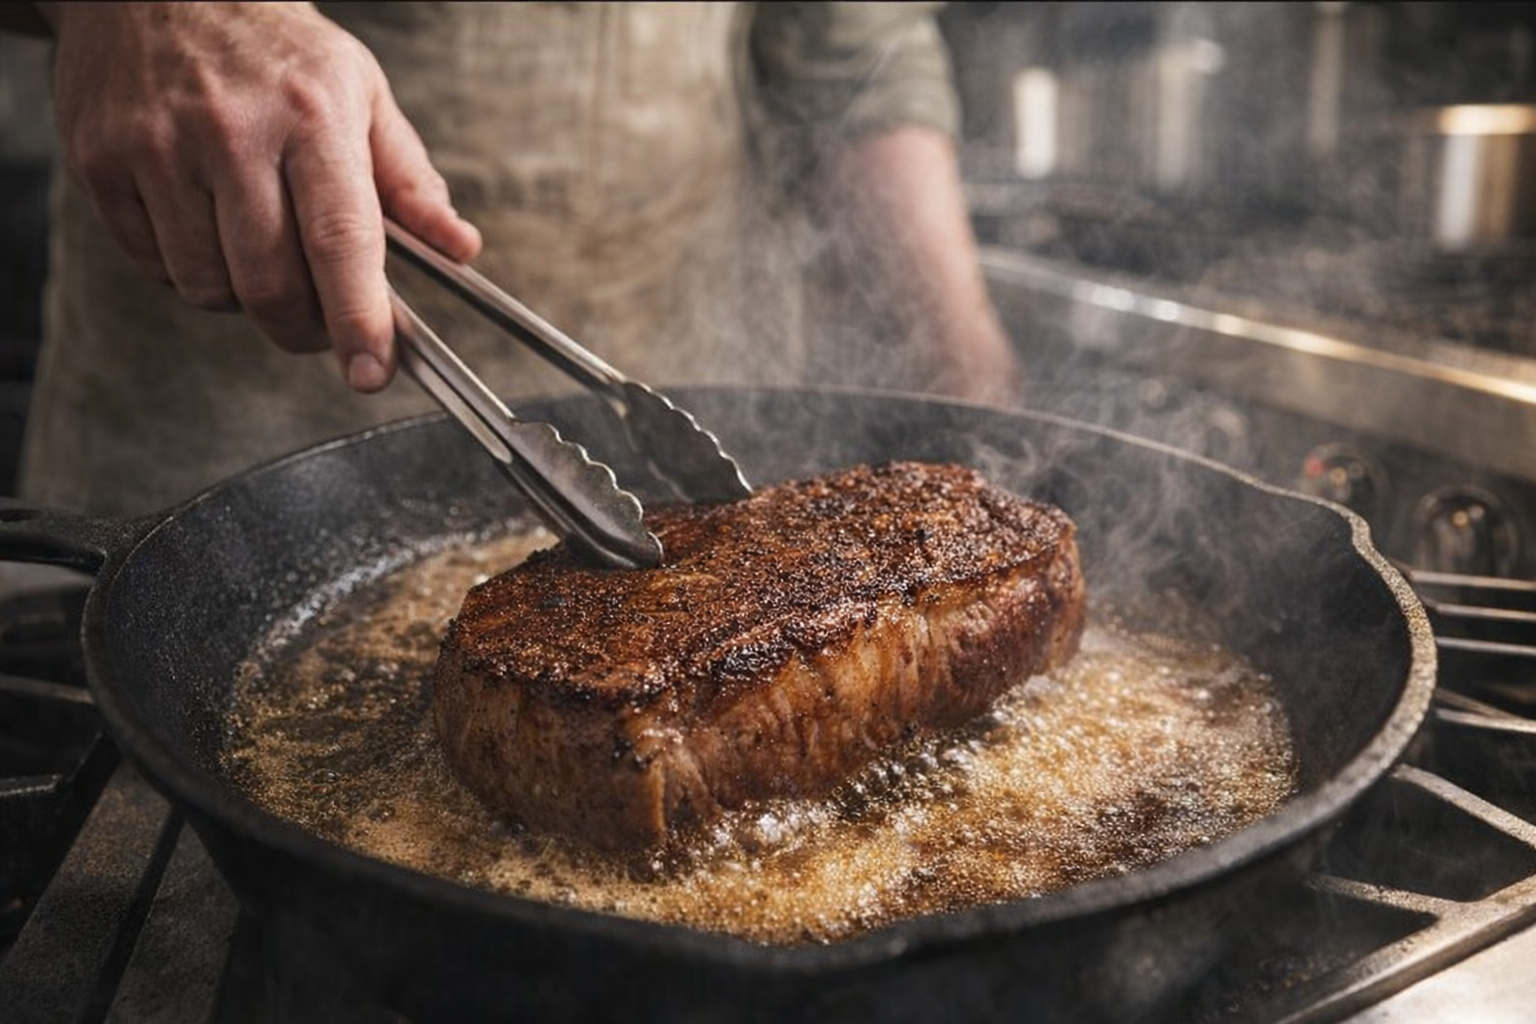
Cooking Time & Doneness Guide: Cooking times vary depending on the thickness of the steak and your desired level of doneness. Use a meat thermometer to ensure accuracy.
- Rare: 125-130°F (52-54°C)
- Medium-Rare: 130-135°F (54-57°C)
- Medium: 135-145°F (57-63°C)
- Medium-Well: 145-155°F (63-68°C)
- Well-Done: 155°F+ (68°C+)
Visual Cues
- Touch: A rare steak will feel very soft and yielding, while a well-done steak will feel firm to the touch.
- Color: The juices that run from the steak will be red for rare, pink for medium, and clear for well-done.
Tips for Perfection
- Don't overcrowd the pan: Overcrowding lowers the pan temperature, preventing a good sear.
- Use a hot pan: Ensure your pan is preheated to a high temperature before adding the steak.
- Let the steak rest: Allowing the steak to rest for 5-10 minutes after cooking allows the juices to redistribute, resulting in a more tender and flavorful steak.
- Season generously: Don't be afraid to use plenty of salt and pepper to enhance the flavor of the steak.
Storage & Reheating
Store leftover steak in an airtight container in the refrigerator for up to 3-4 days. To reheat, gently warm the steak in a skillet over low heat or in a 300°F (150°C) oven until heated through. Avoid microwaving, which can dry out the steak.
Serving Suggestions
- Steak Fajitas: Slice the tenderized steak thinly and serve in tortillas with sautéed peppers and onions.
- Steak Salad: Top a bed of mixed greens with grilled steak, cherry tomatoes, crumbled blue cheese, and a balsamic vinaigrette.
- Steak Sandwich: Layer slices of steak on a toasted baguette with caramelized onions, horseradish sauce, and arugula.
- Classic Steak Dinner: Serve the steak with roasted potatoes, asparagus, and a pat of herb butter.
💡 Pro Tips
- Always pat the steak dry before tenderizing, regardless of the method. This ensures better contact with the tenderizing agent and promotes a good sear when cooking.
- When pounding steak, use gentle and even pressure to avoid tearing the meat. Start with the flat side of the mallet for flattening and then use the textured side to break down muscle fibers.
- For marinades, use non-reactive containers (glass or plastic) to prevent unwanted chemical reactions with acidic ingredients.
- Don't overcrowd the pan when searing the steak after tenderizing. This allows for proper browning and prevents steaming.
- Always let the steak rest for at least 5-10 minutes after cooking to allow the juices to redistribute, resulting in a more tender and flavorful steak.
Frequently Asked Questions
Yes, you can tenderize steak ahead of time. For methods like pounding or marinating, it's best to refrigerate the steak immediately after tenderizing. Pounded steak can be stored in the refrigerator for up to 24 hours. Marinated steak can be stored according to the marinade instructions, but generally, up to 8-24 hours is optimal. For salt brining, follow the specified time in the recipe, then rinse and refrigerate for a short period before cooking.
If you don't have a meat mallet, you can use a rolling pin, the bottom of a heavy skillet, or even a sturdy can. Just be sure to wrap the steak in plastic wrap or place it in a heavy-duty plastic bag to prevent splattering and ensure hygiene. Use even pressure and focus on flattening the meat to the desired thickness.
If you marinate steak for too long, especially in acidic marinades, the meat can become mushy or have an undesirable texture. Look for changes in color and firmness. If the steak appears significantly lighter or feels excessively soft and almost 'cooked' on the surface, it's likely been over-marinated. It's best to adhere to the recommended marinating times provided in the recipe.
It's best to use kosher salt or sea salt for the salt brine method. These salts have larger crystals and don't contain iodine or anti-caking agents that can affect the flavor of the steak. Avoid using iodized table salt, as it can give the steak a metallic taste.