How to Pan-Sear Scallops: A Chef's Guide to Perfection

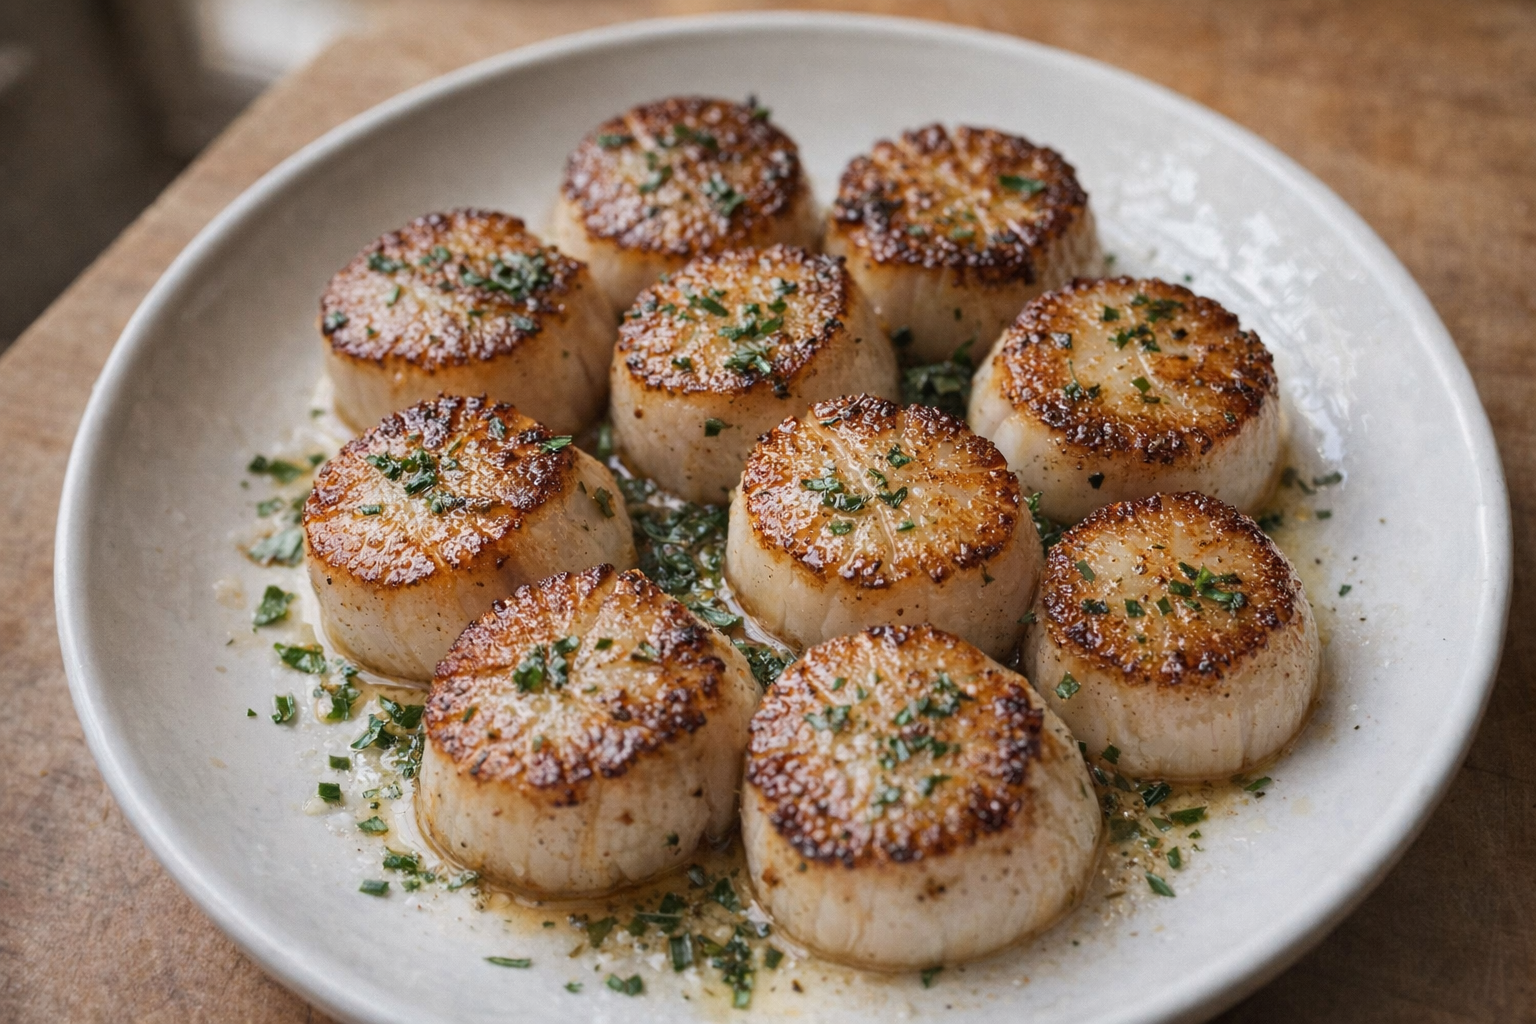
The allure of a perfectly pan-seared scallop is undeniable: a delicate, subtly sweet interior yielding to a crisp, caramelized crust. Mastering this dish is about understanding the scallop itself, utilizing the right techniques, and respecting the ingredient's inherent delicacy. When done right, pan-searing allows the natural flavors of the scallop to shine, enhanced by a simple sear that adds both texture and visual appeal.
This guide will take you through the nuances of selecting quality scallops, preparing them properly, and executing the pan-sear with confidence. We'll cover everything from choosing the right pan to recognizing visual cues for doneness, ensuring a restaurant-quality result in your own kitchen.
Understanding Scallops: Choosing Quality
Scallops are broadly classified into two main types: sea scallops and bay scallops. Sea scallops are larger, typically around 1.5 to 2 inches in diameter, and have a firmer texture. Bay scallops are smaller and sweeter, usually less than half an inch across. For pan-searing, sea scallops are generally preferred due to their size and ability to develop a desirable crust.
When purchasing scallops, look for "dry" scallops, meaning they have not been treated with phosphates, which cause them to retain water and steam rather than sear properly. Fresh scallops should have a clean, slightly sweet smell and a firm, slightly translucent appearance. Avoid scallops that appear milky, slimy, or have a strong fishy odor.
Why Cook Scallops This Way?
- Versatility: Pan-seared scallops can be a standalone appetizer, a component of a larger seafood dish, or a topping for salads and pasta.
- Flavor: Searing enhances the natural sweetness and briny flavor of the scallop, creating a satisfying contrast between the crisp exterior and tender interior.
- Convenience: Pan-searing is quick and requires minimal ingredients, making it ideal for weeknight meals.
Preparation (Mise en Place)
- Thawing (if necessary): If using frozen scallops, thaw them completely in the refrigerator overnight. Do not thaw them at room temperature, as this can compromise their texture and safety.
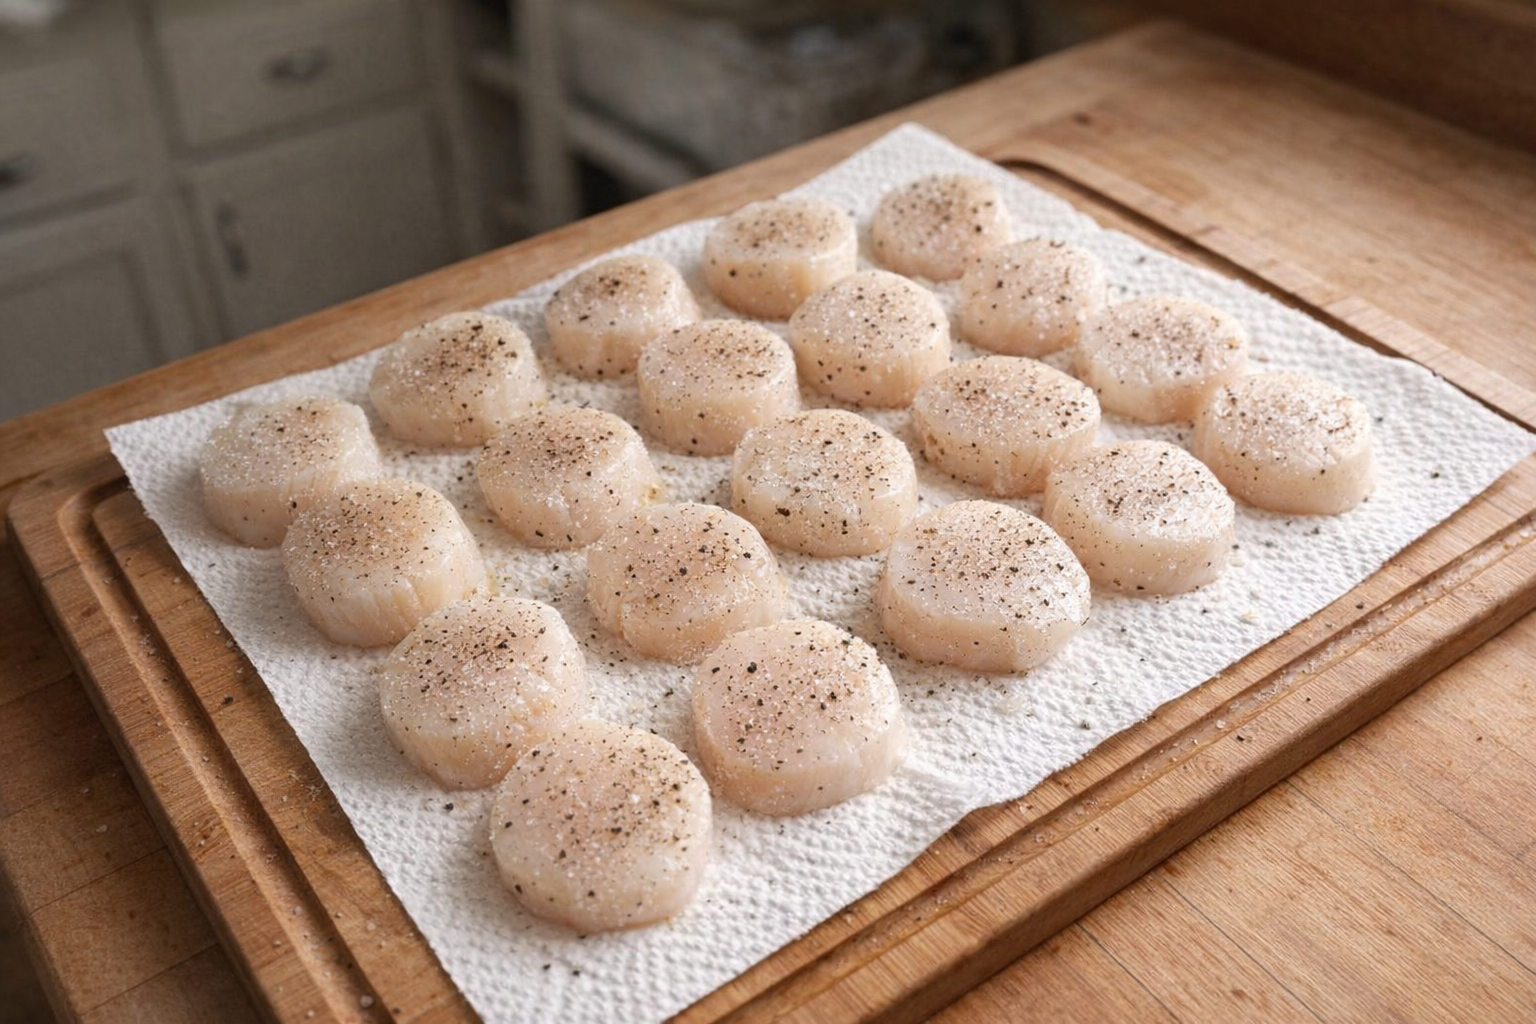
- Drying: This is the most important step. Once thawed, gently pat the scallops completely dry with paper towels. Excess moisture will prevent them from searing properly and achieving a golden-brown crust. Repeat this several times.
- Seasoning: Season the scallops with salt and freshly ground black pepper just before cooking.
Essential Tools
- Heavy-Bottomed Skillet: A stainless steel or cast iron skillet is ideal for even heat distribution and searing.
- Tongs: For gently placing and flipping the scallops in the pan.
- Paper Towels: For thoroughly drying the scallops.
The Cooking Method: Perfect Pan-Seared Scallops
Method 1: Classic Pan Sear
Ingredients:
- 1 pound (450g) dry sea scallops
- 1 tablespoon olive oil or clarified butter
- Salt and freshly ground black pepper
- 1 tablespoon butter (optional, for finishing)
- Lemon wedges, for serving
- Heat the Pan: Place your skillet over medium-high heat. Allow it to heat up for several minutes until it is very hot. A properly heated pan is crucial for achieving a good sear. You should be able to feel the heat radiating from the pan when you hold your hand a few inches above it.
- Add Fat: Add the olive oil or clarified butter to the hot pan. The fat should shimmer and spread evenly across the surface. Using clarified butter will yield a nuttier flavor and higher smoke point.
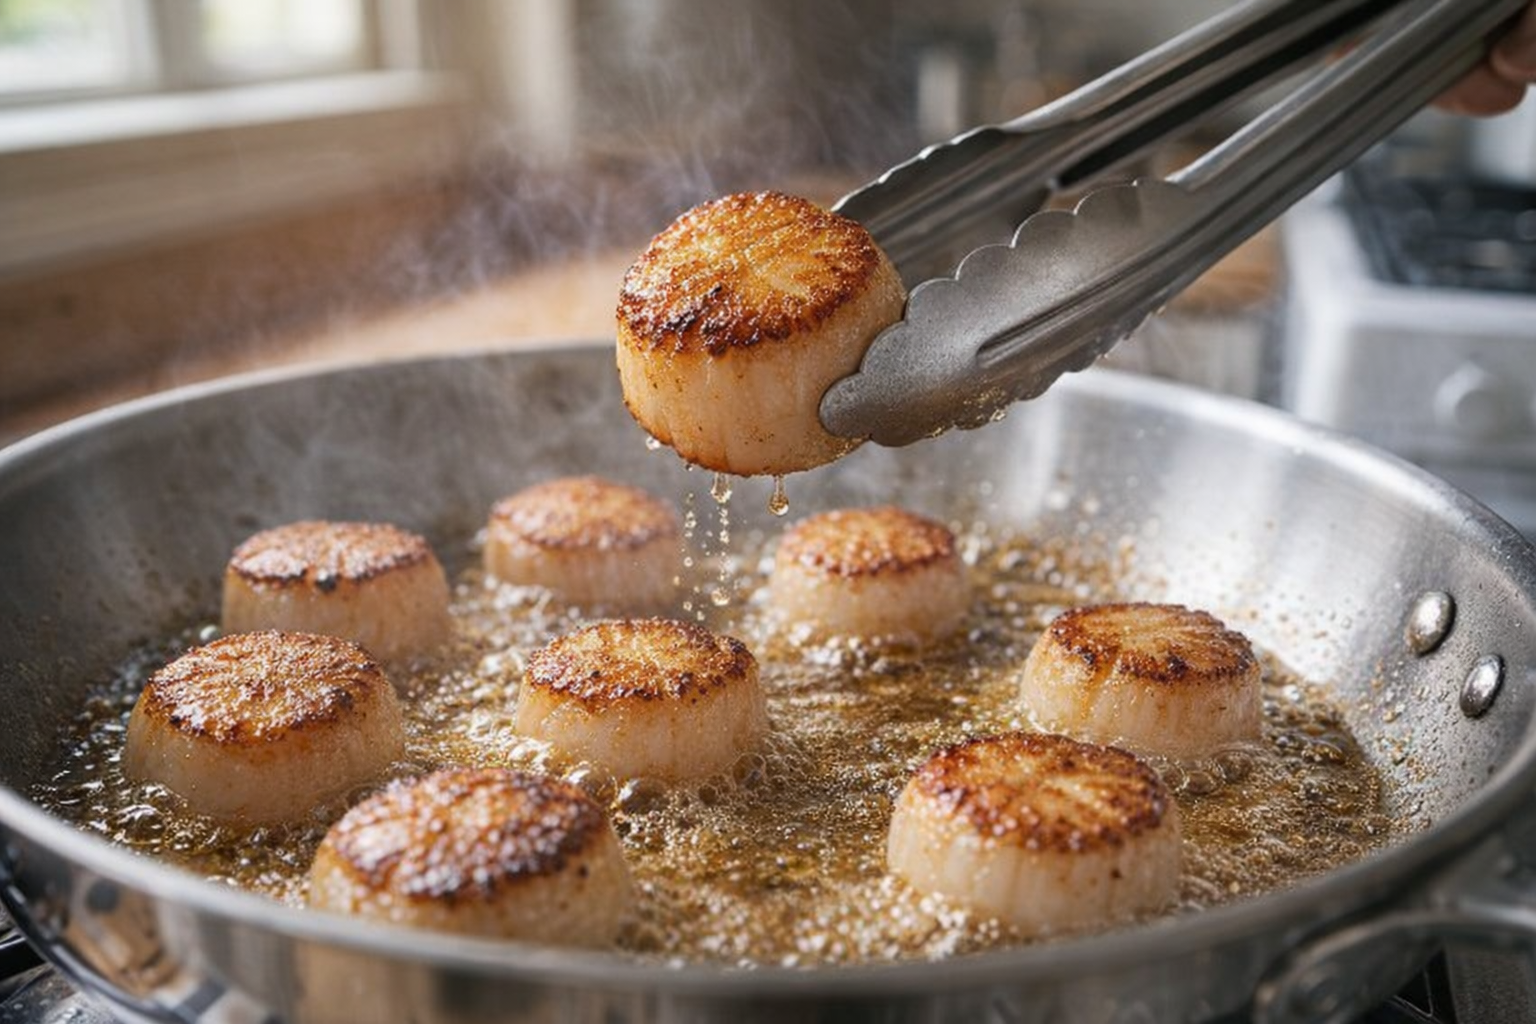
- Sear the Scallops: Carefully place the scallops in the hot pan, ensuring they are not overcrowded. Overcrowding will lower the pan's temperature and cause the scallops to steam instead of sear. Leave at least an inch of space between each scallop. Listen for a vigorous sizzle as they hit the pan.
- Sear Without Moving: Let the scallops sear undisturbed for 2-3 minutes, or until a golden-brown crust forms on the bottom. Resist the urge to move them around, as this will inhibit the searing process.
- Flip and Finish: Using tongs, gently flip the scallops and sear for another 1-2 minutes, or until the second side is golden brown and the scallops are cooked through. The internal temperature should reach 120-125°F (49-52°C).
- Optional Butter Basting: For extra richness, add a tablespoon of butter to the pan during the last 30 seconds of cooking. As the butter melts, tilt the pan and use a spoon to baste the scallops with the melted butter.
- Rest and Serve: Remove the scallops from the pan and let them rest for a minute or two before serving. This allows the juices to redistribute, resulting in a more tender scallop. Serve immediately with lemon wedges.
Cooking Time & Doneness Guide:
- Total Cooking Time: Approximately 4-5 minutes, depending on the size of the scallops and the heat of your pan.
- Internal Temperature: 120-125°F (49-52°C) is ideal for a perfectly cooked scallop.
Visual Cues
The scallops should be opaque throughout, with a slightly translucent center. They should feel firm to the touch, but not rubbery. Avoid overcooking, as this will make them tough and dry.
Tips for Perfection:
- Don't Overcrowd: Cook the scallops in batches to maintain the pan's temperature and ensure proper searing.
- High Heat is Key: A hot pan is essential for achieving a good sear. Be patient and let the pan heat up completely before adding the scallops.
- Dry, Dry, Dry: Thoroughly drying the scallops is crucial for achieving a golden-brown crust.
- Avoid Overcooking: Scallops cook quickly. Overcooking will result in tough, rubbery scallops.
Storage & Reheating:
Leftover pan-seared scallops can be stored in an airtight container in the refrigerator for up to 2 days. To reheat, gently pan-sear them over low heat with a little butter or oil until heated through. Avoid microwaving, as this can make them rubbery.
Serving Suggestions:
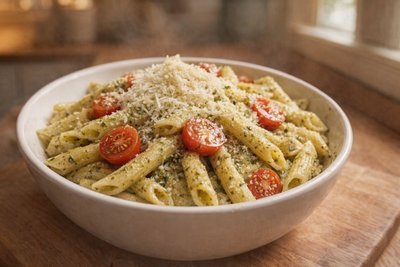
- With Pasta: Toss with your favorite pasta, garlic, olive oil and fresh herbs.
- Over Salad: Top a bed of mixed greens with seared scallops, citrus vinaigrette, and avocado.
- As an Appetizer: Serve with a squeeze of lemon and a sprinkle of fresh parsley.
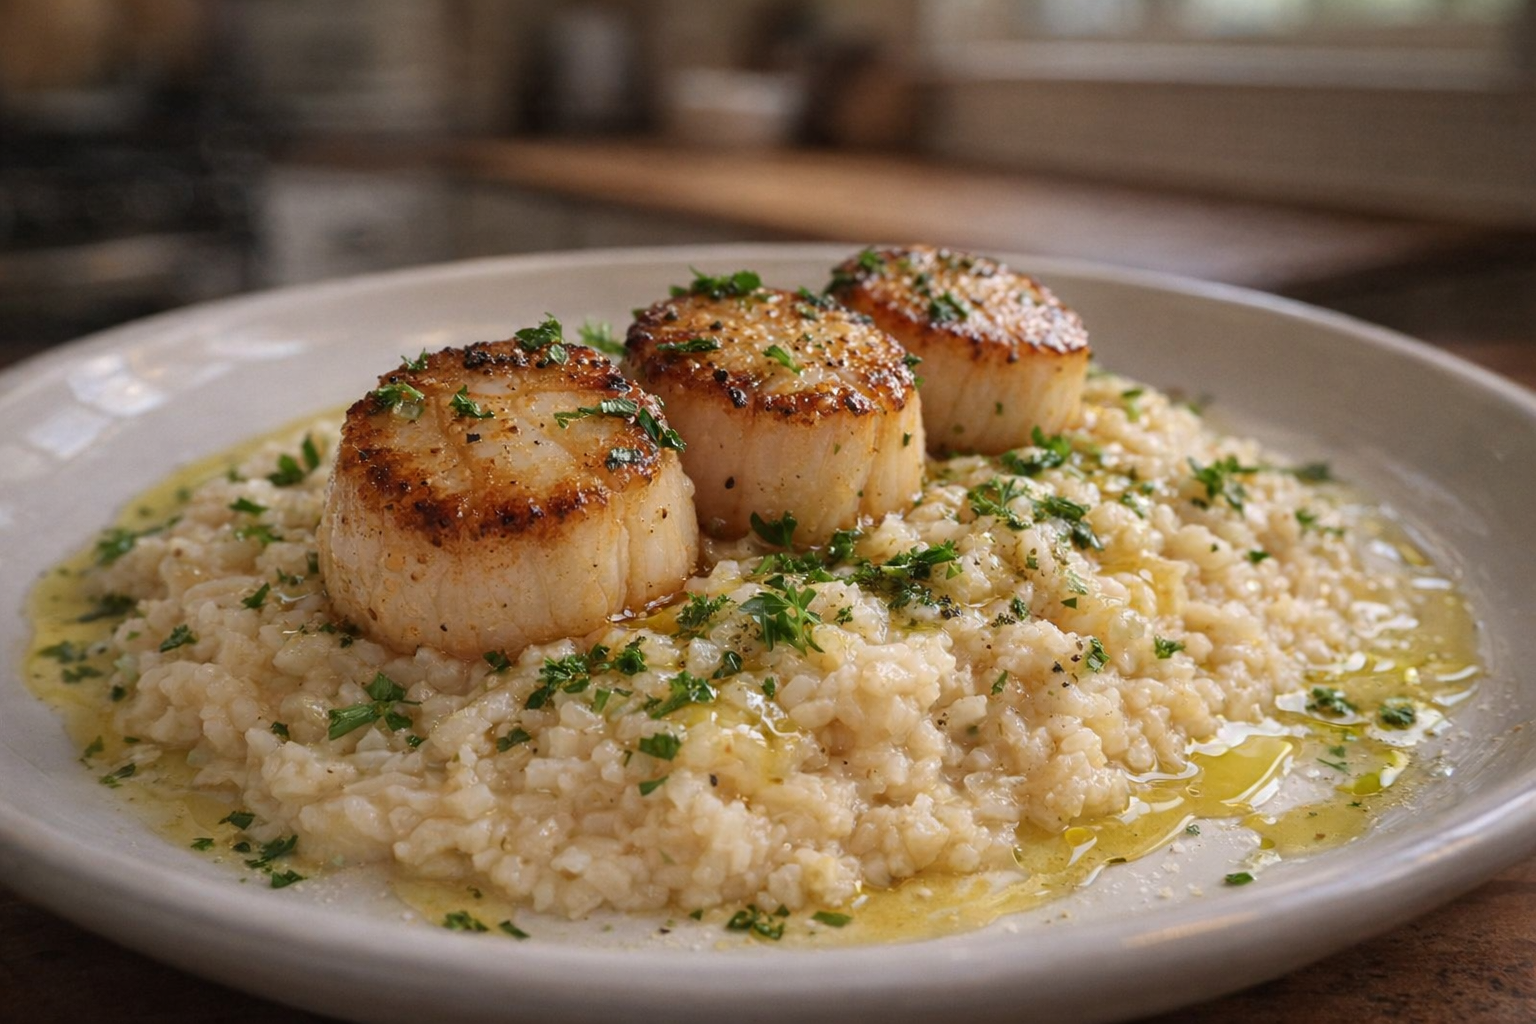
- Alongside Risotto: A classic pairing that showcases the scallop's delicate flavor.
💡 Pro Tips
- Always choose dry-packed scallops and pat them thoroughly dry with paper towels to ensure a crisp, golden crust instead of steaming.
- Remove the small, tough side muscle from each scallop by gently pulling it away with your fingers before you begin seasoning.
- Heat your skillet over medium-high heat until the oil is shimmering and just starting to smoke before placing the scallops in the pan.
- Space the scallops at least one inch apart in the pan to prevent overcrowding and maintain the high heat necessary for caramelization.
- Sear the scallops undisturbed for two minutes on the first side, then flip them once and cook for only one more minute until just opaque.
Frequently Asked Questions
If you can only find wet scallops (treated with phosphates), you'll need to work extra hard to remove moisture. Soak them in cold water for 30 minutes, changing the water a few times, then pat them extremely dry with paper towels, pressing firmly to remove as much moisture as possible. This will help them sear instead of steam.
While you can technically use a non-stick pan, a heavy-bottomed stainless steel or cast iron skillet is highly recommended for pan-searing scallops. These pans retain heat better and allow for a proper sear and crust formation, whereas non-stick pans may not get hot enough to achieve the desired result.
The best way to tell if scallops are cooked is by observing their color and texture. They should be opaque and firm to the touch, but still slightly translucent in the very center. Avoid overcooking, as this will make them rubbery.
You can pat the scallops dry and season them up to an hour ahead of time, then keep them refrigerated. However, it's best to sear them immediately before serving for the best texture and flavor. Avoid letting them sit for extended periods after seasoning, as the salt can draw out moisture.