How to Pan-Fry Chicken Breast for Optimal Tenderness

Pan-frying chicken breast is a quick and reliable method for achieving a delicious and versatile protein. The key to success lies in proper preparation and controlled heat, resulting in a golden-brown exterior and a juicy, tender interior. This method allows for easy customization with various seasonings and sauces, making it a family favorite.
Mastering pan-fried chicken breast unlocks a world of culinary possibilities, from simple weeknight dinners to elegant plated dishes. By understanding the nuances of heat control and moisture retention, you can consistently create restaurant-quality chicken in your own kitchen.
Understanding Chicken Breast:
Chicken breasts are the leanest cut of chicken, offering a good source of protein with minimal fat. They are available boneless, skinless, or bone-in with skin. For pan-frying, boneless, skinless breasts are the most convenient. Look for breasts that are uniform in thickness to ensure even cooking.
When buying chicken breasts, opt for organic, free-range options when possible, as they tend to have better flavor and texture. Fresh chicken should be pink and firm, with no off-putting odor. Frozen chicken should be completely frozen, with no signs of freezer burn. Thaw frozen chicken completely in the refrigerator before cooking.
Why Cook Chicken Breast This Way?- Versatility: Pan-fried chicken breast can be adapted to countless flavor profiles, from simple salt and pepper to complex marinades and sauces.
- Flavor: Searing the chicken in a pan creates a flavorful crust, enhancing the overall taste experience.
- Convenience: Pan-frying is a relatively quick cooking method, making it ideal for busy weeknights.
Preparation (Mise en Place)
- Thawing: If using frozen chicken, thaw it completely in the refrigerator for at least 24 hours. Never thaw chicken at room temperature.
- Pounding: Place the chicken breast between two sheets of plastic wrap or in a resealable bag. Use a meat mallet or rolling pin to pound the chicken to an even thickness of about ½ inch. This ensures even cooking and prevents the edges from drying out before the center is cooked through.
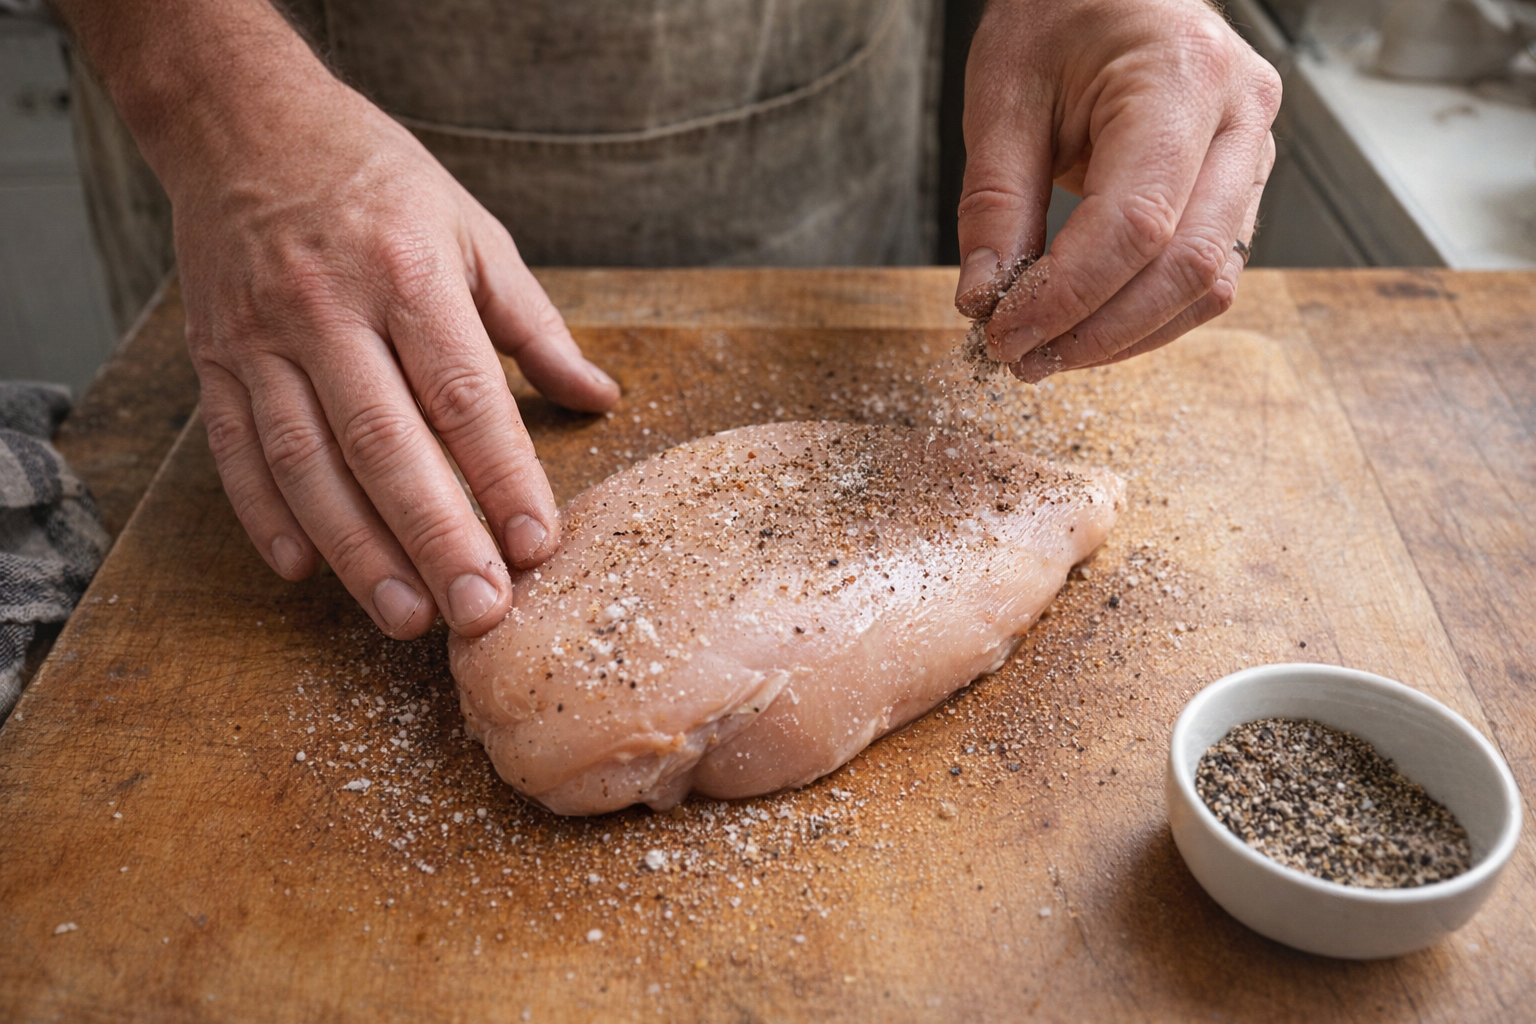
- Seasoning: Pat the chicken breast dry with paper towels. This is crucial for achieving a good sear. Season generously with salt, pepper, and any other desired spices or herbs.
Essential Tools
- Heavy-Bottomed Skillet: A stainless steel or cast iron skillet is ideal for pan-frying chicken. The heavy bottom ensures even heat distribution, preventing hot spots that can lead to uneven cooking.
- Meat Thermometer: An instant-read meat thermometer is essential for ensuring the chicken is cooked to a safe internal temperature of 165°F (74°C).
- Tongs: Tongs are useful for flipping the chicken and transferring it to a plate without piercing it and releasing juices.
The Cooking Method
Basic Pan-Fried Chicken Breast
Ingredients:
- 1 boneless, skinless chicken breast (about 6-8 ounces / 170-225 grams)
- 1 tablespoon olive oil or vegetable oil
- Salt and freshly ground black pepper to taste
- Optional: Garlic powder, paprika, herbs (thyme, rosemary)
- Pat the chicken breast dry with paper towels and season generously with salt, pepper, and any other desired spices. The dryness helps to create a good sear.
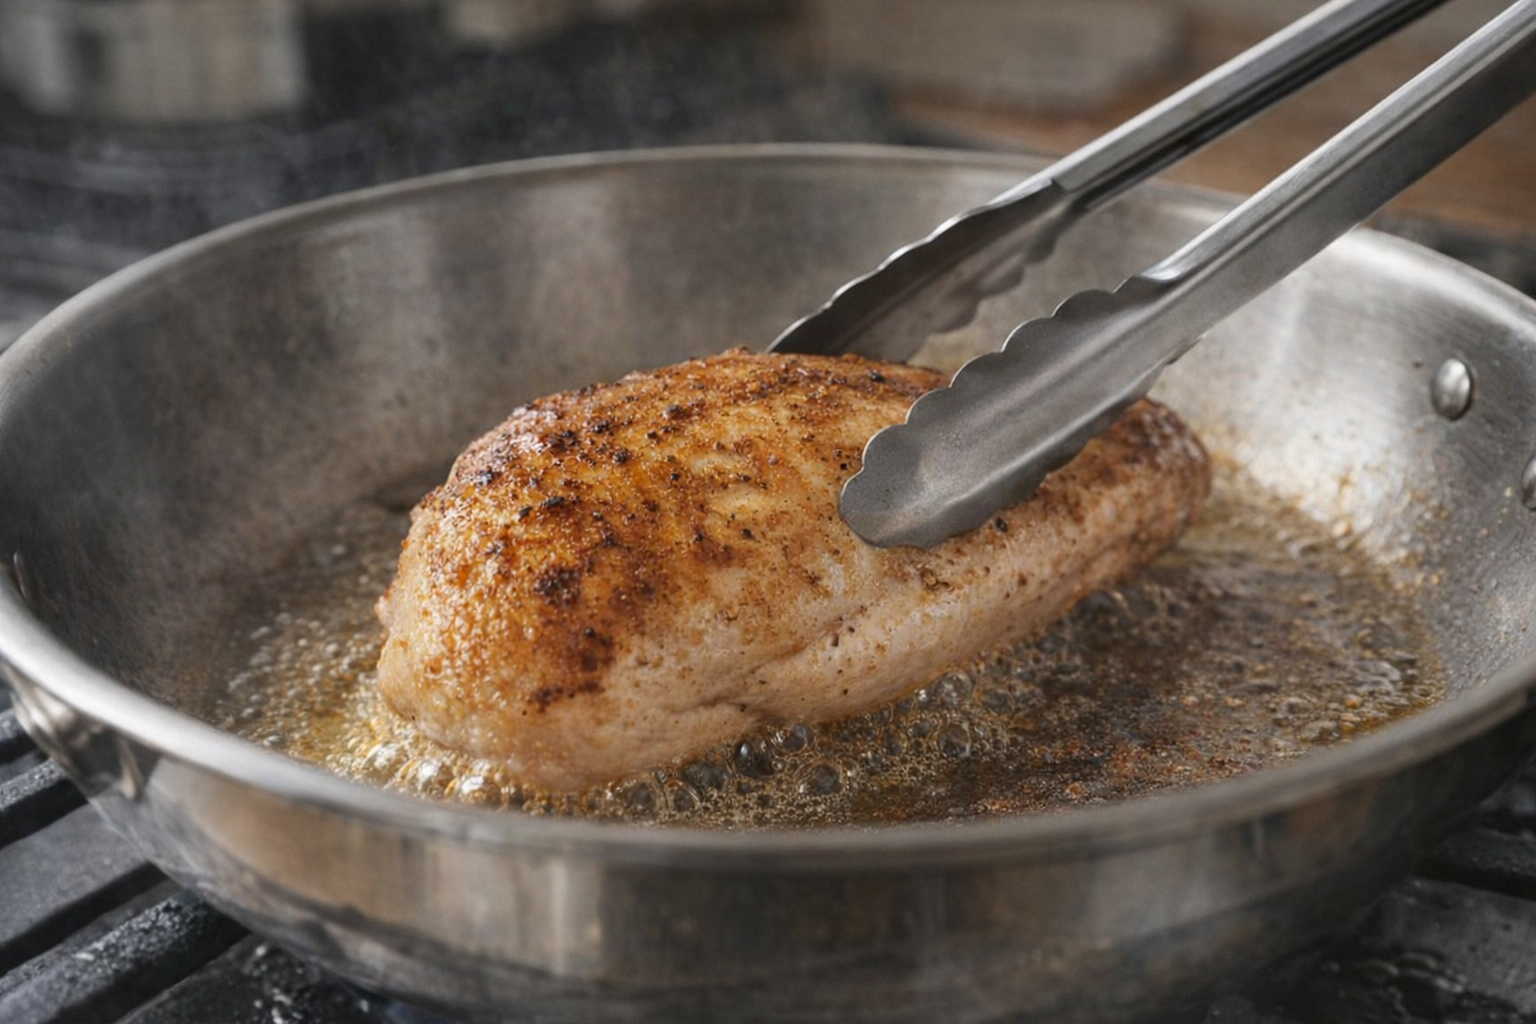
- Heat the oil in a heavy-bottomed skillet over medium-high heat. The oil should shimmer but not smoke. Test the heat by flicking a drop of water into the pan; it should sizzle immediately.
- Carefully place the chicken breast in the hot skillet. You should hear a satisfying sizzle.
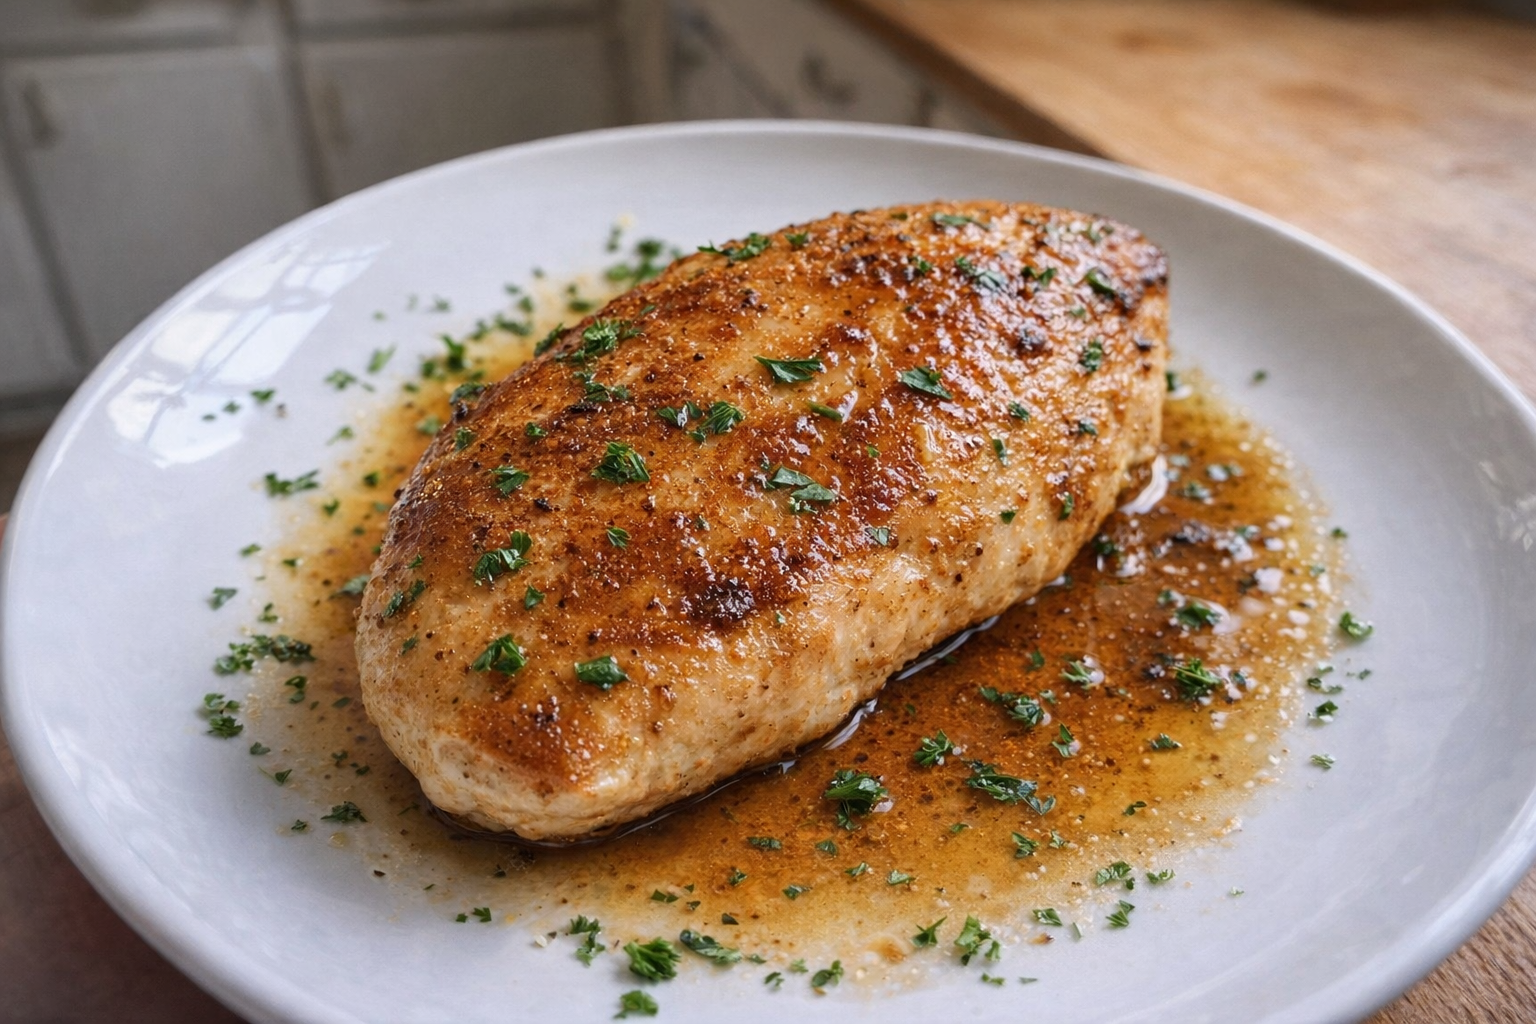
- Cook for 5-7 minutes on the first side, or until a golden-brown crust has formed and the chicken releases easily from the pan. Avoid moving the chicken around too much, as this will prevent it from browning properly. You may see the sides of the chicken turn opaque as they cook.
- Flip the chicken breast and cook for another 5-7 minutes, or until the internal temperature reaches 165°F (74°C). Use a meat thermometer to check the temperature at the thickest part of the breast. The chicken should feel firm but not hard when pressed gently.
- Remove the chicken breast from the skillet and let it rest for 5-10 minutes before slicing and serving. This allows the juices to redistribute, resulting in a more tender and flavorful chicken.
Cooking Time & Doneness Guide
- Cooking Time: The total cooking time will vary depending on the thickness of the chicken breast, but it typically takes 10-14 minutes.
- Internal Temperature: The chicken is done when it reaches an internal temperature of 165°F (74°C).
Visual Cues
The chicken should be golden brown on both sides and feel firm to the touch. If you cut into the thickest part, the juices should run clear, and the meat should be opaque.
Tips for Perfection
- Don't Overcrowd the Pan: Cook the chicken breast in batches if necessary to avoid overcrowding the pan, which can lower the temperature and result in steamed rather than seared chicken.
- Use a Hot Pan: Make sure the skillet is hot before adding the chicken. A hot pan is essential for creating a good sear.
- Don't Overcook: Overcooked chicken is dry and tough. Use a meat thermometer to ensure the chicken is cooked to the correct temperature.
- Let it Rest: Allowing the chicken to rest after cooking is crucial for retaining moisture and ensuring a tender result.
Storage & Reheating
- Storage: Store leftover chicken breast in an airtight container in the refrigerator for up to 3-4 days.
- Reheating: Reheat the chicken breast in the oven at 350°F (175°C) until heated through, or in a skillet over medium heat. Avoid microwaving, as this can dry out the chicken. Adding a splash of broth or water to the pan while reheating can help to keep it moist.
Serving Suggestions
- Sliced on Salad: Top a green salad with sliced pan-fried chicken breast for a protein-packed and flavorful meal.
- In a Sandwich: Use pan-fried chicken breast as the filling for a sandwich or wrap, with your favorite toppings and condiments.
- With Roasted Vegetables: Serve pan-fried chicken breast with roasted vegetables such as broccoli, carrots, and potatoes for a balanced and satisfying dinner.
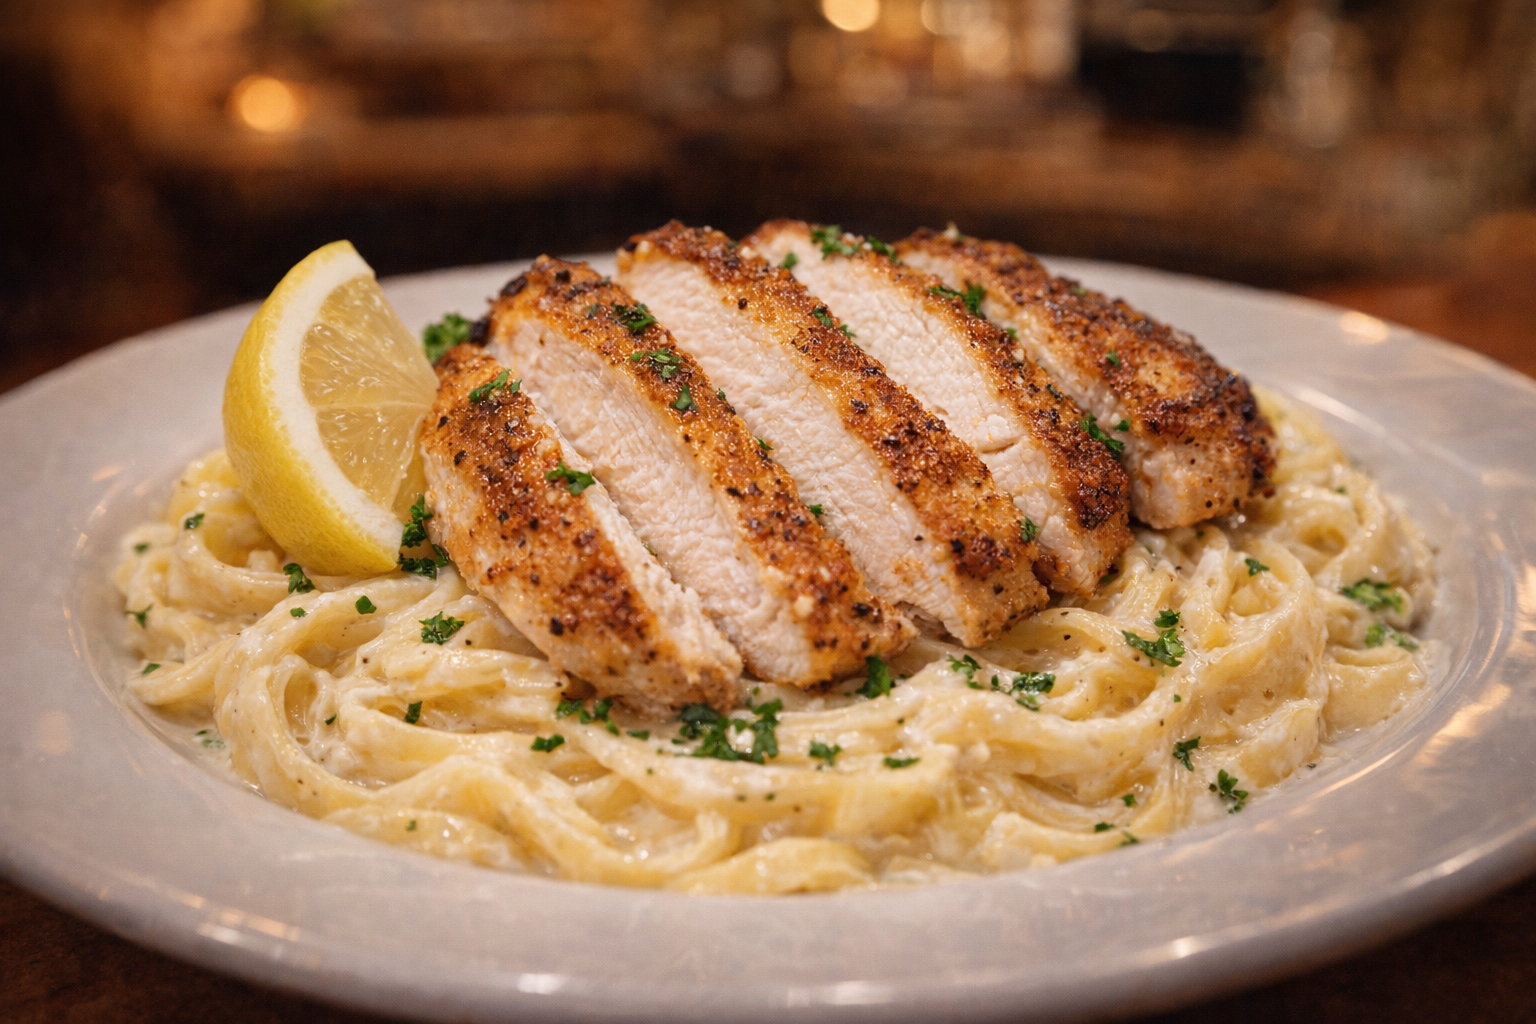
- Over Pasta: Slice the chicken and serve over pasta with a light sauce for a quick and easy meal.
💡 Pro Tips
- Ensure the chicken breast is completely dry before seasoning and searing. Moisture inhibits browning.
- Use an instant-read thermometer inserted into the thickest part of the breast to guarantee it reaches 165°F (74°C).
- Let the chicken rest for at least 5 minutes, tented with foil, after cooking to allow the juices to redistribute, resulting in a more tender and flavorful result.
- Experiment with different seasonings and herbs to customize the flavor of your chicken. Garlic powder, paprika, Italian seasoning, or a Cajun spice blend all work well.
- Don't be afraid to adjust the heat during cooking. If the chicken is browning too quickly, reduce the heat to medium to ensure it cooks through without burning.
Frequently Asked Questions
While boneless, skinless chicken breasts are recommended for ease and speed, you can use bone-in breasts. Be aware that cooking time will increase significantly. Use a meat thermometer to ensure the internal temperature reaches 165°F (74°C) near the bone, and the juices run clear. The skin will add flavor, but it may not get as crispy as if it were baked.
If you don't have a meat mallet, you can use a rolling pin or even the bottom of a heavy skillet. The goal is to flatten the chicken breast to an even thickness of about ½ inch. This helps it cook evenly and prevents it from drying out.
Absolutely! Marinating the chicken breast will add flavor and help to tenderize it. Marinate for at least 30 minutes, or up to overnight in the refrigerator. Be sure to pat the chicken dry with paper towels before pan-frying to ensure a good sear.
Make sure your pan is properly heated before adding the oil. The oil should shimmer, but not smoke. Also, avoid moving the chicken around too much once it's in the pan. Let it sear for the recommended amount of time before flipping. A well-seasoned cast iron pan or a stainless steel pan are less likely to stick.