How to Cook Beef Brisket in the Oven: A Comprehensive Guide

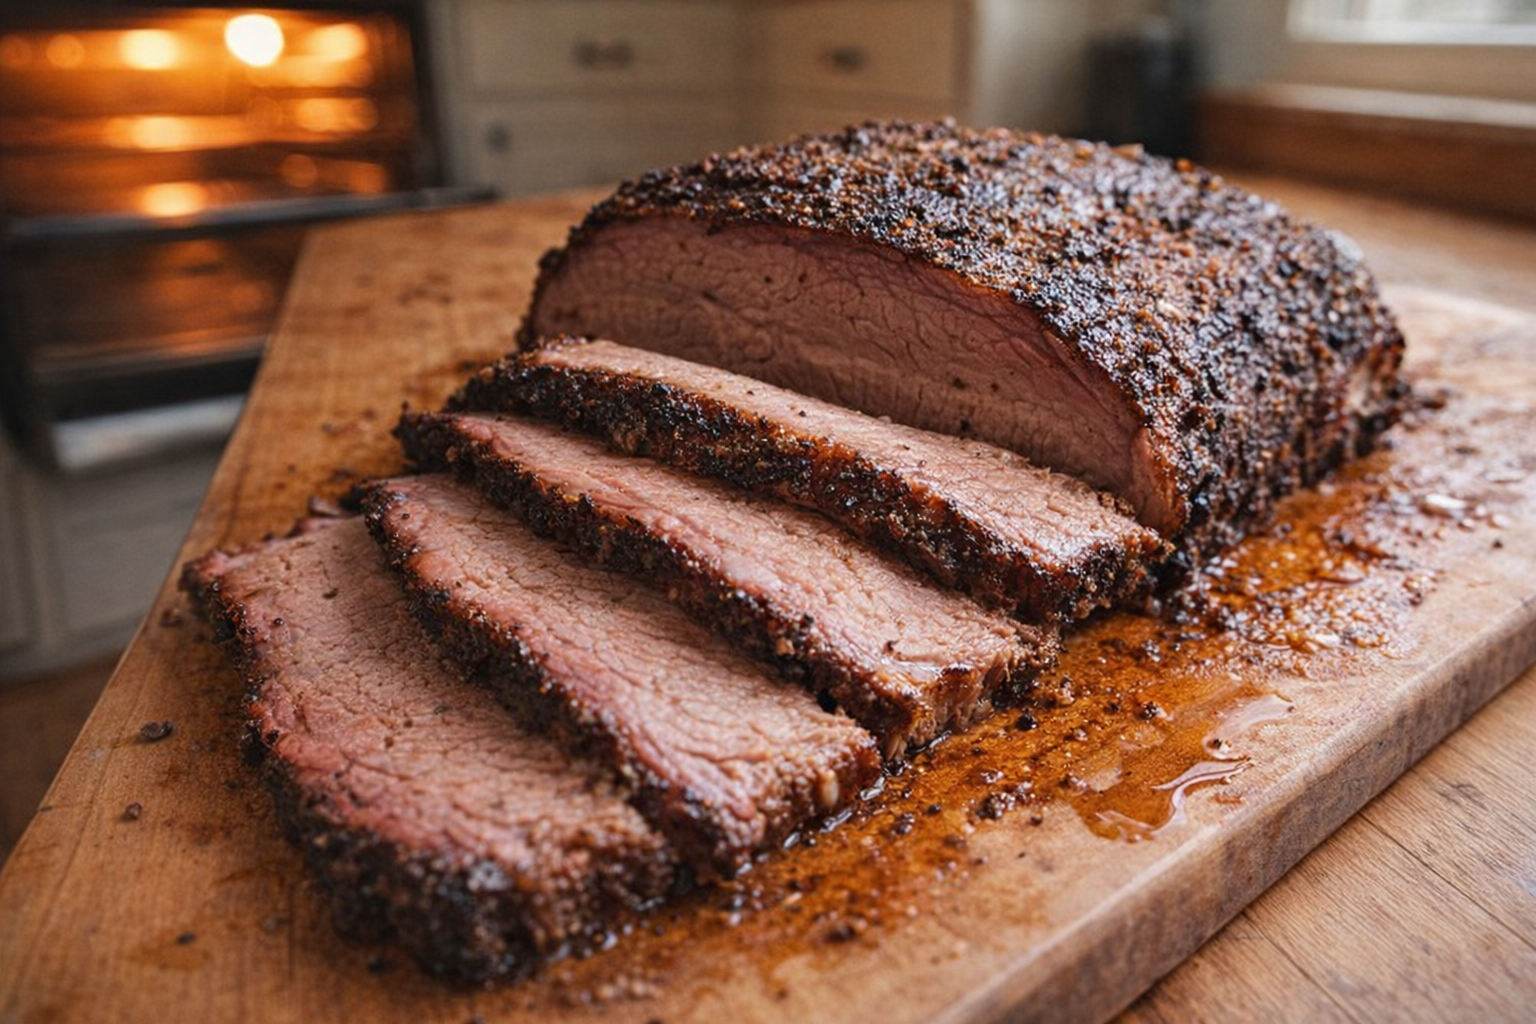
Oven-braised beef brisket, when done right, achieves a remarkable balance of textures and flavors. The exterior develops a dark, caramelized crust while the interior becomes incredibly tender, yielding to the touch. The slow cooking process allows the beef to render its fat, resulting in a rich, savory, and deeply satisfying eating experience. This method is particularly effective for transforming this tough cut of meat into a culinary centerpiece.
Cooking brisket in the oven offers a practical approach for home cooks who may not have access to a dedicated smoker. By carefully controlling the temperature and moisture, we can replicate the low-and-slow cooking environment essential for breaking down the tough connective tissues inherent in brisket. This results in a tender, flavorful dish perfect for family gatherings, holiday feasts, or any occasion where a hearty and impressive meal is desired.
Understanding Beef Brisket
Beef brisket is a cut of meat taken from the breast or lower chest of beef cattle. Because this area supports a significant amount of weight, the brisket contains a substantial amount of connective tissue, particularly collagen. This is what makes brisket a tougher cut of meat. However, when cooked properly, this collagen breaks down into gelatin, resulting in a tender and flavorful dish.
There are two main cuts of brisket:
- The Point Cut (or Deckle): This is the fattier, thicker part of the brisket. It's known for its rich flavor and is ideal for smoking or braising, as the fat renders and keeps the meat moist. This is the cut we recommend for the following recipe.
- The Flat Cut (or First Cut): This is leaner and more uniform in thickness, making it easier to slice. It's often used for corned beef or pastrami.
Why Cook Brisket This Way?
- Versatility: Oven-braised brisket is incredibly versatile. It can be served as a main course, shredded for sandwiches, or used in tacos and nachos.
- Flavor: The slow cooking process allows the flavors of the meat and seasonings to meld together, creating a deep, complex taste that is unmatched.
- Convenience: While it requires a long cooking time, oven-braising is a relatively hands-off method. Once the brisket is in the oven, you can focus on other tasks.
Preparation (Mise en Place)
- Thawing (If Frozen): If your brisket is frozen, thaw it completely in the refrigerator for 24-48 hours. Never thaw meat at room temperature.
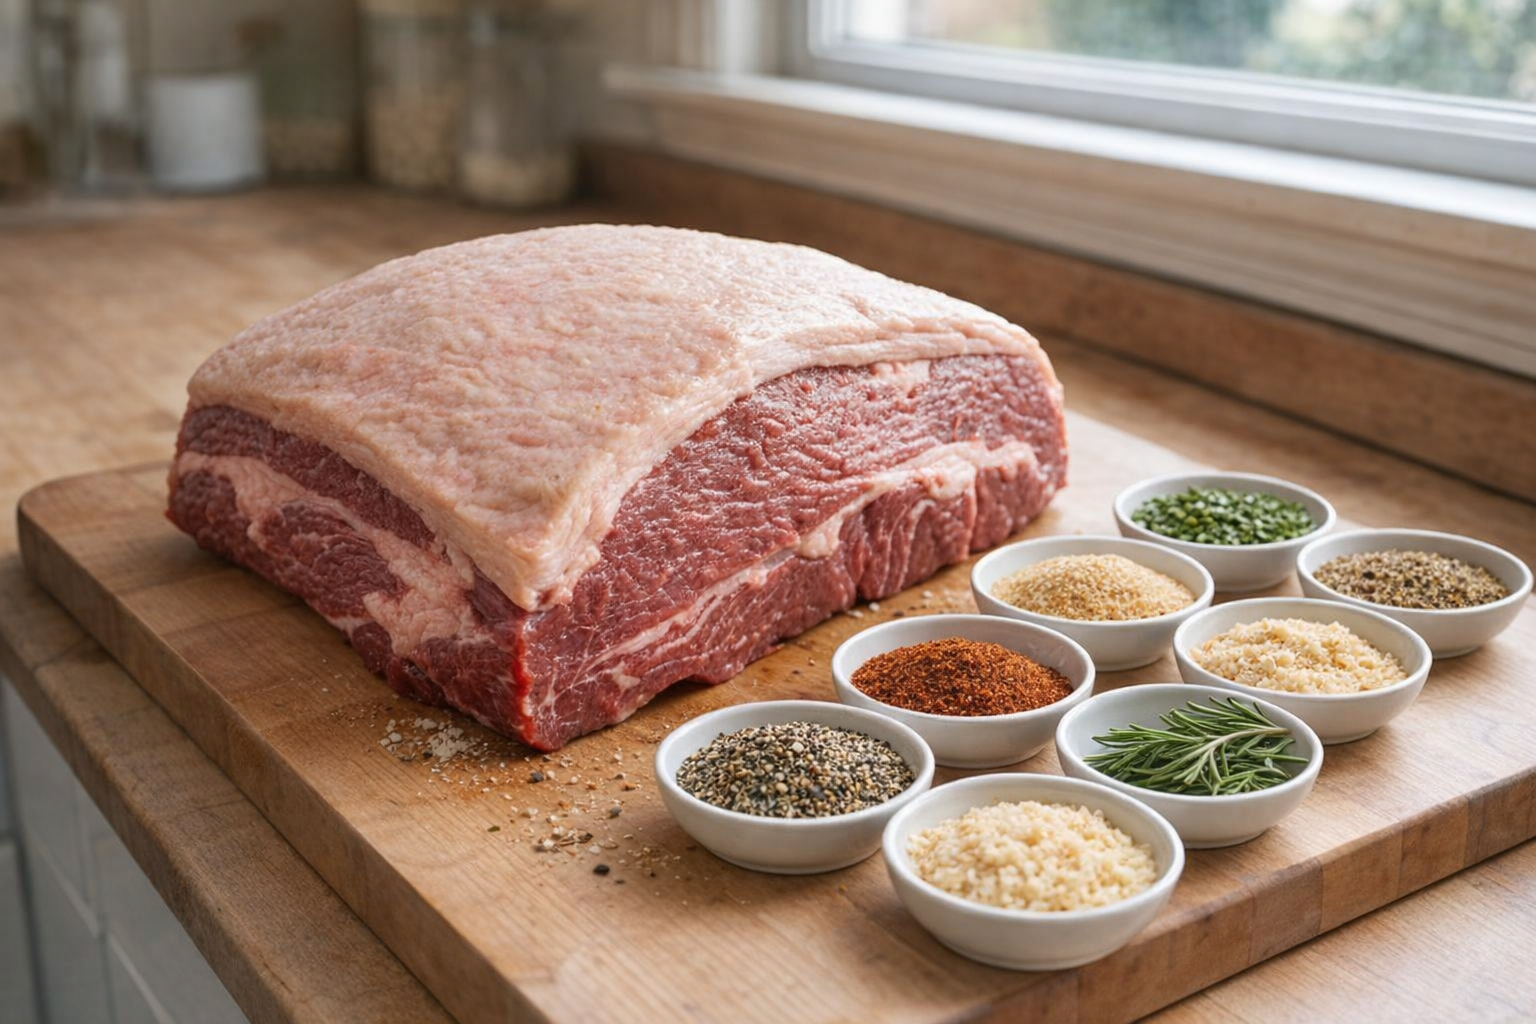
- Trimming: Trim the fat cap to about ½ inch thickness. Use a sharp knife to carefully remove excess fat.
- Patting Dry: Pat the brisket dry with paper towels before seasoning. This will help the spices adhere better and promote a good crust.
Essential Tools
- Large Roasting Pan: A heavy-duty roasting pan with a lid is essential for oven-braising. The pan should be large enough to accommodate the brisket comfortably.
- Aluminum Foil: Heavy-duty aluminum foil is needed to create a tight seal over the roasting pan, trapping moisture and steam.
- Meat Thermometer: A reliable meat thermometer is crucial for ensuring the brisket reaches the correct internal temperature. An instant-read thermometer is best for quick checks.
- Sharp Knife: A sharp knife is needed for trimming the fat cap and slicing the cooked brisket. A long, slicing knife is ideal for achieving clean, even slices.
The Cooking Method(s)
Method 1: Slow Braised Oven Brisket
This method focuses on a classic low-and-slow approach to yield the most tender result.
Ingredients:
- 6 pounds (2.7 kg) beef brisket point cut, with ½ inch fat cap
- 1 tablespoon (15 ml) kosher salt
- 2 tablespoons (30 ml) garlic powder
- 2 tablespoons (30 ml) celery powder
- 2 tablespoons (30 ml) freshly ground black pepper
- 2 tablespoons (30 ml) onion powder
- 8 ounces (225 ml) BBQ sauce
- 1 teaspoon (5 ml) ground nutmeg
- 2.5 ounces (75 ml) liquid smoke
- 2 cups (475 ml) water
- Season the Brisket: Place the prepared brisket in a foil-lined roasting pan. In a small bowl, combine salt, pepper, garlic powder, celery powder, onion powder, and nutmeg. Mix well and sprinkle generously over all sides of the brisket, patting gently to adhere. You should smell the fragrant aromatics as they meld with the meat.
- Prepare the Sauce: In a medium bowl, combine BBQ sauce and liquid smoke. Whisk until well blended. Pour evenly over the seasoned brisket, coating all sides. The sauce will begin to thicken and cling to the brisket.
- Add Moisture: Carefully pour water into the pan around the brisket, avoiding washing off the seasoning or sauce. The water will pool at the bottom, creating a humid environment.
- Marinate: Cover the pan tightly with foil, ensuring no air escapes. Refrigerate for 8-24 hours. The longer the marinade time, the more pronounced the flavor penetration.
- Prepare to Cook: Remove the brisket from the refrigerator 30 minutes before cooking. Preheat oven to 275°F (135°C) and adjust the rack to the middle position.
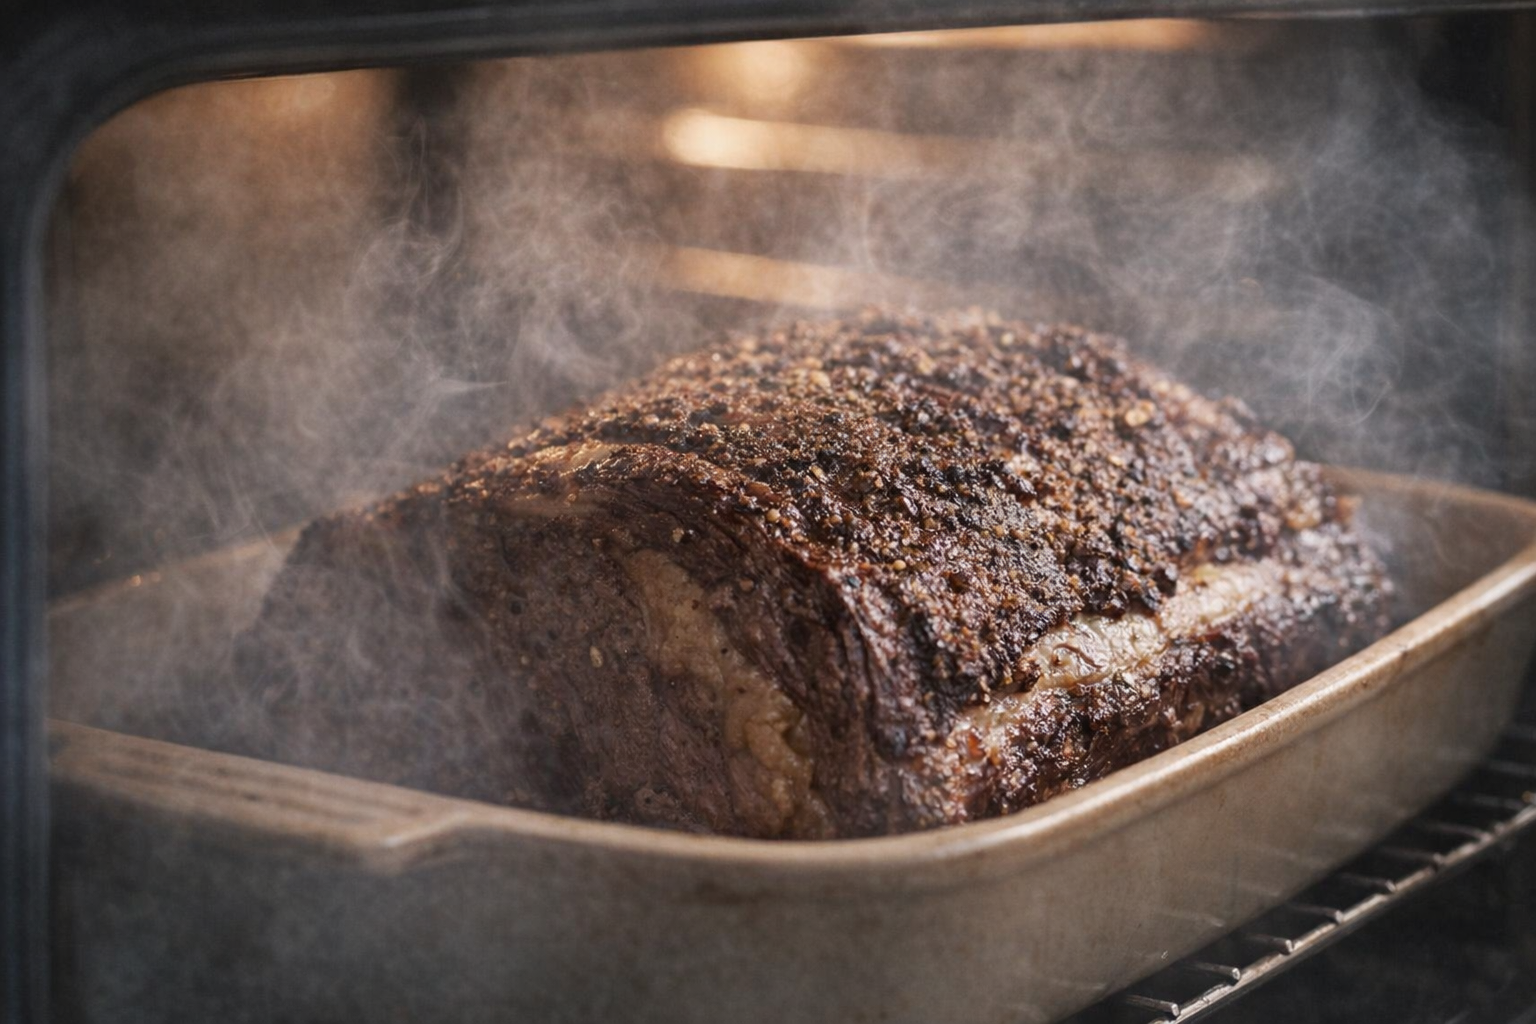
- Cook: Place the foil-covered pan in the preheated oven. Cook for approximately 5 hours. The kitchen will slowly fill with the enticing aroma of smoked beef.
- Check for Doneness: After 5 hours, carefully remove the pan and open the foil (be cautious of hot steam). Insert a meat thermometer into the thickest part. The ideal internal temperature is 200°F (93°C). The brisket should be tender enough that you can easily lift its center with tongs without it breaking.
- Additional Cooking (if needed): If the brisket hasn't reached 200°F (93°C), re-cover it with foil and return it to the oven. Check the temperature every 30 minutes until it reaches the desired temperature.
- Rest: Once the brisket reaches 200°F (93°C), transfer it to a cooling rack. Carefully open the foil to allow steam to escape. Let the brisket rest for at least 30 minutes. The brisket will continue to cook internally during this time.
- Slice and Serve: Transfer the brisket to a cutting board. Discard the cooking liquid. Slice against the grain into thin pieces.
- Make-Ahead Option: If preparing a day in advance, cool completely after resting. Wrap tightly in foil and refrigerate overnight. Slice the cold brisket for easier, cleaner slices. Reheat gently before serving.
- Final Touches: Serve with additional BBQ sauce on the side.
Cooking Time & Doneness Guide
- Cooking Time: Approximately 5-6 hours at 275°F (135°C), depending on the size and thickness of the brisket.
- Internal Temperature: 200°F (93°C) is the ideal internal temperature for a tender, pull-apart brisket.
Visual Cues
The brisket should be a deep, rich brown color on the exterior. When you insert a meat thermometer, it should slide in with very little resistance.
Tips for Perfection
- Don't skip the resting period: This is crucial for allowing the juices to redistribute throughout the meat, resulting in a more tender and flavorful result.
- Slice against the grain: This is essential for tenderizing the brisket. Look for the grain (the direction of the muscle fibers) and slice perpendicular to it.
- Use a good quality BBQ sauce: The BBQ sauce is a key component of the flavor profile, so choose one that you enjoy.
- Don't overcrowd the pan: Make sure the brisket has plenty of room in the roasting pan. If necessary, use a larger pan or cut the brisket in half.
Storage & Reheating
- Storage: Store leftover brisket in an airtight container in the refrigerator for up to 3-5 days.
- Reheating: The best way to reheat brisket is in the oven. Wrap the brisket in foil with a little bit of broth or water and heat at 300°F (150°C) until warmed through. Avoid microwaving, as it can dry out the meat.
Serving Suggestions
- Brisket Sandwiches: Serve sliced brisket on toasted rolls with your favorite BBQ sauce and coleslaw.
- Brisket Tacos: Shred the brisket and serve it in warm tortillas with your favorite taco toppings.
- Brisket Nachos: Top tortilla chips with shredded brisket, cheese, beans, and your favorite nacho toppings.
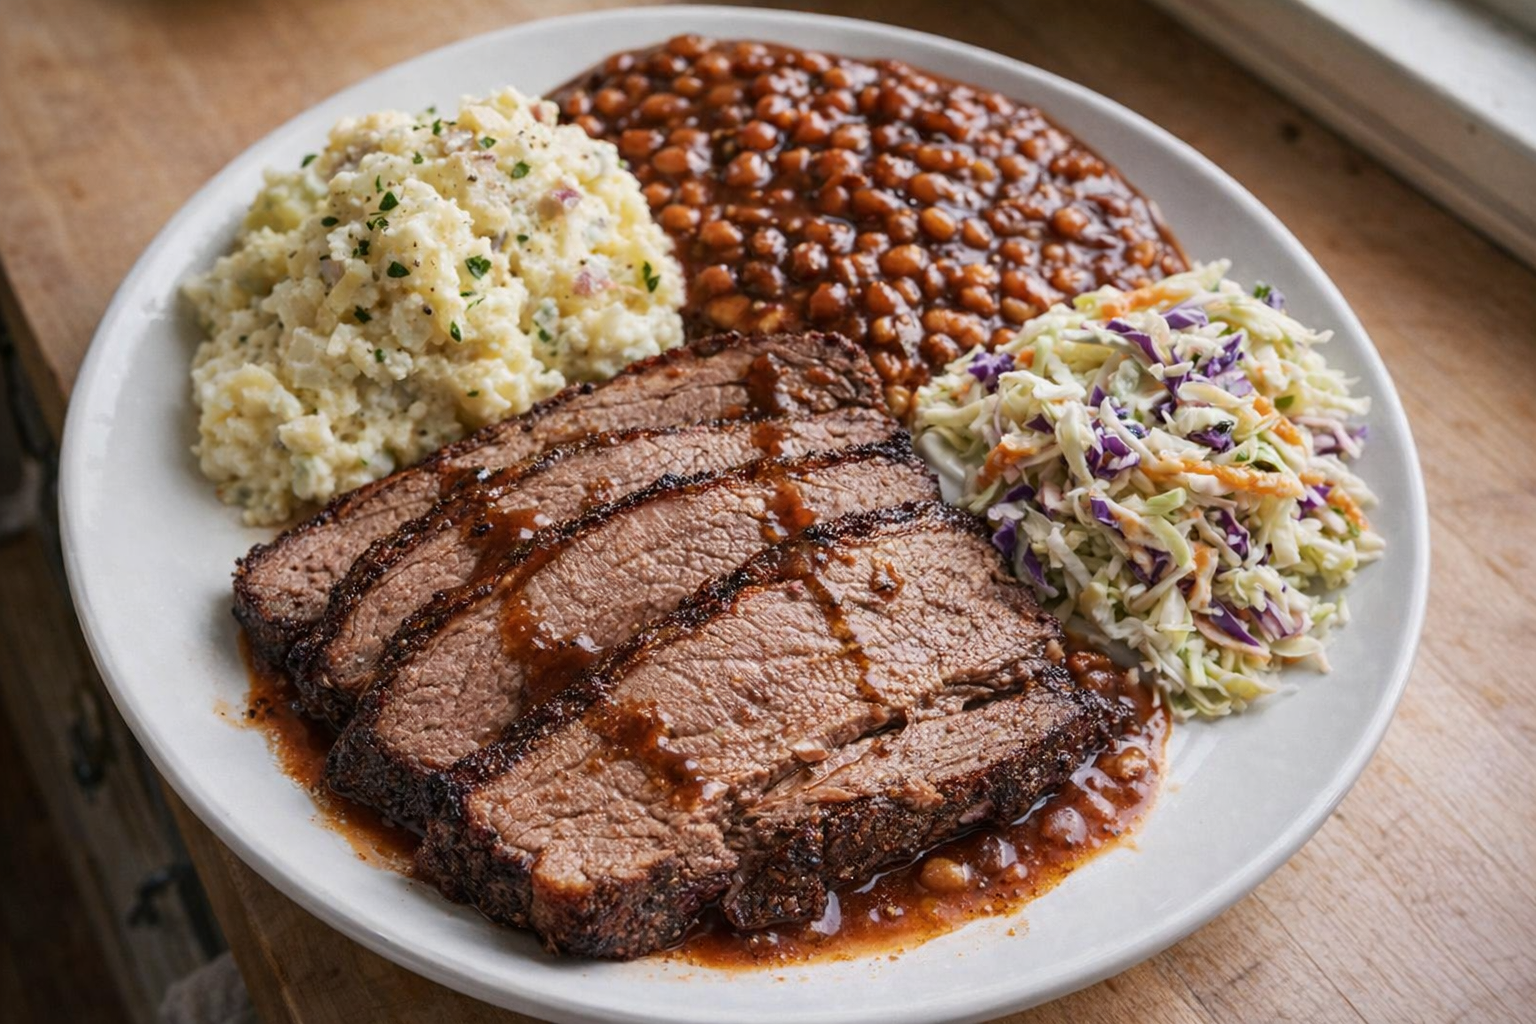
- Classic BBQ Plate: Serve sliced brisket with sides like mac and cheese, potato salad, and baked beans.
Frequently Asked Questions
While the point cut is recommended due to its higher fat content and richer flavor, you can use the flat cut. Be sure to monitor it closely during cooking and consider adding extra liquid to the braising pan to prevent it from drying out. The flat cut is leaner, so it will require more attention to maintain moisture.
The brisket is done when it is fork-tender. This means that a fork can be easily inserted into the thickest part of the meat with little resistance. The internal temperature should also reach around 203°F (95°C).
Yes, brisket is a great make-ahead dish. Allow the brisket to cool completely, then store it in its braising liquid in an airtight container in the refrigerator for up to 3 days. Reheat gently in the oven or on the stovetop until warmed through before slicing and serving.
If you don't have a roasting pan with a lid, you can use a Dutch oven or a baking dish tightly covered with heavy-duty aluminum foil. Ensure the foil is securely crimped around the edges of the dish to create a tight seal and trap the moisture during cooking.