 delishing
How to Boil Eggs Perfectly on the Stovetop: A Foolproof Guide

Mastering the art of boiling eggs is a fundamental culinary skill. A perfectly boiled egg boasts a tender white and a yolk cooked to your desired consistency, whether it's a luscious, runny center or a firm, crumbly texture. This method emphasizes precise timing and temperature control to achieve consistent results, eliminating guesswork and ensuring a delightful egg every time.
This guide focuses on the classic stovetop method, which offers the most control over the cooking process. We'll delve into the nuances of water temperature, cooking times, and cooling techniques to guarantee easy-to-peel eggs with the perfect doneness for your needs. Whether you're enjoying a simple breakfast or preparing deviled eggs for a party, this technique will become your go-to for flawlessly boiled eggs.
Understanding Eggs: Freshness and Quality
The quality and freshness of your eggs impact the final result. While older eggs tend to peel easier, fresher eggs offer the best flavor and texture. Look for Grade AA or A eggs, which indicate higher quality and freshness. Brown or white eggs are nutritionally the same; the color depends on the breed of hen. When buying eggs, check the carton for a "sell-by" date and choose the carton with the latest date. Avoid cartons with cracked or dirty eggs.
For easier peeling, consider using eggs that are a week or two old. As eggs age, the air pocket inside enlarges, making it easier to separate the shell from the egg white. However, very old eggs can have a sulfurous smell, so it's best to use them within a reasonable timeframe.
Why Cook Eggs This Way?
- Versatility: Boiled eggs are incredibly versatile. Enjoy them plain, in salads, sandwiches, or as a component in more complex dishes like deviled eggs or Scotch eggs.
- Flavor: Precisely boiled eggs have a clean, fresh flavor that complements a wide range of seasonings and accompaniments.
- Convenience: Boiling eggs is a quick and simple cooking method, ideal for meal prepping or a quick protein boost.
Preparation (Mise en Place)
There isn't much prep involved in boiling eggs, but a few key steps ensure the best outcome.
- Gather Your Eggs: Select the desired number of eggs, ensuring they are free of cracks.
Essential Tools:
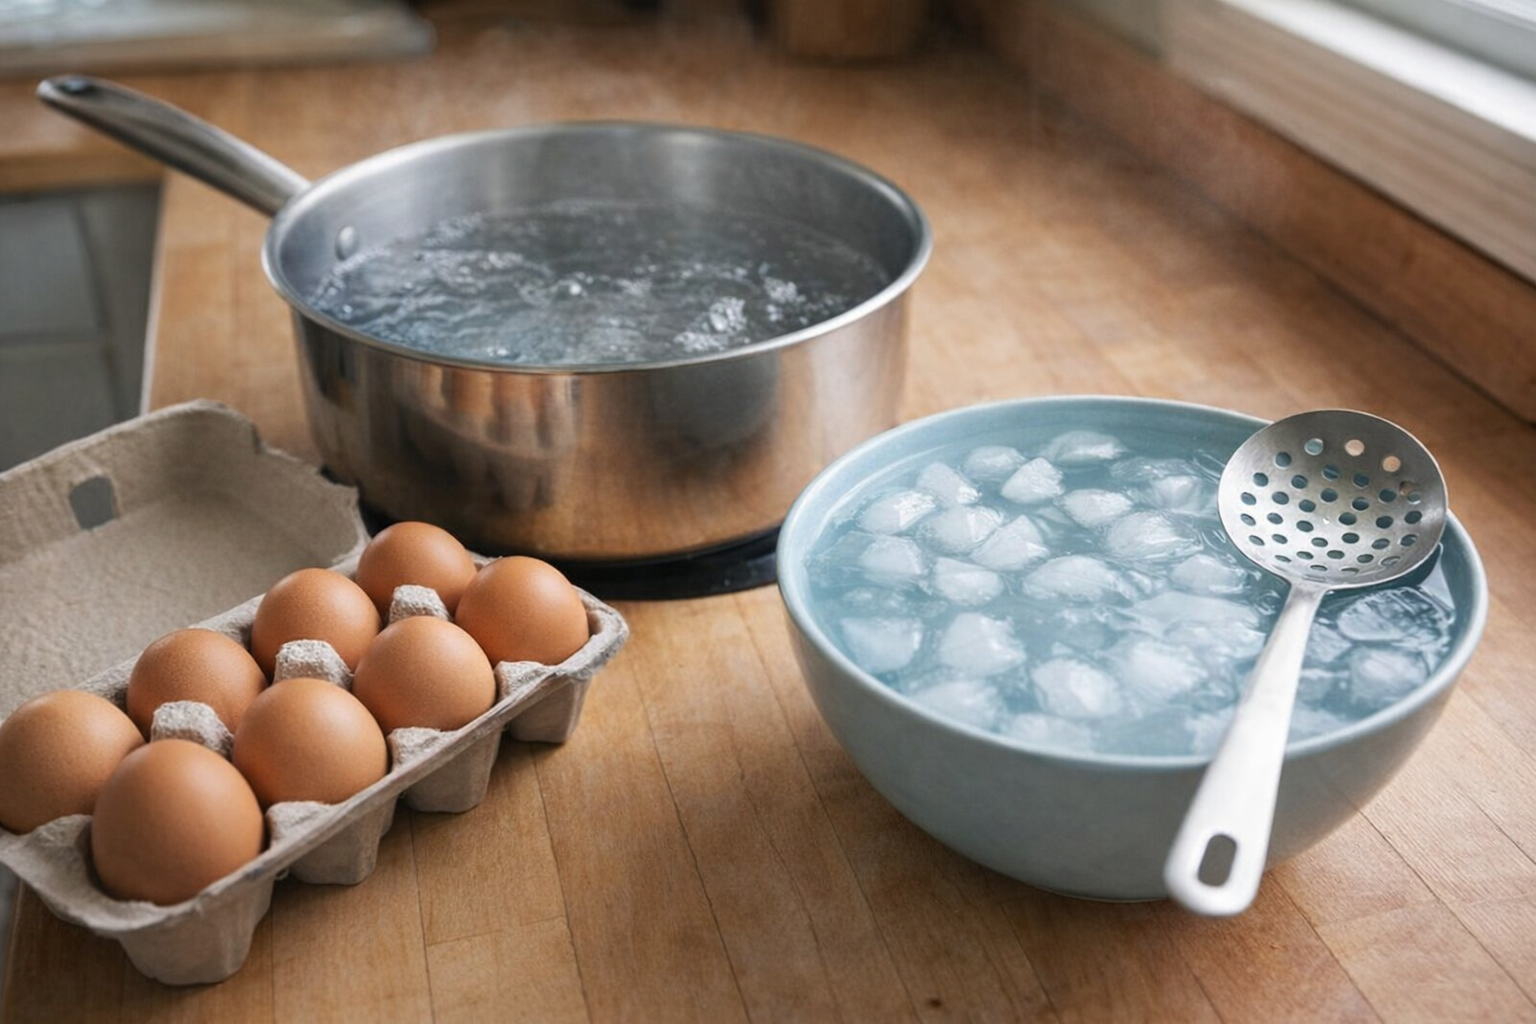
- Saucepan: A saucepan large enough to hold the eggs in a single layer with about an inch of water covering them. A heavy-bottomed saucepan will distribute heat evenly.
- Slotted Spoon or Spider: For gently lowering eggs into the boiling water and removing them without cracking.
- Timer: Essential for precise cooking.
- Ice Bath: A bowl filled with ice and water. This stops the cooking process and makes the eggs easier to peel.
The Cooking Method: Perfect Boiled Eggs
Method: Classic Stovetop Boil
Ingredients:
- Eggs: As many as desired
- Water: Enough to cover the eggs by 1 inch (approximately 6 cups)
- Optional: 1/2 teaspoon salt (may help prevent cracking)
Instructions:
- Add Water to the Saucepan: Place the eggs in the saucepan in a single layer, then add cold water to cover the eggs by approximately 1 inch. Add salt, if using. Starting with cold water allows the eggs to heat gradually, minimizing the risk of cracking.
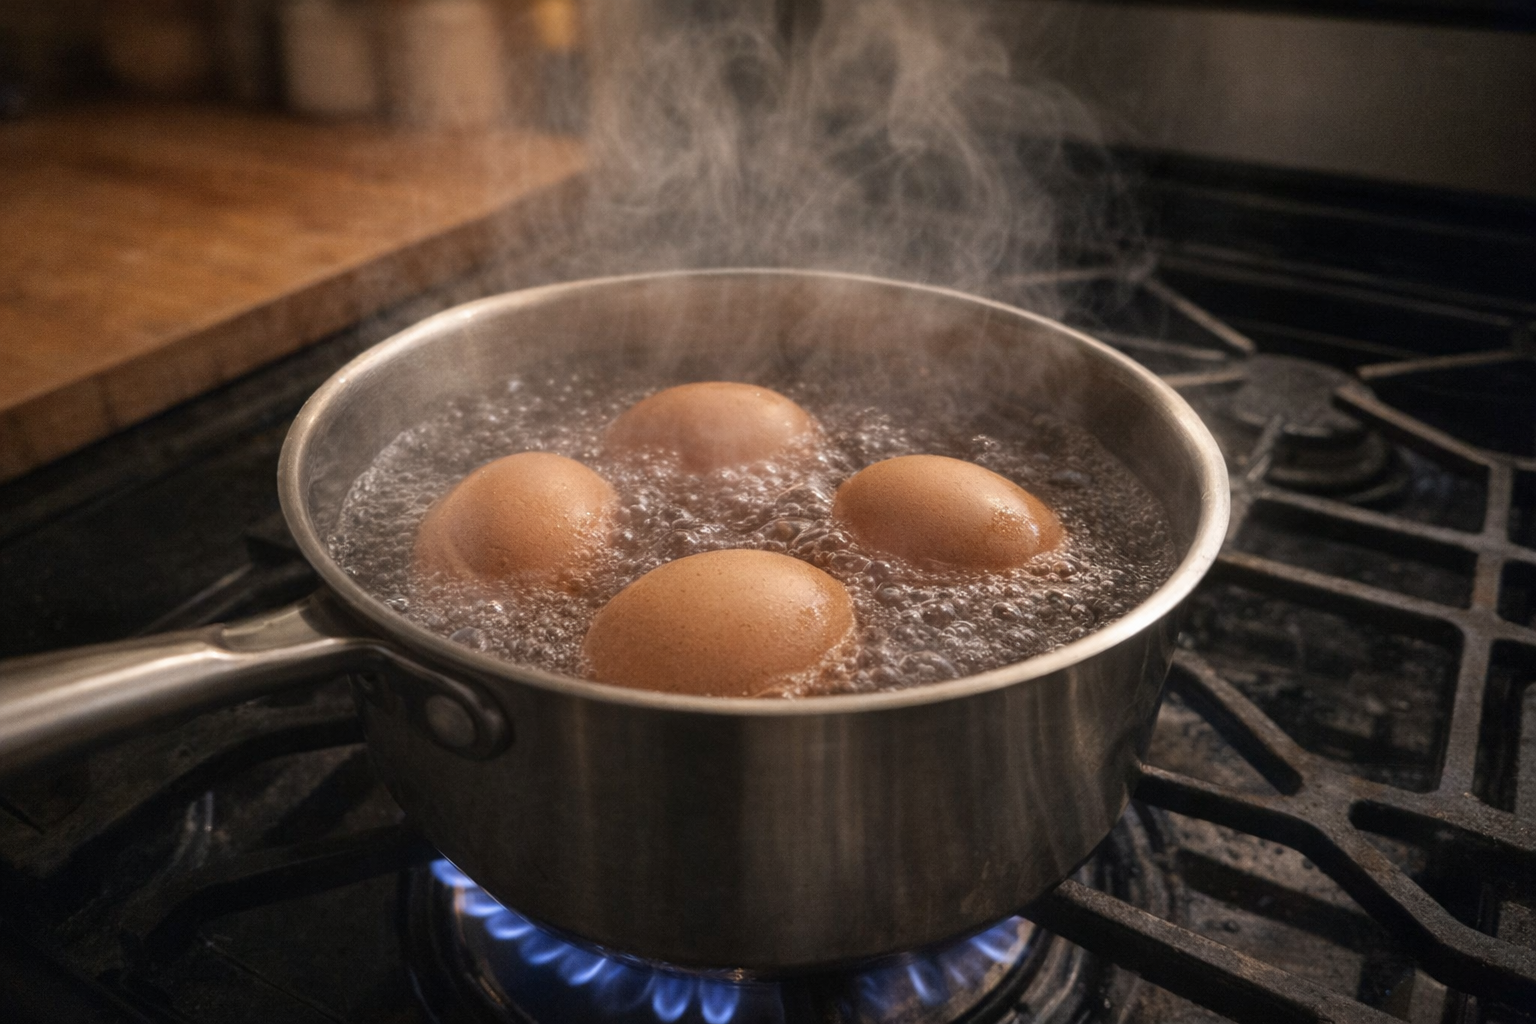
- Bring to a Boil: Place the saucepan over high heat and bring the water to a rolling boil. Once boiling, immediately reduce the heat to a gentle simmer. This is crucial for even cooking and preventing the eggs from bouncing around and cracking.
- Set the Timer: Cook the eggs for the desired time, according to the doneness guide below. The simmering water should be barely moving.
- Prepare the Ice Bath: While the eggs are cooking, prepare an ice bath by filling a bowl with ice and cold water.
- Transfer to Ice Bath: Once the timer goes off, immediately remove the saucepan from the heat and use a slotted spoon to carefully transfer the eggs to the ice bath.
- Cool Completely: Allow the eggs to cool in the ice bath for at least 5 minutes, or until they are cool enough to handle. This stops the cooking process and makes them easier to peel.
- Peel the Eggs: Gently tap the egg all over to crack the shell. Start peeling from the larger end, where the air pocket is located. If the shell is sticking, peel under cold running water to help separate the shell from the egg white.
Cooking Time & Doneness Guide:
Cooking time is the key factor in determining the doneness of your boiled egg. These times are for large eggs. Adjust accordingly for smaller or larger eggs.
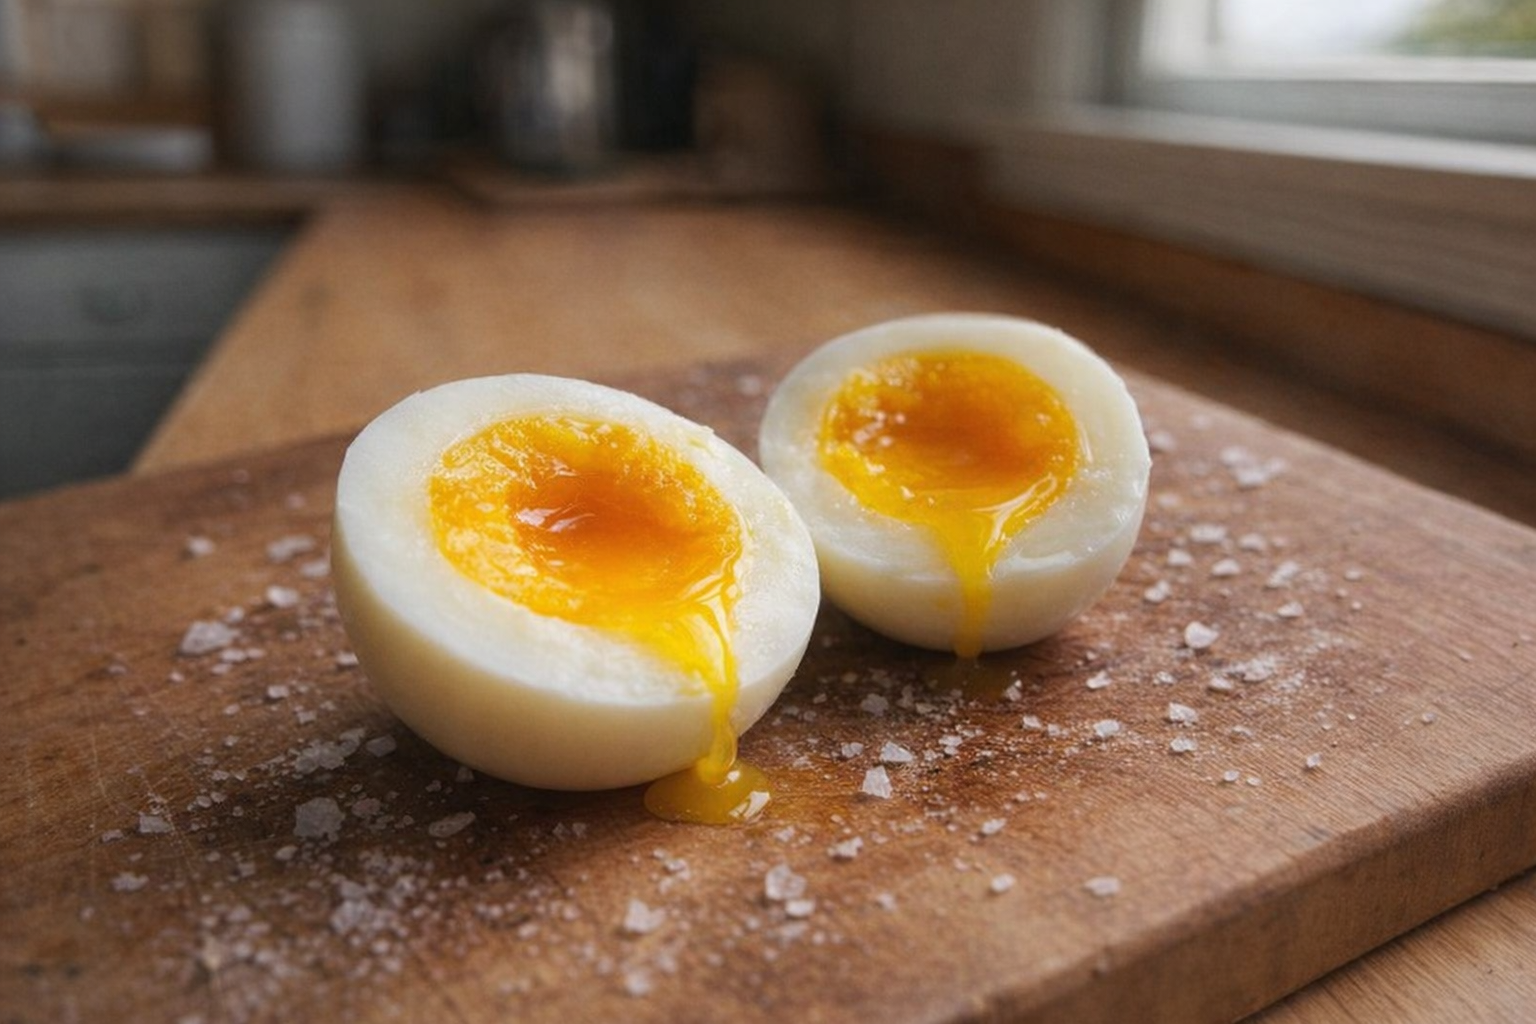
- Soft Boiled (Runny Yolk): 6-7 minutes. The white will be mostly set, but the yolk will be liquid.
- Jammy Yolk: 8-9 minutes. The white will be fully set, and the yolk will be thick and creamy.
- Medium Boiled (Soft Yolk): 10-11 minutes. The white will be firm, and the yolk will be soft but not runny.
- Hard Boiled (Firm Yolk): 12-14 minutes. The white and yolk will be fully cooked and firm. Avoid overcooking, as this can lead to a green ring around the yolk and a sulfurous taste.
Visual Cues:
While a timer is the most reliable method, you can also look for visual cues. As the eggs cook, the shells will become slightly duller. However, this is not a precise indicator of doneness.
Tips for Perfection:
- Don't Overcrowd the Pan: Overcrowding the pan can lead to uneven cooking. Use a larger saucepan if necessary.
- Use Cold Water: Starting with cold water helps the eggs heat gradually and reduces the risk of cracking.
- Control the Simmer: Maintain a gentle simmer, not a vigorous boil. This prevents the eggs from bouncing around and cracking.
- Ice Bath is Key: The ice bath stops the cooking process and makes the eggs easier to peel. Don't skip it!
Storage & Reheating:
Hard-boiled eggs can be stored in the refrigerator for up to one week. Store them unpeeled in an airtight container to prevent them from drying out. Peeled hard-boiled eggs should be consumed within a few days.
Reheating hard-boiled eggs is not recommended, as it can make them rubbery. It's best to enjoy them cold or at room temperature.
Serving Suggestions:
- Classic Egg Salad: Combine chopped hard-boiled eggs with mayonnaise, mustard, celery, and seasonings. Serve on bread or crackers.
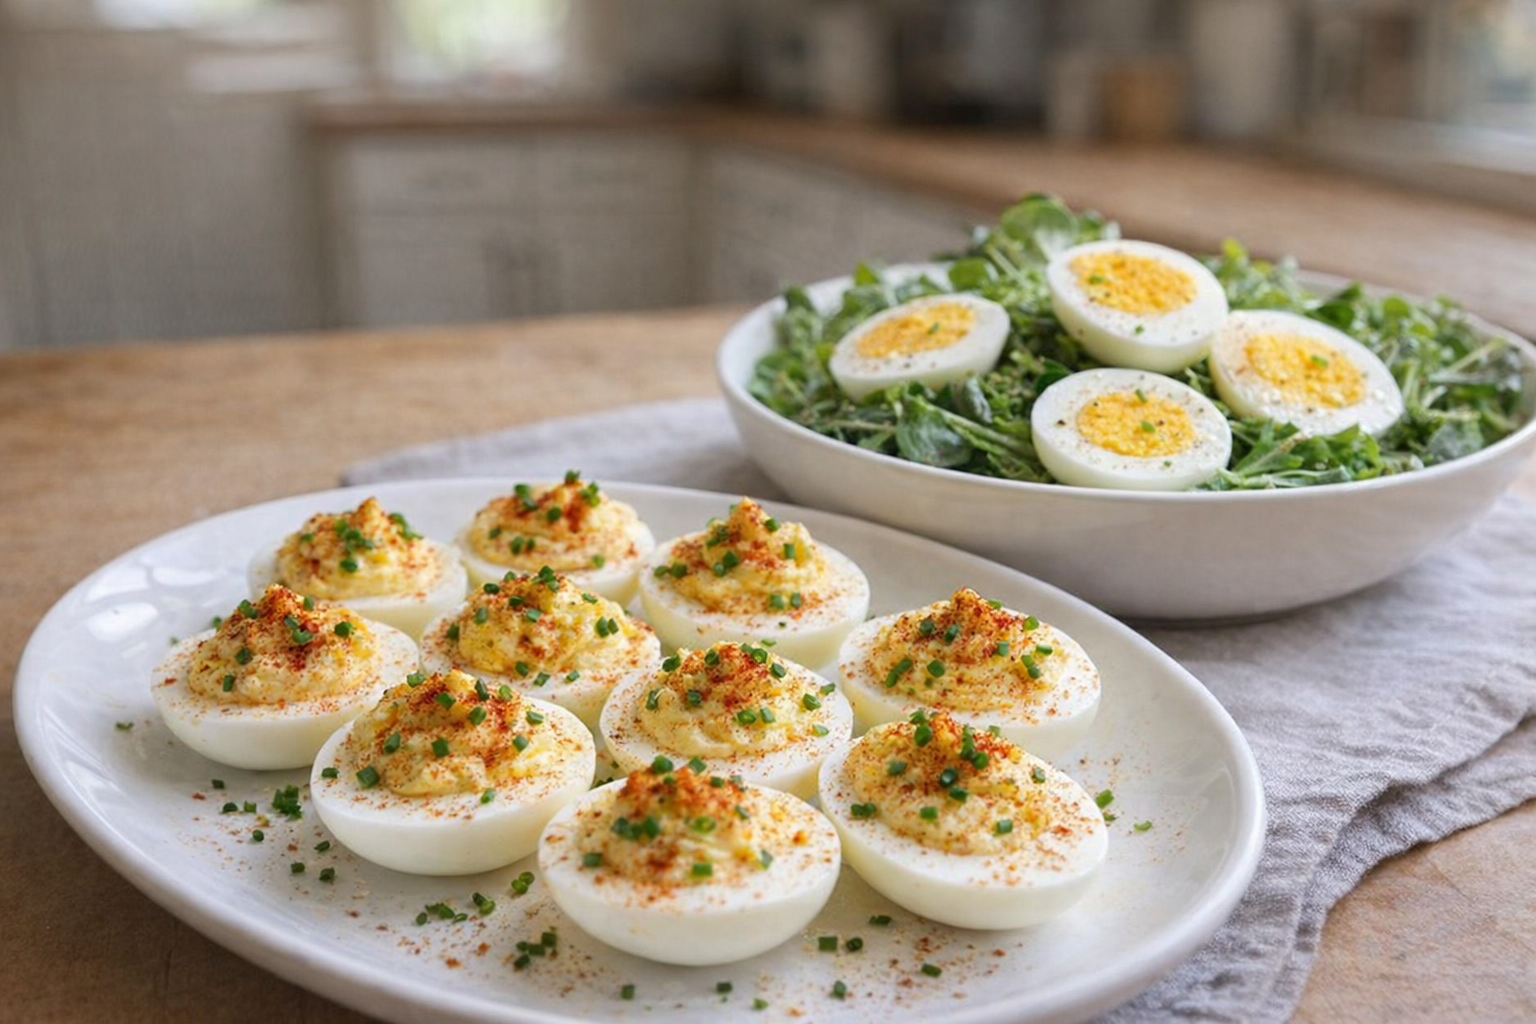
- Deviled Eggs: A party favorite! Mix the yolks with mayonnaise, mustard, paprika, and other seasonings. Pipe the mixture back into the egg whites.
- Protein-Packed Snack: Simply sprinkle a hard-boiled egg with salt and pepper for a quick and satisfying snack.
- Salad Topper: Add sliced or quartered hard-boiled eggs to salads for a boost of protein.
Frequently Asked Questions
As eggs age, the air pocket inside the shell enlarges. This larger air pocket creates space between the shell and the egg white, making it easier to separate them during peeling.
If you don't have a slotted spoon or spider, you can carefully use a regular spoon to lower the eggs into the water. Just be gentle to avoid cracking the shells, and slowly lower the eggs to the bottom of the pot.
A gentle boil is characterized by small, steady bubbles rising to the surface of the water. Avoid a vigorous, rolling boil, which can cause the eggs to crack as they bounce around in the pot.
You can boil more or fewer eggs, but be sure they are in a single layer in the pot. If you are boiling a significantly larger batch, you may need to add a minute or two to the cooking time to ensure they are cooked to your desired doneness.
/thumbs/plated-oxtails-polenta-z4b91.png)