How to Bake Crispy, Golden Brown Fries in Your Oven

Oven-baked fries offer a delightful balance: a crispy exterior with a fluffy interior, delivering the satisfying experience of fried potatoes without the excess oil. Baking allows the natural sweetness of the potato to shine through, enhanced by the Maillard reaction, which creates complex flavors and that appealing golden-brown color.
This method is not only a healthier alternative to deep-frying, but it's also surprisingly easy to master. By understanding a few key techniques – from selecting the right potato to ensuring proper moisture removal – you can consistently create fries that rival those from your favorite restaurant, all within the comfort of your own kitchen.
Understanding Potatoes
The type of potato you choose significantly impacts the final outcome. For crispy baked fries, high-starch potatoes are your best bet.
- Russet Potatoes: The classic choice for fries. Their high starch content yields a fluffy interior and a crispy exterior. Look for firm potatoes, free of sprouts or green spots.
- Yukon Gold Potatoes: These offer a slightly sweeter, buttery flavor. While they won't get quite as crispy as russets, they still make excellent baked fries. Select potatoes that are smooth and evenly colored.
- Avoid Waxy Potatoes: Red potatoes and other waxy varieties are not suitable for fries. They have a lower starch content and will result in soft, soggy fries.
Why Cook Fries This Way?
- Healthier: Significantly lower in fat and calories compared to deep-fried fries.
- Flavorful: Baking allows the natural potato flavor to develop fully.
- Convenient: Requires minimal active cooking time and easy cleanup.
Preparation (Mise en Place)
Before you even preheat the oven, proper preparation is key to achieving that perfect fry texture.
- Potato Prep: Wash the potatoes thoroughly. You can peel them for a smoother texture, or leave the skins on for added nutrients and a rustic appearance.
- Cutting: Cut the potatoes into even sticks, about ¼ to ½ inch thick. Consistency in size ensures even cooking. A French fry cutter can be helpful for achieving uniform results. For steak fries, cut the potatoes into thicker wedges, about ¾ to 1 inch thick.
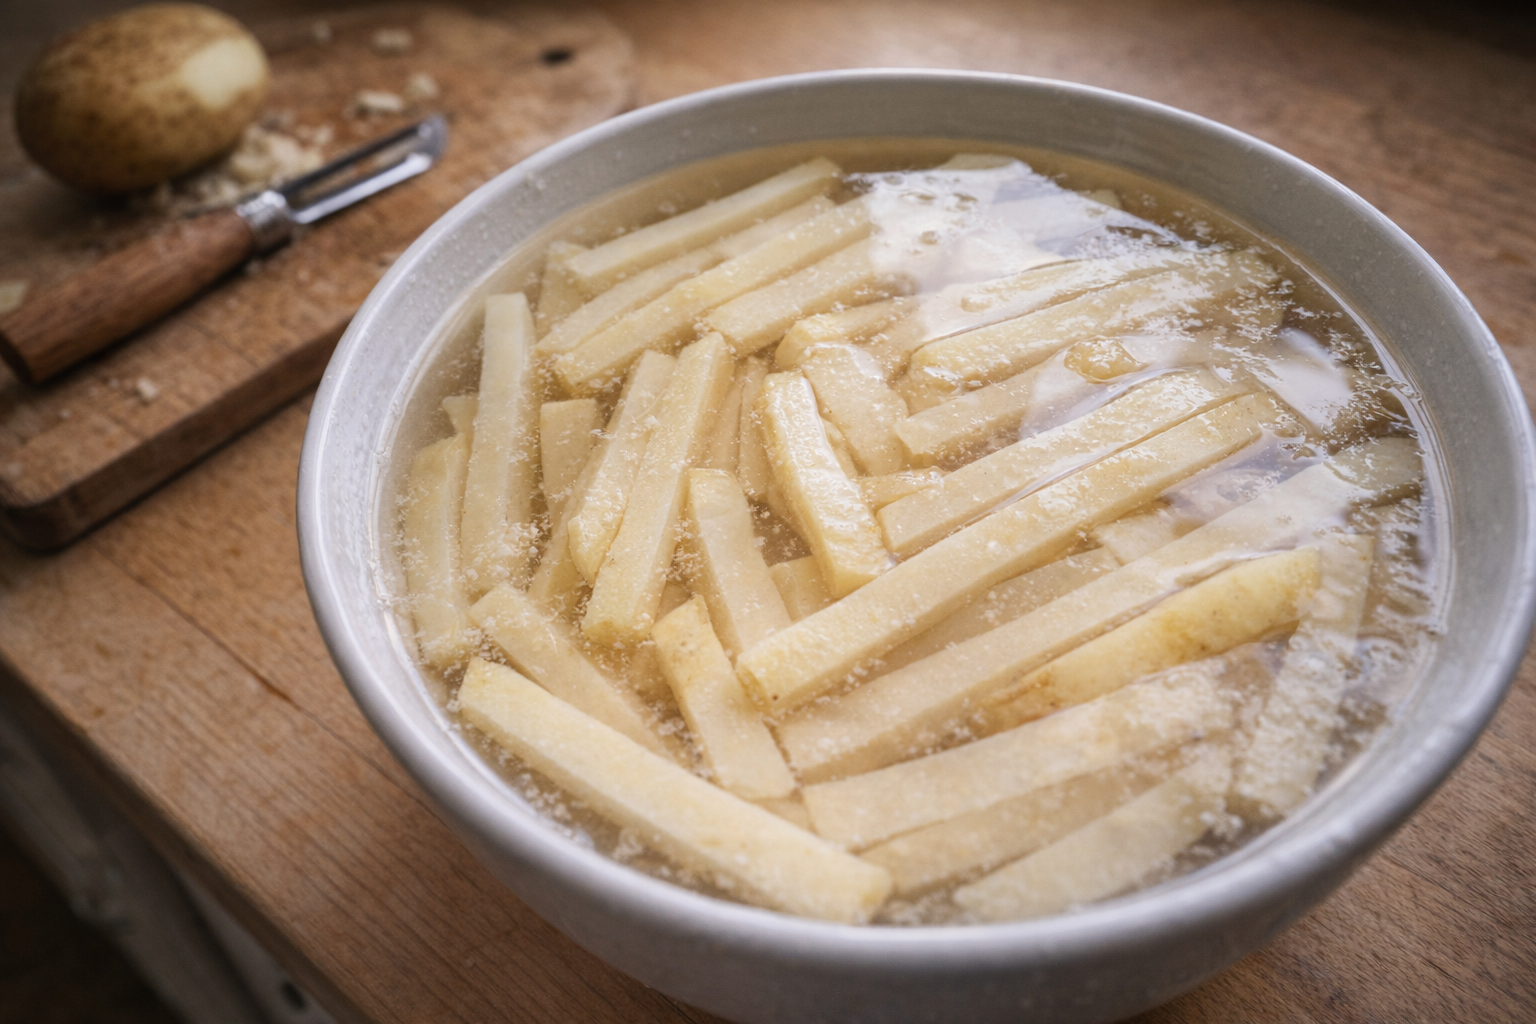
- Starch Removal: Place the cut fries in a large bowl of cold water and let them soak for at least 30 minutes, or up to 2 hours. This step is crucial for removing excess starch, which prevents the fries from becoming too sticky and helps them crisp up in the oven.
- Drying: After soaking, drain the fries well and pat them completely dry with clean kitchen towels. The drier the fries, the crispier they will become.
- Preheating: Preheat your oven to 425°F (220°C). A hot oven is essential for achieving a crispy exterior.
Essential Tools
- Large Mixing Bowl: For soaking and tossing the fries with oil and seasonings.
- Baking Sheet: A large baking sheet is needed to spread the fries in a single layer. We recommend a heavy-duty baking sheet for even heat distribution.
- Parchment Paper: Lining the baking sheet with parchment paper prevents sticking and makes cleanup easier.
- Kitchen Towels: For thoroughly drying the fries after soaking.
- French Fry Cutter (Optional): For achieving uniform fry shapes.
The Cooking Method
Baking Crispy Fries
Ingredients:
- 4 large Russet potatoes (about 2 pounds), peeled or unpeeled
- 2-3 tablespoons of high-heat cooking oil (vegetable, canola, or avocado oil)
- 1 teaspoon salt, or to taste
- ½ teaspoon garlic powder (optional)
- ½ teaspoon paprika (optional)
- ¼ teaspoon black pepper (optional)
- Preheat your oven to 425°F (220°C). Ensure the oven rack is positioned in the middle. The sound of the preheating oven signals that the cooking process is about to begin.
- In a large bowl, toss the dried potato fries with the oil, salt, and any other desired seasonings. Make sure the fries are evenly coated. The aroma of the oil and spices coming together will entice your senses.
- Line a large baking sheet with parchment paper. Spread the fries in a single layer on the prepared baking sheet, making sure they are not overcrowded. If necessary, use two baking sheets. Overcrowding will steam the fries instead of baking them.
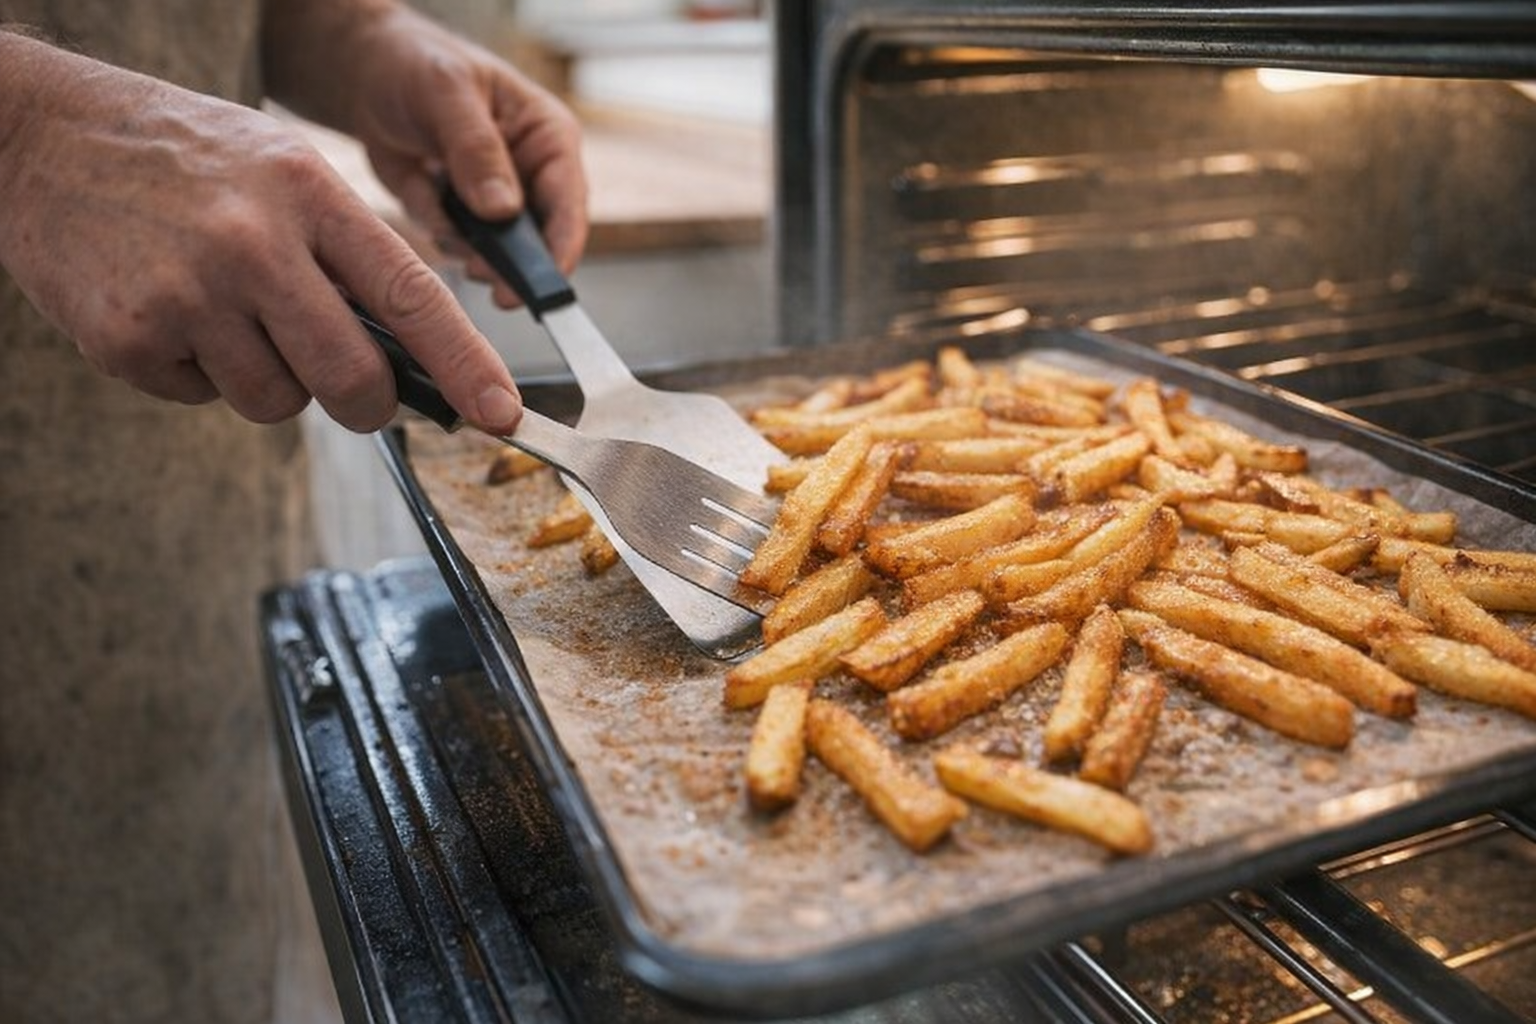
- Bake for 15 minutes, then remove the baking sheet from the oven and carefully flip each fry with a spatula. Returning the baking sheet to the oven will be necessary to continue the process.
- Continue baking for another 10-15 minutes, or until the fries are golden brown and crispy, smelling the appealing aroma that will begin to fill your kitchen. For extra crispy fries, increase the oven temperature to 450°F (230°C) during the last 5 minutes of baking, while carefully monitoring to prevent burning.
- Remove the fries from the oven and let them cool slightly on the baking sheet. Sprinkle with additional salt or seasonings to taste, if desired. Hearing the gentle sizzle as you sprinkle the fries with salt is an exciting part of the process.
- Serve immediately and enjoy!
Cooking Time & Doneness Guide
- Total Baking Time: Approximately 25-30 minutes, depending on the thickness of the fries and the oven.
- Internal Temperature: Not applicable for fries.
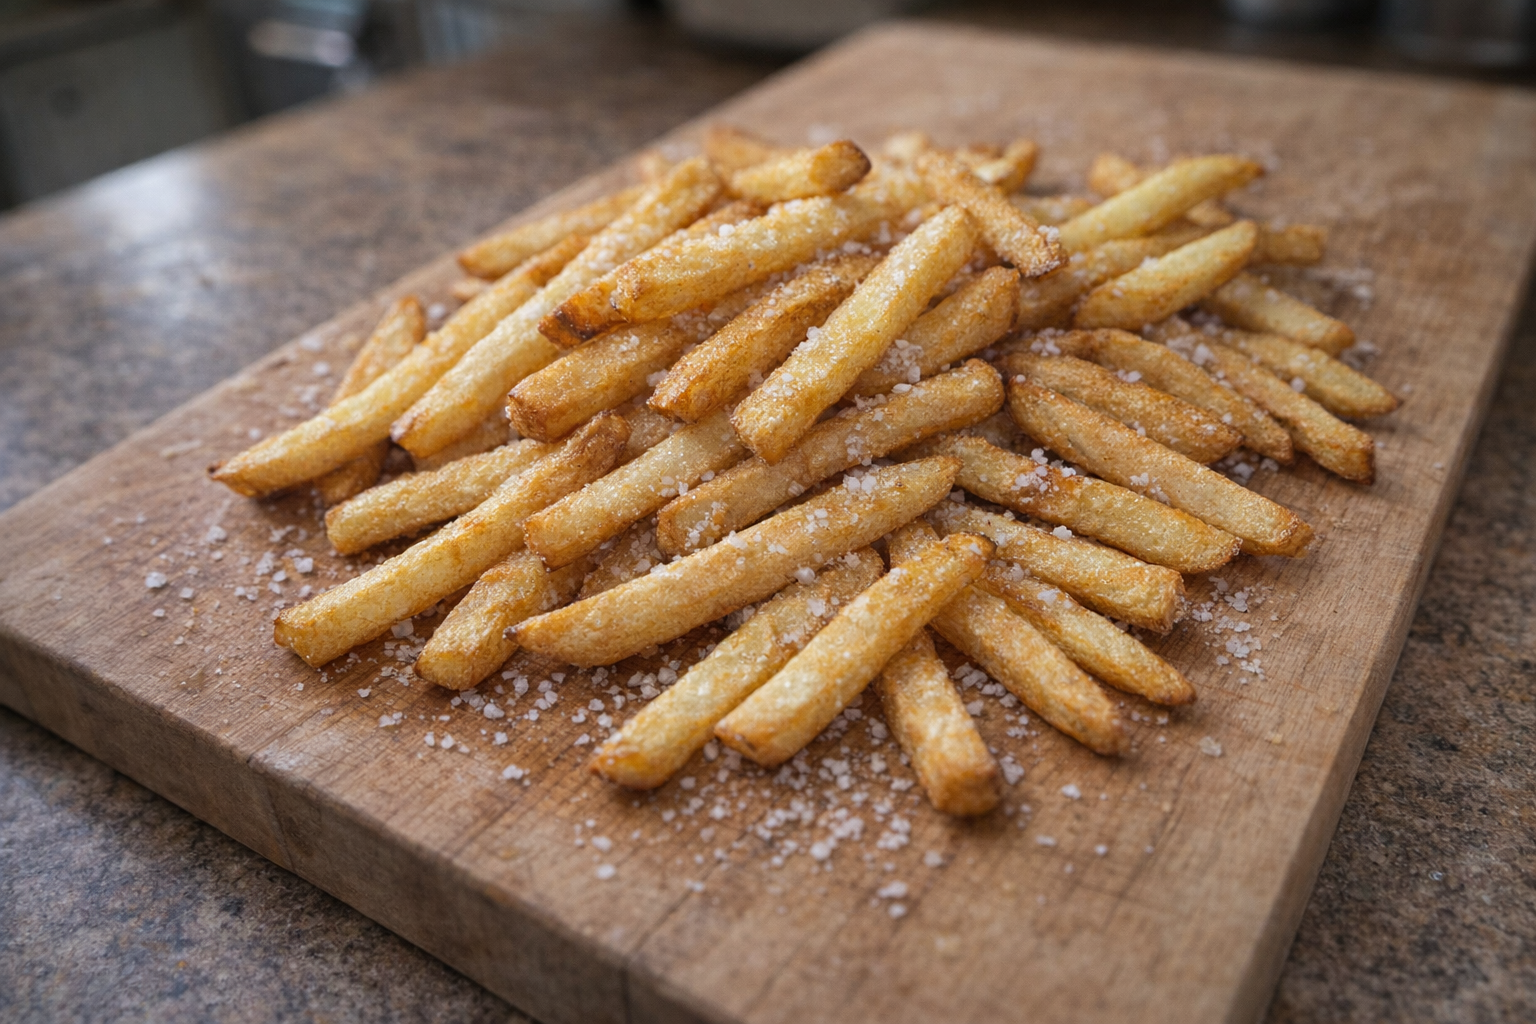
Visual Cues
The fries should be golden brown and crispy on the outside, with a slightly fluffy interior. Avoid over-baking, which can result in dry, hard fries.
Tips for Perfection
- Don't Overcrowd the Pan: Overcrowding causes steaming, not crisping. Use two baking sheets if necessary.
- Dry the Potatoes Thoroughly: Moisture is the enemy of crispiness.
- Use High-Heat Oil: Oils with a high smoke point (vegetable, canola, avocado) are best for baking at high temperatures.
- Flip the Fries Halfway Through: This ensures even browning and crisping on all sides.
Storage & Reheating
- Storage: Store leftover fries in an airtight container in the refrigerator for up to 3 days.
- Reheating: The best way to reheat fries and maintain their crispness is in a preheated oven at 400°F (200°C) for 5-10 minutes, or until heated through. You can also reheat them in an air fryer for similar results. Microwaving is not recommended, as it will make the fries soggy.
Serving Suggestions
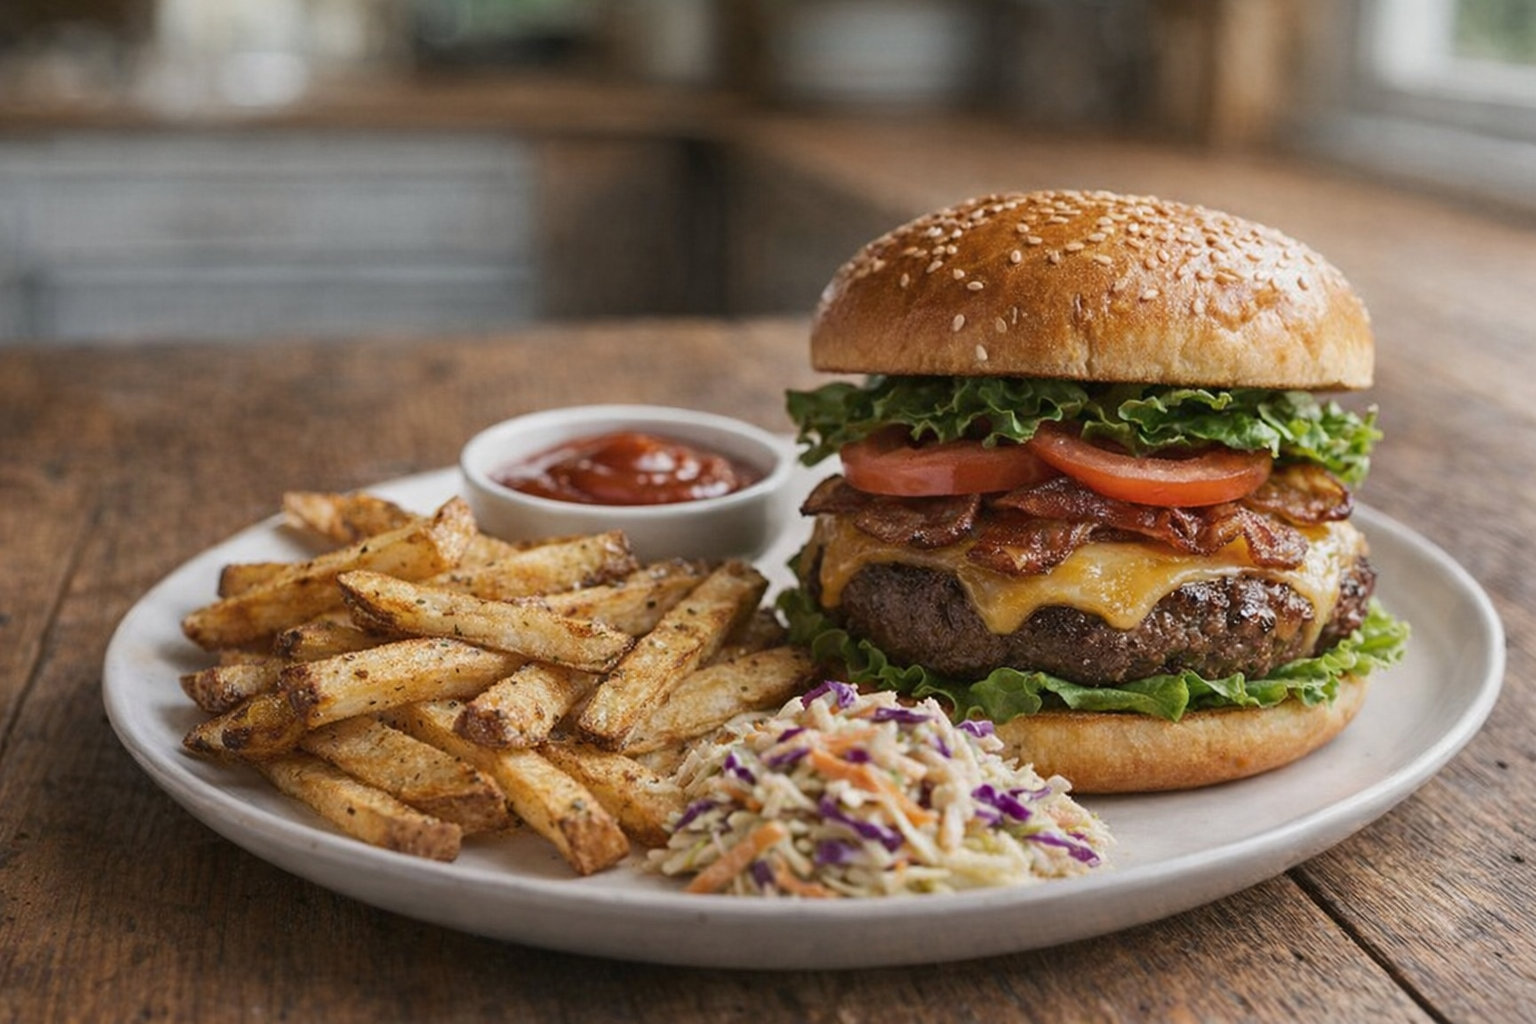
- Classic Pairing: Serve with burgers, sandwiches, or grilled meats.
- Dipping Sauces: Offer a variety of dipping sauces, such as ketchup, mayonnaise, aioli, or barbecue sauce.
- Loaded Fries: Top with cheese, bacon, chili, or other toppings for a more substantial dish.
- Fry Bar: Create a fry bar with different types of fries (regular, sweet potato, steak fries) and a variety of toppings and sauces for a fun and interactive meal.
💡 Pro Tips
- Use high-starch Russet potatoes for the best texture as they produce a fluffy center and a sturdy, crisp exterior.
- Soak your sliced potatoes in cold water for 30 minutes to remove excess starch, then dry them completely to ensure they crisp up rather than steam.
- Toss the fries with oil and seasonings in a large bowl before placing them on the pan to ensure every surface is evenly coated.
- Spread the potatoes in a single layer on a preheated baking sheet, leaving enough space between them so the hot air can circulate effectively.
- Bake at 425°F and flip the fries halfway through the cooking process to achieve a uniform golden-brown color on all sides.
Frequently Asked Questions
Yes, olive oil can be used, but be mindful of its lower smoke point compared to other oils like vegetable or canola oil. Using a higher smoke point oil will prevent the oil from burning and ensure the fries cook properly and achieve a crispy texture.
Soaking the fries is crucial for removing excess starch, which contributes to crispiness. While 30 minutes is ideal, even a 15-minute soak is better than no soaking at all. If you skip soaking, the fries are likely to be less crispy and potentially stickier.
To prevent sticking, ensure the baking sheet is properly prepared. Use parchment paper or a silicone baking mat to line the sheet. Also, avoid overcrowding the fries; space them out so they can cook evenly and not steam each other.
Leftover baked fries are best stored in an airtight container in the refrigerator for up to 2 days. To reheat and regain some crispness, spread them out on a baking sheet and bake in a preheated oven at 350°F (175°C) for about 5-10 minutes, or until heated through.