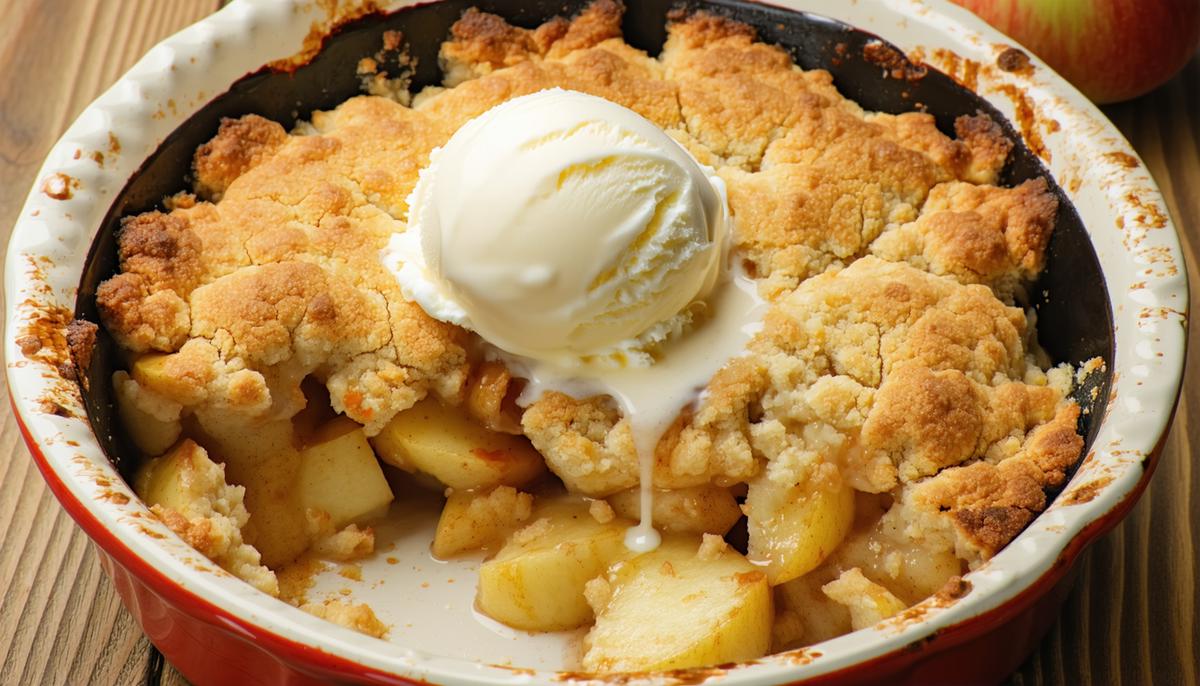
A Slice of Autumn: The Apple Crumble Backstory My fondest autumn memories center around the warm aroma of apple crumble filling the kitchen. Those cool…
Delishing
Classic Apple Pie Recipe

Maya Brooks
Maya Brooks is a dedicated home cook and the lead recipe developer at Delishing, where she shares practical, foolproof meals for everyday life. With over a decade of hands-on kitchen experience, she specializes in creating approachable dishes that fit a variety of dietary needs and modern cooking methods. Maya is passionate about helping busy people get delicious, stress-free food on the table without needing formal culinary training.
The Timeless Allure of Apple Pie
The scent of apple pie wafting through the house wraps you in a cozy, nostalgic blanket. It's more than dessert; it's a slice of tradition passed down through generations.
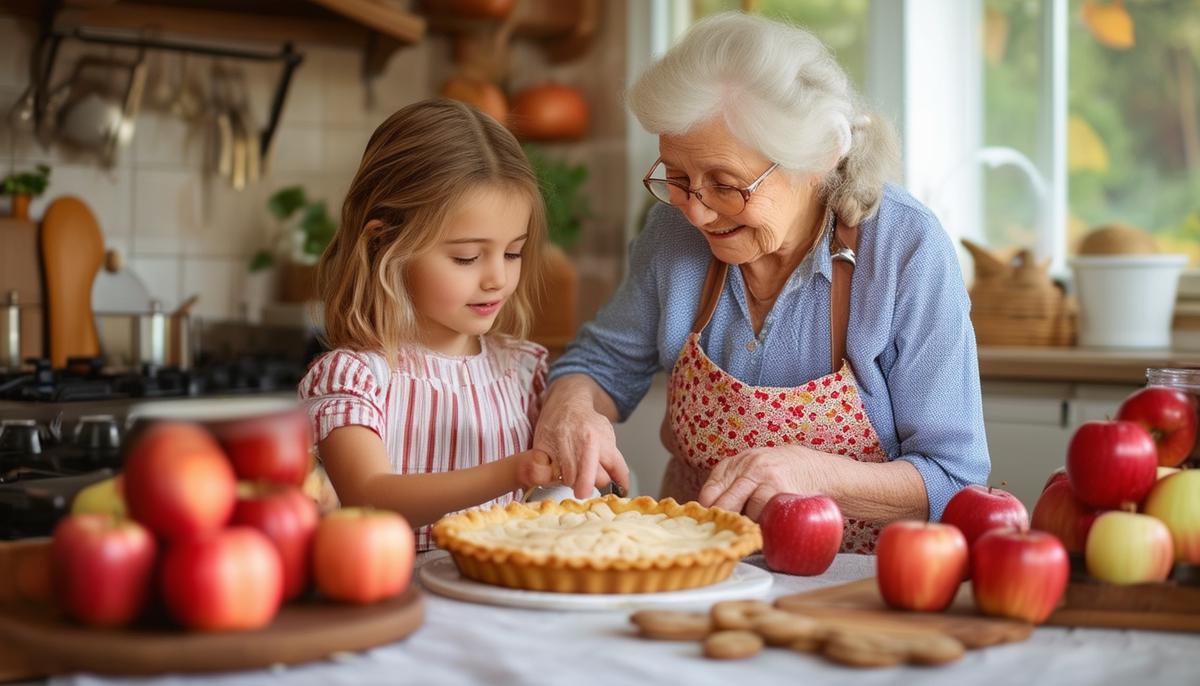
My earliest memory of apple pie was in my grandmother's kitchen. She'd place butter into flour with effortless confidence. The aroma of cinnamon and nutmeg mingling with crisp apples took root in my senses. She'd always say, "heap those apples high," a secret for that perfect stuffed pie.
Every fall, as leaves turn golden, it's time to bring out the flour-dusted apron. The crunch of fallen leaves and crisp air make the warm oven even more inviting. Apple pie isn't just dessert; it's autumn coziness in a dish.
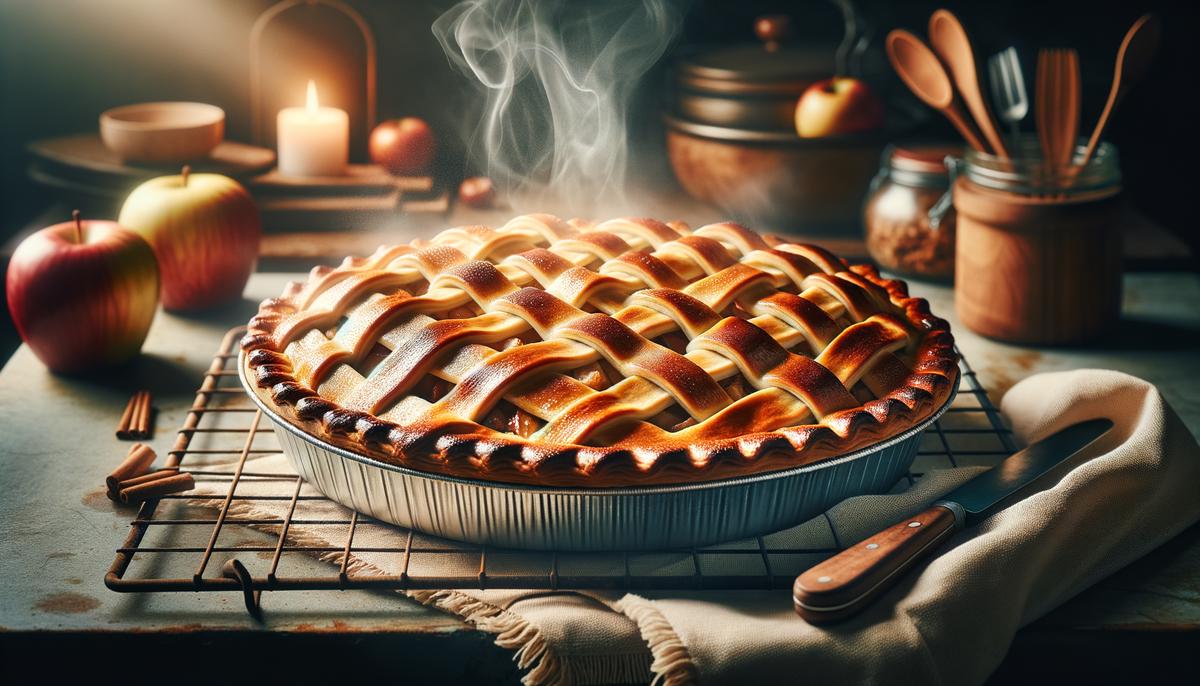
Our pie crust is all-butter—flaky enough to make you swoon. While it cools, patience is tested. The latticed top invites anticipation, each bubbling sound promising buttery, caramel delight.
Holidays shine a special light on this dessert. Family gathers, forks poised. Each slice tells stories of dinners filled with laughter and friendly rivalries over the best pie.
Apple pie is the heart-stealer of fall gatherings. It's warm spice mingling with tangy apples, the anticipation of that first warm bite. It's family memories, passed-down recipes, and bonding over something magnificent made with fruit, butter, and love.
There's magic in apple pie—a charm that turns any house into a home filled with love and delightful aromas. Each bake is like touching memories, feeling familial love weave through every crackling, cinnamon-laced slice.
Choosing the Best Apples
The apples you choose are the stars of your pie. Not all varieties are equal for those firm, juicy slices inside that golden crust.
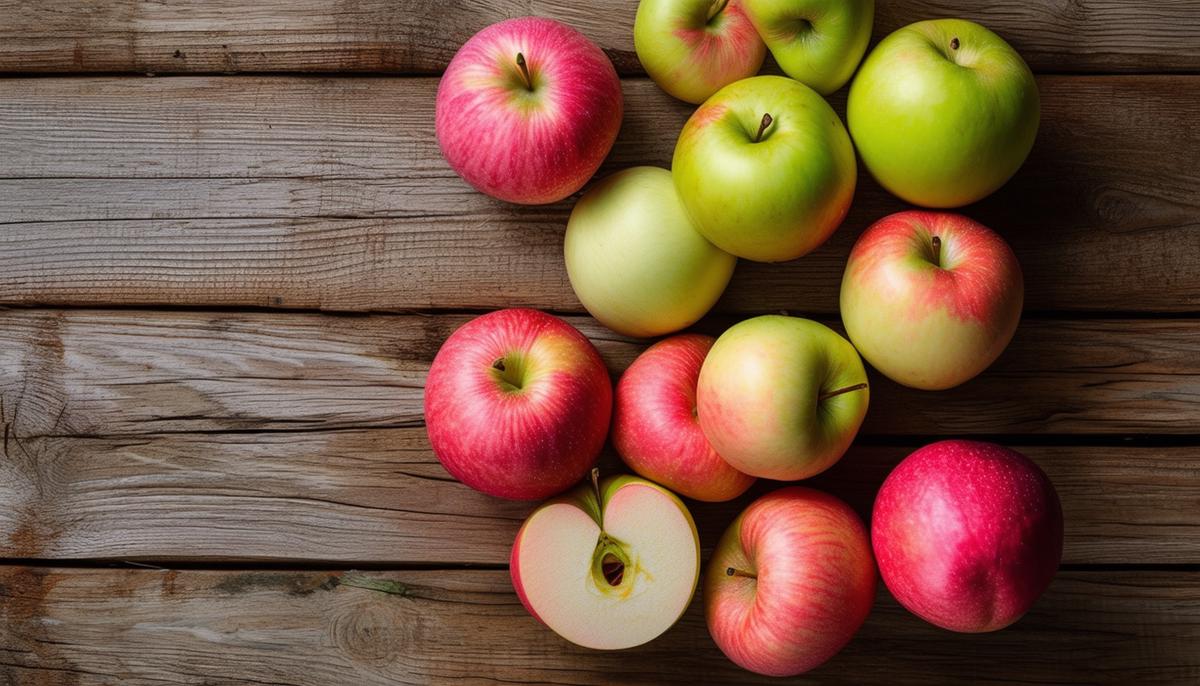
- Granny Smith apples often lead the pack. Their bright green hue and tart flavor hold up beautifully against the sweet, spiced filling. They're like that reliable friend who keeps everything grounded.
- Honeycrisp apples are another fantastic option—they bring unexpected sweetness and a crisp texture that's hard to beat. Their juicy crunch complements the Granny Smith's tartness perfectly.
- Pink Lady apples boast a sweet-tart flavor that holds shape well during baking, adding depth to the pie's taste and texture. It's like having a silent guardian ensuring every bite is delightful.
Mixing apple varieties isn't just allowed, it's encouraged. Combining tart Granny Smiths with sweeter Honeycrisps or Pink Ladies balances flavors without needing extra sugar.
Select firm apples and avoid any that are mushy or overly ripe. You want apples that maintain a pleasant bite after baking, transforming into the comforting delight we expect from apple pie.
The right mix can elevate your pie from good to unforgettable, ensuring every forkful is autumn perfection—a nod to expertise passed down through generations.
Creating the Perfect Crust
Let's talk about the foundation of a perfect apple pie: the crust. It should fit just right, with a texture that's flaky, yet sturdy enough to hold that glorious filling.
I swear by an all-butter crust for rich flavor and ethereal flakiness. If you're feeling adventurous, a mix of shortening and butter is excellent for added structure. The shortening gives extra sturdiness, ensuring it doesn't wimp out under juicy apples.
Pro tip: use cold, unsalted butter straight from the fridge. Those butter pieces should stay solid until they hit the oven, creating steam for flaky layers. Be cautious not to overwork the dough. Gently combine ingredients, leaving some butter bits visible.
The secret weapon? Chilling. Give your dough at least an hour in the fridge; overnight is even better. This allows the gluten to relax, making it easier to roll out without breaking.
Short on time? No shame in store-bought pastry. Just aim for high quality, preferably ones that highlight pure butter.
For those rolling their own, remember: a light hand and cool environment are your best friends. Dust your surface and rolling pin with flour to prevent sticking, and roll from the center outward, rotating for even thickness.
Whether classic or adventurous, the goal is a flaky, golden delight that crackles when cut and cradles that apple filling perfectly. Keep these tips close, and you'll be a crust-connoisseur in no time.
Assembling Your Apple Pie
Assembling your apple pie combines skill with artistic flair. Let's break it down step by step.
- Roll out your chilled dough on a floured surface, aiming for a 12-inch diameter circle about 1/8-inch thick.
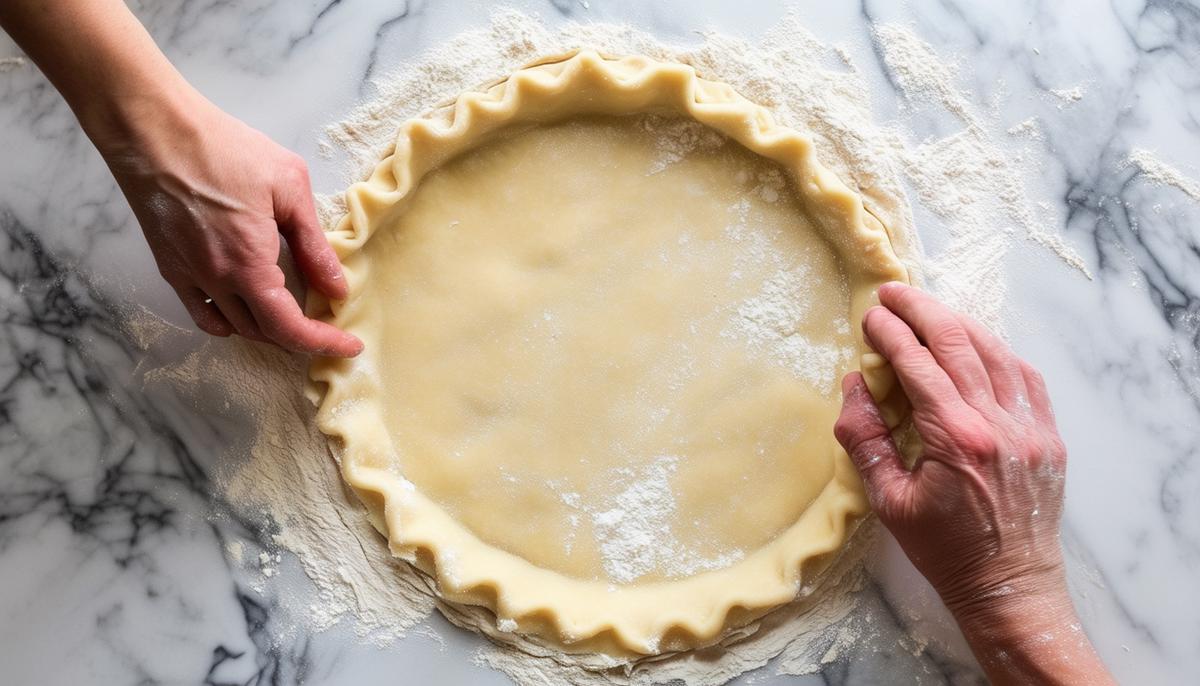
- Gently wrap it around the rolling pin and transfer to your pie plate. Press lightly, ensuring it fits snugly, particularly in the edges. Trim excess, leaving about a half-inch overhang.
- Mound your seasoned apple slices into the crust, creating a gentle hill toward the center. This helps the filling cook evenly and ensures a beautiful, domed crust.
- For the top crust, roll out the second dough disc to around 11 inches. Lay it over the apples, letting it drape naturally.
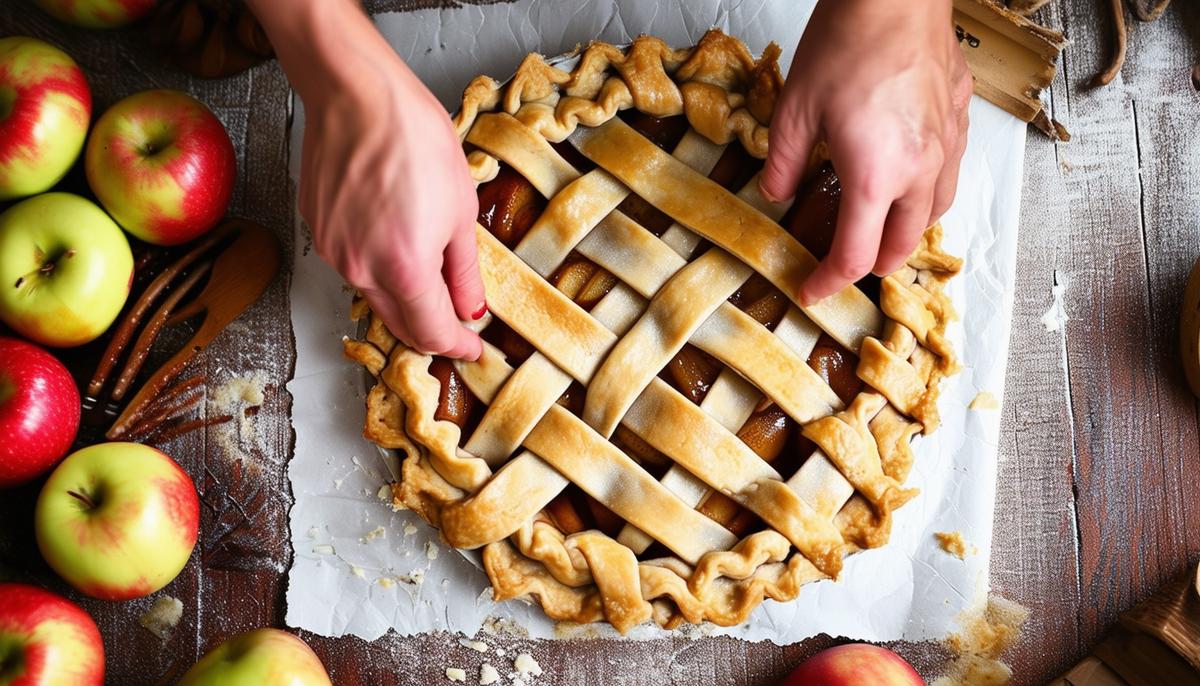
- If doing a lattice, cut your rolled-out dough into half-inch wide strips. Lay half vertically over the filling, then weave the rest horizontally.
- Pinch and flute the edges to seal—this looks pretty and keeps those tasty apple juices inside.
- For a golden finish, brush with an egg wash (one egg mixed with a splash of milk).
To avoid a soggy bottom, use a lower oven rack for baking. If the edges brown too quickly, loosely cover them with foil strips.
With assembly complete, your pie is ready for its cozy transformation in the oven. Soon enough, you'll enjoy the delicious reward of homemade apple pie.
Secrets to Baking Success
Success in baking isn't just about ingredients—it's about knowing key tricks for that wow factor.
- Temperature control: Preheat your oven to 425°F for the first 15 minutes, then drop to 350°F for the remainder. This gives your crust that initial golden push while allowing the filling to cook through without scorching.
- Protect the edges: To prevent burnt edges, surround the crust with aluminum foil or a pie shield once it starts darkening, usually halfway through baking.
- Moisture management: Control moisture by adding flour or cornstarch to thicken the filling. Let the apples sit with sugar briefly before adding them to the crust.
- Even cooking: If using butter in your filling, dot it evenly over the apples for even cooking.
- Cooling period: Once out of the oven, let the pie rest for at least an hour. This cool-down period helps the filling set, making slicing easier and avoiding runny fillings.
With these tips, your autumn masterpiece is sure to draw every fork to the dessert table. Each bake will look amazing and serve up deliciousness every time.
Serving and Storing Your Pie
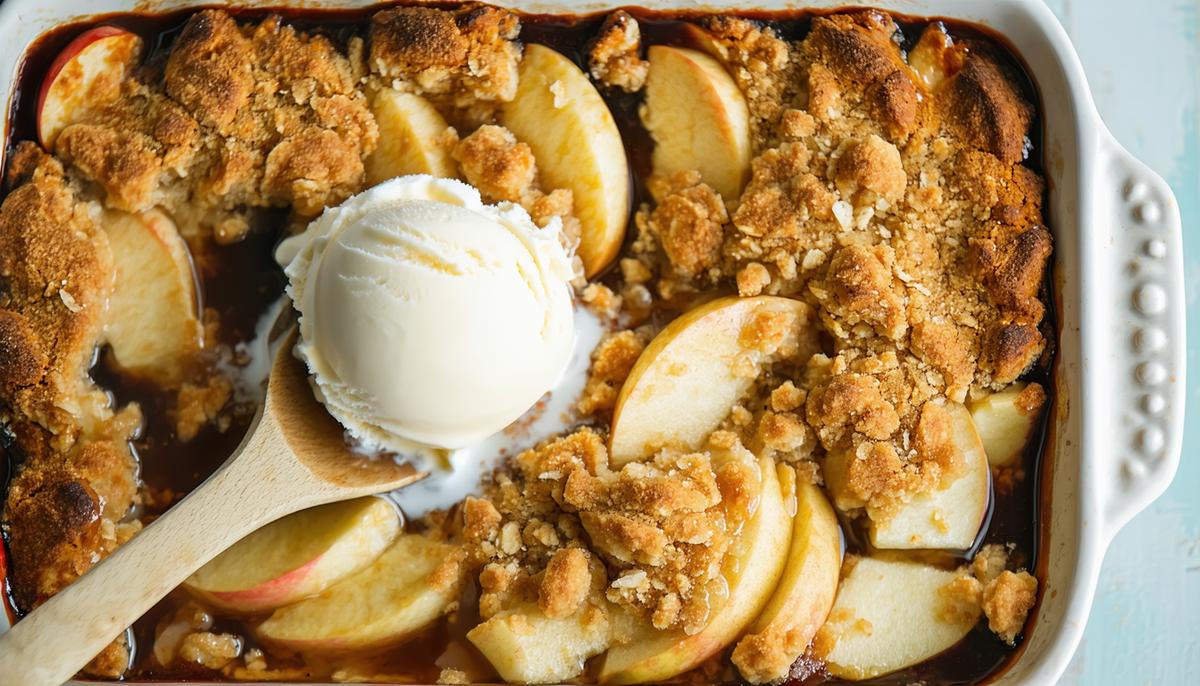
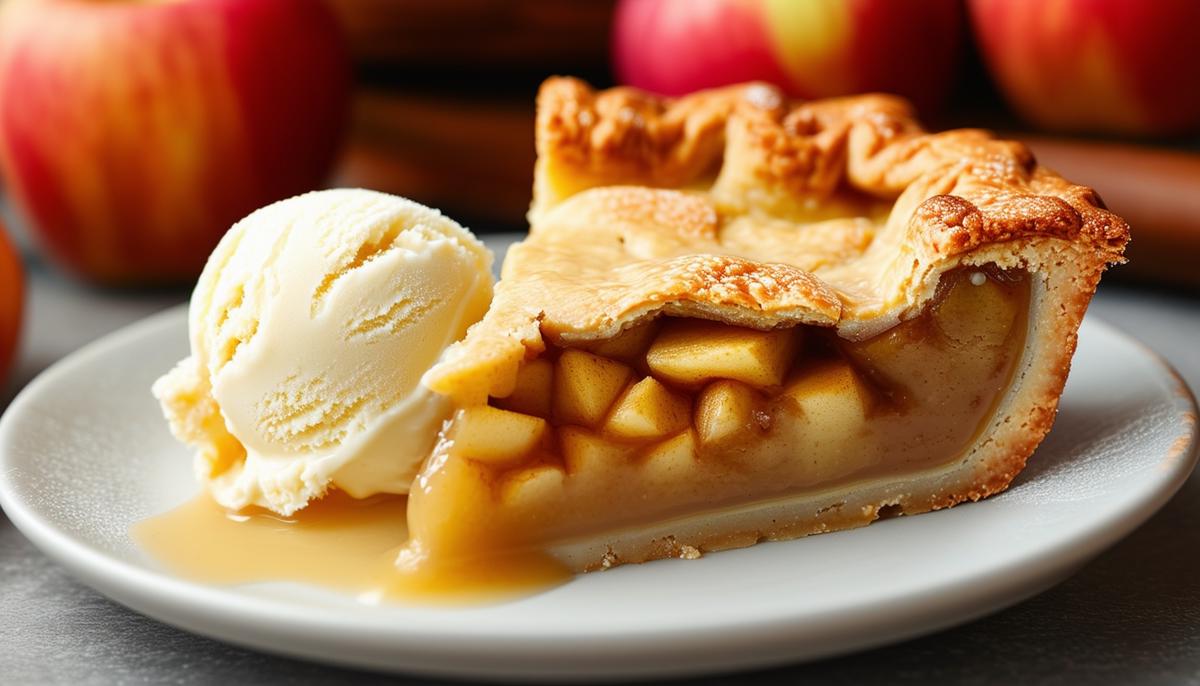
Let your fresh apple pie rest for at least an hour before serving. This gives the filling time to set, creating perfect slices. A scoop of vanilla ice cream or whipped cream can take your pie from delightful to divine, complementing the sweet and spiced notes.
For leftovers, cover with foil or plastic wrap and leave on the counter for up to two days. For longer storage, refrigerate tightly wrapped for an additional two to three days.
To freeze, cool completely, wrap in two layers of plastic wrap followed by aluminum foil. It'll keep for up to three months.
When reheating, a few seconds in the microwave works for single slices. For larger portions, warm on a baking sheet at 350°F for 10-15 minutes to revive that delightful aroma and flavor.
These serving and storing tips ensure every encounter with your pie is as enjoyable as the first.
Recipe
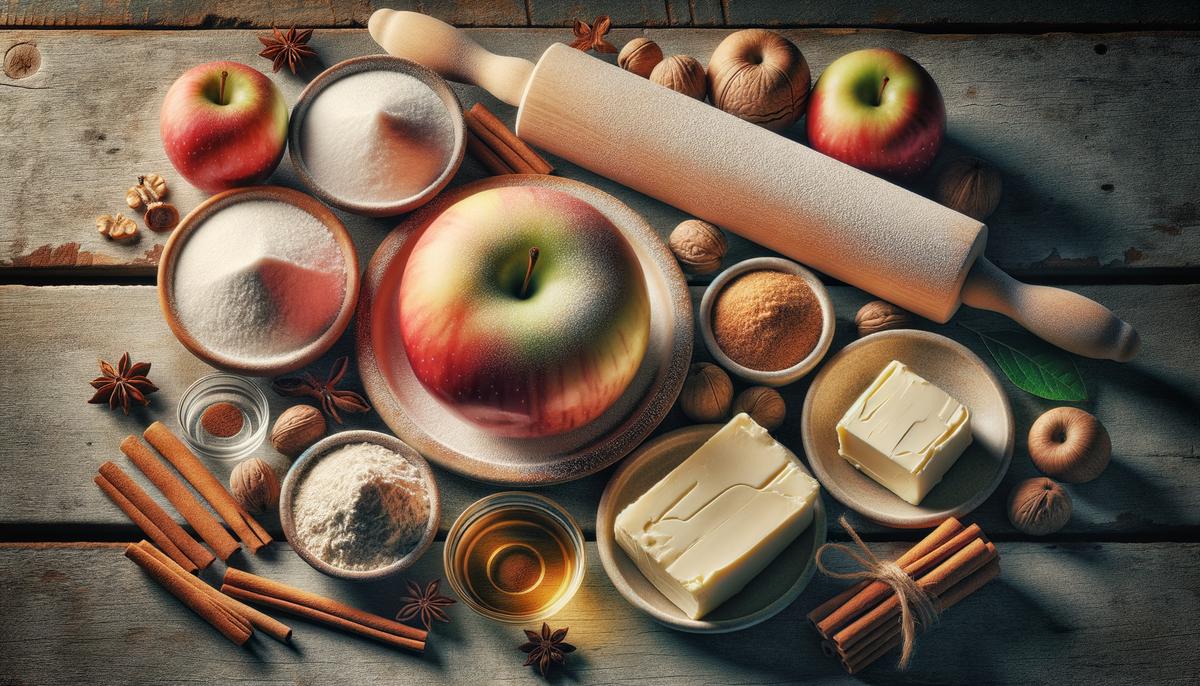
Get ready to bake a classic American apple pie that will fill your home with the most delightful aroma. This recipe combines tart Granny Smith apples with warm spices for a truly comforting dessert.
Ingredients:
- 2 pie crusts (homemade all-butter or store-bought)
- 6-8 Granny Smith apples, peeled, cored, and sliced about 1/4-inch thick
- 1/2 cup granulated sugar
- 1/2 cup packed brown sugar
- 2 tablespoons all-purpose flour
- 1 1/2 teaspoons ground cinnamon
- 1/4 teaspoon ground nutmeg
- 1 tablespoon lemon juice
- 1 tablespoon unsalted butter, cubed
- 1 large egg
- 1 tablespoon milk
- 1 tablespoon coarse sugar (optional, for topping)
Instructions:
- Preheat your oven to 425°F (220°C).
- In a large bowl, mix sliced apples with lemon juice, both sugars, flour, cinnamon, and nutmeg.
- Roll out one pie crust on a floured surface to fit your 9-inch pie dish. Place it in the dish, letting it overhang slightly.
- Fill the crust with the apple mixture, heaping in the center. Scatter butter pieces over the filling.
- Roll out the second crust and place it over the filling. Trim excess dough, leaving about an inch overhang. Tuck the top crust under the bottom crust to seal and crimp the edges. Cut slits for steam vents or create a lattice pattern.
- Whisk egg with milk and brush over the crust. Sprinkle with coarse sugar if desired.
- Bake at 425°F for 15 minutes, then lower to 350°F and bake another 40-45 minutes until golden and bubbly.
- Cool on a wire rack for at least an hour before serving.
Trust me, the smell of this pie baking will make your whole house feel like a warm hug. It's worth the wait, I promise!
Nutritional Information (per serving, based on 8 servings):
- Calories: 380 kcal
- Carbohydrates: 58g
- Protein: 3g
- Fat: 16g
- Saturated Fat: 6g
- Cholesterol: 35mg
- Sodium: 200mg
- Fiber: 3g
- Sugar: 36g