A Sweet Journey of Chocolate Lava Cakes
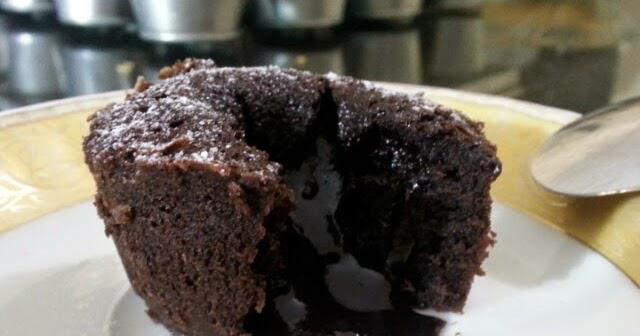
The allure of chocolate lava cakes lies in their rich and decadent core, a molten center that seems almost magical as it spills onto the plate. I remember my first encounter with these delights at a quaint little bistro on a trip years ago. There I was, sitting across from a friend, as she insisted I try it. Not one to back out of a dessert challenge, I took my first hesitant scoop. Immediately, the warm chocolate oozed out like a silk river of pure indulgence. Since then, every time I make, taste, or even hear about chocolate lava cake, I'm transported back to that beloved moment.
They've become a staple on many a restaurant dessert menu, and they've made their way into my kitchen as a go-to treat for special occasions… and sometimes for no occasion at all! Creating that indulgent flowing core isn't as tricky as it seems. Just a bit of practice and hands down, a whole lot of enjoyment in the process.
One of the secrets is, of course, good quality chocolate. I swear by Ghirardelli or Guittard medium-range chocolates to infuse just the right amount of bittersweet richness into the molten center. The kind of chocolate that whispers, "I might be a tad out of your everyday reach, but I'm worth the stretch." Remember, you're not just making dessert; you're creating an experience, one worthy of your attention and care.
This dessert has its own little tricks, like gauging just the perfect baking time. You don't want to overdo it or the coveted molten center might just firm up too much. It's a balancing act—leaving the sides firm and cake-like, while the center remains delectably jiggly. Once you've mastered this dance, you might find yourself, like me, eagerly awaiting the excuse to whip up another batch.
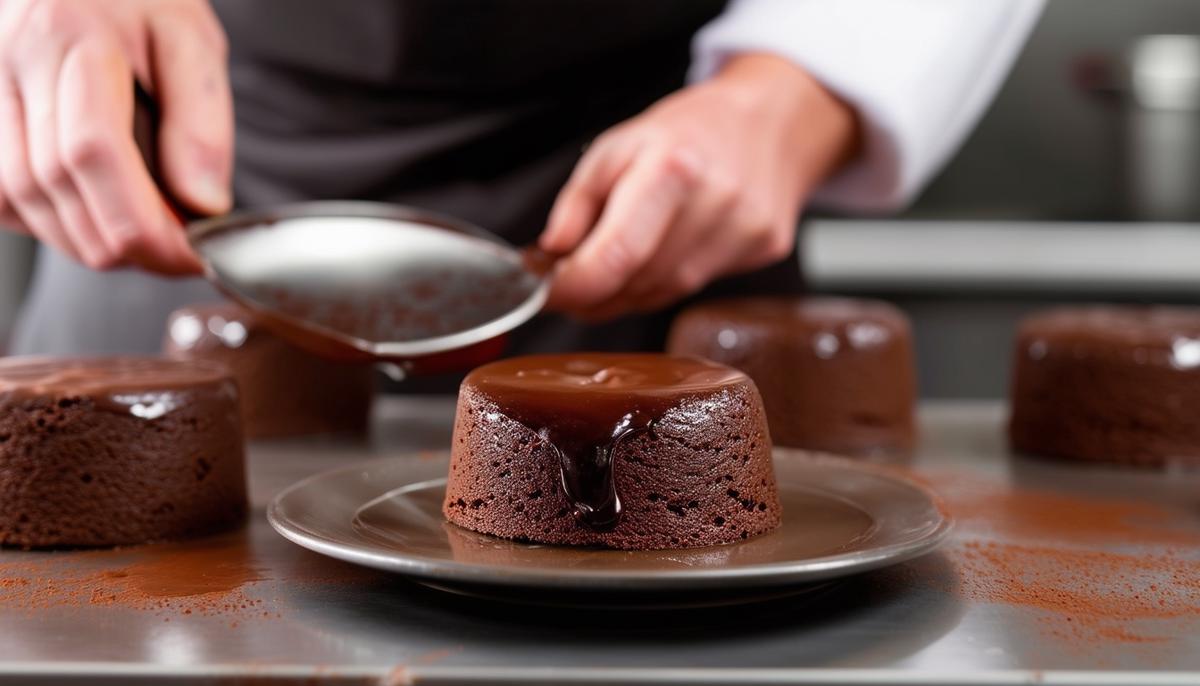
I always think fondly of my grandmother who would elevate everything we made together with what she called "a little flourish." So, dusting these cakes with powdered sugar or garnishing with a scoop of vanilla ice cream is the way to go. A sprig of fresh mint or a handful of bright berries adds that pop of color, turning a simple lava cake into a vision of art, ready to be devoured by eager sweet tooths.
It's safe to say, the journey of creating, sharing, and savoring these chocolate lava cakes is as beautiful as the cakes themselves. Each bite carries with it not just the taste of exquisite chocolate, but the memory of past bites, shared moments, and the universal love for something so decadently sweet.
Tips and Tricks for Perfect Lava Cakes
Let's chat about making chocolate lava cakes that hit that sweet spot between gooey and perfectly baked. Your chocolate's gotta be worth it. Opt for those higher-quality baking chocolates like Ghirardelli or Guittard. They're the key players in making sure your molten center is as rich and smooth as you'd expect from a bakery.
When preparing your batter, start by beating your eggs until they're thick and pale. This step is crucial because it adds the right texture to your cakes, helping the outside rise while the inside stays molten. Trust me, it's worth the effort.
For melting chocolate, use the gentle heat of a double boiler or take it slow with short spurts in the microwave. You want it melted and luscious, not overheated and grainy. And here's a little nugget of wisdom: make friends with unsalted butter—it gives you better control over the cake's saltiness, allowing the chocolate flavor to shine through.
Now, onto baking—pop those batter-filled ramekins in a well-preheated oven. The temperature sweet spot is around 400°F, just enough to set the exterior while keeping that center jiggly. Timing really is everything here; you're looking at somewhere between 10 to 13 minutes. A mental timer (or a real one) is your friend here; check on them like you would when your toddler's been too quiet for too long.
Ready-to-serve cakes are tantalizing enough on their own, but sprinkling a dusting of powdered sugar or pairing them with a scoop of ice cream can add that extra touch. If you're storing your batter for later, just keep them in their ramekins, wrapped in plastic, and refrigerate for up to two days. This helps you serve them fresh out of the oven when that chocolate craving hits.

Essential Equipment and Ingredients
For making divine chocolate lava cakes, having the right equipment and ingredients on hand is your ticket to success. Let's break down what you'll need.
- Ramekins: These small dishes are perfect for individual servings, helping the cakes maintain their structure while baking. If ramekins are in short supply, a well-greased muffin tin will do the trick, though they may cook a bit faster due to their thinner build.
- Electric mixer: A sturdy electric mixer will make your life easier when whipping those eggs until they're thick and creamy. This crucial step gives the cakes that light exterior while keeping the inside molten.
- Mixing bowls: Preferably more than one, as combining wet and dry ingredients separately before bringing them together aids in even mixing.
- Microwave-safe bowl or double boiler: For melting chocolate and butter smoothly, ensuring no scorching or burning.
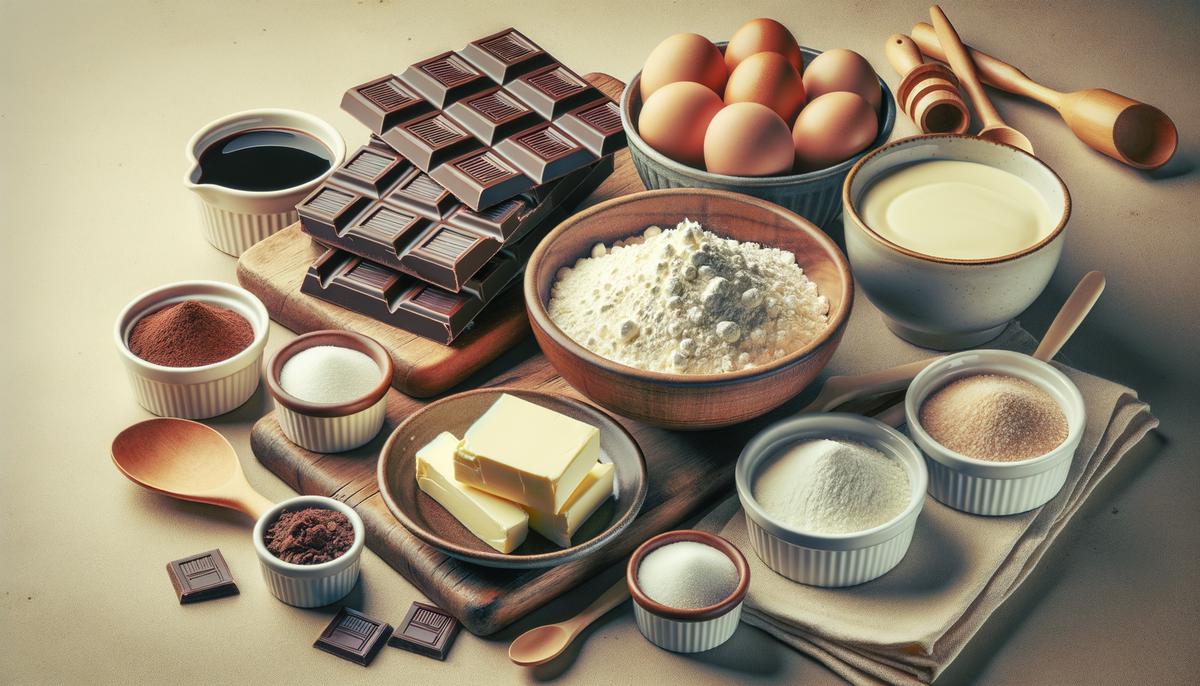
- High-quality chocolate: Opt for bars like Ghirardelli or Guittard. These chocolates melt beautifully and offer the rich, deep flavor your dessert deserves. Using bars rather than chips is key, as bars don't have stabilizing additives that can hinder melt quality.
- Unsalted butter: It provides the perfect creamy base without over-salting your dessert, allowing the chocolate's rich notes to shine through. It's best to use it at room temperature, so it blends easily with other ingredients.
- All-purpose flour: It aids in providing structure without overwhelming the cake, and just a touch helps achieve that perfect texture.
- Salt: Remember, a pinch of salt enhances the chocolatey goodness by balancing flavors without overtaking them.
- Measuring cups and spoons: Precision is your friend here, ensuring the ideal blend of ingredients every time.
Serving Suggestions and Variations
As you get ready to indulge in your homemade chocolate lava cakes, let's explore some creative ways to serve and personalize this delightful treat. There's something blissful about pairing a warm lava cake with a scoop of cold vanilla ice cream. The chill from the ice cream beautifully contrasts with the cake's warm, rich center, creating a mouth-watering experience with each bite.
Another classic touch is to garnish your cakes with fresh berries. Whether it's strawberries, raspberries, or a mix of both, the slight tartness of the berries adds a refreshing balance to the rich chocolatey goodness. A dollop of freshly whipped cream can also elevate your dessert, adding a light and airy texture alongside the decadent cake.
If you're feeling adventurous, consider adding a twist to your lava cakes' flavor. Incorporate a tablespoon of espresso powder for a mocha flair that pairs wonderfully with chocolate. For an adult version, stir in a splash of liqueur like Grand Marnier or Chambord into the batter. This addition subtly infuses your cakes with a sophisticated edge, offering a personalized touch to the classic recipe.

Storage and Make-Ahead Tips
Understanding how to store chocolate lava cakes properly can make all the difference in savoring their decadent texture for days. While these cakes shine brightest when served fresh, there are times when you'll want to save a few for later.
If you find yourself with leftovers—a rare occurrence for such delights—refrigeration is your go-to. Place the cooled cakes in an airtight container to maintain their integrity. They'll keep well in the fridge for up to three days. Just remember, they may lose a bit of their original molten magic, so it's best to serve them sooner rather than later.
For those planning further ahead, consider freezing your baked cakes. Once cooled, wrap each cake in plastic wrap to lock in moisture, then place them in an airtight container or a freezer bag. They can be kept frozen for up to a month. When you're ready to indulge, you can reheat them directly from frozen. Preheat your oven to about 350°F and place the cakes on a baking sheet. Heat them for around 10 to 15 minutes or until warm and gooey again. Just be cautious not to overheat, as this might firm up the centers more than desired.
If you're thinking of preparing the batter in advance, you've got options. You can mix up the batter a day ahead of time and store it in the refrigerator covered tightly in the ramekins. When you get that chocolate craving, simply pop them into a preheated oven as directed, and add an extra minute or two to account for the chilled batter. This method lets you enjoy lava cakes fresh from the oven any time the mood strikes, allowing the flavors and textures to be at their peak.
The Molten Chocolate Lava Cake Recipe
Indulge in the ultimate chocolate lover's dream with this decadent Molten Chocolate Lava Cake recipe. Perfect for special occasions or a luxurious treat, these individual cakes boast a rich, gooey center that oozes out when you cut into them. Let's dive into this irresistible dessert!
Ingredients:
- ½ cup (113g) unsalted butter, plus extra for greasing
- 1 cup (170g) semisweet or bittersweet chocolate, chopped
- 3 large eggs
- 3 large egg yolks
- 1 cup (130g) powdered sugar
- ½ cup (64g) all-purpose flour
- ¼ teaspoon salt
- Powdered sugar, for dusting (optional)
- Berries or ice cream, for serving (optional)
Instructions:
- Preheat oven to 400°F (200°C). Grease six 6-ounce ramekins with butter. Use cocoa powder instead of flour for dusting if you're feeling fancy.
- In a microwave-safe bowl, melt butter and chopped chocolate together in 30-second intervals, stirring between each, until smooth. Let it cool slightly.
- In a large bowl, whisk eggs, egg yolks, and powdered sugar until pale and slightly thick, about 2 minutes.
- Gently fold the melted chocolate mixture into the egg mixture until just combined.
- Add flour and salt, folding gently until incorporated. Be careful not to overmix!
- Divide the batter evenly among the prepared ramekins, filling each about two-thirds full. Place the ramekins on a baking sheet.
- Bake for 12-14 minutes, or until the edges are firm but the centers are still soft and jiggly.
- Remove from oven and let the cakes cool in the ramekins for 1 to 2 minutes.
- Run a knife around the edges of each cake and carefully invert onto dessert plates. If they stick, give the ramekin a gentle tap.
- Dust with powdered sugar and serve immediately with fresh berries or a scoop of vanilla ice cream, if desired.
Pro tip: For the perfect lava cake, timing is crucial. Keep a close eye on them while baking, as even a minute too long can result in fully cooked centers instead of the desired molten effect.
Serve these delightful cakes while they're still warm to experience the full, gooey chocolate magic!
Nutritional Information (per serving):
kcal: 420
carbohydrates: 41g
protein: 7g
fat: 28g
saturated fat: 16g
cholesterol: 225mg
sodium: 115mg
fiber: 2g
sugar: 30g