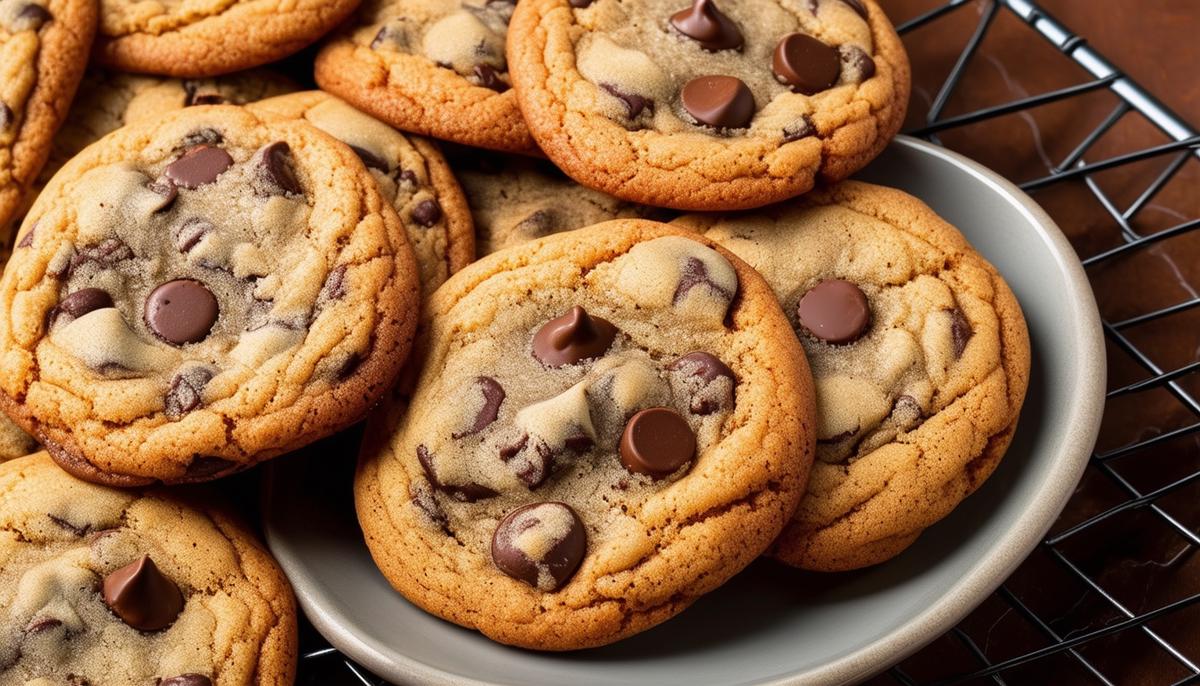
The Timeless Appeal of Chocolate Chip Cookies Chocolate chip cookies are the rock stars of baked goods. They unite households, whether you're into chewy…
Delishing
Brown Butter Cookies Recipe

Maya Brooks
Maya Brooks is a dedicated home cook and the lead recipe developer at Delishing, where she shares practical, foolproof meals for everyday life. With over a decade of hands-on kitchen experience, she specializes in creating approachable dishes that fit a variety of dietary needs and modern cooking methods. Maya is passionate about helping busy people get delicious, stress-free food on the table without needing formal culinary training.
The Magic of Brown Butter
Oh, brown butter, you magical, golden elixir! If you haven't yet tried using it in your baking, it has the power to transform your cookies into something utterly divine. It's like a spell cast over your taste buds—rich, nutty, with a toffee-like aroma that elevates the humble chocolate chip cookie to gourmet level.
My first time making brown butter was unforgettable. Picture this: a cozy, rain-soaked Saturday afternoon. I decided to try browning butter for my chocolate chip cookies, despite being slightly terrified I'd burn the house down. The kitchen filled with this warm, nutty aroma, and I was suddenly whisked away to the land of delicious possibilities. Even my kids emerged from their rooms, noses twitching like they'd caught a whiff of our neighbor's bacon.
What sets brown butter apart is that little bit of kitchen alchemy. By cooking the butter until the milk solids turn a deep golden brown, you're left with something far beyond the mere melt-and-pour of ordinary butter. It's like regular butter went to flavor boot camp and came back as a nutty rock star, all ready to take your chocolate chip cookies from basic to breathtaking.
The first batch of cookies I made with brown butter had me wondering why I hadn't done this sooner. The nutty undertone paired with melting pockets of semisweet chocolate didn't just make them cookies; it made them an experience, the kind where you knowingly sneak an extra one when you think nobody's looking because they are just that good.

Baking Tips for Success
Let's talk essentials—those little nuggets of wisdom that keep your cookie game strong. First up, the digital scale. Once you transition to a scale, you'll understand how much precision means. This little tool ensures your flour isn't packed too tightly, which is the difference between chewy perfection and dry disappointment.
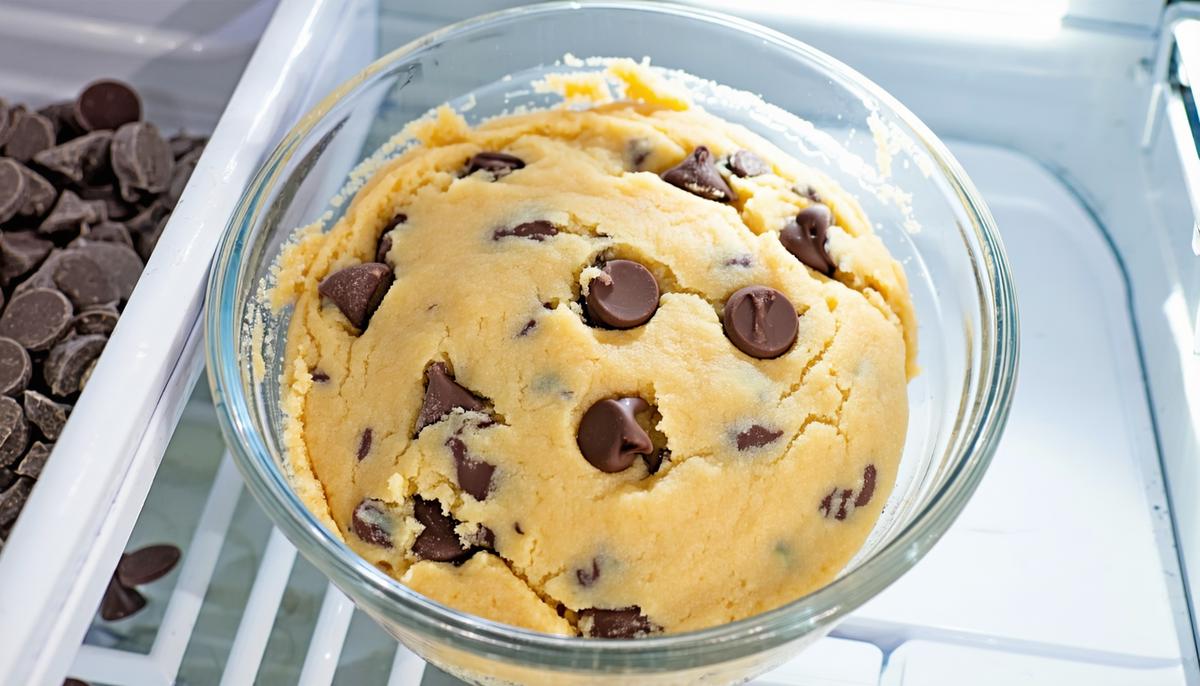
Chilling your dough is crucial—it helps the flavors develop and gives your cookies that luscious texture we all crave. Think of it as the cookie's spa day; a little rest does wonders. Once on a hectic baking day, I skipped the chilling, and my cookies spread out like pancakes. I learned my lesson!
And let's not forget our star performer—chocolate. Opt for chopped chocolate bars instead of chips for those luxurious, melty pockets in every bite. One time, I experimented with a no-name brand, and the results were less than stellar. Switching back to something high-quality like Valrhona transformed the experience, solidifying chocolate's importance in the cookie hierarchy.
Ingredient Choices
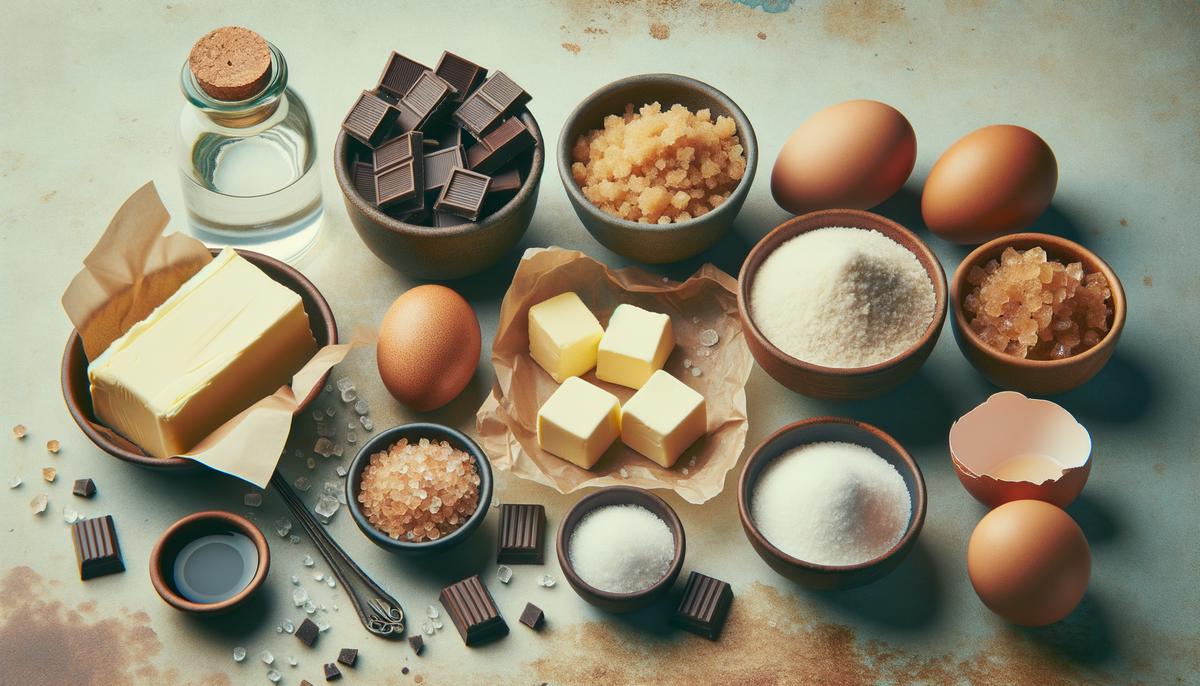
Every ingredient in our brown butter chocolate chip cookies has a purpose. Dark brown sugar gives the cookies their chewiness and depth of flavor. If you have light brown sugar on hand, it'll work too. Just expect a slightly lighter molasses flavor and a touch less moisture.
We're using a blend of semisweet and milk chocolate. This combo strikes the perfect balance—semisweet brings intensity while milk chocolate adds creamy sweetness. If you prefer, dark chocolate makes a great alternative for a more intense experience.
That sprinkle of sea salt on top might seem like a tiny detail, but it's crucial. It offsets sweetness, highlighting the complexity of the brown butter and chocolate in each bite. Regular table salt won't have the same flaky effect, so if you're out of sea salt, consider a quick store run.
Knowing your ingredients and making slight alterations based on your preferences can personalize each batch, making every cookie just as unique as the last.
Step-by-Step Cookie Dough
- Let's tackle browning the butter. Cut your unsalted butter into chunks and toss them into a saucepan over medium heat. Stir constantly. You'll notice the butter will bubble and foam. That's your cue to start sniffing for that nutty, toasty aroma. Once it begins to turn golden brown, remove it from the heat and scrape all that flavorful goodness into a cool bowl. Let it cool until it's no longer steaming.
- While the butter cools, whisk your dry ingredients: flour, salt, baking soda, and baking powder. Set this aside.
- With your cooled brown butter, add the sugars into a large mixing bowl. Stir until you have a smooth mixture kind of like wet sand.
- Next, add the vanilla extract, a room-temperature egg, and one extra yolk. Stir until everything looks shiny and delicious.
- Gently incorporate the dry ingredients into your wet mix. Once you're sporting that nice, dense dough, resist the urge to over-mix.
- Fold in your chopped semisweet and milk chocolate bars. Stir until they're just nestled snugly in your dough.
- Now comes the waiting game—chill that dough. Wrap the bowl or cover it and pop it in the fridge. Try to let it rest for at least two hours, or overnight if you can.

Chilling and Baking
Chilling helps the flavors meld together beautifully and ensures your cookies don't turn into wide, flat pancakes in the oven. I usually pop my dough in the fridge for a solid two hours or overnight. Let's be real, though—I'm often peeking into the fridge, hoping my cookie dough will magically be ready sooner.
Once your dough has had its beauty sleep, it's time for baking. Preheat your oven to 350°F. We're aiming for cookies that are crisp at the edges, chewy in the center, and dotted with melty chocolate. Trust in the timing: around 9 to 11 minutes is usually golden. You might want to bake a test cookie first.
I've had my share of cookie trials where I've taken cookies out too soon or left them too brown. I now rely on that unmistakable golden hue around the edges as the cue to remove them. Once out of the oven, give them a few minutes to cool on the baking sheet before transferring to a rack.
While chilling and baking might test your patience, the first bite is a beautiful moment. It's crunchy, chewy, and everything you've waited for, turning your kitchen efforts into a delicious reward everyone will enjoy.
Recipe
Ingredients:
- 1 cup unsalted butter (2 sticks)
- 1 cup granulated sugar
- 1 cup dark brown sugar
- 1 tablespoon vanilla extract
- 2 large eggs
- 2 1/2 cups + 2 tablespoons all-purpose flour
- 1 teaspoon baking soda
- 1 teaspoon baking powder
- 3/4 teaspoon salt
- 1 1/2 cups mixed semisweet and milk chocolate chunks
- Sea salt for sprinkling
Instructions:
- Brown the butter: Melt the butter in a saucepan over medium heat. Stir constantly until it becomes golden brown and smells nutty. Transfer to a bowl and let it cool.
- Mix the sugars and browned butter in a large bowl until combined. Add vanilla and eggs, mixing until smooth.
- In another bowl, combine flour, baking soda, baking powder, and salt.
- Gradually add dry ingredients to the wet ingredients, mixing until just combined.
- Fold in the chocolate chunks.
- Cover and chill the dough in the refrigerator for at least 2 hours.
- Preheat the oven to 350°F (175°C). Line a baking sheet with parchment paper.
- Scoop 2-tablespoon portions of dough, roll into balls, and place on the prepared baking sheet, spaced 2 inches apart.
- Bake for 9 to 11 minutes, until edges are golden.
- Sprinkle with sea salt as soon as they come out of the oven and let cool on the baking sheet before transferring to a wire rack.
Nutritional information (per cookie, assuming 24 cookies):
- Calories: 245 kcal
- Carbohydrates: 32g
- Protein: 3g
- Fat: 12g
- Saturated Fat: 7g
- Cholesterol: 36mg
- Sodium: 140mg
- Fiber: 1g
- Sugar: 21g
- McGee H. On Food and Cooking: The Science and Lore of the Kitchen. Scribner; 2004.
- Corriher SO. BakeWise: The Hows and Whys of Successful Baking. Scribner; 2008.
- Gisslen W. Professional Baking. 7th ed. Wiley; 2016.