How to Make Perfect Pumpkin Puree From Scratch

Making your own pumpkin puree unlocks a world of flavor far beyond the canned stuff. The vibrant, earthy sweetness of homemade puree elevates everything from pies to soups, bringing a depth and complexity that store-bought simply can't match. This guide will teach you how to select the right pumpkin, prepare it properly, and transform it into smooth, versatile puree.
This method focuses on roasting, which concentrates the natural sugars in the pumpkin, resulting in a richer, more intense flavor. It's a hands-off approach that yields consistent results and allows you to easily customize the puree to your liking. Plus, you get to enjoy the delightful aroma of roasting pumpkin filling your kitchen.
Understanding Sugar Pumpkins
Not all pumpkins are created equal when it comes to puree. The large, carving pumpkins are bred for size and shape, not flavor. For the best puree, you need a "sugar pumpkin," also sometimes labeled as "pie pumpkin." These are smaller, denser, and have a sweeter, less stringy flesh. Look for pumpkins weighing between 2-5 pounds. The smaller size ensures a higher concentration of flavor.
When selecting a sugar pumpkin, look for a firm, unblemished skin with a deep, uniform orange color. The stem should be dry and securely attached. A pumpkin that feels heavy for its size indicates a higher water content, which translates to a moister, more flavorful puree. Avoid pumpkins with soft spots or bruises, as these are signs of spoilage.
Why Cook Pumpkin This Way?
- Versatility: Pumpkin puree is incredibly versatile. Use it in pies, soups, breads, muffins, smoothies, and even savory dishes like pasta sauces and risotto.
- Flavor: Roasting intensifies the natural sweetness and earthy flavor of the pumpkin, creating a puree that is far superior to canned versions.
- Convenience: Once roasted and pureed, pumpkin puree freezes beautifully, allowing you to enjoy the taste of fall all year round.
Preparation (Mise en Place)
- Wash: Thoroughly wash the exterior of the pumpkin under cold running water to remove any dirt or debris. This is crucial because you'll be cutting through the skin and don't want to introduce any contaminants.
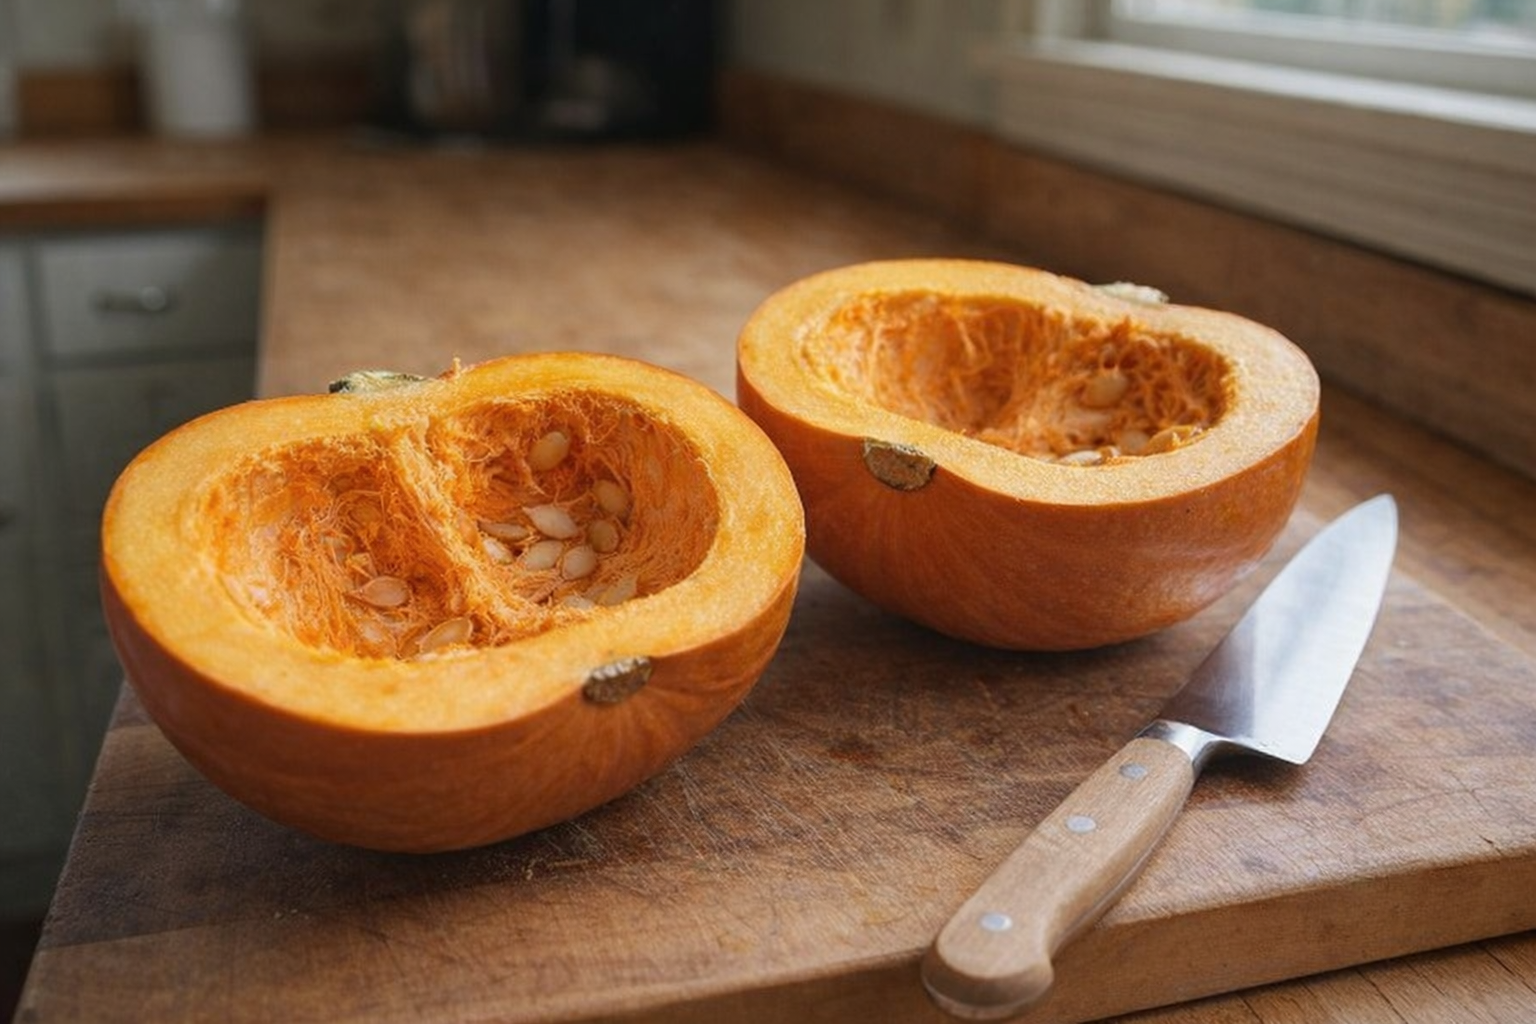
- Cut: Using a sharp, heavy-duty knife, carefully cut the pumpkin in half from stem to bottom. A serrated knife can be helpful for this task. Be extremely cautious during this step. Place the pumpkin on a stable surface and use a rocking motion to gradually cut through the tough skin.
- Seed: Use a large spoon or ice cream scoop to remove the seeds and stringy fibers from the center of each pumpkin half. Set the seeds aside for roasting later (see "What to Do With Pumpkin Seeds" in the original article).
- Dry (optional): For a slightly thicker puree, you can pat the cut surfaces of the pumpkin halves with paper towels to remove excess moisture before roasting.
Essential Tools
- Sharp, heavy knife: A sturdy knife is essential for safely and efficiently cutting through the pumpkin. A chef's knife or serrated bread knife will work well.
- Large spoon or ice cream scoop: This is used to remove the seeds and stringy fibers from the pumpkin.
- Baking sheet: A large baking sheet is needed to roast the pumpkin halves.
- Food processor or blender: A food processor or blender is used to create a smooth puree.
- Oven: For roasting the pumpkin.
The Cooking Method(s):
While the original recipe mentions steaming and boiling, we will focus on the superior roasting method and provide detailed instructions for achieving the best results.
Method 1: Roasting for Intense Flavor
Ingredients:
- 2 small sugar pumpkins (about 2-5 pounds each), halved and seeded
- Preheat: Preheat your oven to 350°F (175°C). Ensure the oven is fully preheated for even cooking.
- Prepare: Place the pumpkin halves cut-side up on a baking sheet. You can add about 1/4 inch of water to the baking sheet to help create steam and prevent the pumpkin from drying out.
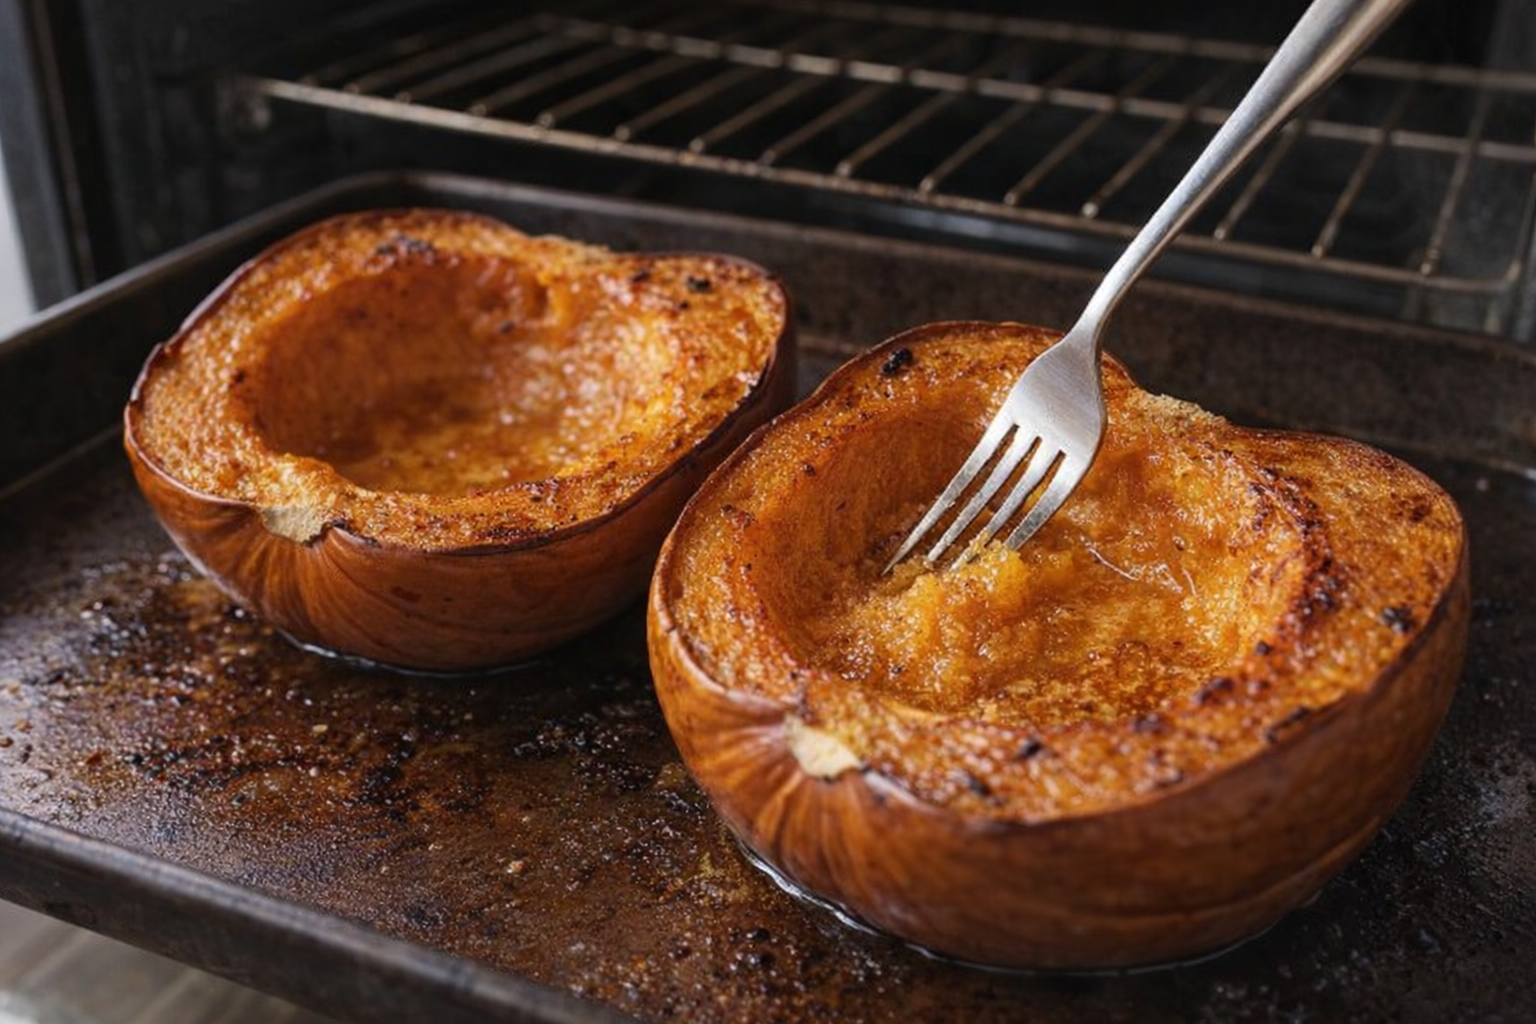
- Roast: Roast in the preheated oven for 45-60 minutes, or until the flesh is very tender and easily pierced with a fork. As the pumpkin roasts, you'll notice a sweet, caramelized aroma filling your kitchen. The skin may also start to wrinkle and brown slightly.
- Cool: Remove the baking sheet from the oven and let the pumpkin halves cool completely. This will make it easier to handle the pumpkin.
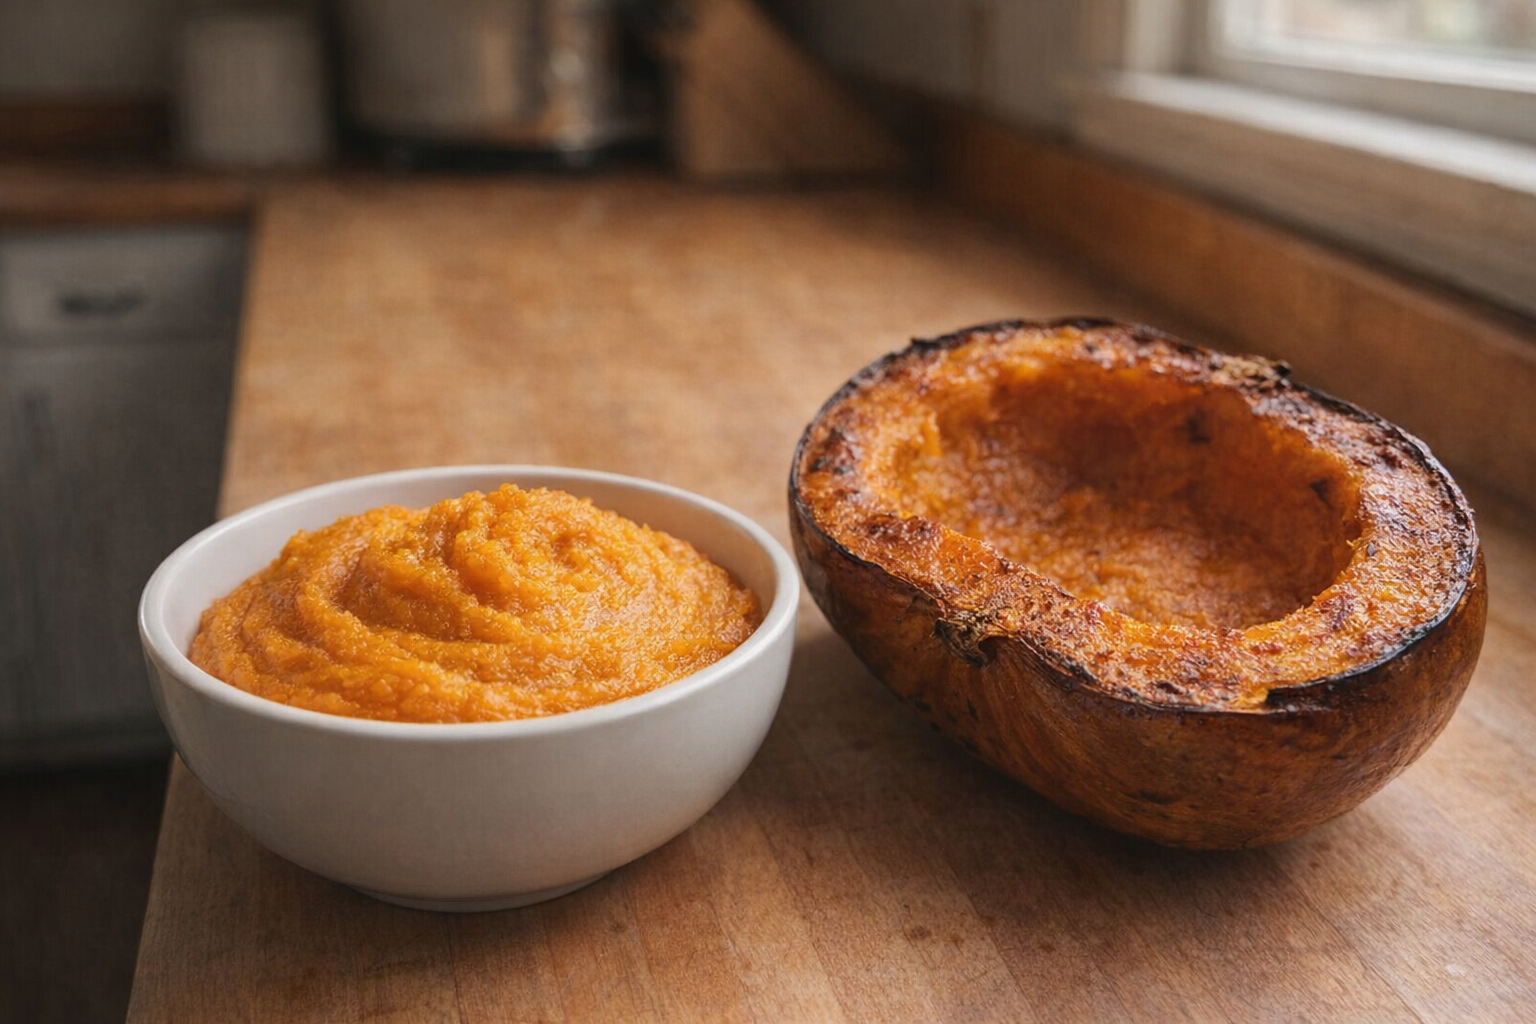
- Scoop: Once cool enough to handle, use a spoon to scoop the flesh from the skin. The flesh should easily separate from the skin.
- Puree: Transfer the scooped pumpkin flesh to a food processor or blender. Process until smooth and creamy. If the puree is too thick, add a tablespoon of water at a time until you reach the desired consistency. Pulse the mixture a few times to ensure it's evenly blended.
- Strain (optional): For an even smoother puree, you can strain it through a fine-mesh sieve lined with cheesecloth. This will remove any remaining fibers or lumps.
Cooking Time & Doneness Guide:
- Roasting Time: 45-60 minutes at 350°F (175°C).
- Internal Temperature: While not strictly necessary, the internal temperature of the pumpkin flesh should reach around 200°F (93°C) when fully cooked.
Visual Cues
- Fork Test: The easiest way to tell if the pumpkin is done is to pierce the flesh with a fork. If the fork slides in easily with little to no resistance, the pumpkin is ready.
- Color: The flesh should be a deep, vibrant orange color and appear soft and slightly caramelized.
- Skin: The skin may start to wrinkle and brown slightly.
Tips for Perfection:
- Don't overcrowd the pan: Overcrowding the baking sheet will steam the pumpkin instead of roasting it, resulting in a less flavorful puree. Use two baking sheets if necessary.
- Adjust roasting time: Roasting time will vary depending on the size and density of the pumpkin. Check for doneness frequently after 45 minutes.
- Cool completely before pureeing: This will prevent the puree from becoming gummy.
- Strain for extra smoothness: If you prefer an ultra-smooth puree, strain it through a fine-mesh sieve lined with cheesecloth after pureeing.
Storage & Reheating:
- Refrigeration: Store pumpkin puree in an airtight container in the refrigerator for up to 5-7 days.
- Freezing: For longer storage, freeze pumpkin puree in airtight containers or freezer bags for up to 6 months. Portion the puree into 1-cup increments for easy use in recipes.
- Reheating: Thaw frozen pumpkin puree in the refrigerator overnight or microwave on low power until thawed. Reheat refrigerated puree gently in a saucepan over low heat or in the microwave.
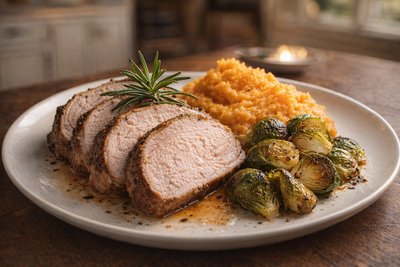
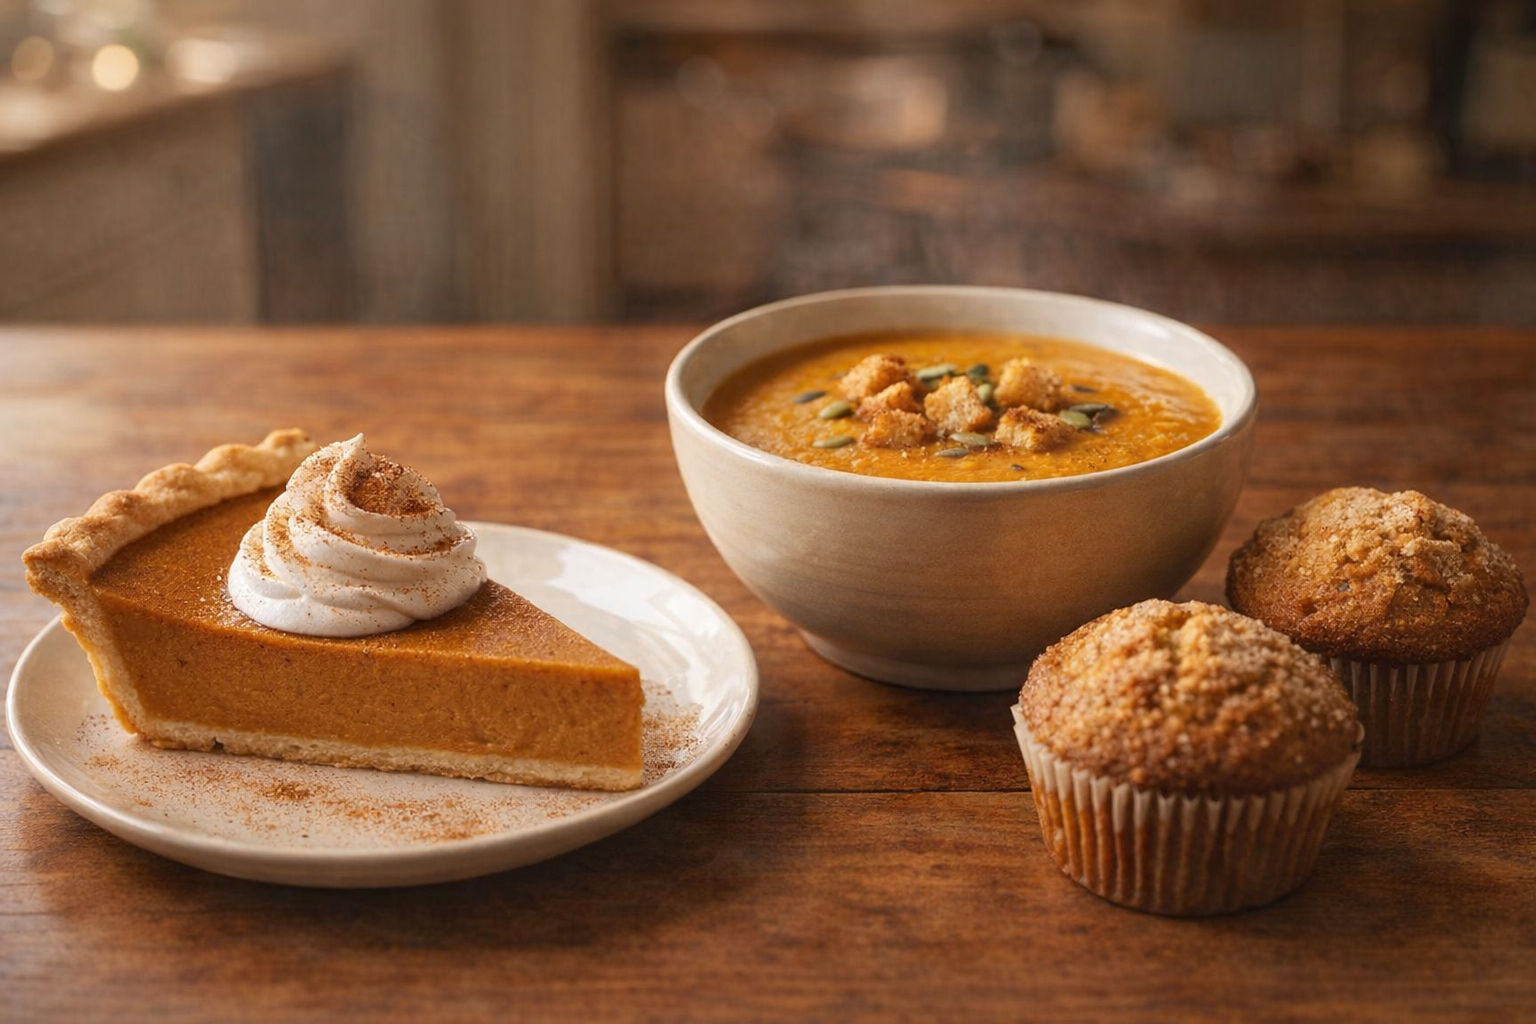
Serving Suggestions:
- Classic Pumpkin Pie: The obvious choice, but homemade puree will take your pie to the next level.
- Pumpkin Soup: A creamy and comforting fall soup. Add spices like ginger, nutmeg, and cinnamon for warmth.
- Pumpkin Bread or Muffins: A delicious and easy way to use up leftover puree.
- Pumpkin Risotto: A surprisingly delicious and savory dish.
💡 Pro Tips
- Select small sugar or pie pumpkins rather than large jack-o'-lantern varieties to ensure a sweeter flavor and smoother, less fibrous texture.
- Roast the pumpkin halves cut-side down on a parchment-lined baking sheet to trap moisture and help the flesh steam until perfectly tender.
- After roasting, let the pumpkin cool completely before peeling away the skin to make the removal process easier and safer.
- Process the roasted flesh in a food processor or high-speed blender until completely smooth, adding a teaspoon of water only if the mixture is too thick to move.
- If the homemade puree seems more watery than canned versions, strain it through a fine-mesh sieve or cheesecloth for two hours to reach the ideal consistency for baking.
Frequently Asked Questions
While you *can* use a carving pumpkin, the flavor and texture won't be ideal. Carving pumpkins are bred for size, not taste, and tend to be stringy and less sweet, resulting in a less flavorful puree. If you must use a carving pumpkin, consider adding extra spices to compensate for the lack of flavor.
The pumpkin is done roasting when the flesh is easily pierced with a fork. It should feel very soft and tender. The edges might also be slightly caramelized, which adds to the flavor.
If your puree is too watery, you can drain off excess moisture by placing the cooked pumpkin in a cheesecloth-lined colander for a few hours, or even overnight, in the refrigerator. Alternatively, you can gently simmer the puree on the stovetop over low heat, stirring frequently, until some of the moisture evaporates.
Homemade pumpkin puree will last for about 3-5 days in the refrigerator, stored in an airtight container. Make sure to let the puree cool completely before refrigerating it. For longer storage, freezing is the best option.