How to Cook a Perfect Omelette on the Stove


The humble omelette: a blank canvas for culinary creativity. This isn't just a breakfast staple; it's a masterclass in quick cooking and flavor layering. The key to a truly great omelette lies in the balance between a tender, yielding egg base and a complementary, well-proportioned filling. A perfect omelette is a testament to technique, not just ingredients.
Achieving that perfect texture and flavor requires understanding the nuances of heat control and egg cookery. Too hot, and you'll have a rubbery, browned mess. Too cold, and the omelette will be pale and watery. The methods described here will guide you through the process, ensuring a restaurant-quality omelette every time.

Understanding Eggs
Eggs are not all created equal. The size, freshness, and even the breed of hen can impact the final product. For omelettes, large eggs are ideal, providing a good ratio of yolk to white. Fresh eggs will have a thicker white, resulting in a fluffier omelette. Look for cartons with the USDA grade "AA" or "A" for the best quality. Brown or white eggs don't significantly alter the flavor or texture.
Consider pasture-raised or organic eggs for a richer yolk and potentially more nutrients. The most important factor is freshness; use eggs before their expiration date for optimal results. Always store eggs in their original carton in the refrigerator to maintain freshness and prevent odor absorption.
Why Cook an Omelette This Way?
- Versatility: An omelette can be adapted to any dietary preference or ingredient on hand. It's a great way to use leftover vegetables, meats, or cheeses.
- Flavor: The simple egg base allows the fillings to shine, creating a customizable flavor explosion.
- Convenience: Omelettes cook quickly, making them ideal for a speedy breakfast, lunch, or dinner. From fridge to plate in under 10 minutes!
Preparation (Mise en Place)
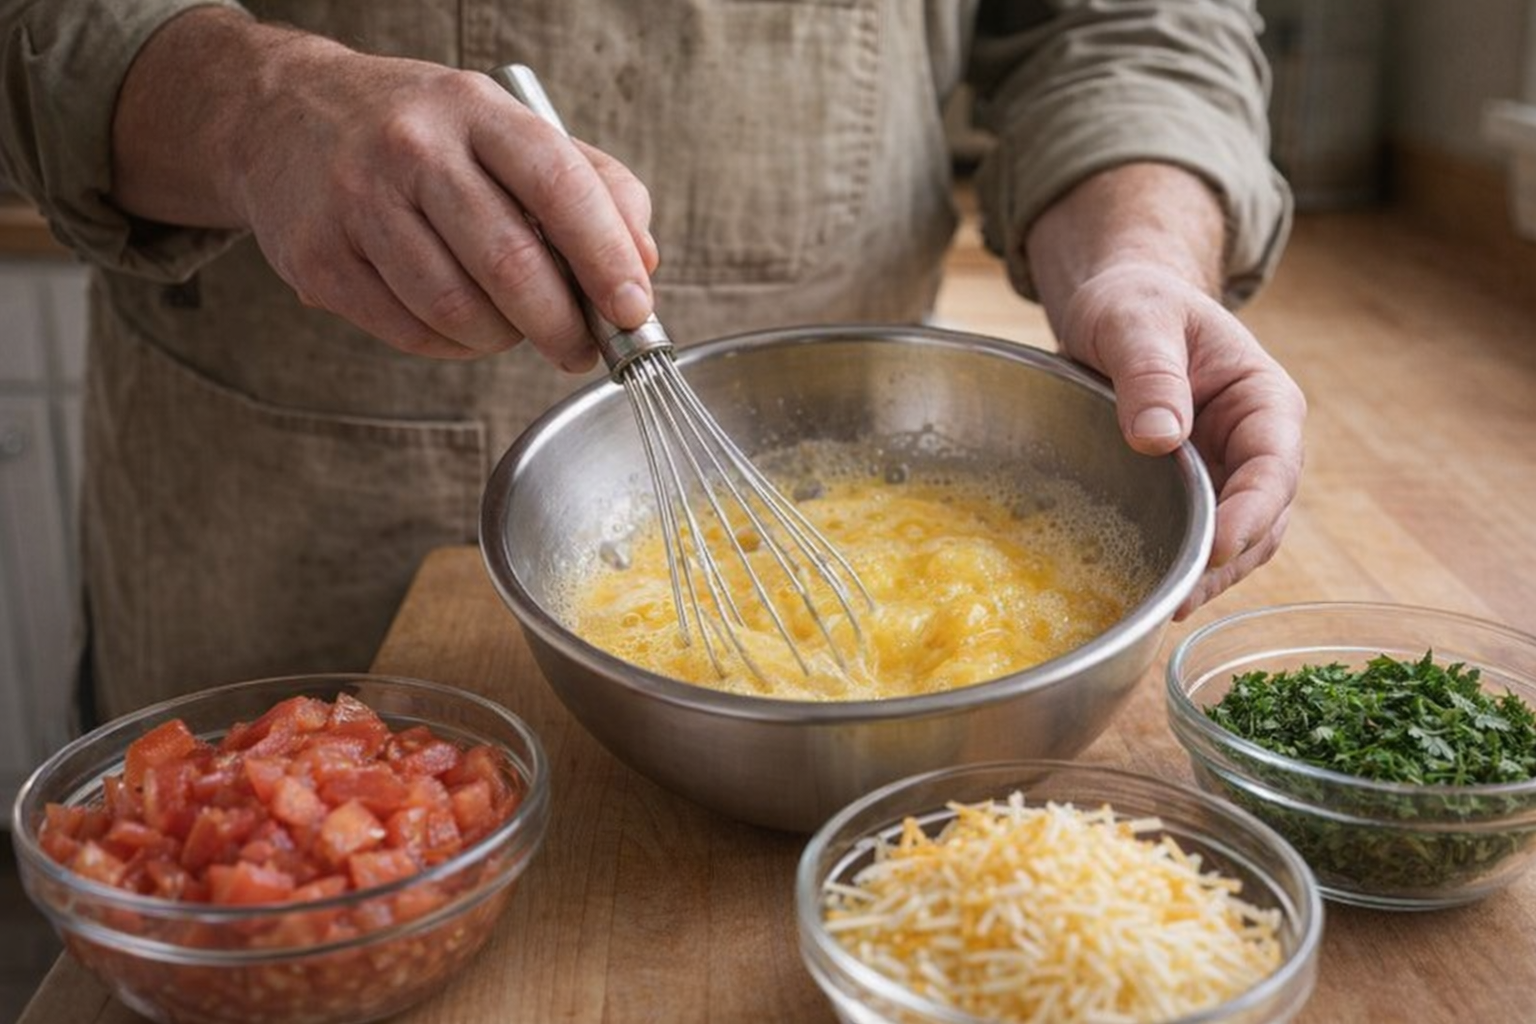
- Gather Ingredients: Have all your fillings prepped and measured before you even turn on the heat. Dice vegetables, grate cheese, and chop herbs. This ensures a smooth and efficient cooking process.
- Crack the Eggs: Gently crack two large eggs into a mixing bowl. Be careful to avoid getting any shell fragments in the mixture.
- Whisk the Eggs: Whisk the eggs vigorously with a fork or whisk until the yolks and whites are fully combined and slightly frothy. Season with a pinch of salt and pepper.
- Prepare Your Tools: Have a flexible spatula ready. This is crucial for lifting and folding the omelette without tearing it.
Essential Tools
- 8-inch Non-Stick Skillet: We use a non-stick skillet to prevent the eggs from sticking and ensure easy release. Avoid using metal utensils on non-stick surfaces to prolong their lifespan.
- Flexible Spatula: A thin, flexible spatula is essential for gently lifting and folding the omelette.
- Mixing Bowl: A medium-sized bowl for whisking the eggs and combining the seasonings.
The Cooking Method(s)
We'll focus on a single, comprehensive method for achieving omelette perfection.
Mastering the Classic Omelette
Ingredients:
- 2 large eggs (approximately 100g)
- 1 tablespoon unsalted butter (15g)
- Salt and pepper to taste
- 2 tablespoons grated cheese (cheddar, Gruyere, or your preference) (30g)
- 2 tablespoons chopped fresh herbs (parsley, chives, or basil) (30g)
- 3-4 cherry tomatoes, halved and lightly salted (50g)
- Melt the Butter: Place the non-stick skillet over medium-low heat. Add the butter and allow it to melt completely, swirling to coat the entire surface of the pan. The butter should sizzle gently but not brown. The nutty aroma of melting butter indicates the pan is at the right temperature.
- Pour the Eggs: Pour the whisked eggs into the skillet. Immediately reduce the heat to low. This prevents the eggs from cooking too quickly and becoming tough.
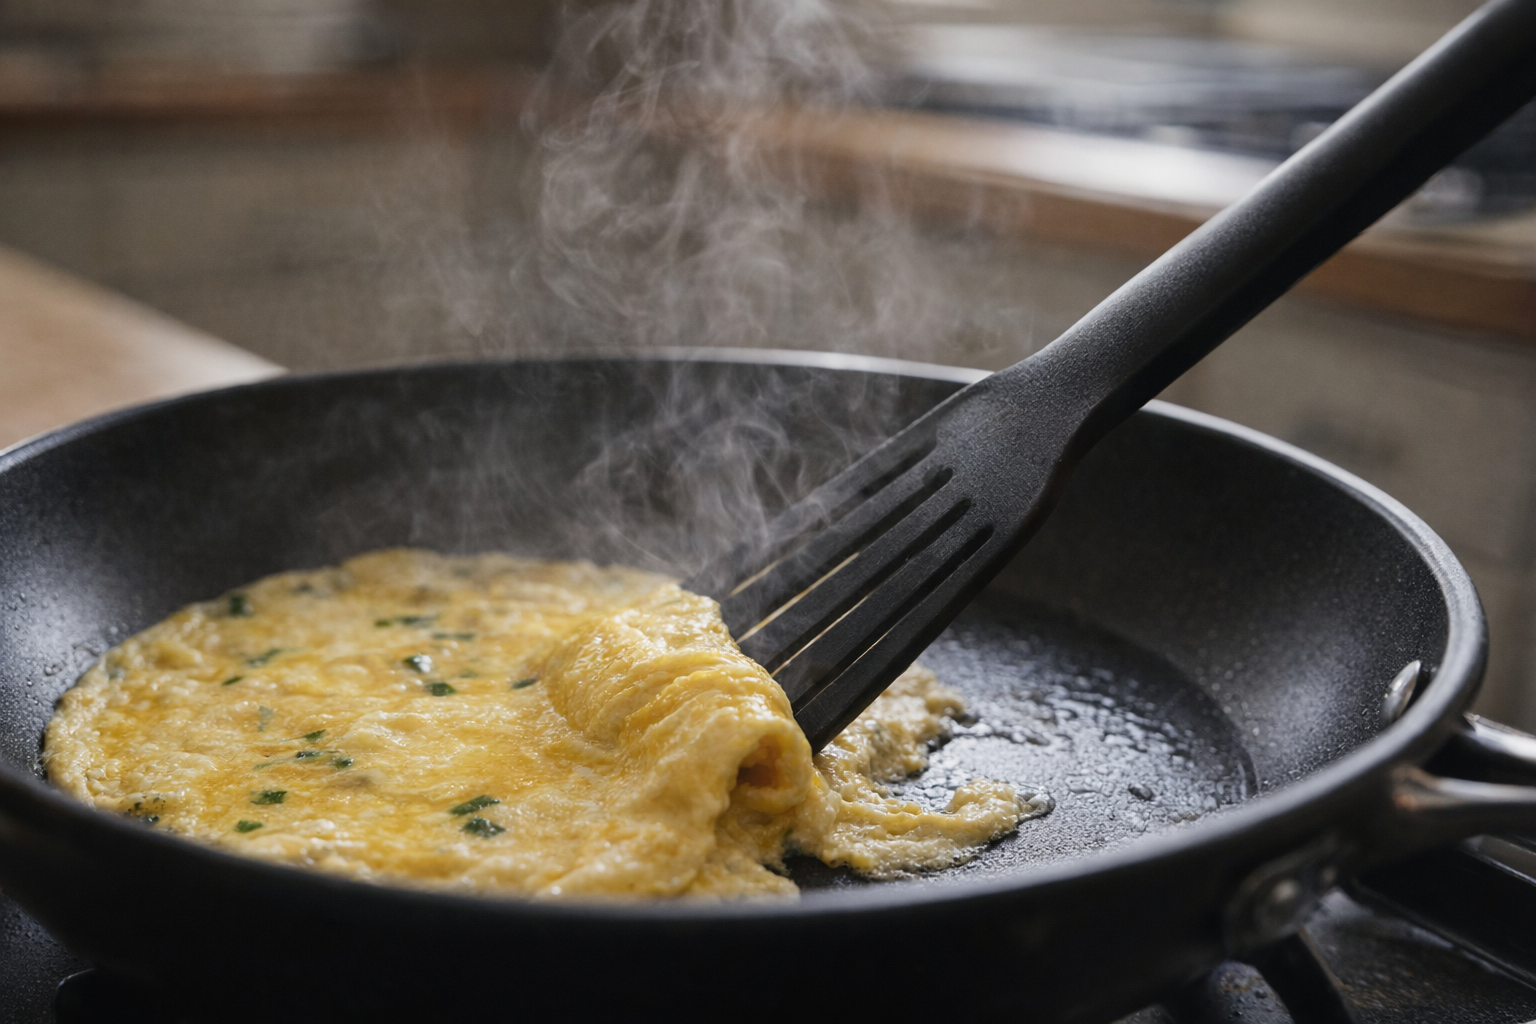
- Create the Omelette Base: As the eggs begin to set around the edges (about 1-2 minutes), gently push the cooked egg towards the center of the pan with a spatula, tilting the pan to allow the uncooked egg to flow underneath. Repeat this process until the omelette is mostly set but still slightly wet on top. The surface should have a soft, custard-like appearance.
- Add the Fillings: Sprinkle the grated cheese, chopped herbs, and halved cherry tomatoes evenly over one half of the omelette. Avoid overfilling, as this will make folding difficult.
- Fold the Omelette: Gently lift the unfilled half of the omelette with the spatula and fold it over the filling, creating a half-moon shape.
- Finish Cooking: Cook the omelette for another 1-2 minutes, or until the cheese is melted and the filling is heated through. Gently shake the pan; the omelette should slide easily.
- Serve Immediately: Slide the omelette onto a plate and serve immediately. Garnish with additional fresh herbs, if desired.
Cooking Time & Doneness Guide
- Total Cooking Time: Approximately 5-7 minutes.
- Internal Temperature: Omelettes are not typically cooked to a specific internal temperature. The key is to achieve a set but still slightly moist texture.
Visual Cues
The omelette is done when the eggs are mostly set but still have a slight sheen on top. The cheese should be melted and bubbly, and the fillings should be heated through. The edges should be set but not browned or crispy.
Tips for Perfection
- Don't Overcrowd the Pan: Avoid adding too many fillings, as this will make the omelette difficult to fold and cook evenly.
- Use Low Heat: Cooking over low heat ensures a tender, moist omelette. Rushing the process will result in a dry, rubbery texture.
- Keep the Pan Moving: Tilting the pan and using the spatula to move the cooked egg allows the uncooked egg to flow underneath, creating a more even and consistent omelette.
- Practice Makes Perfect: Don't be discouraged if your first few omelettes aren't perfect. With a little practice, you'll be making restaurant-quality omelettes in no time.
Storage & Reheating
Leftover omelette can be stored in an airtight container in the refrigerator for up to 3 days. To reheat, microwave for 30-60 seconds, or until heated through. For best results, reheat in a skillet over low heat to retain its texture. Note that reheating may slightly alter the texture of the omelette, making it slightly firmer.
Serving Suggestions
- Classic Breakfast: Serve the omelette with a side of toast, bacon, and a cup of coffee.
- Elegant Brunch: Pair the omelette with a side of fresh fruit, a mimosa, and a crusty baguette.
- Light Lunch: Serve the omelette with a side salad for a light and healthy lunch.
- Dinner for One: Enjoy the omelette as a quick and satisfying dinner, accompanied by a glass of wine.
💡 Pro Tips
- Maintain a medium-low heat to ensure the eggs stay tender and yellow without developing a rubbery, browned crust.
- Whisk the eggs thoroughly until no streaks of white remain to achieve a uniform texture and consistent color throughout the omelette.
- Use a high-quality non-stick skillet to ensure the omelette slides out easily and prevents the delicate egg base from tearing.
- Pre-cook any watery vegetables like mushrooms or spinach before adding them to the eggs to prevent the omelette from becoming soggy.
- Gently pull the cooked edges toward the center with a spatula while tilting the pan to allow the raw egg to flow underneath for even cooking.
Frequently Asked Questions
Ensure your non-stick pan is truly non-stick and in good condition; sometimes the coating wears off over time. Also, make sure the pan is properly heated before adding the eggs, but not so hot that they immediately burn. A medium-low heat is usually best.
Yes, you can add a tablespoon or two of milk or cream per two eggs for a slightly richer and creamier omelette. Be careful not to add too much liquid, as it can make the omelette watery and difficult to cook properly.
The key to avoiding a rubbery omelette is to cook it over medium-low heat and avoid overcooking. Once the eggs are mostly set but still slightly moist on top, add your fillings and fold it over; it will continue to cook from the residual heat.
While an 8-inch non-stick skillet is ideal, a slightly larger non-stick pan will also work, though the omelette might be thinner. If you don't have non-stick, a well-seasoned cast iron skillet can work with enough butter or oil, but it requires careful attention to prevent sticking.